Preparations
Before you can start setting up your storage in OPEN Two, you first need to ensure that you have a license for this. If not, contact a sales representative. There are also some preparations that you should make to facilitate the process. We will walk you through the process for a smooth start.
Cost center
Each storage has its own cost center. So make sure you create cost centers for each storage before you start. If your storage also functions as a point of sale, like a shop, you need to connect a cash register to it. To do this, simply link both the cash register and the storage to the same cost center.

- To create and manage your cost centers, select COMPANY in the menu and go to MY COMPANY.
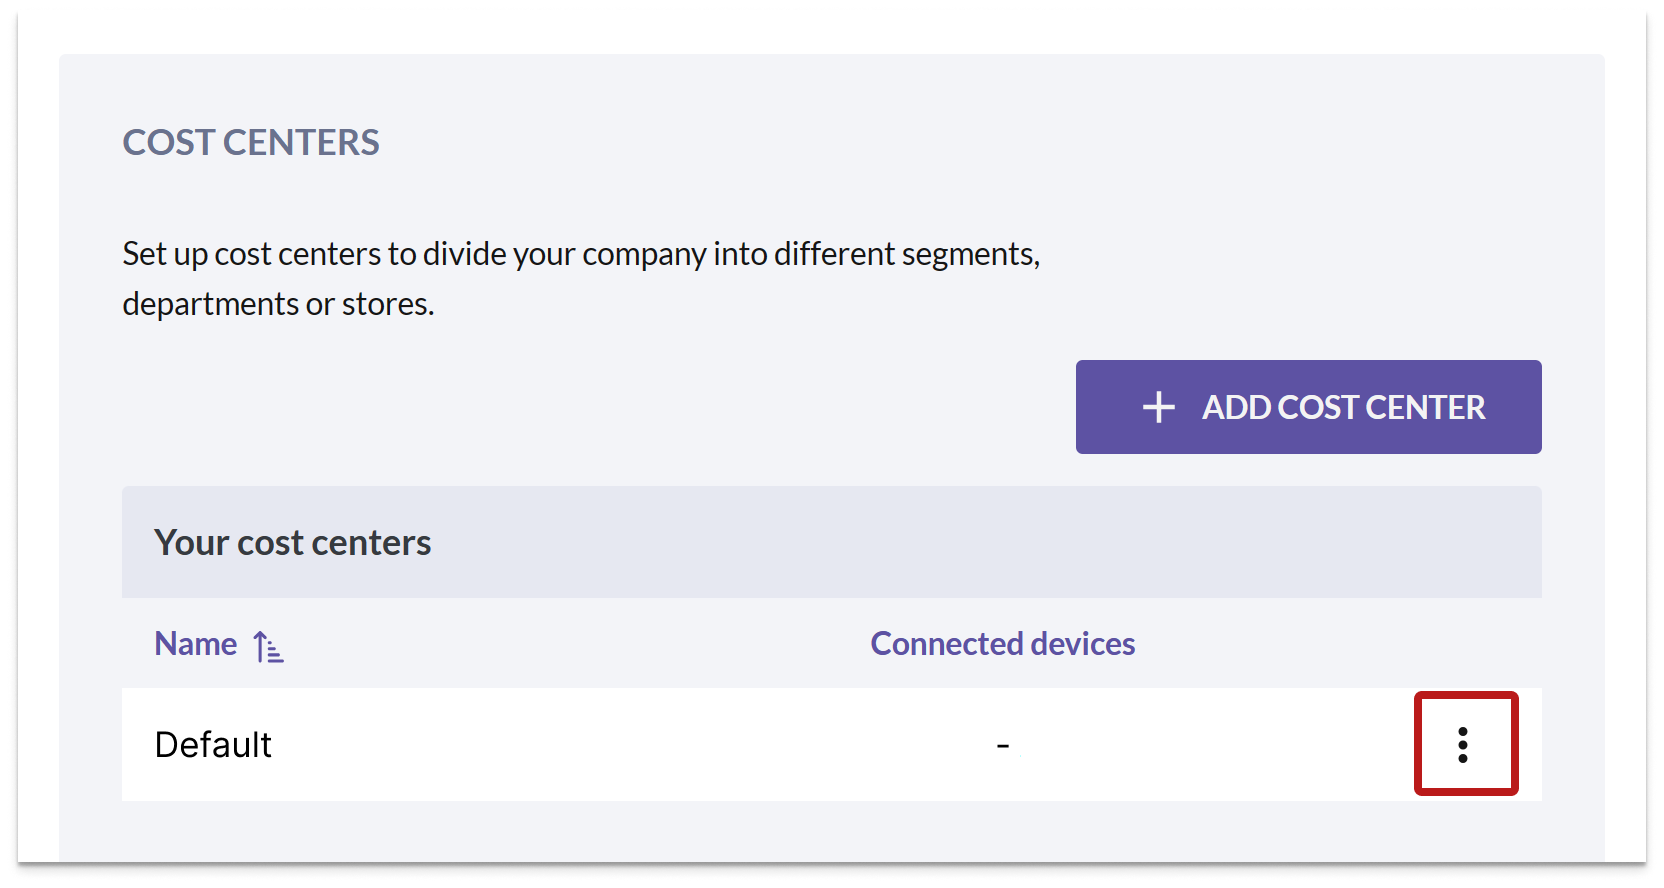
- When you start using BackOffice, there is a cost center called Default. Press the 3-POINT MENU and select EDIT COST CENTER. You can then change the name.
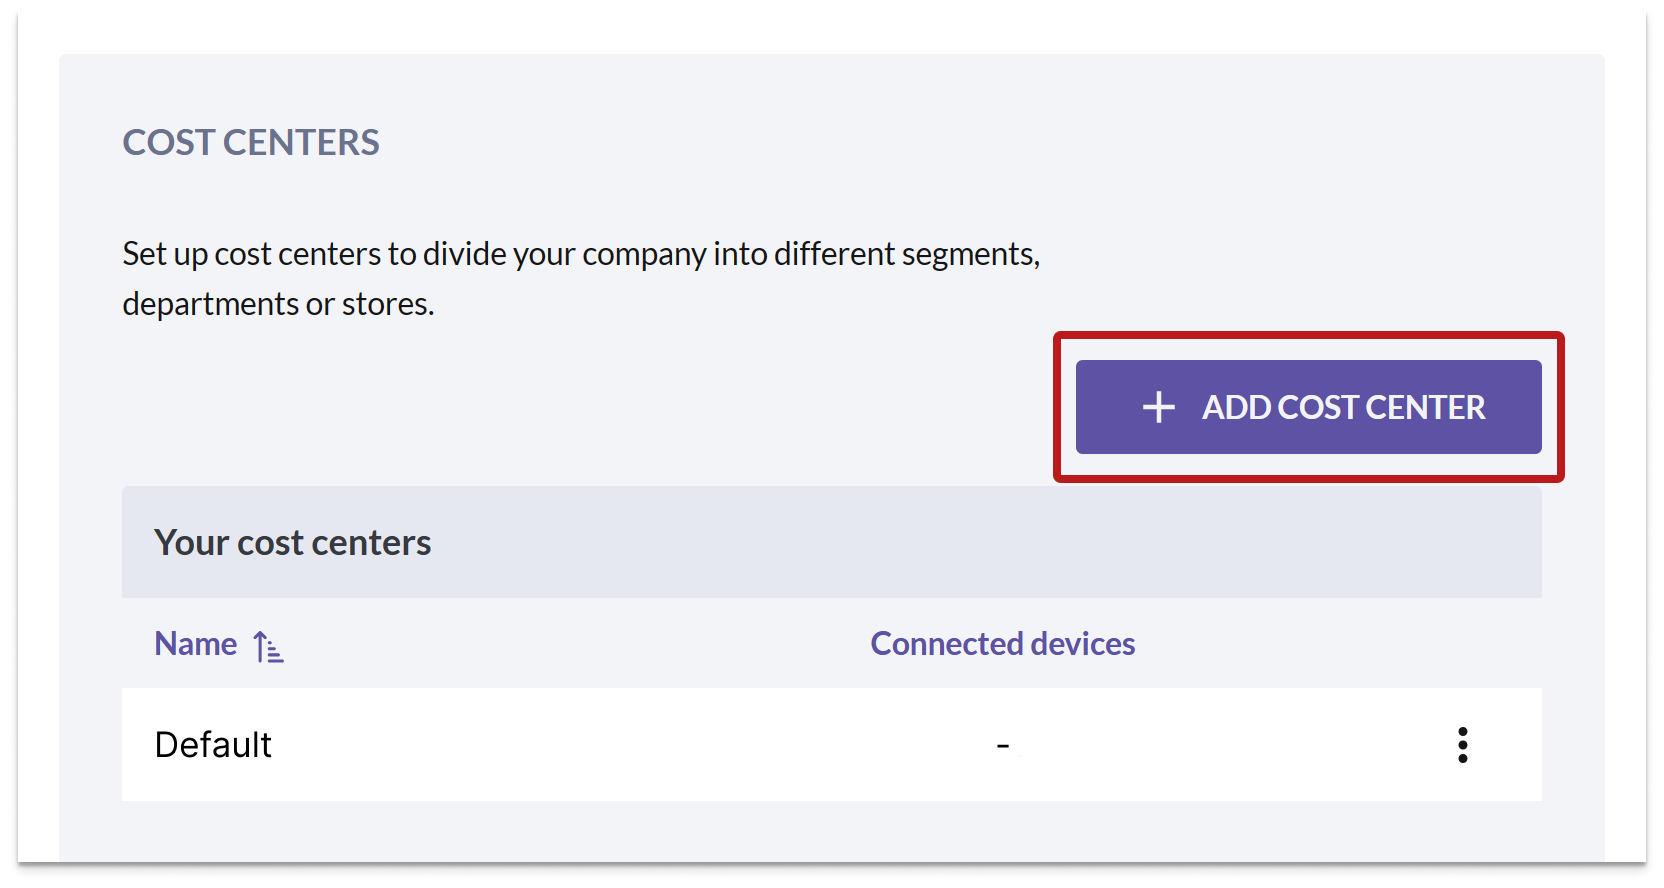
- To create a new cost center, press ADD COST CENTER.
Store articles
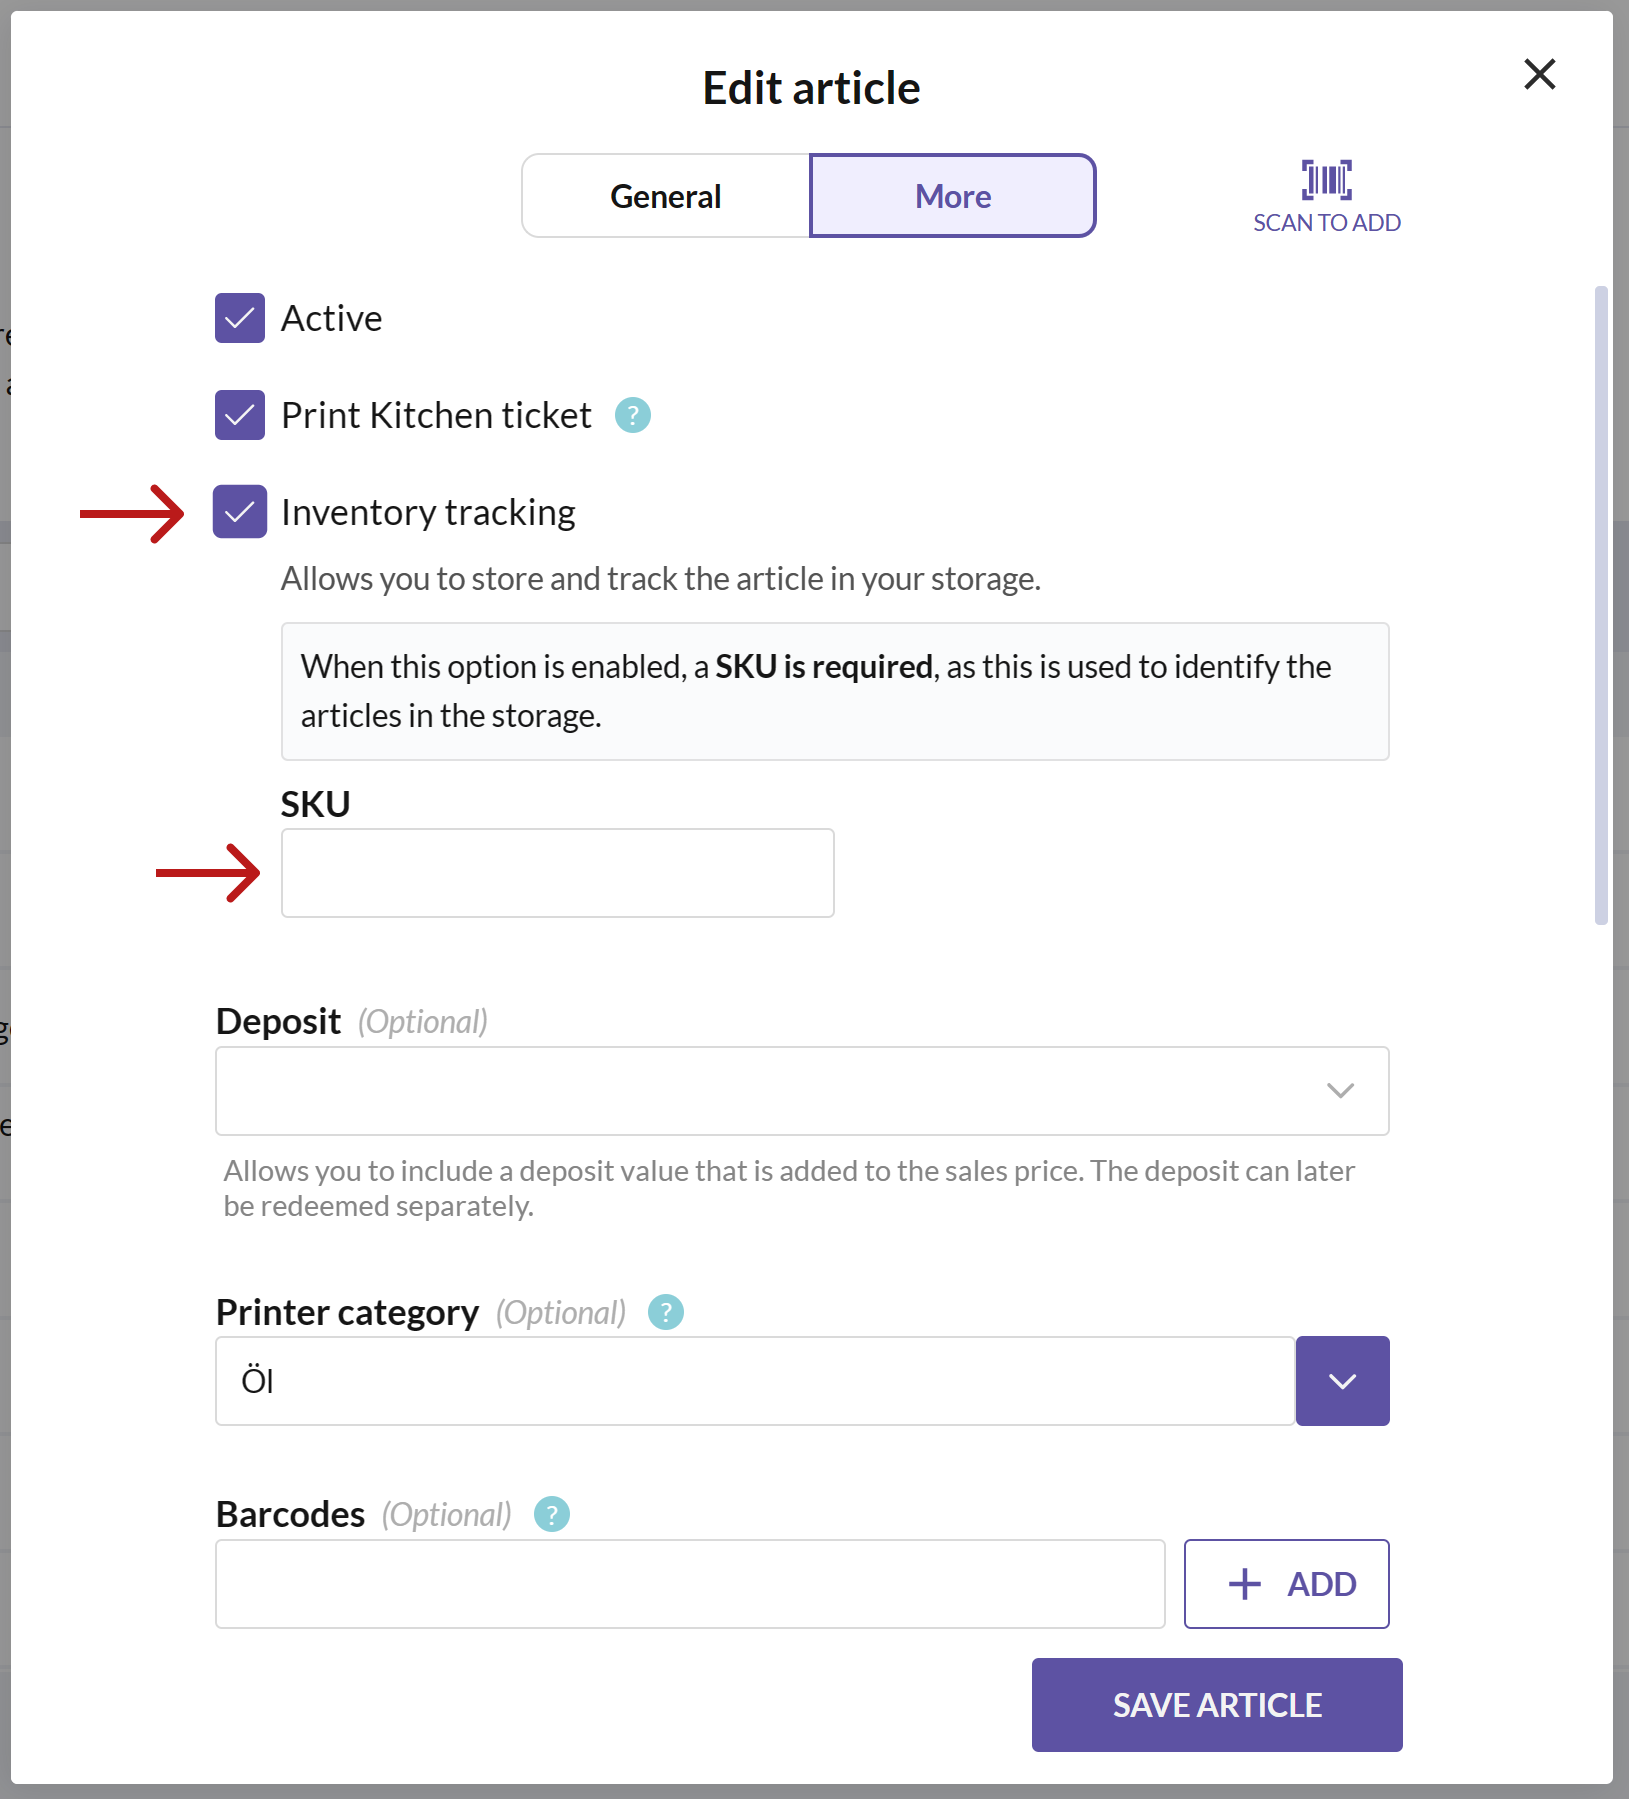
You can control which articles should be stored and in which storage(s). To store an article, certain settings need to be configured from the Article page:
- enable inventory tracking
- specify a unique SKU labeling
Only articles with these settings can be added to a storage.
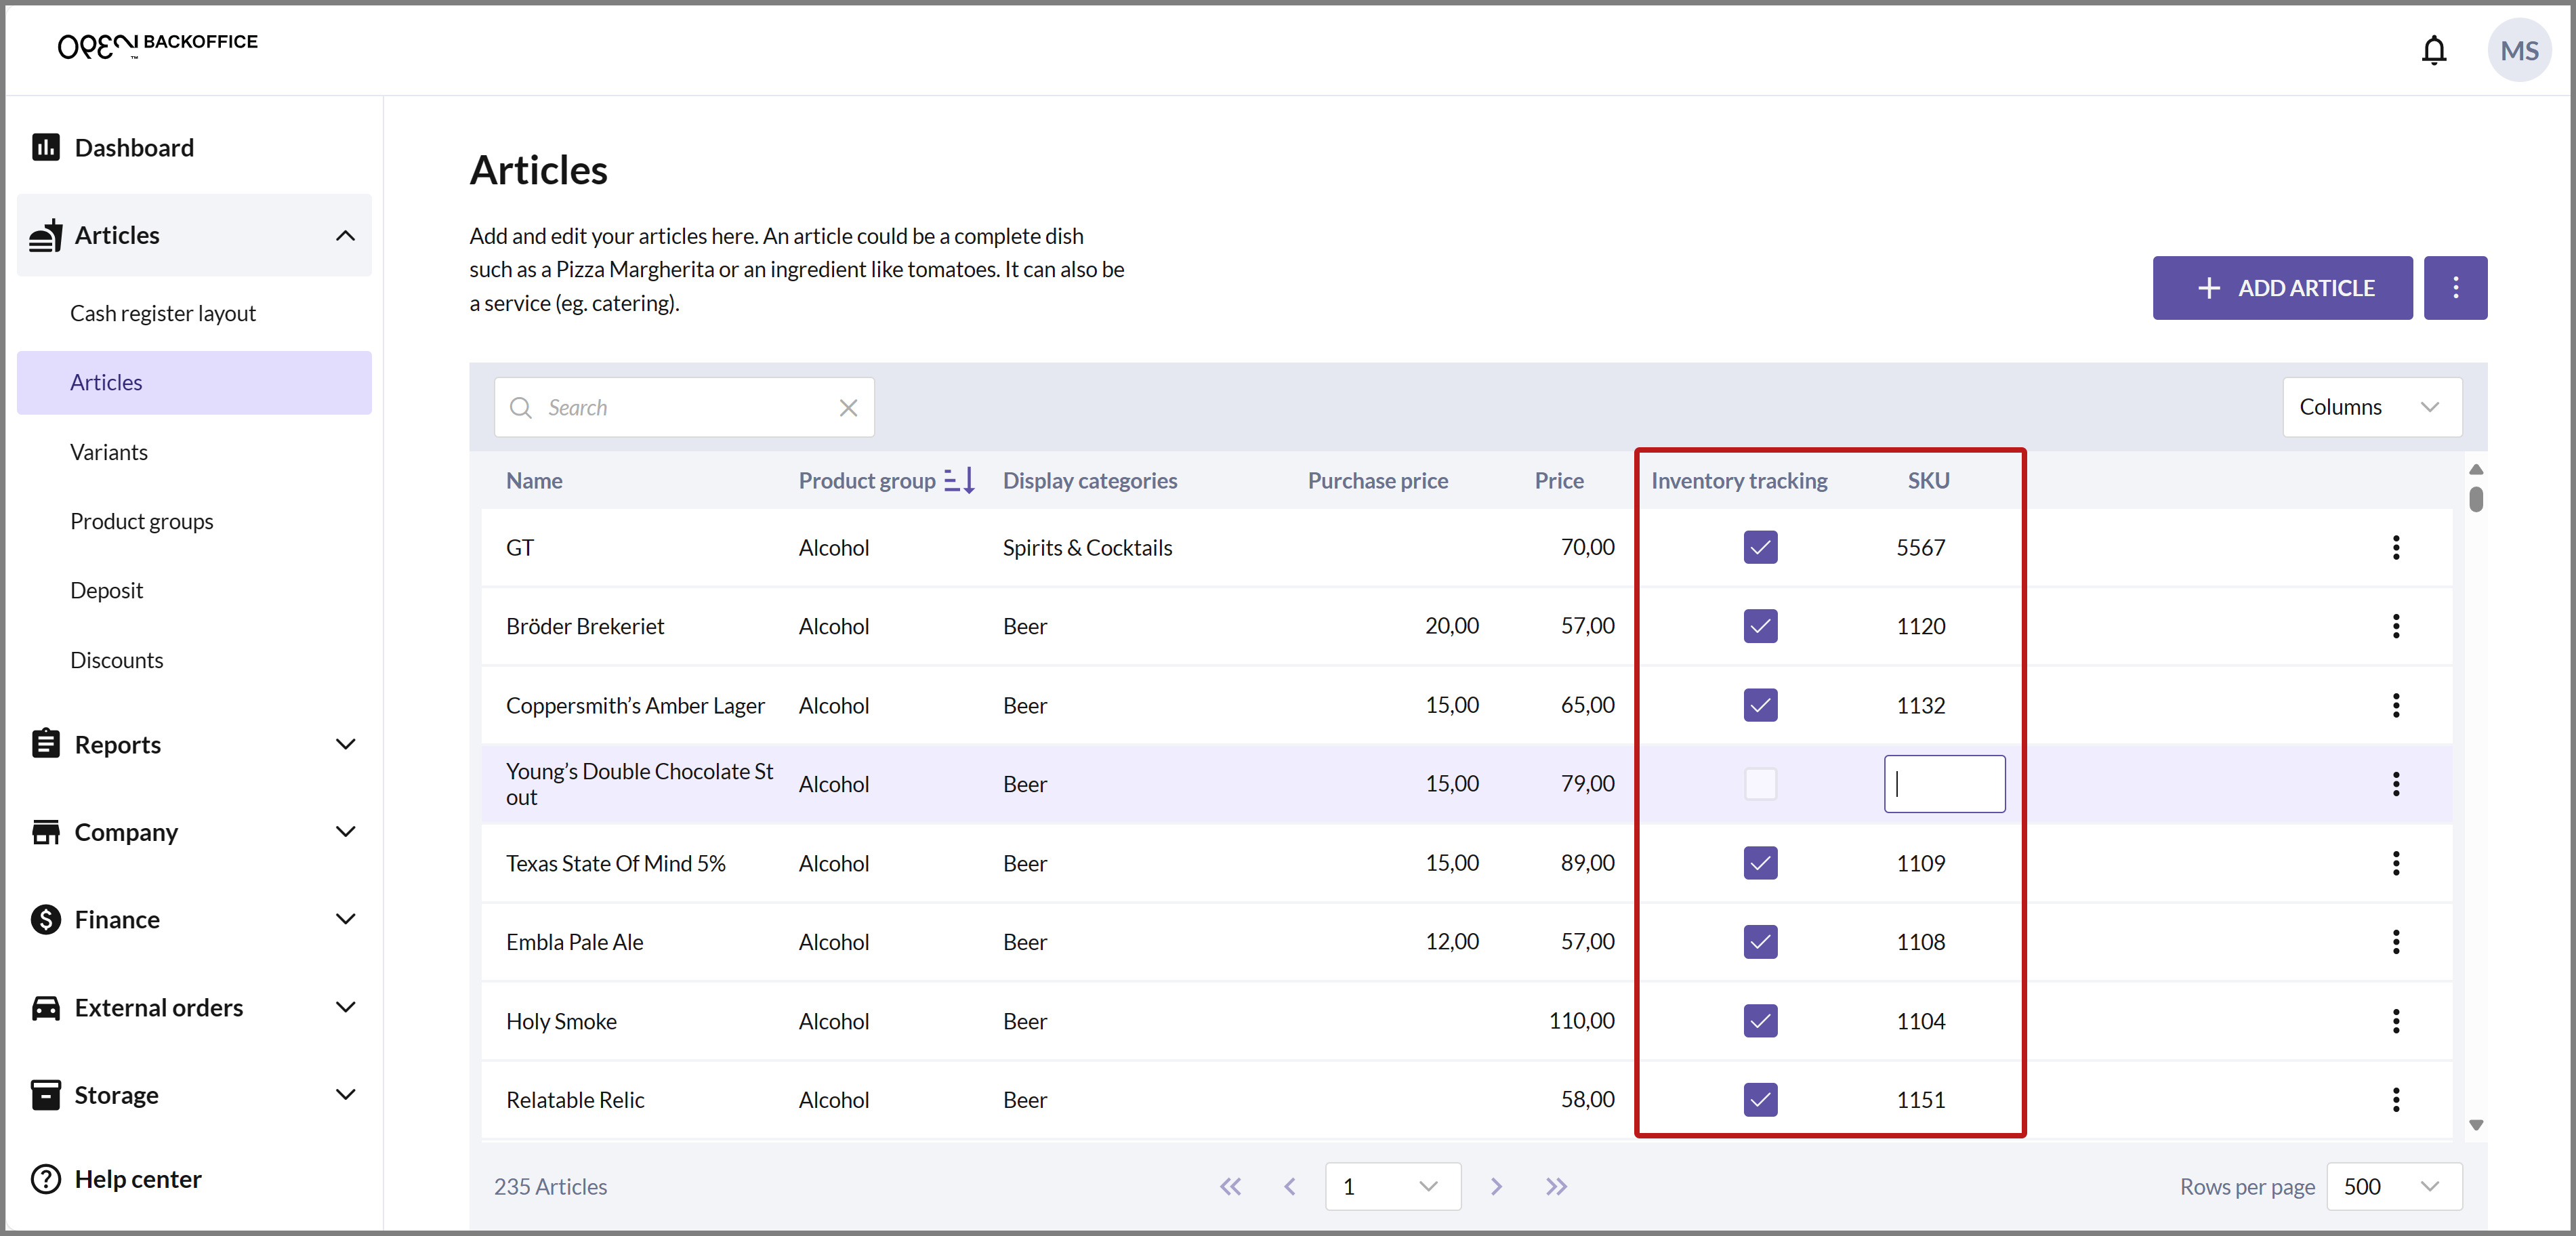
As soon as you add an SKU to an article, "Inventory Tracking" is automatically enabled as well. You can manage these settings from the article dialogue or directly from the article page, just make sure to display the columns for Inventory tracking and SKU.
If an external Ongoing storage is to be used to order goods, it's also important to ensure that the articles have a purchase price. This will be used to show the cost of the orders.
Ongoing integration
The Ongoing integration enables you to connect your storage system to your external Ongoing storage, allowing you to order goods from your external storage to your internal storage directly in BackOffice.
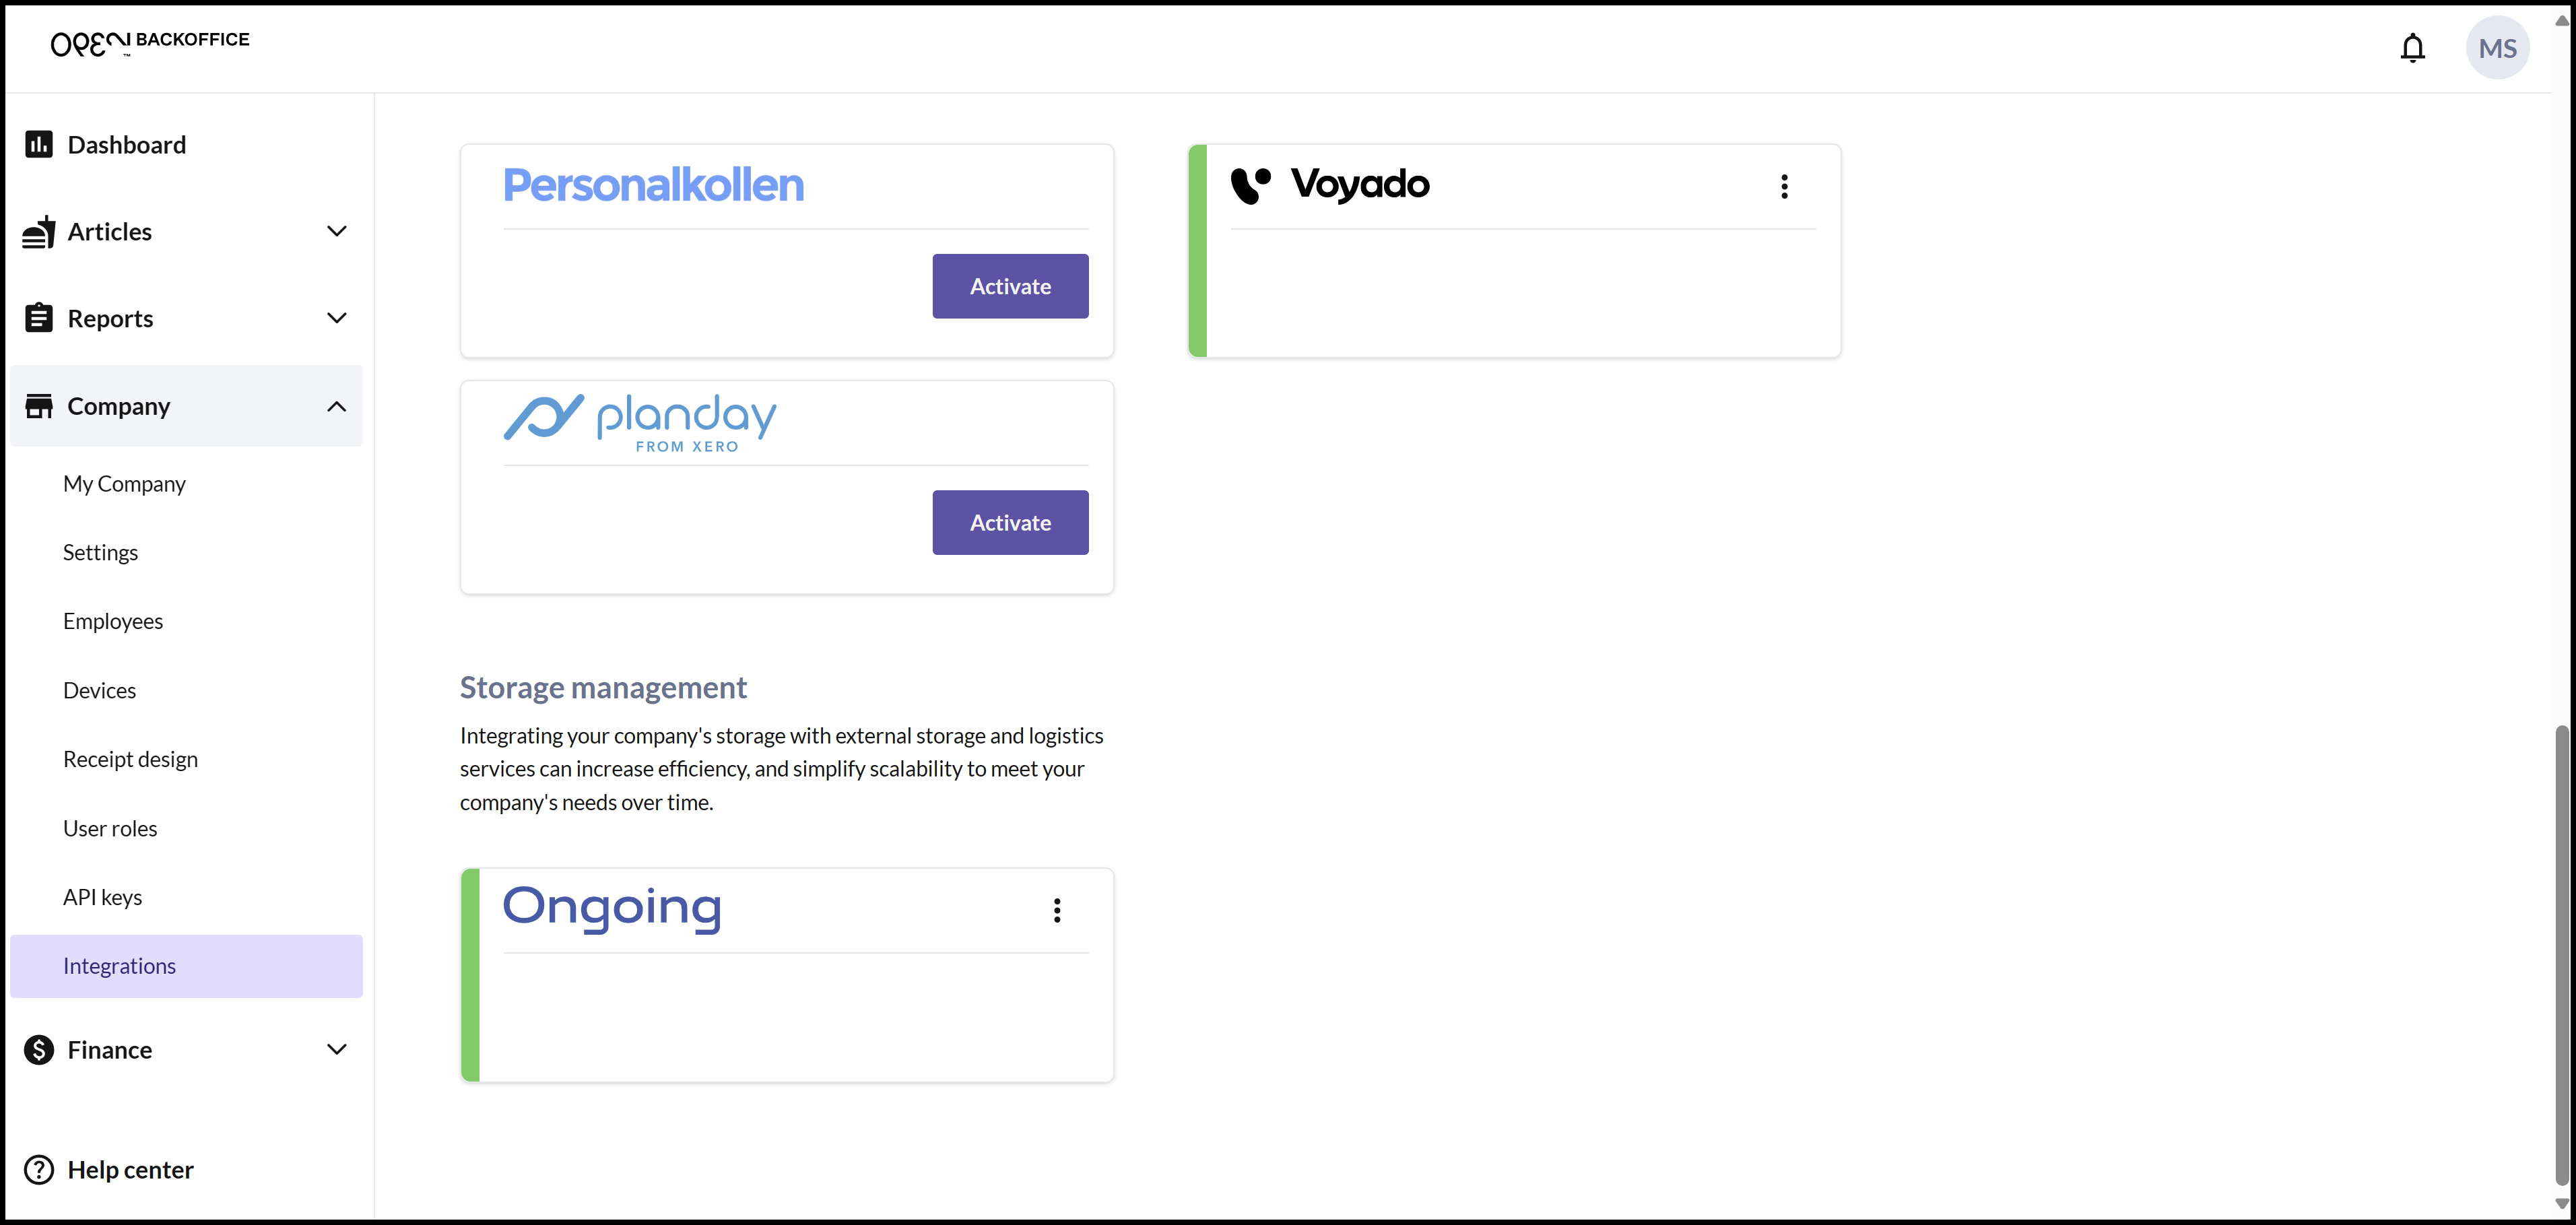
- Select COMPANY in the menu and go to INTEGRATIONS.
- On the Ongoing integration card, click ACTIVATE.
- Fill in the following information:
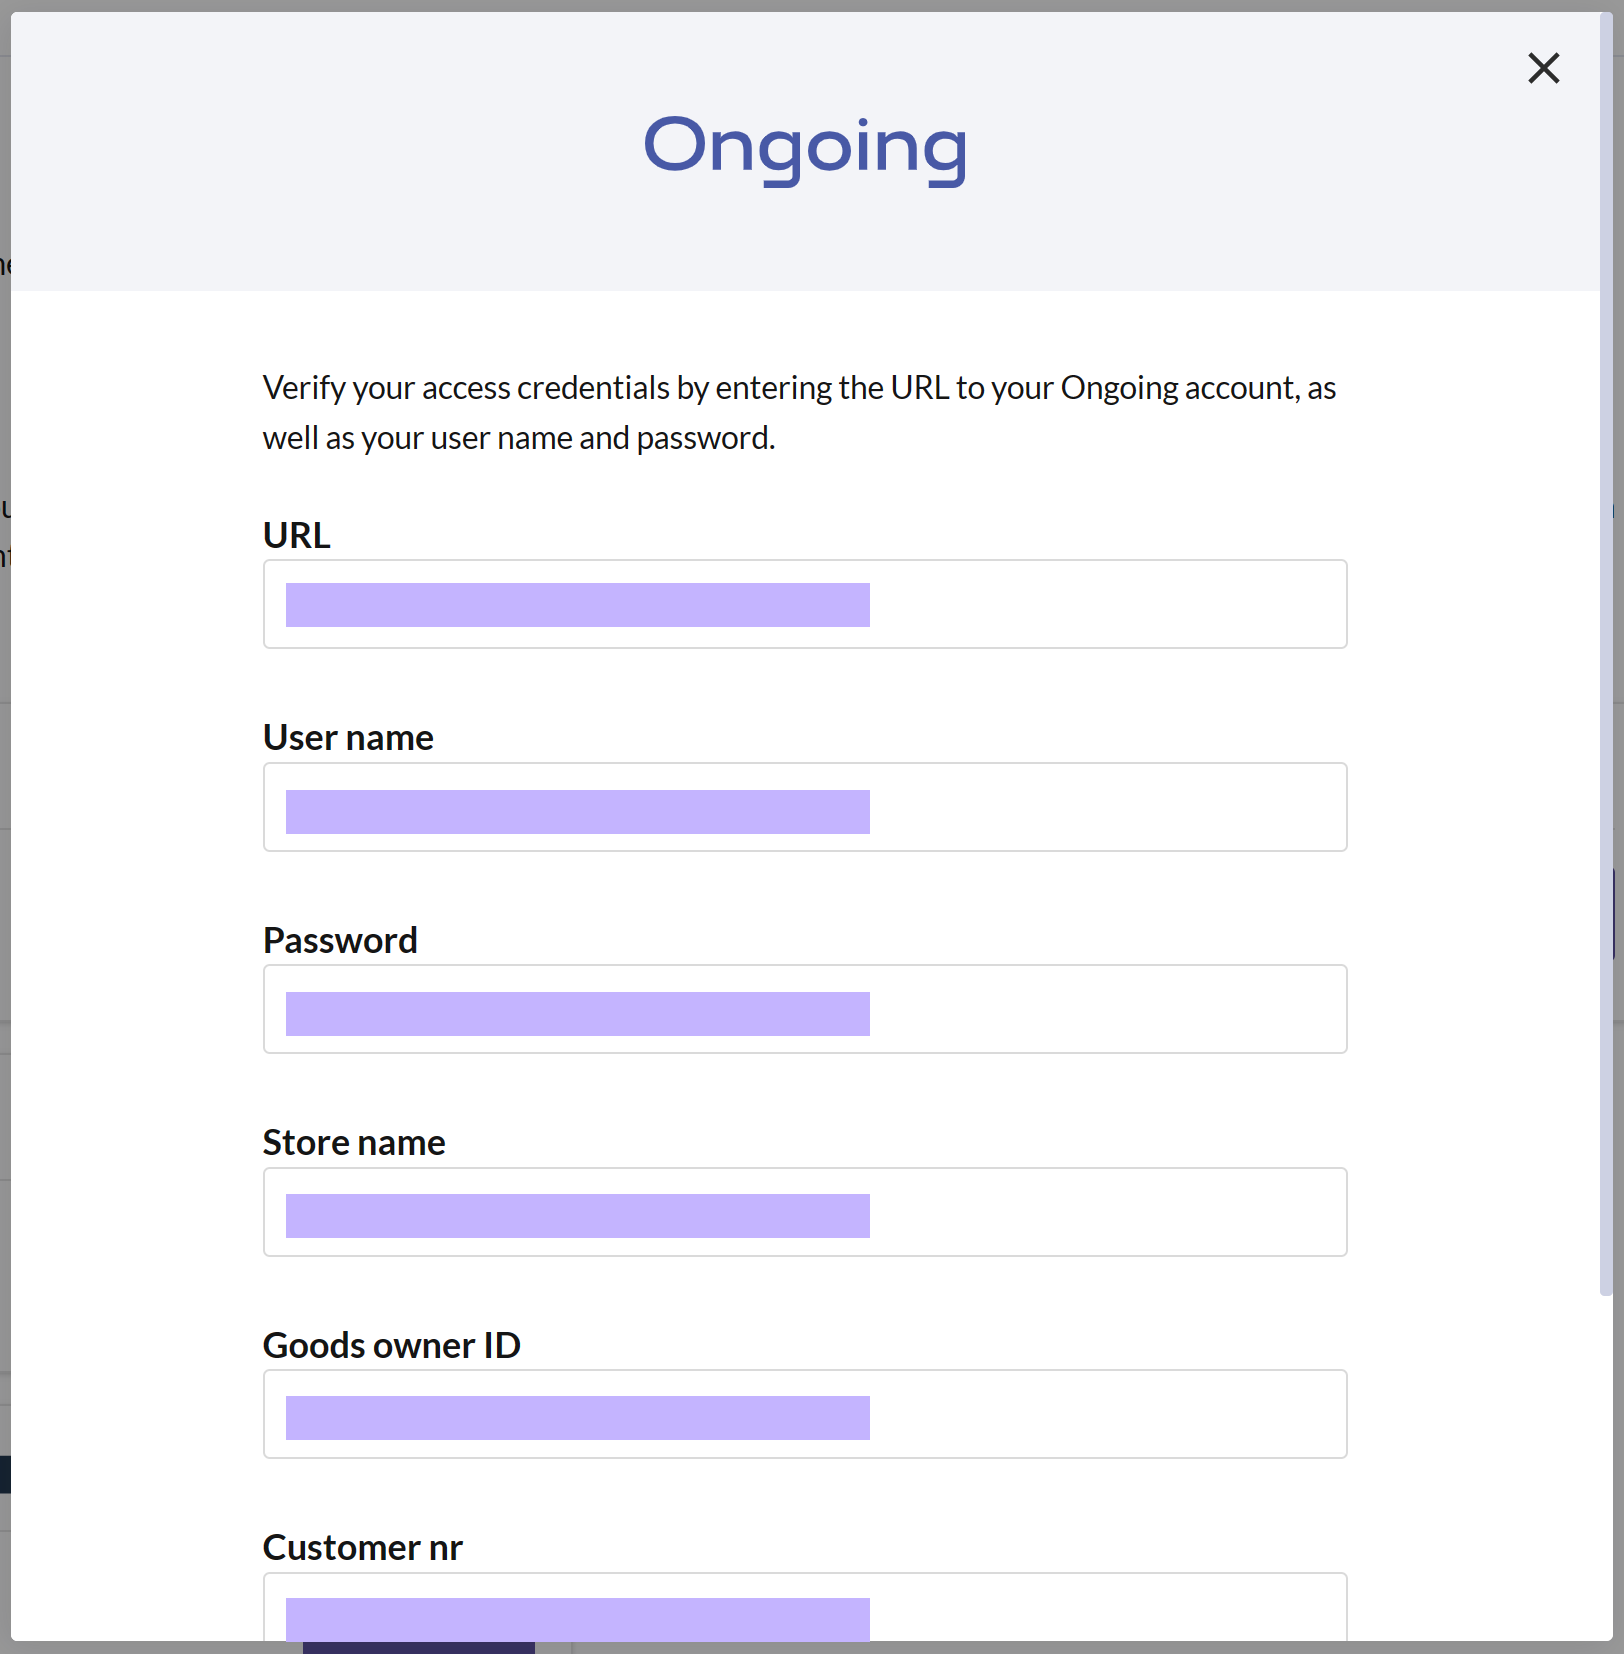
- URL address to your Ongoing account
- Username
- Password
- Store name
- Goods owner ID
- Customer number
- Press VERIFY when you're finished. If the information is correct, the integration will be activated automatically. Press the CLOSE DIALOG button to close the dialog box.
- You can now see that the Ongoing integration is activated. This means that moving forward, you'll be able to order from your external storage, but first, this needs to be configured on your internal storage.