Install Epson printer (Blueooth connection)

This guide will help you install the Epson printer and connect it to a tablet via Bluetoth.
Unpack the Printer
Start by unpacking the printer and ensuring that all the necessary components are included. These typically include the printer, power cable, USB cable, and any additional accessories.0
Starta skrivaren genom att hålla ned strömbrytaren i ett par sekunder.
Connect the printer to the tablet
Press below to open a video tutorial on how to connect the Epson printer to a smart device via Bluetooth.

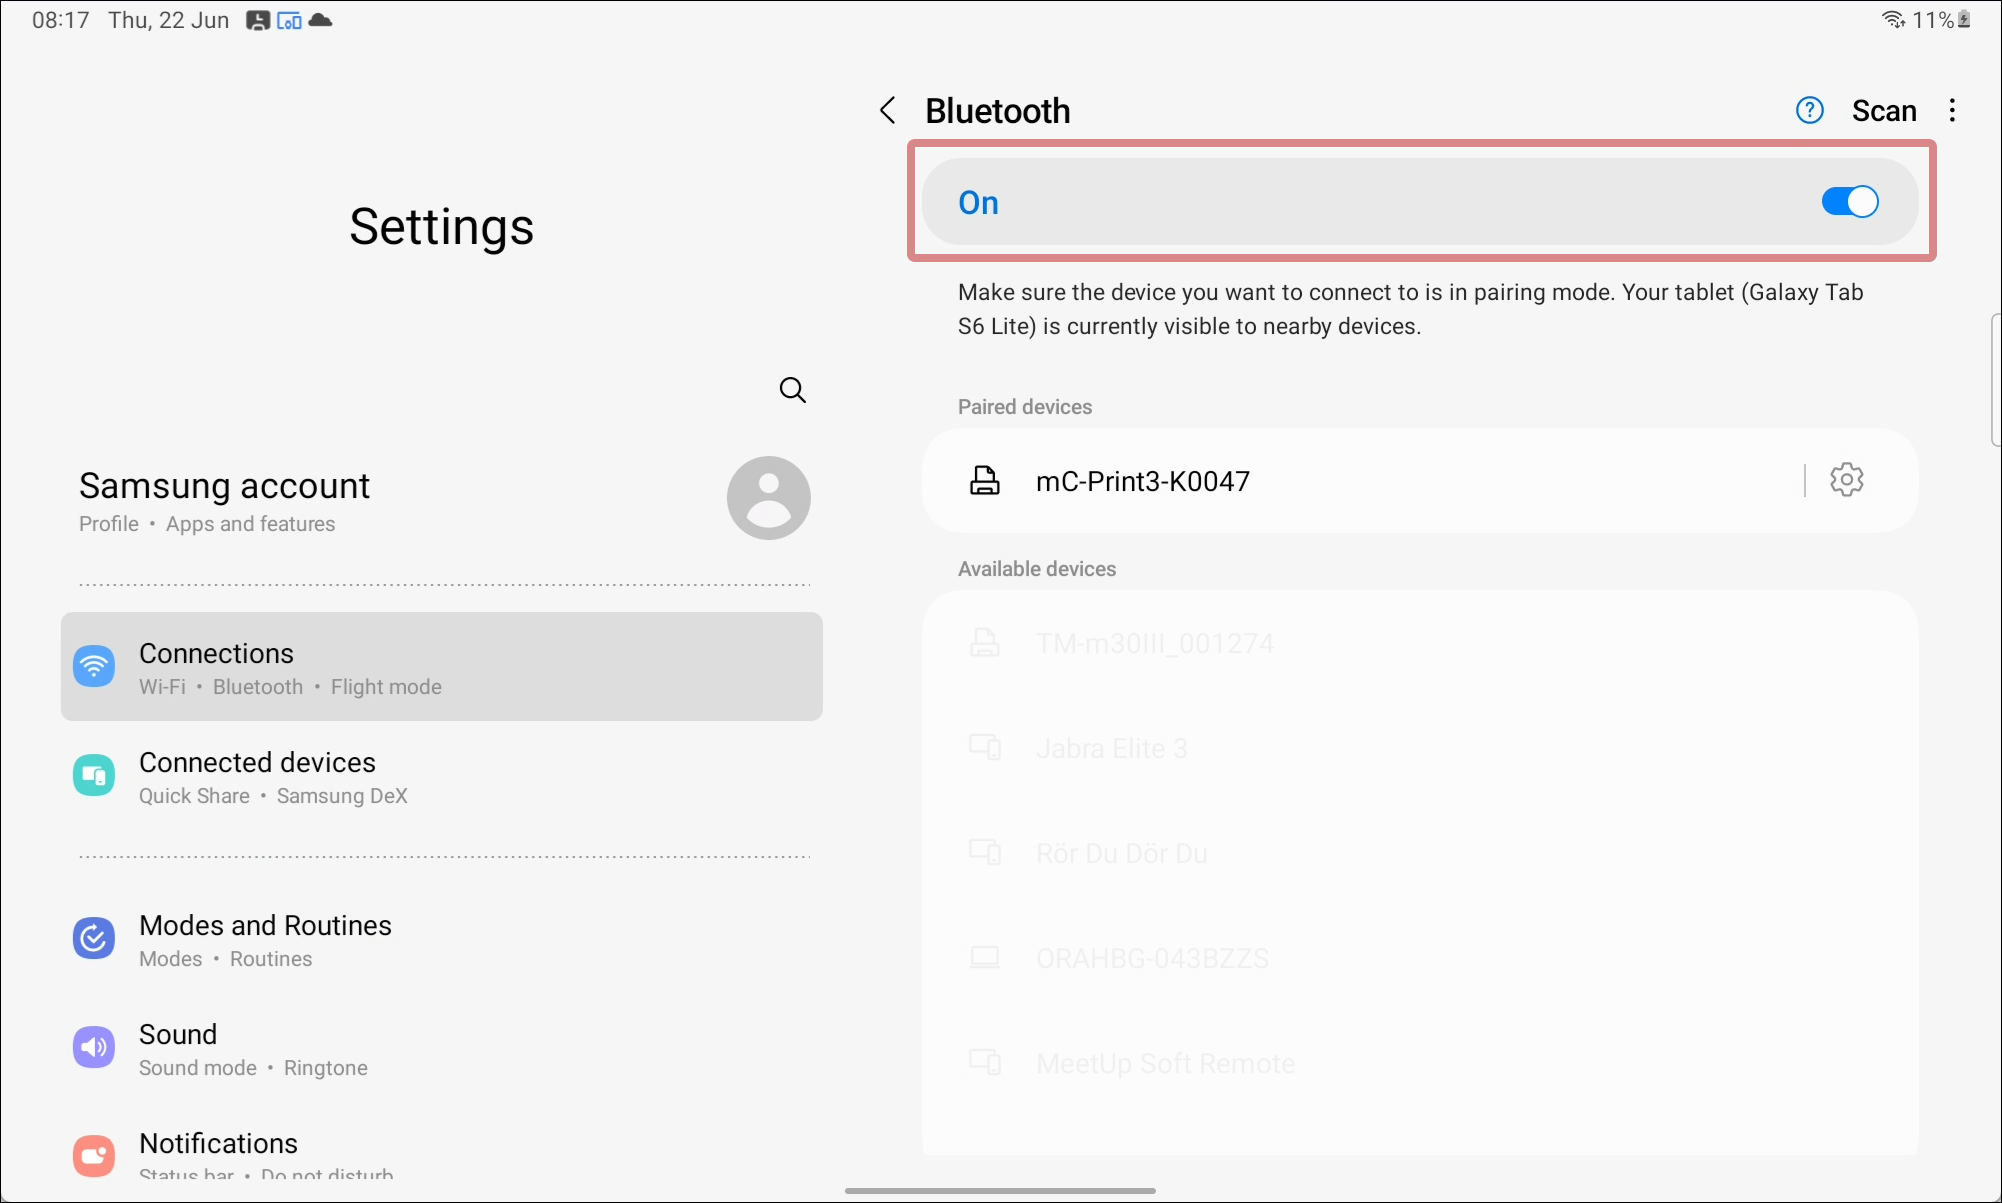
On your smart device (tablet or smartphone), open the Bluetooth settings from Settings.
Turn on Bluetooth.
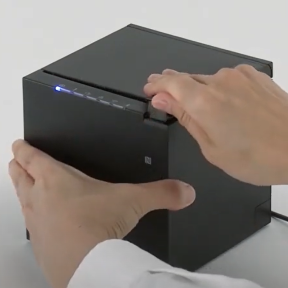
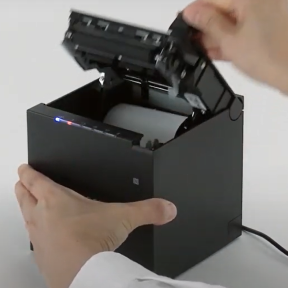
- Open the roll paper cover of the printer by gently pulling the cover open lever upwards.
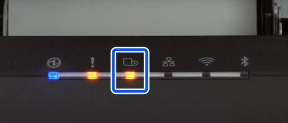
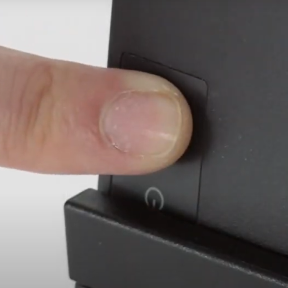
- Hold down the Feed button until the paper LED starts flashing, then release the button.
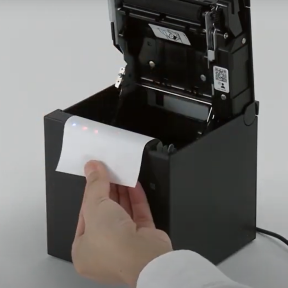
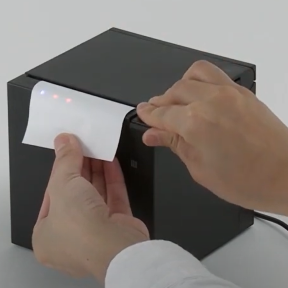
- Roll out some paper, then close the roll paper cover.
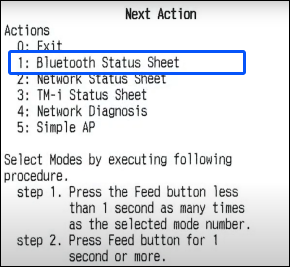
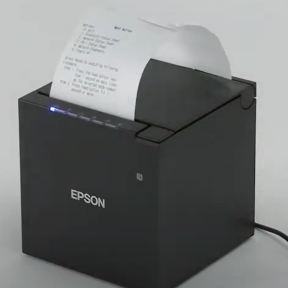
- A help text starting with "Next action" will be printed.
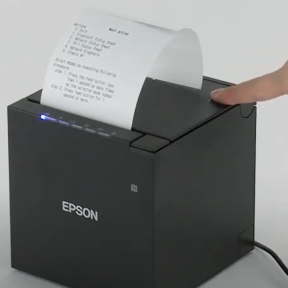
- Briefly press the Feed button once (less than one second), and then hold down the button for at least one second.
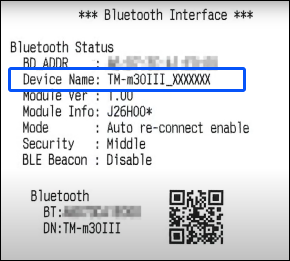
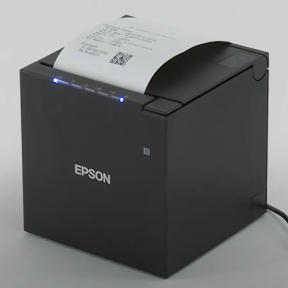
- A status sheet will be printed and the printer will be ready for pairing.
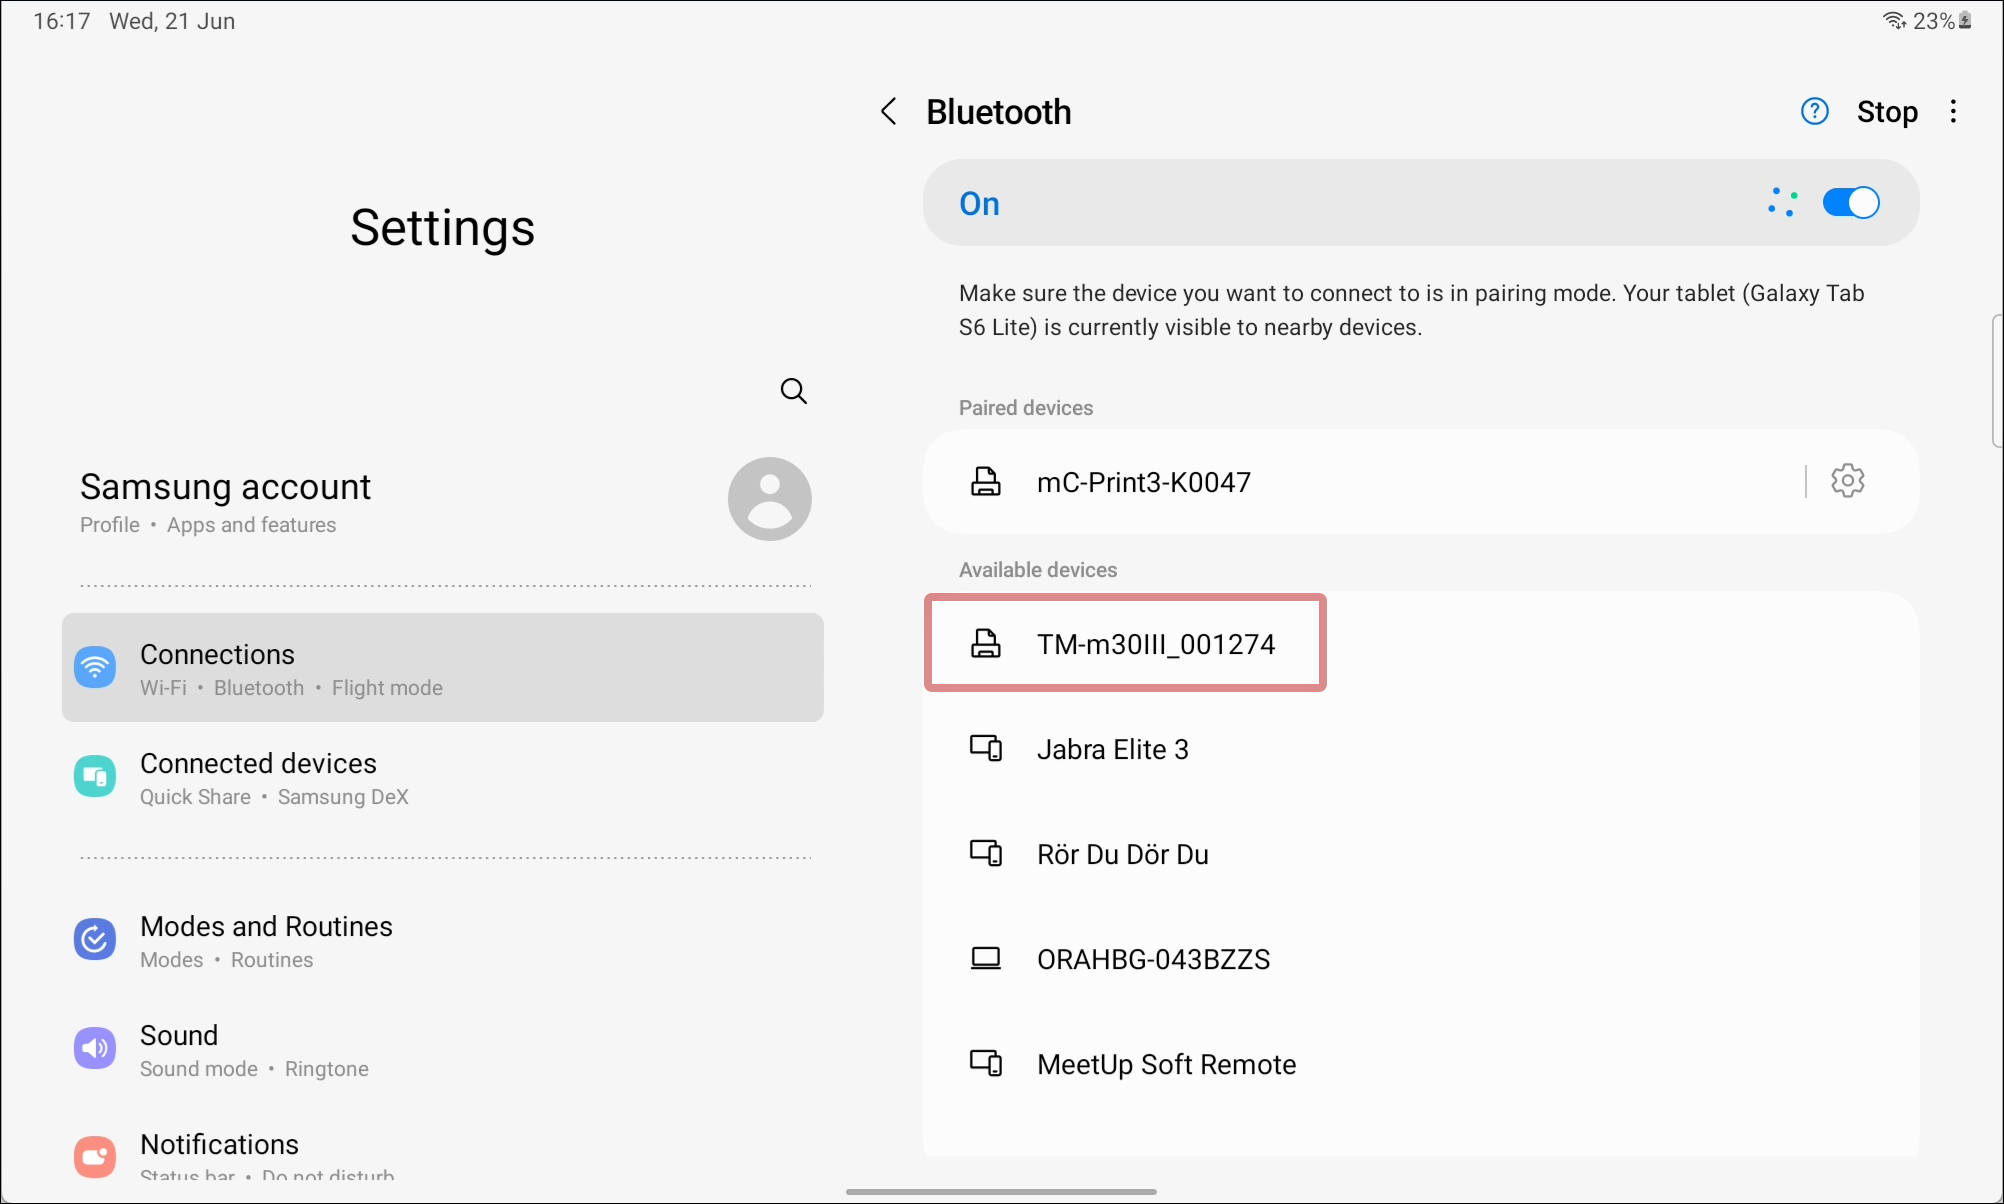
- On your smart device: select the same device name printed on the status sheet from the list of connectable devices.
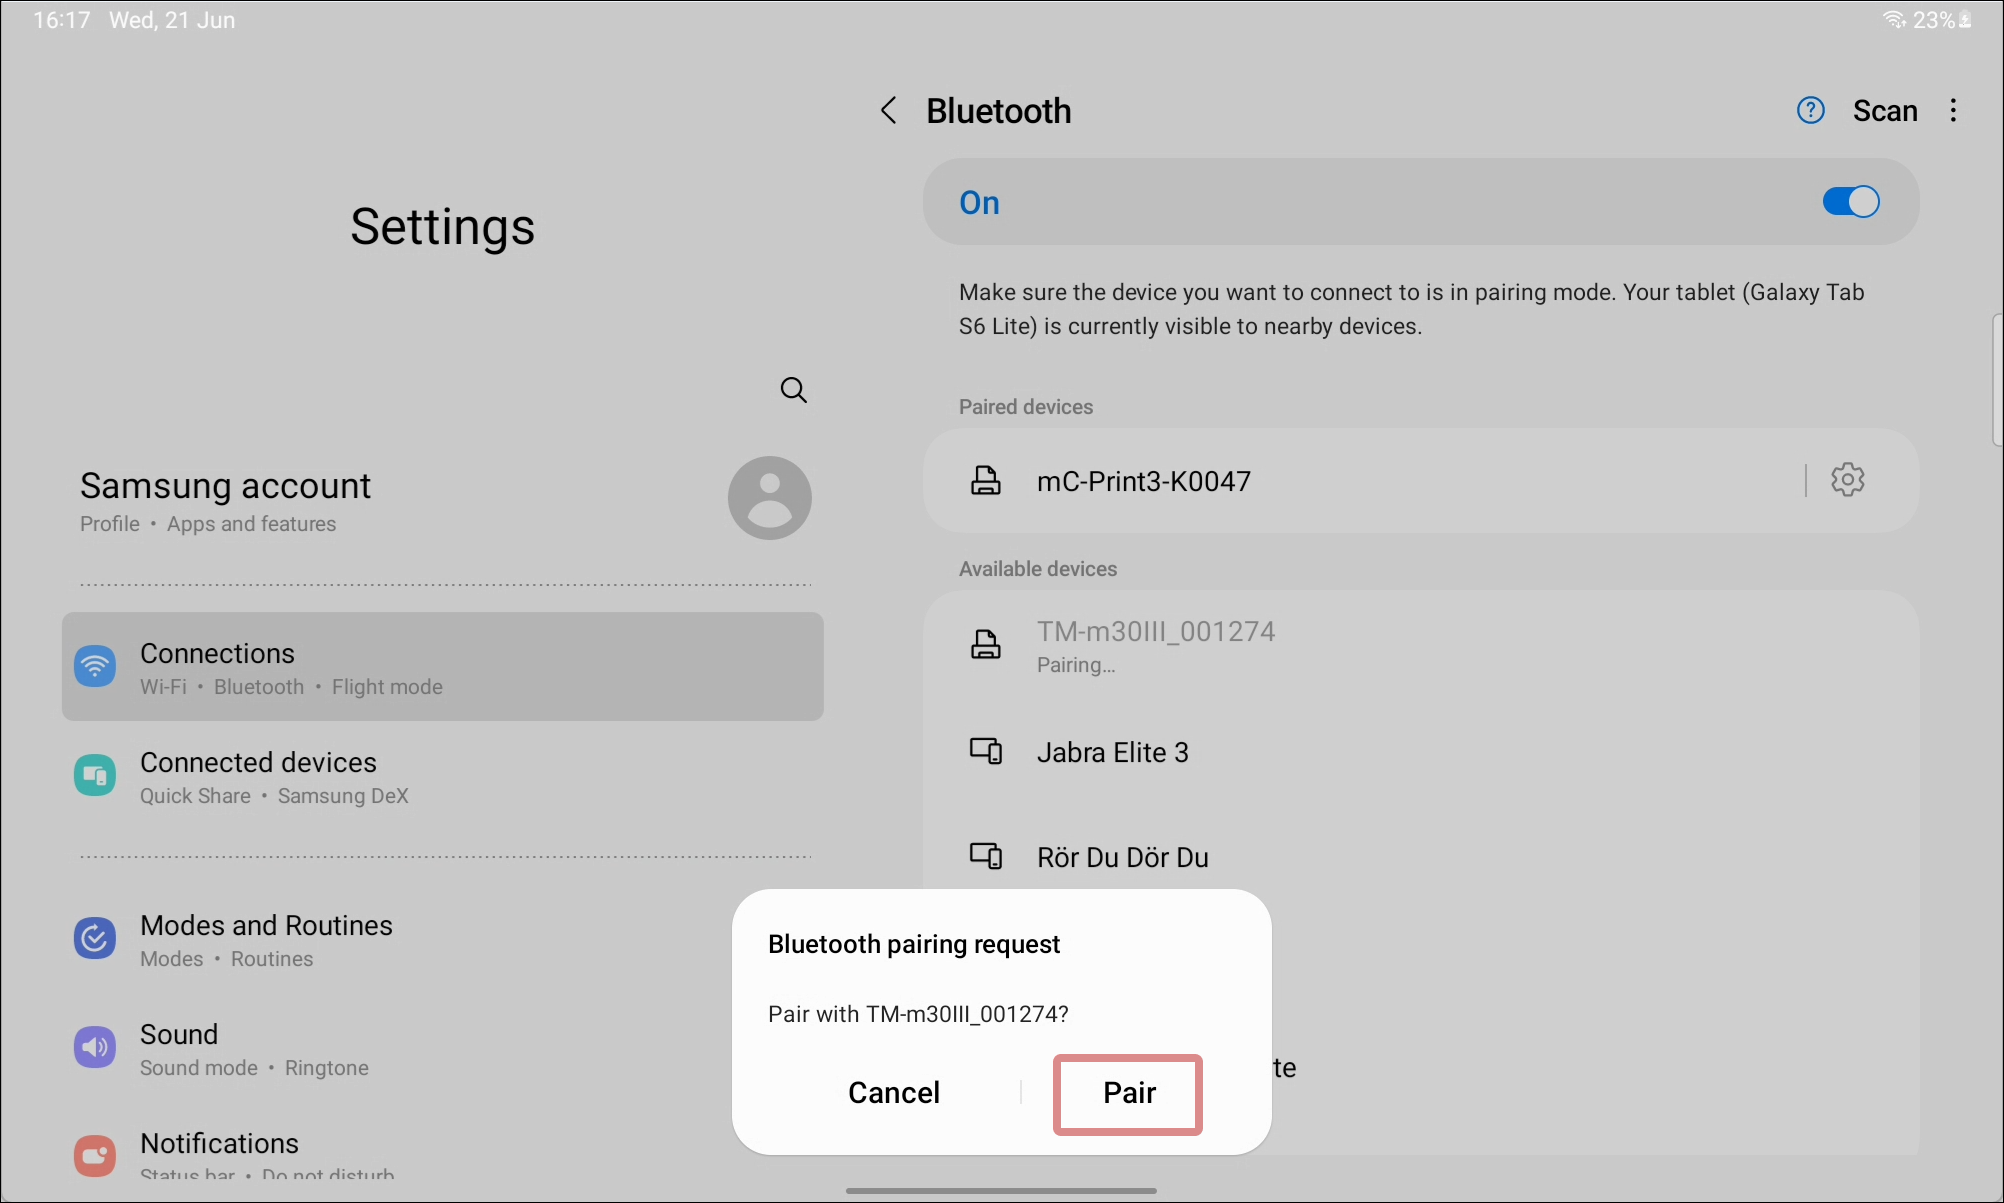
- Pair the device with the printer.
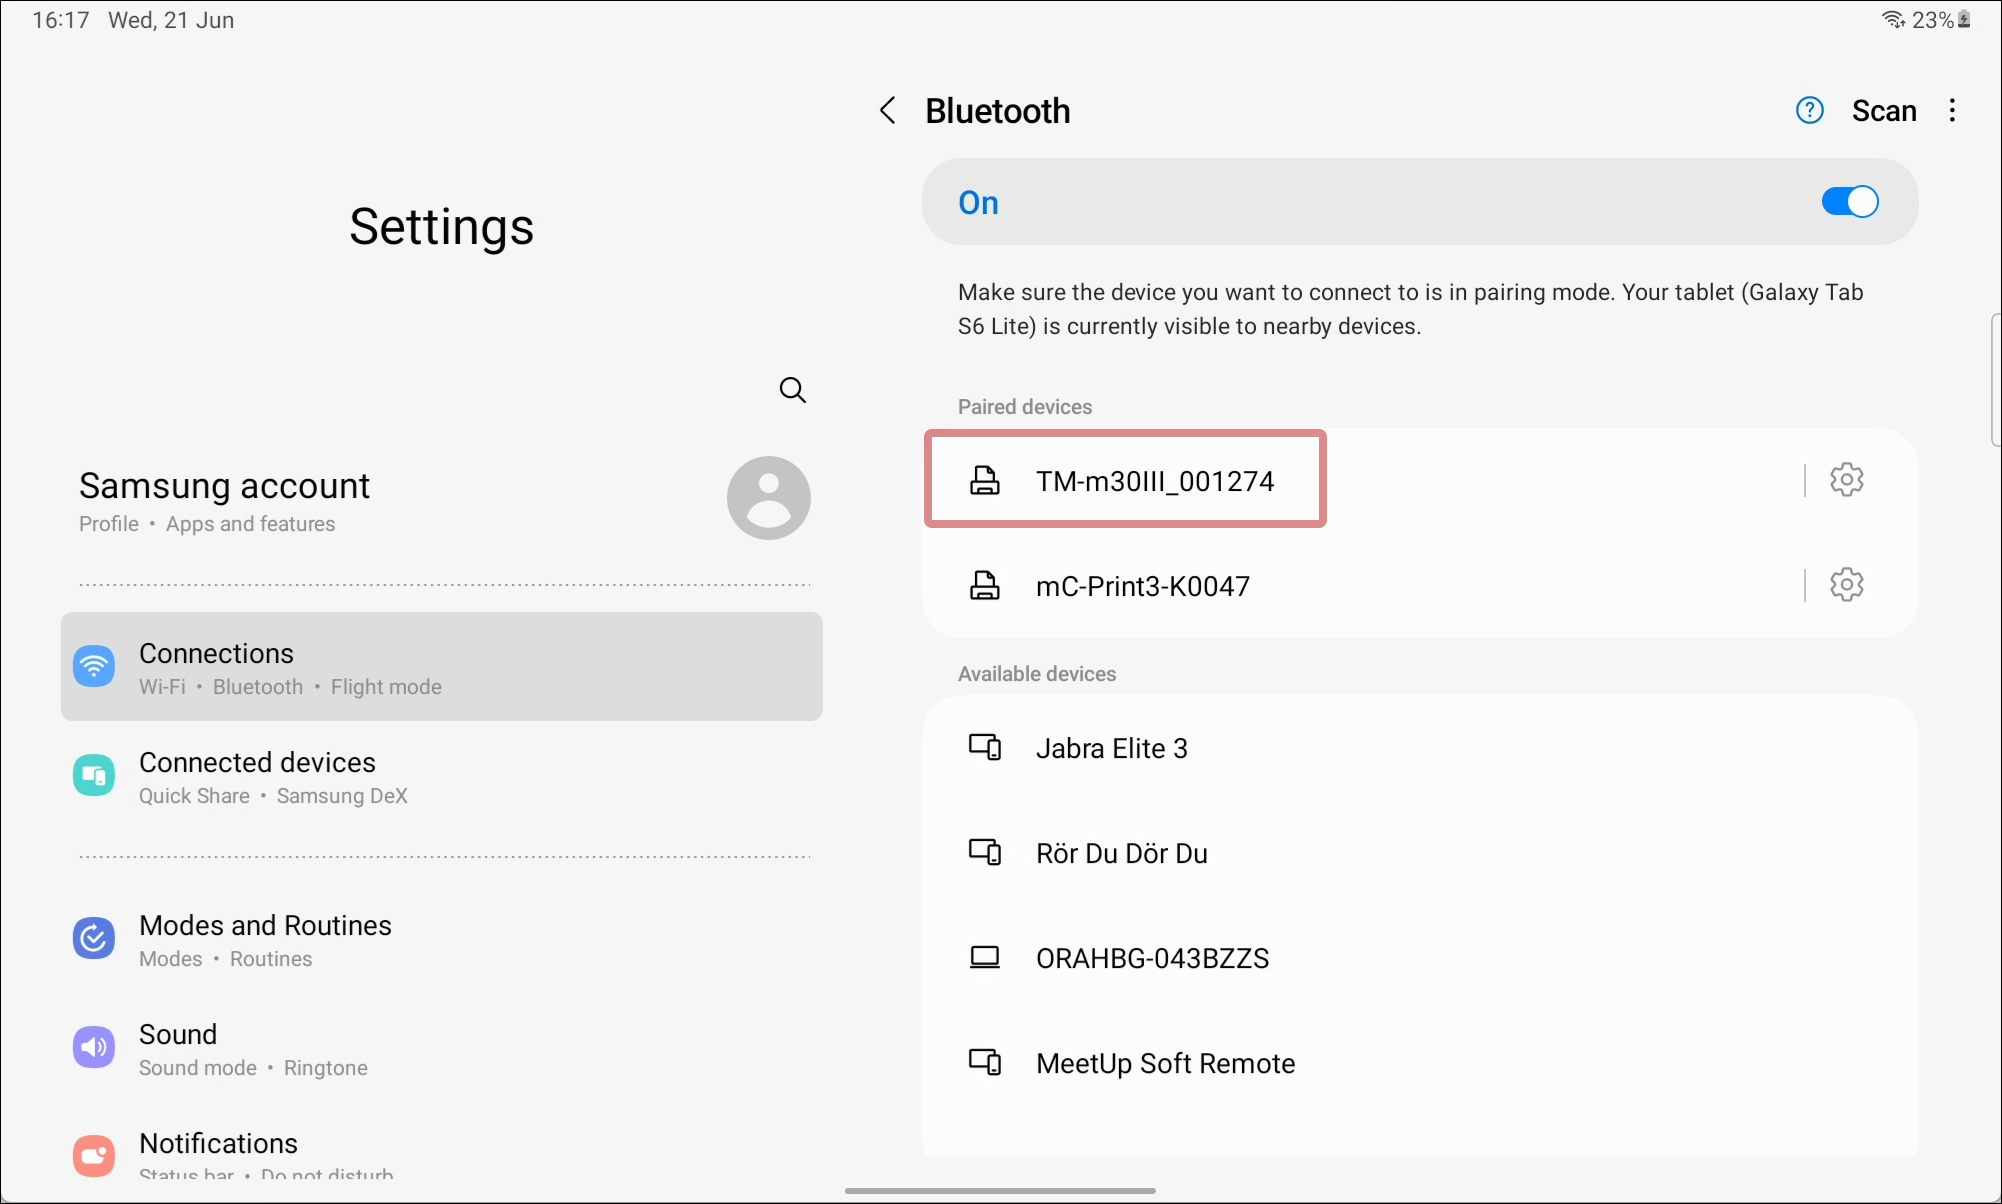
You should now be able to see the Epson printer amongst your paired devices.
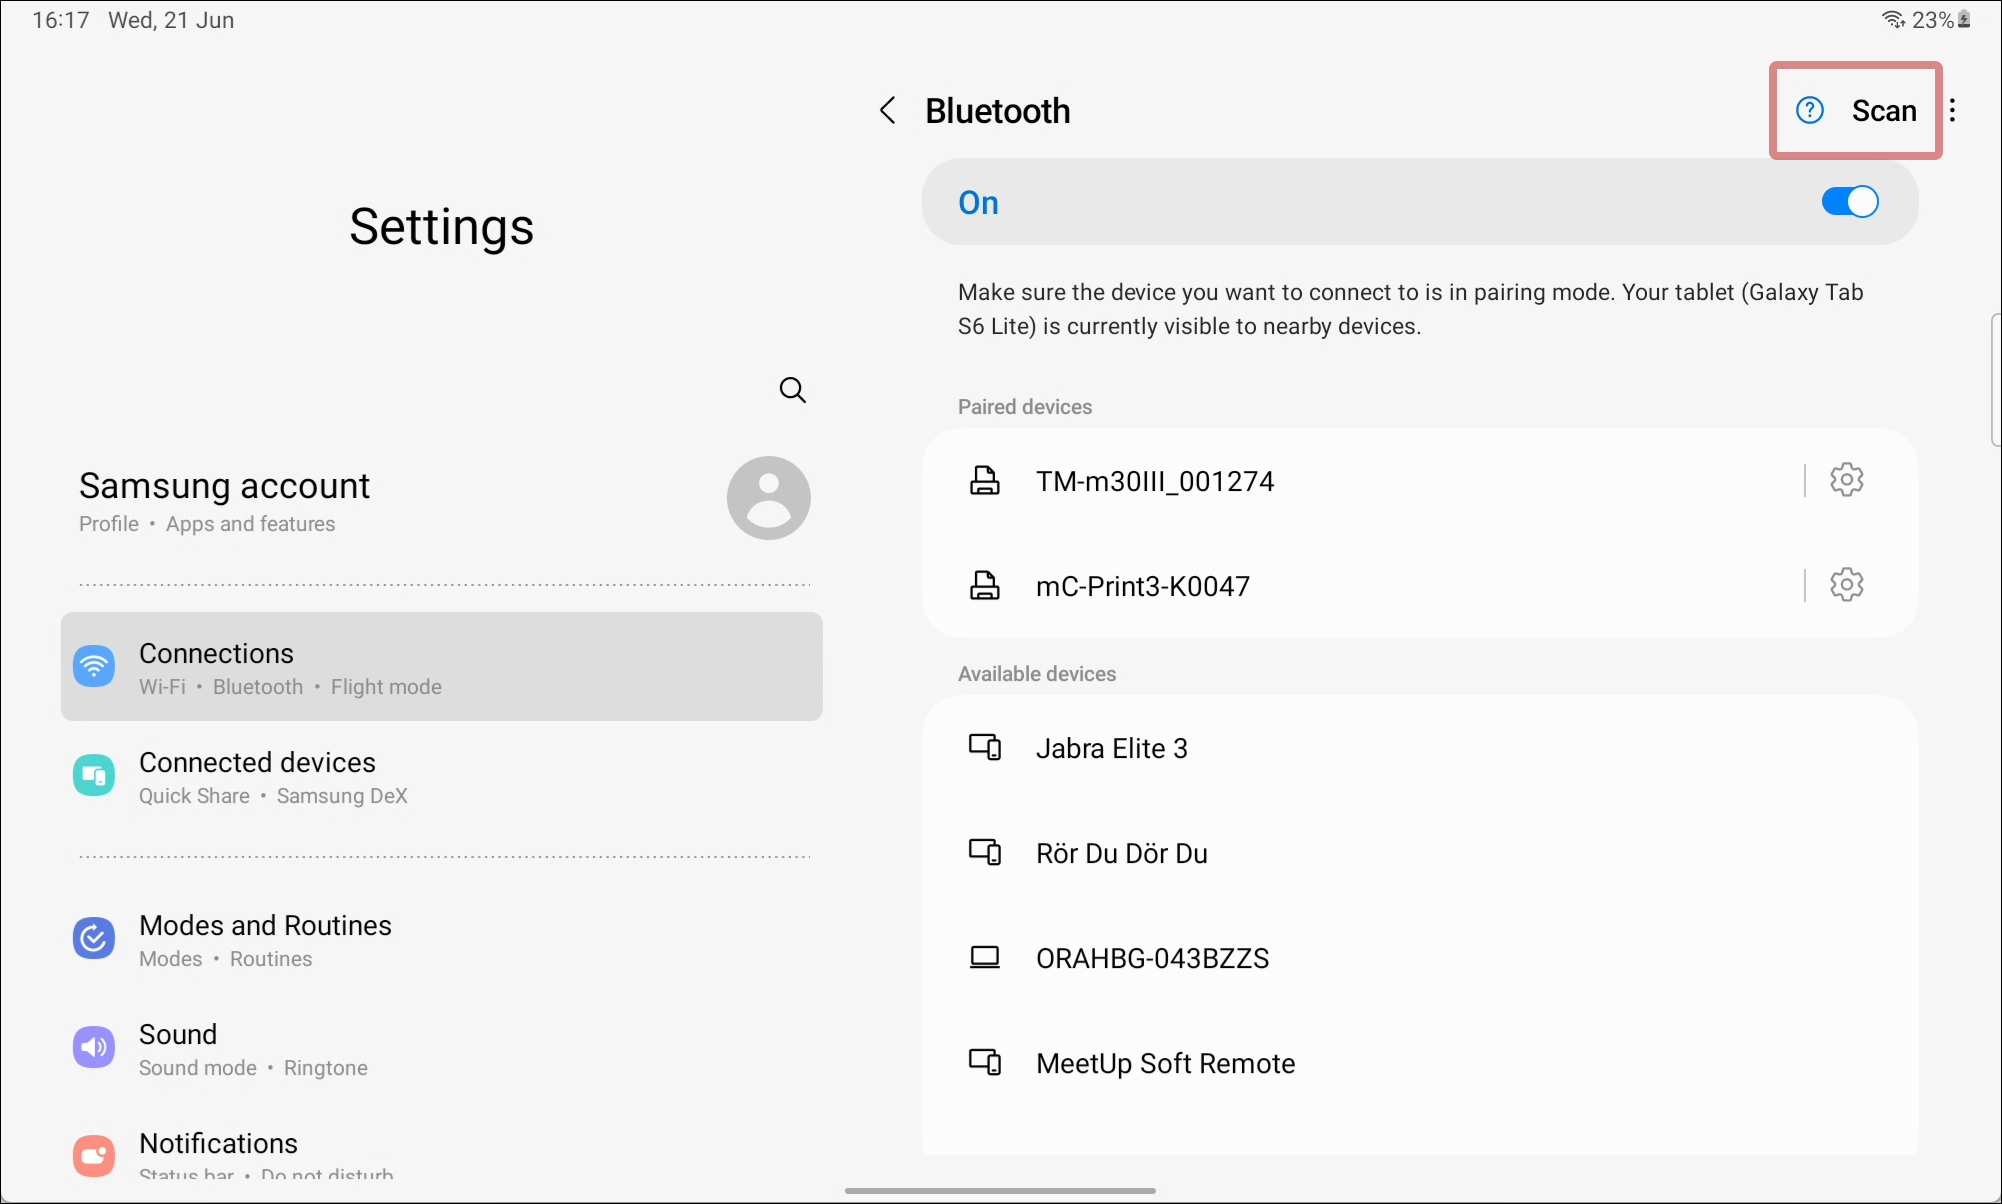
- If you cannot find the printer name amongst the available devices, try to refresh or scan for new devices.
- After approximately one minute the printer will exit the pairing mode. If you haven’t been able to pair with the printer in that time, the best option is to turn off the printer, restart it and try again. Turn the printer off by holding down the power button for a couple of seconds.
Select the printer in the printer settings
Once your smart device is paired with the printer, open the Open TWO app to select the printer in the printer settings.
- In the Open TWO app, open the menu and go to SETTINGS.
- Go to PRINTERS.
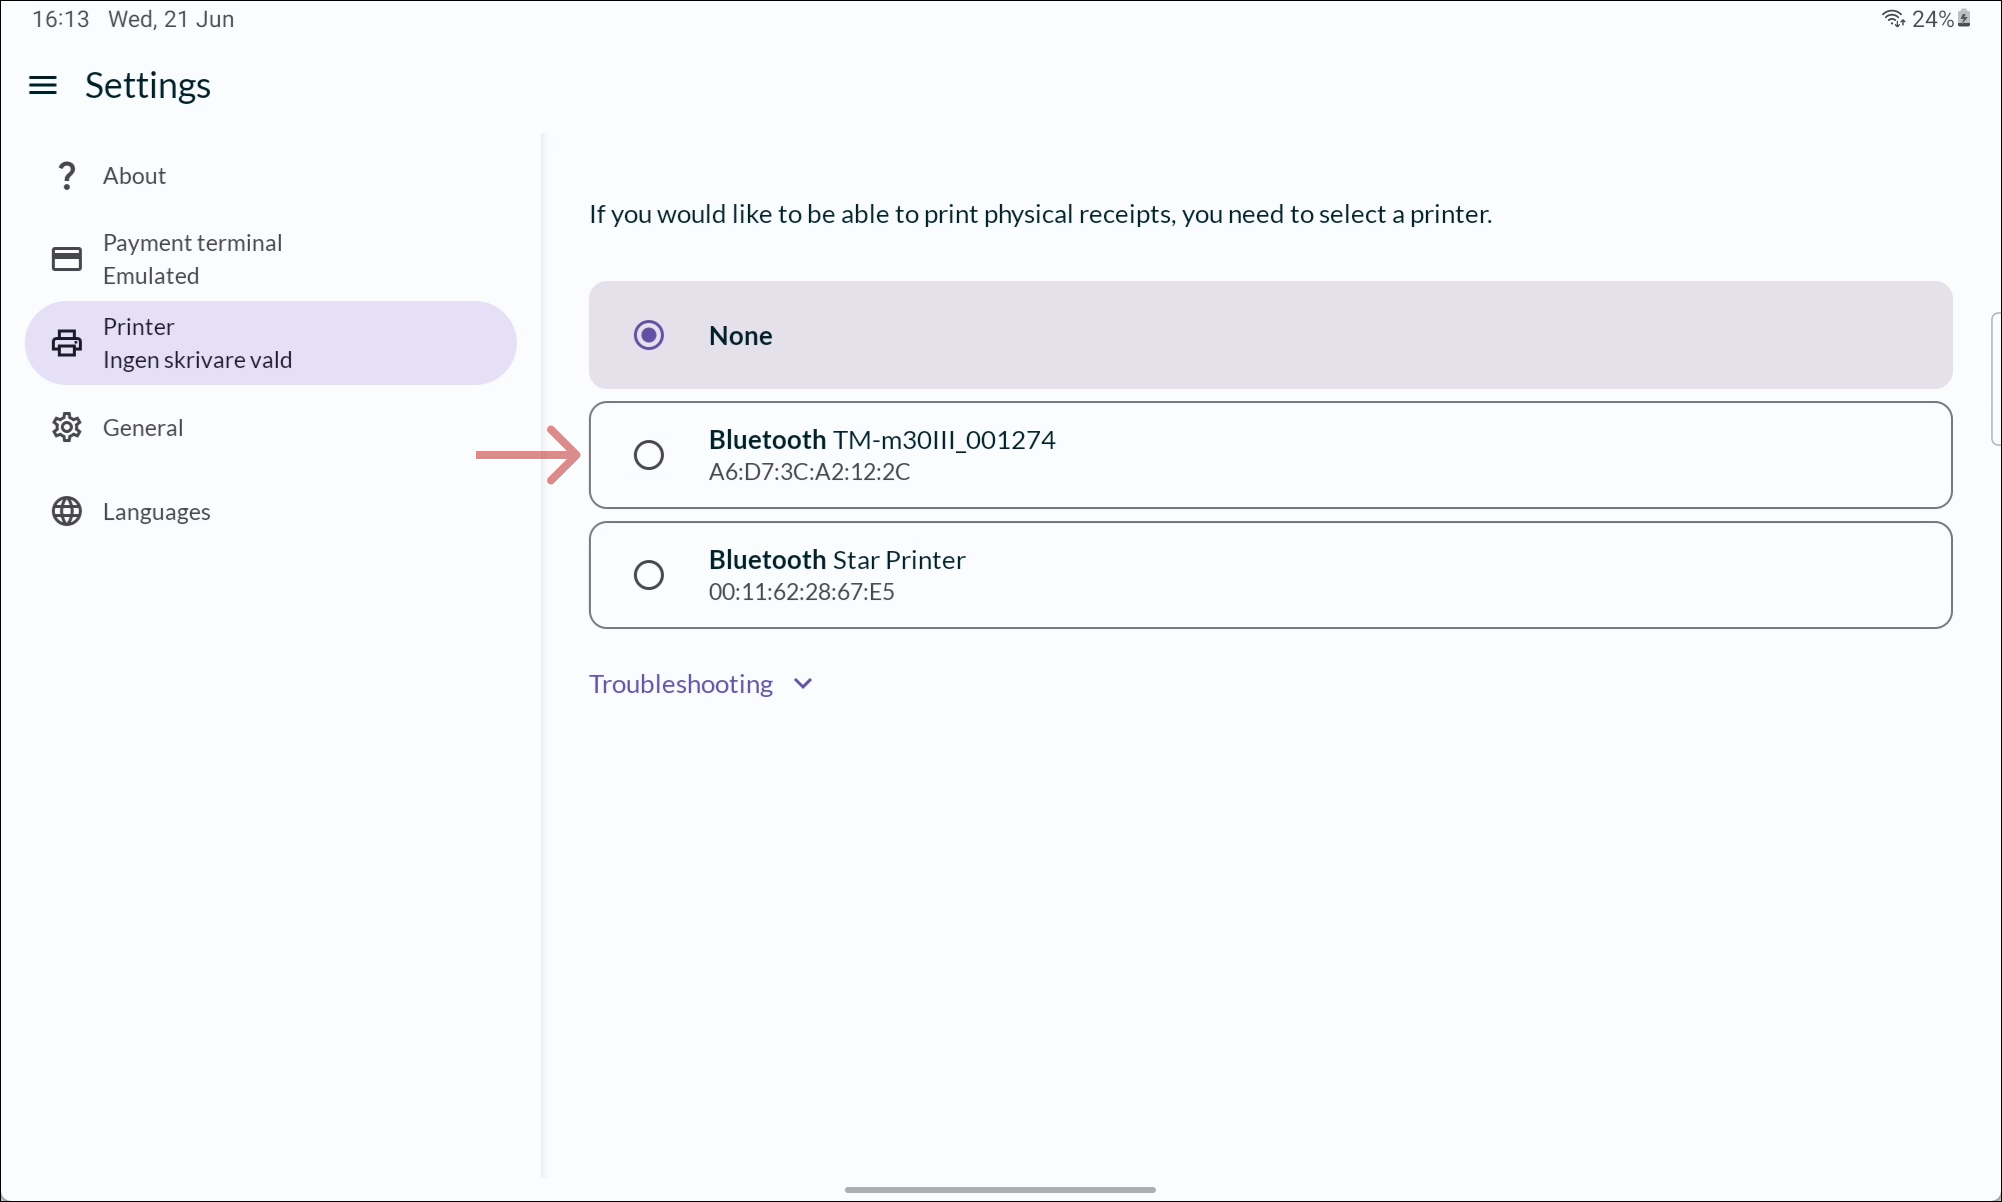
- Select the printer (TM-m30II-H) from the list.
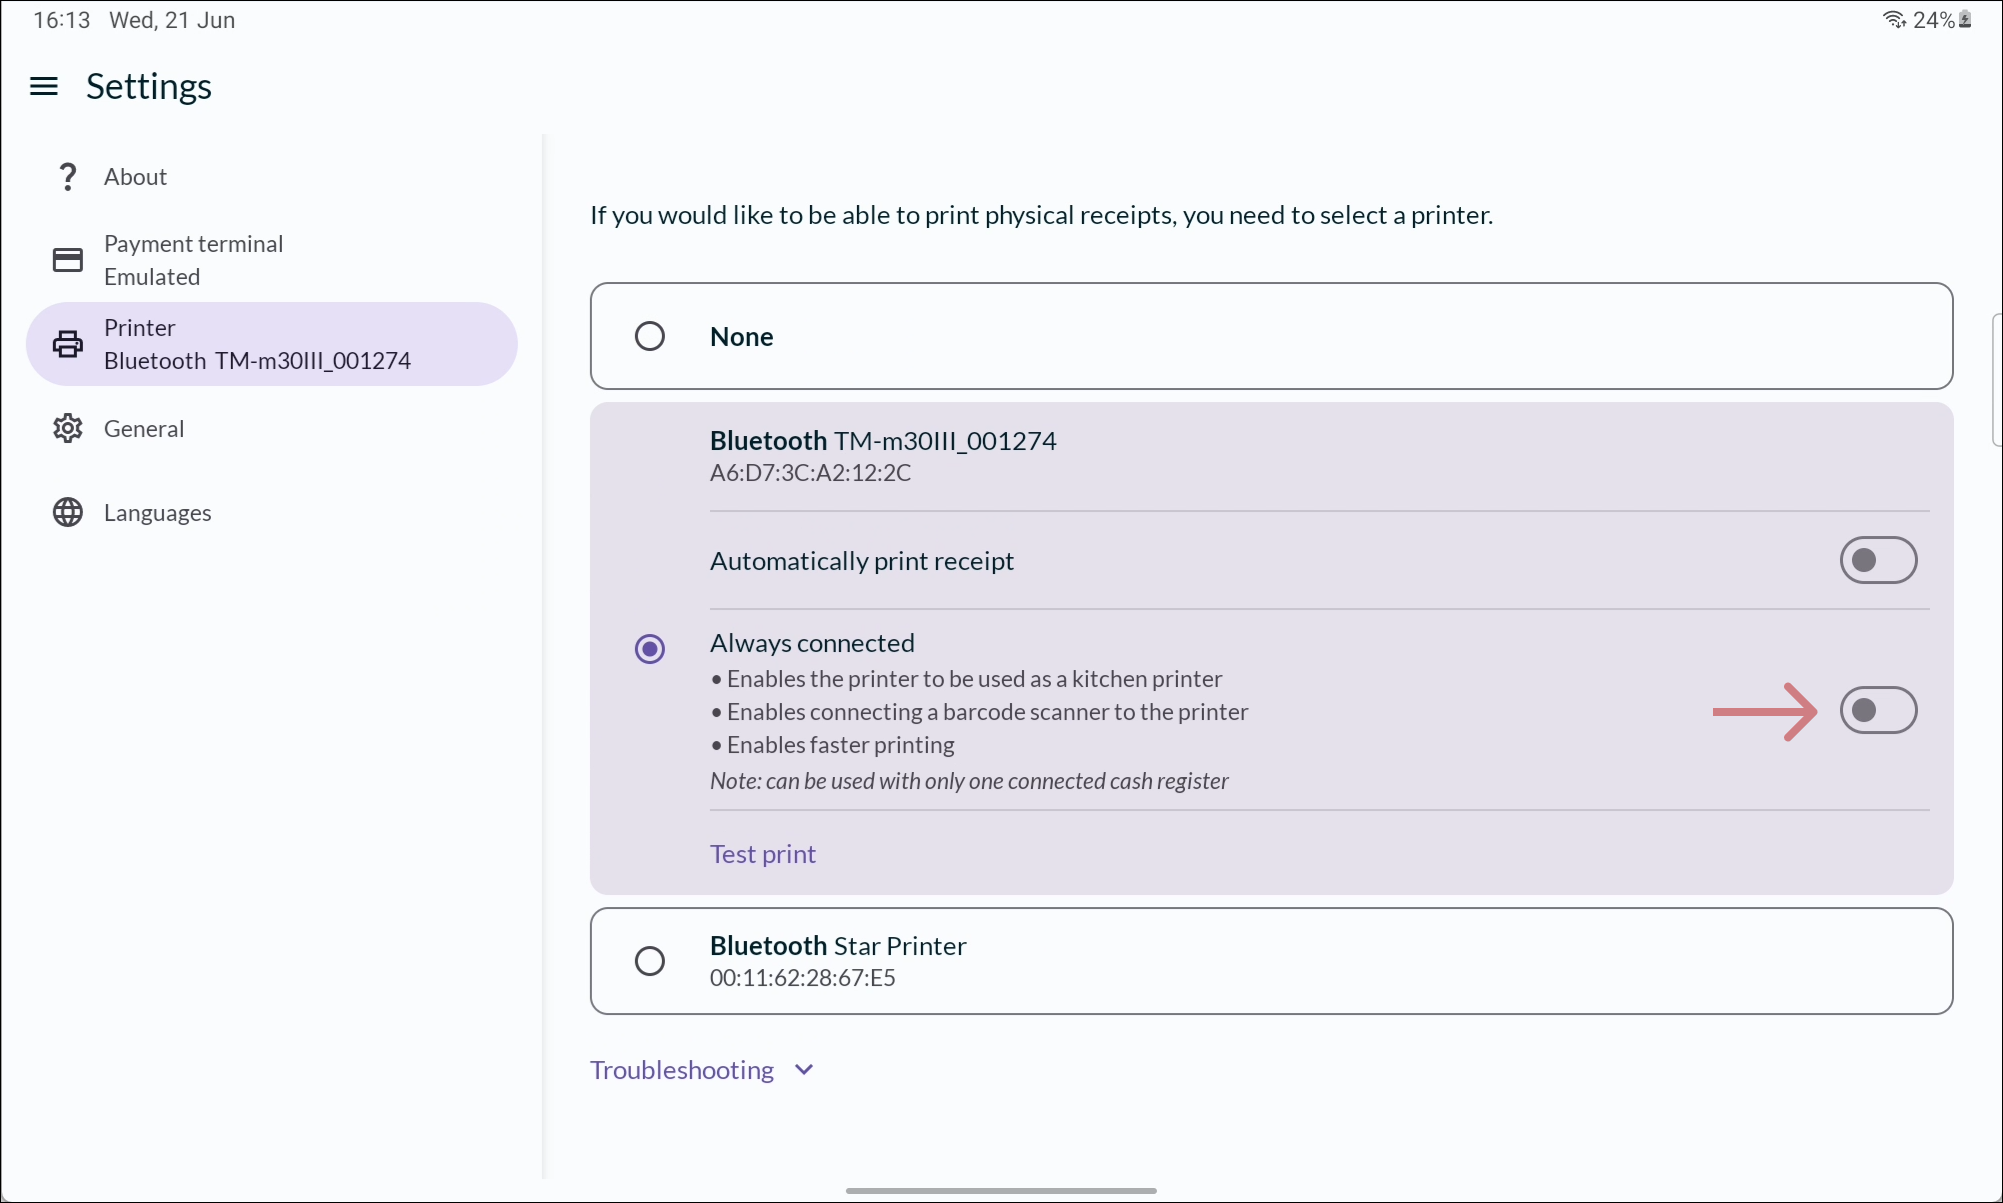
It’s optional to enable Always connected. This feature provides faster printing, but cannot be used if multiple cash registers are to be connected to the printer.
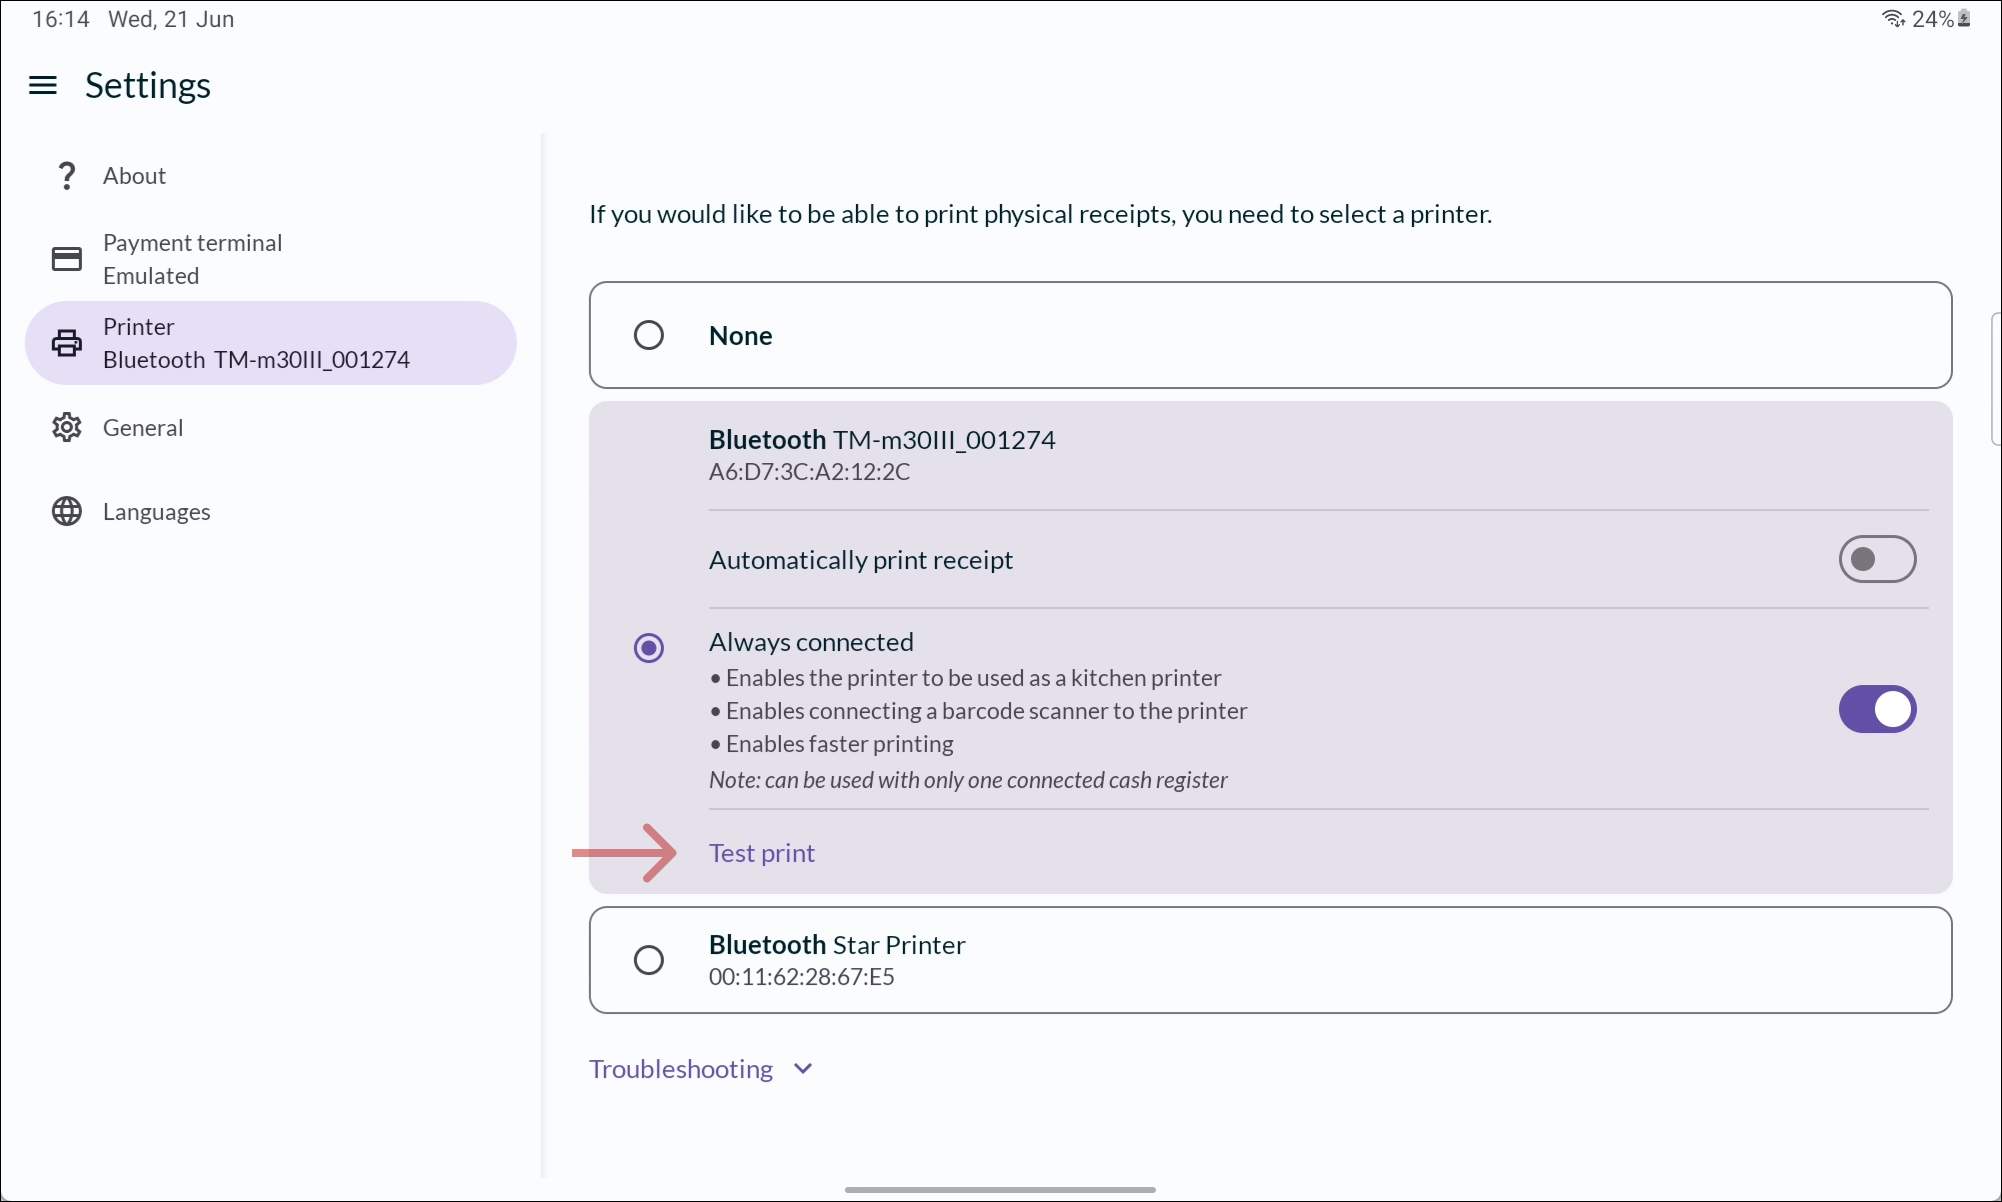
- Once you have selected your printer, you are all set! But to make sure the printer is working properly, you can print a test receipt by pressing TEST PRINT.