Create and manage storages
Once you've set up your cost centers and linked them to the correct cash registers, you can now create and manage your storages. If you haven't set up any cost centers yet, use the guide Preparations for assistance.
Brief on creating a new storage
When creating a new storage, you will go through the following steps:
- Copy articles from an existing storage or start with an empty storage
- Configure settings for the storage. This includes settings related to orders, inventory, and whether the storage should be used as a template for other storages.
- Add/remove articles and configure settings for your articles. This includes details such as packaging quantities and the location of the article within the storage.
Creating the first storage
Now, let's walk through how to create your first storage step by step.
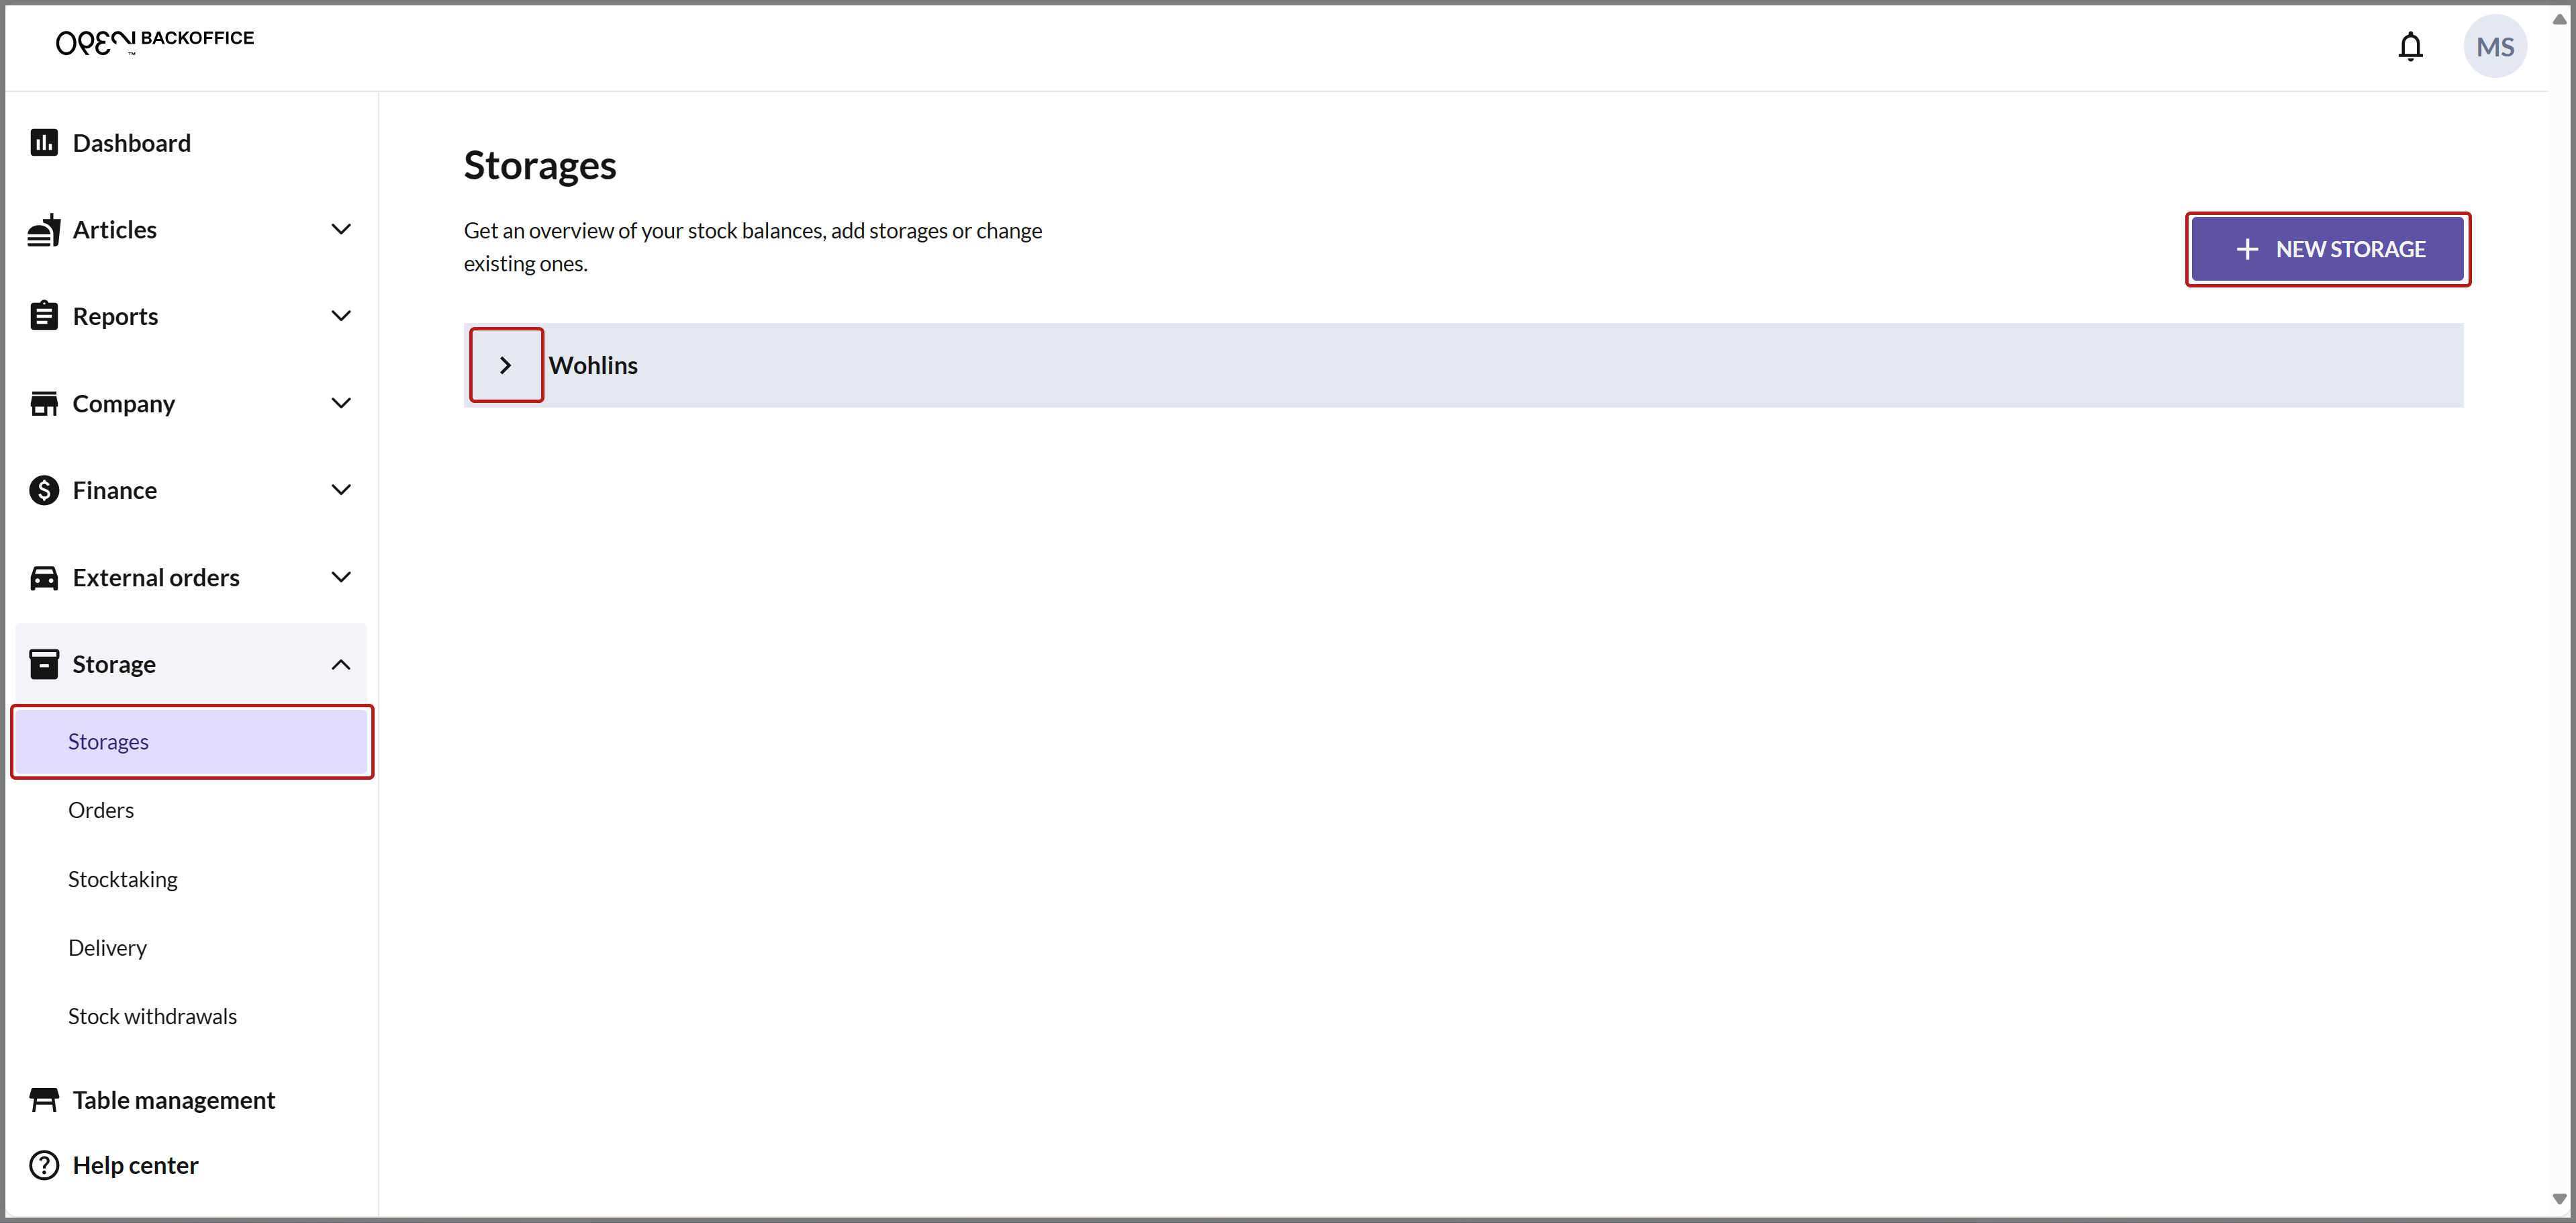
Select STORAGE from the menu and navigate to STORAGES. To create your storage, click on NEW STORAGE.
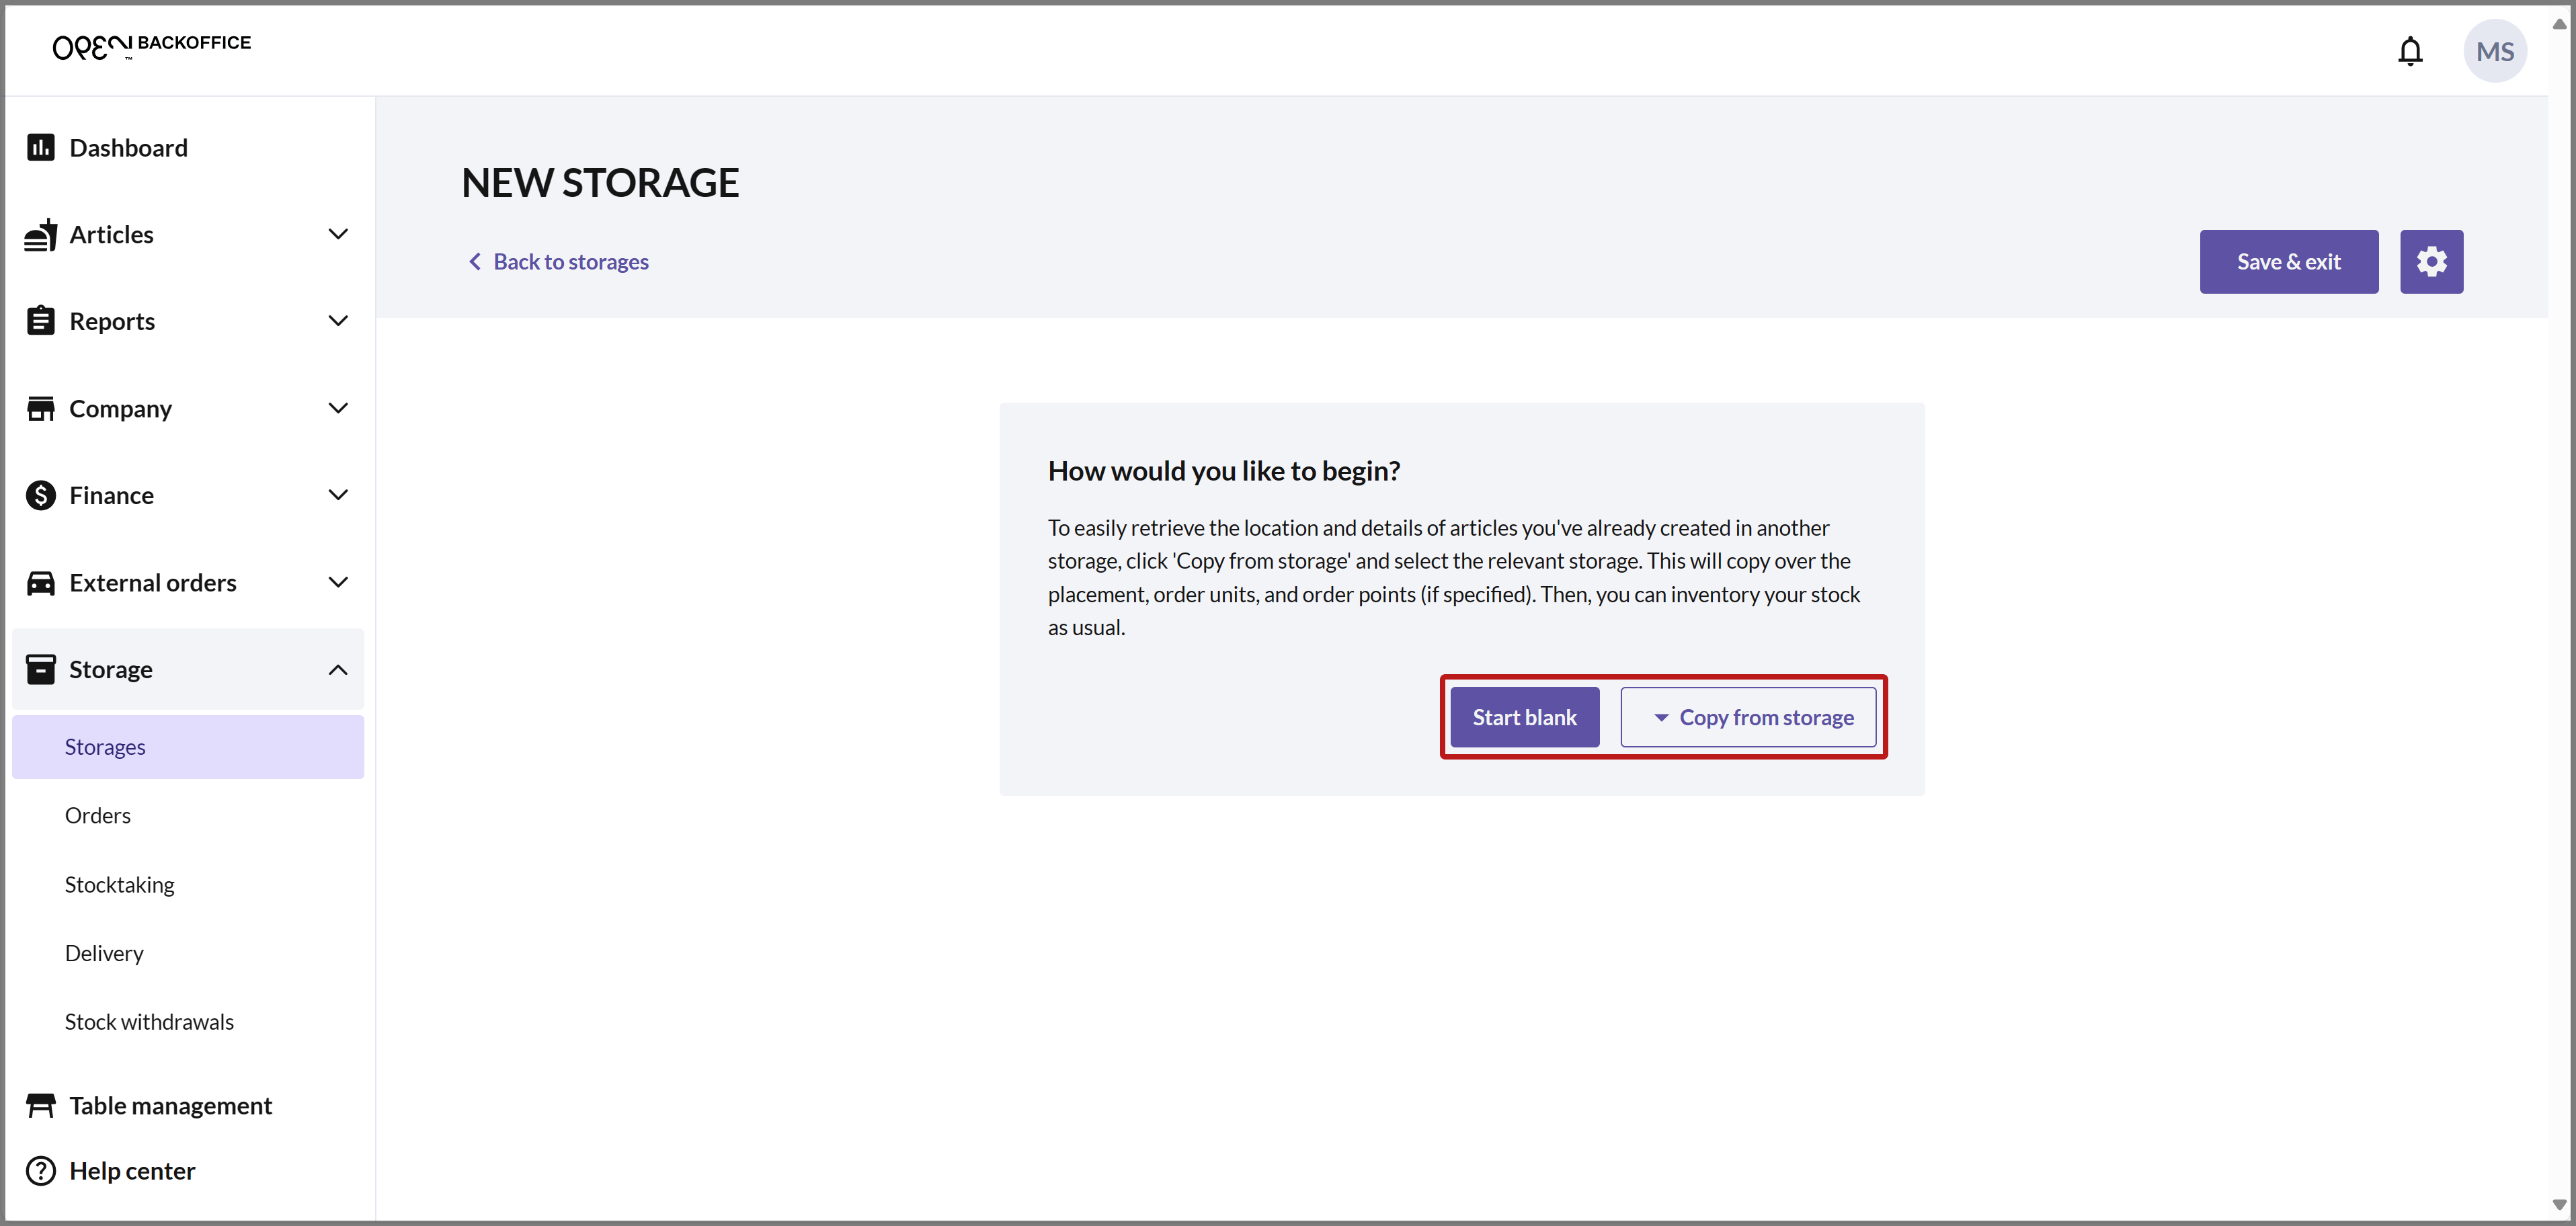
Copy articles from storage or start blank
Now, you can choose how you want to start, either by beginning with a completely empty storage or by copying articles from an existing storage.
Storage settings
Now you need to configure settings for your storage. The "Storage settings" dialog opens automatically, but you can also access it from the gear icon in the top right corner.
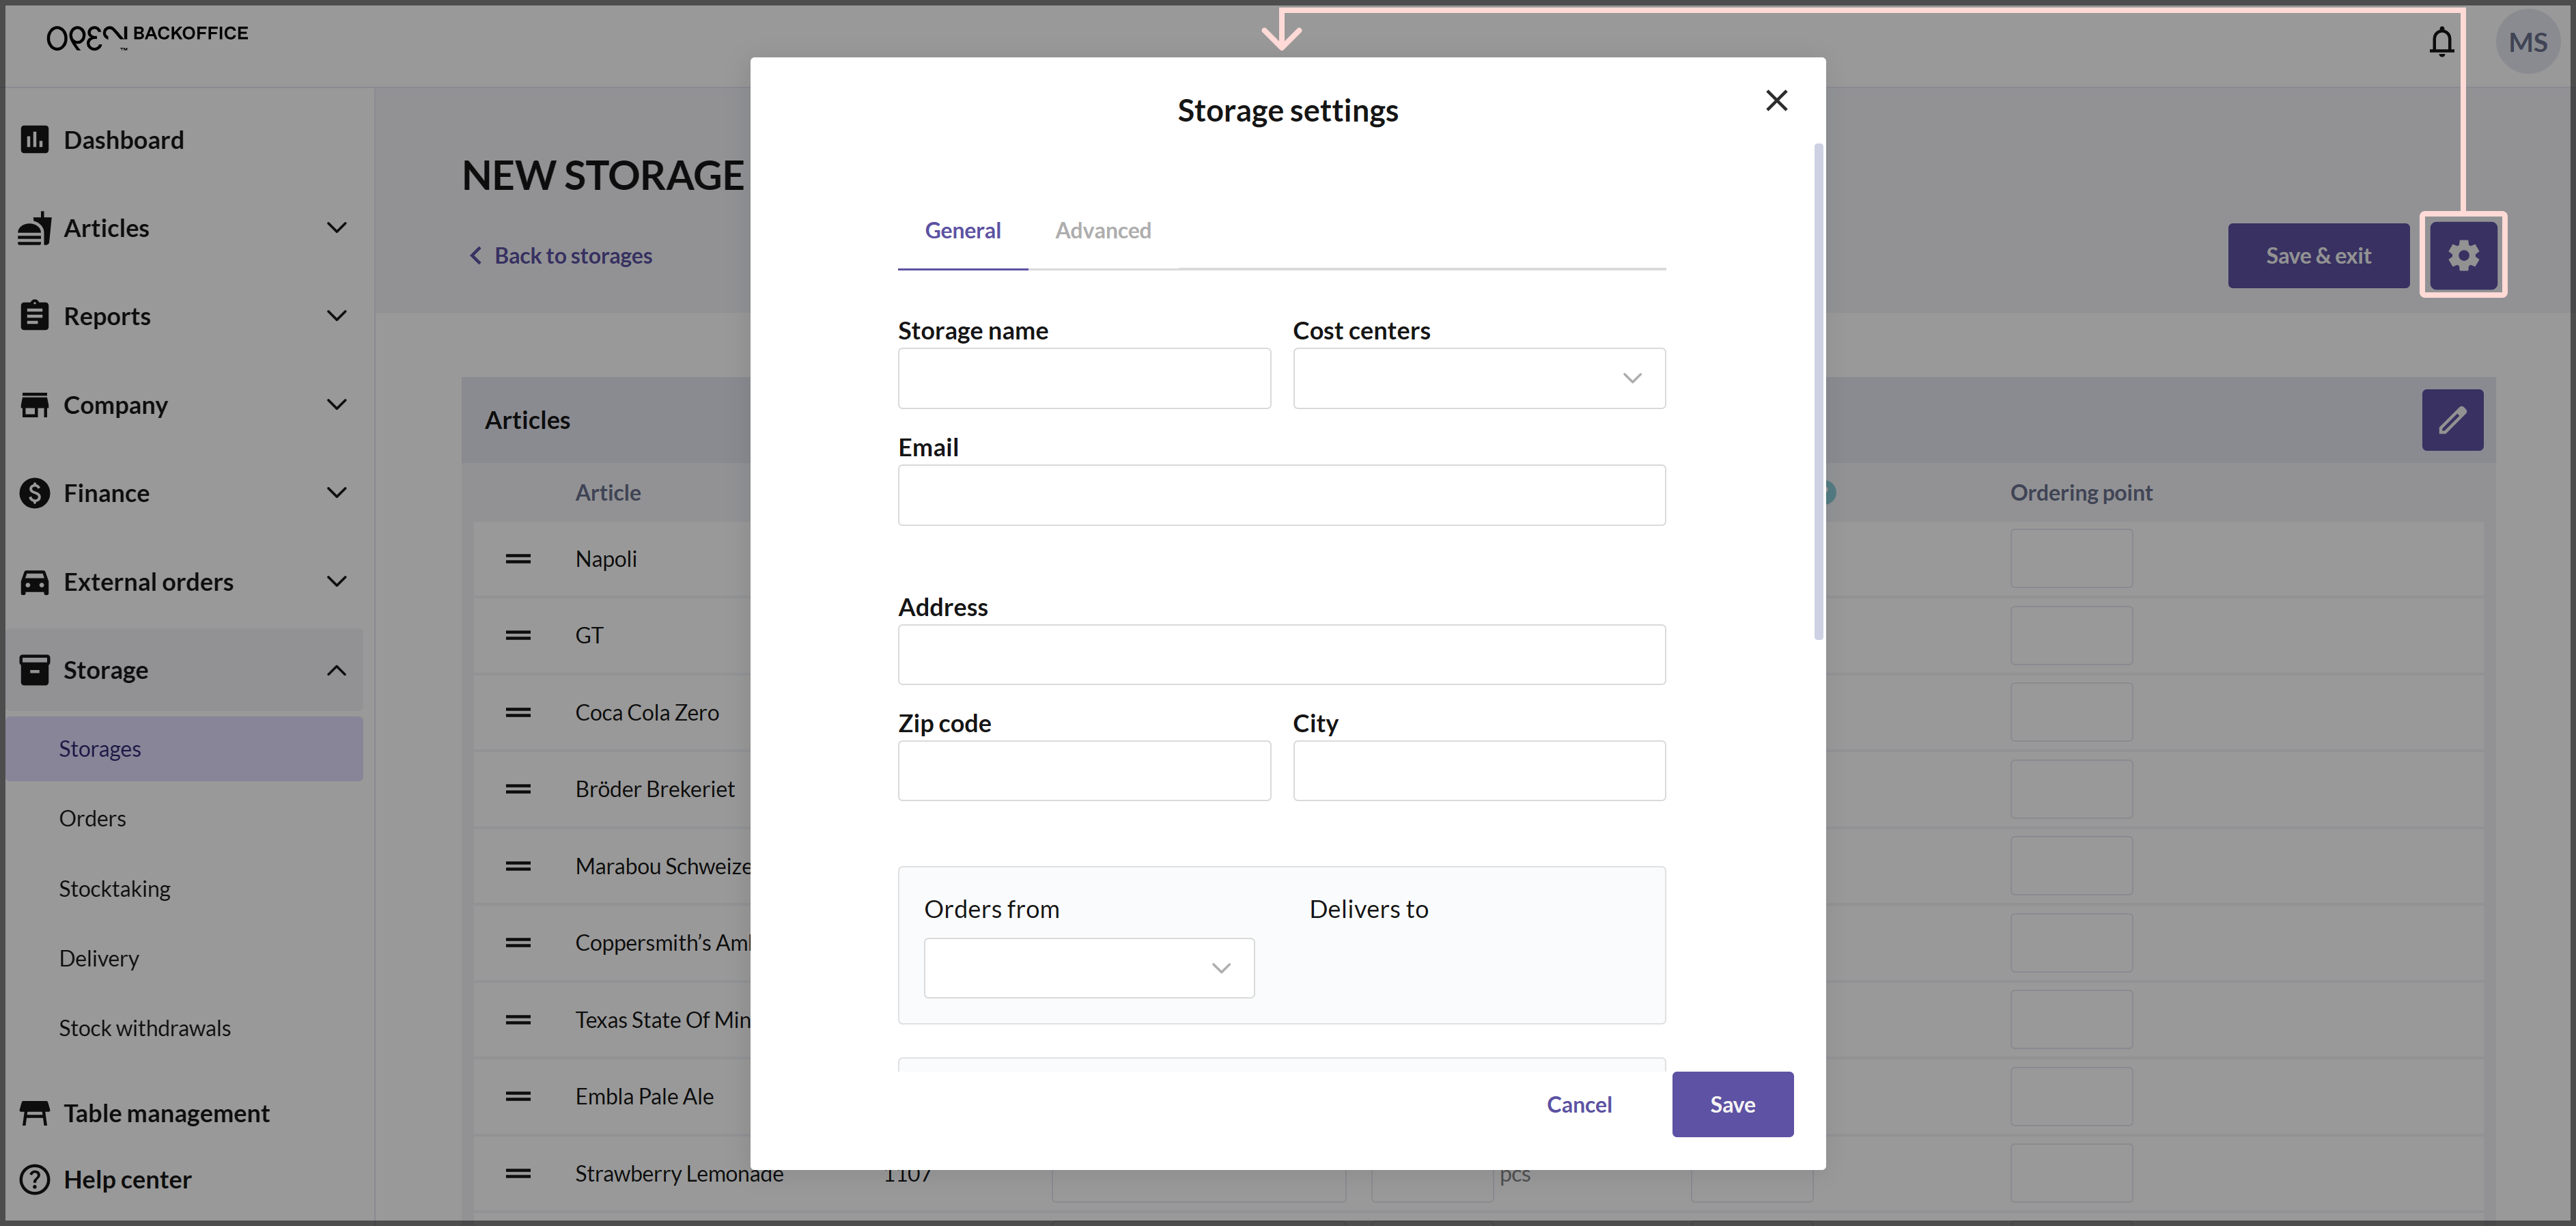
Name & cost center
Start by entering the NAME and selecting one or more COST CENTERS for the storage. If the storage is accessed from a cash register, it needs to have the same cost center as the cash register. Note that you cannot have the same cost center linked to multiple storages.
Email address
You can choose whether to provide an email address for the storage. It's used to send a pick order list when an order is placed for items to be shipped from the current storage.
Address
Filling in an address is optional, and currently, it's not used for anything.
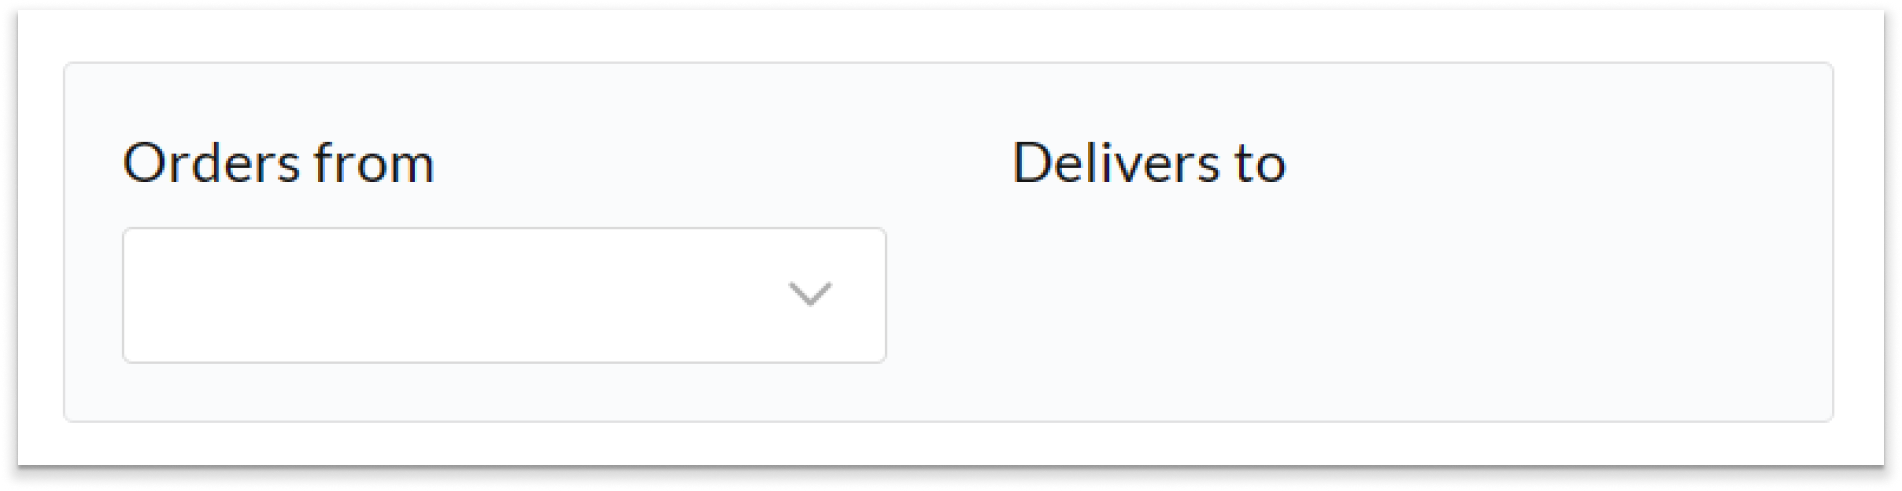
Orders from
Here, you select which storage or storages the current storage will be able to order goods from. If you have an external Ongoing storage, you can already choose this storage from the list. You can revisit this setting later if you're going to create more internal storages.
 NOTE: If the current storage is intended to function as a point of sale (i.e., linked to a cash register), you can only have one supplier, meaning you should choose a maximum of 1 storage to order goods from.
Auto accept orders
By enabling this setting, incoming orders will be automatically accepted. This means you'll save a click when managing the order.
Note that even if you've accepted an order, you still have the opportunity to make changes to it from BackOffice, such as adding or removing articles from the order.
 Example: Imagine that your main storage has enabled the setting to automatically accept orders. When an order is placed from another storage, it becomes immediately available for picking. If the setting isn't enabled, the staff at the main storage must first decide whether they want to accept or reject the order before it can be processed.
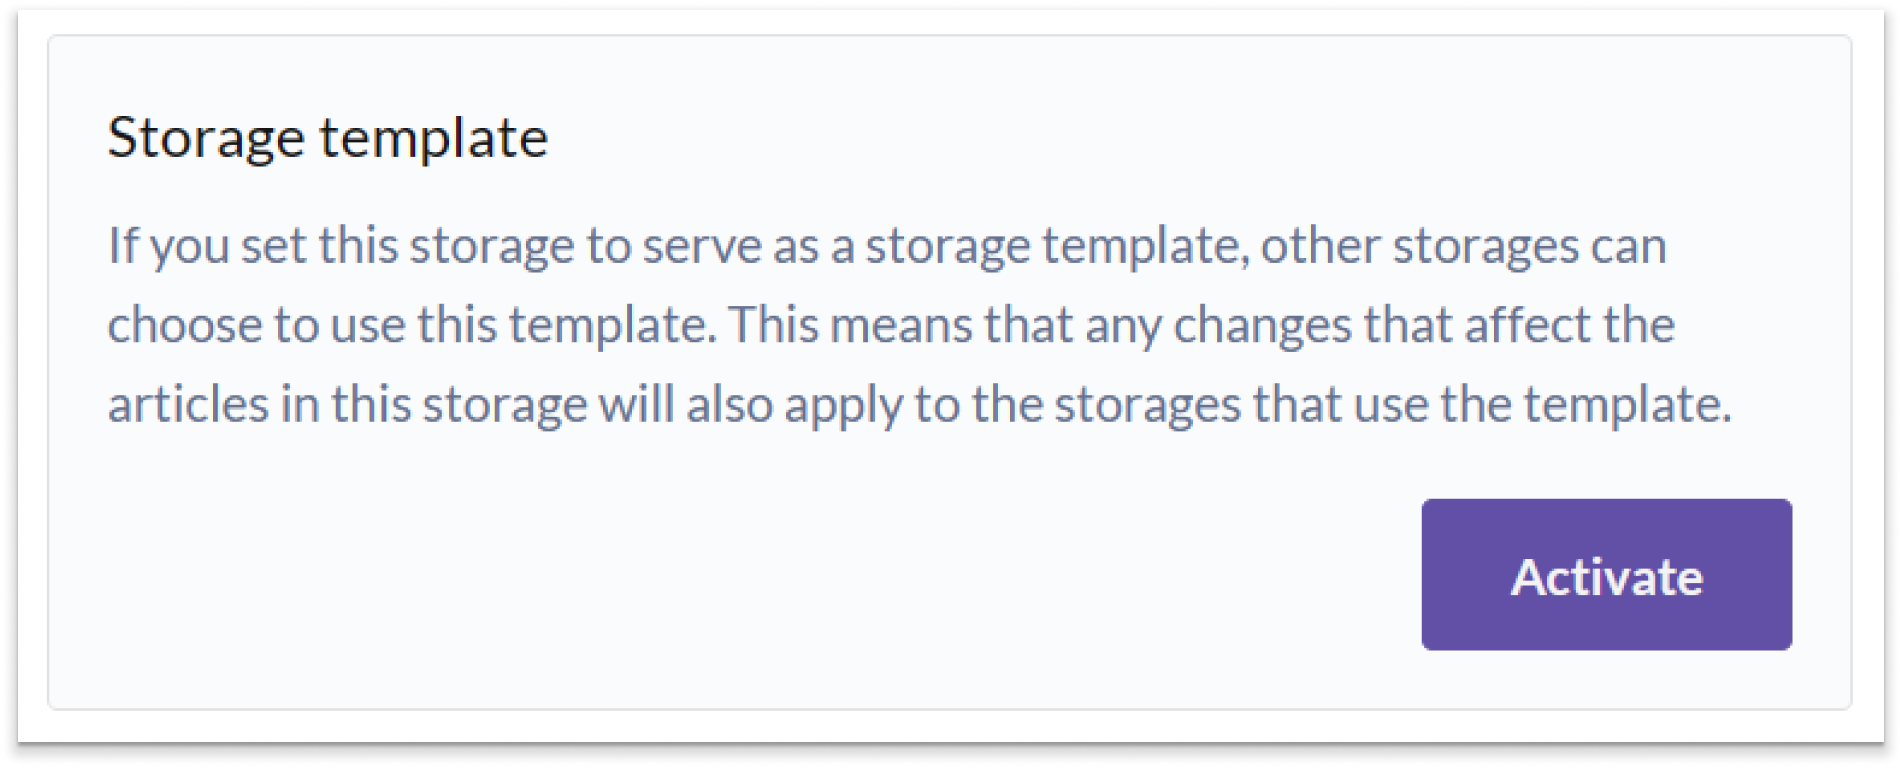
Storage template
If you have multiple storages with the same articles and storage locations (for example, Article 1 is on Shelf 1 in both Storage A and Storage B), you can use a storage template. When you want to add articles to the storage or make other changes that affect the articles, you only need to do it in the storage template.
The storage template includes the following information:
- Which articles are included in the storage
- The article's storage location (e.g. 'Shelf 1')
- The article's target stock level
- The article's ordering point
- The position of the articles in the list
- The article's stock packaging quantity, i.e., the number of articles per stock package
The storage template does not include the inventory balance of the articles or the settings for the storage.
Tip: If you have a main storage and several smaller storages where the target stock level and ordering point differ between the main storage and the smaller storages, you can instead use one of the smaller storages as a template for the others. This way, you'll only need to manage changes for the articles in the main storage and one of the smaller storages in the end.Scheduled inventory
You can set a scheduled (and recurring) inventory day for your storage. This will automatically create an inventory for the entire storage on the chosen day.
Note that this feature is primarily useful if you have a cash register linked to the storage. In that case, you'll receive a notification when you log in to the cash register informing you that there is an inventory to be conducted.
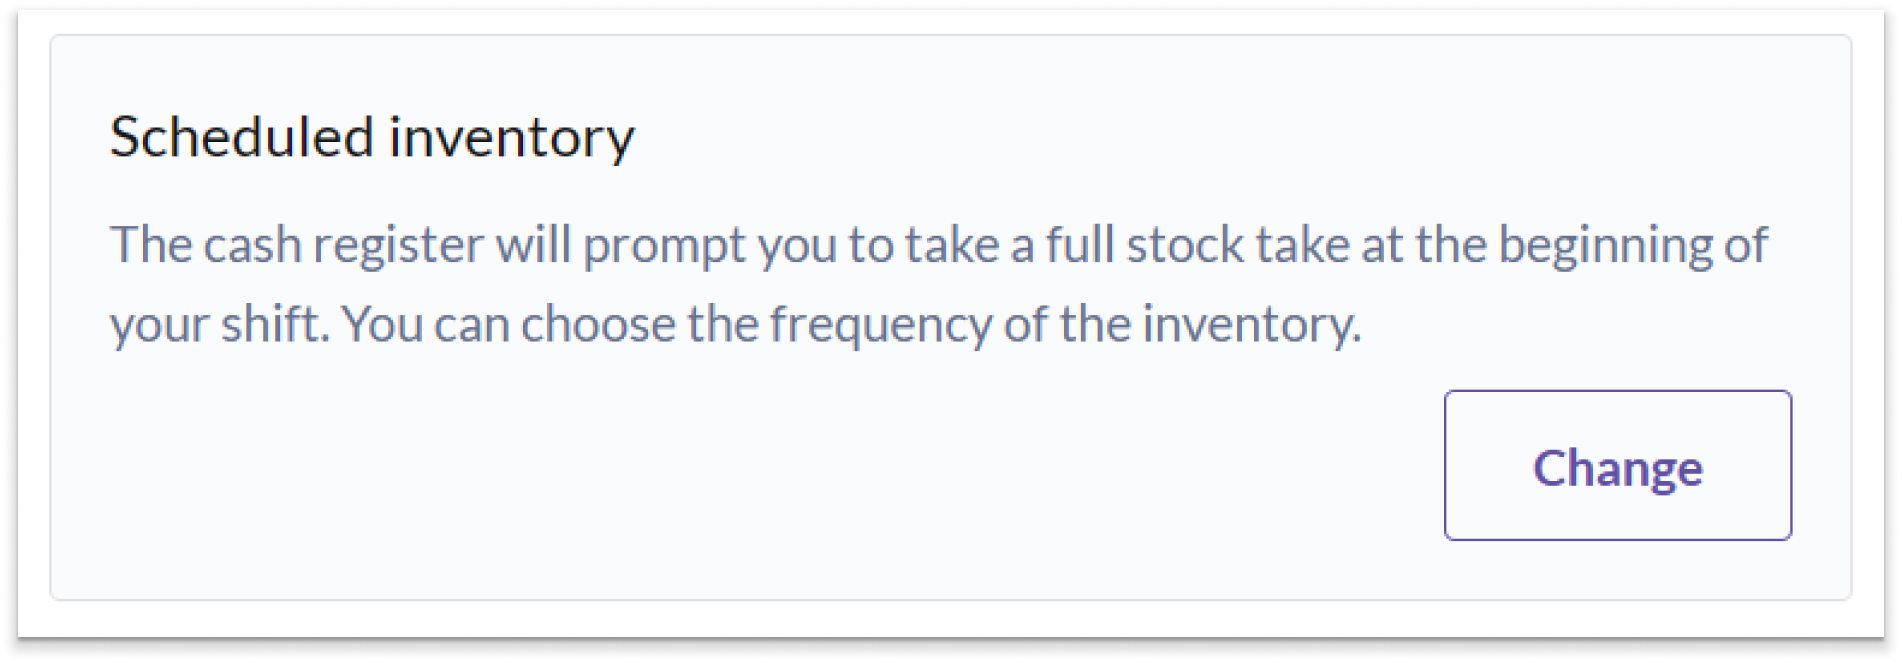
In the "Scheduled Inventory" card, press EDIT to open a new dialog. Choose the interval for the scheduled inventory and specify a time for when the inventory should appear. Press SAVE when you're done.
NOTE: Currently, the specific time setting is not implemented. This means that a scheduled inventory will appear immediately upon the first login to the cash register after the previous day's closing.Save the settings
When you're satisfied with the settings for your storage, press SAVE.
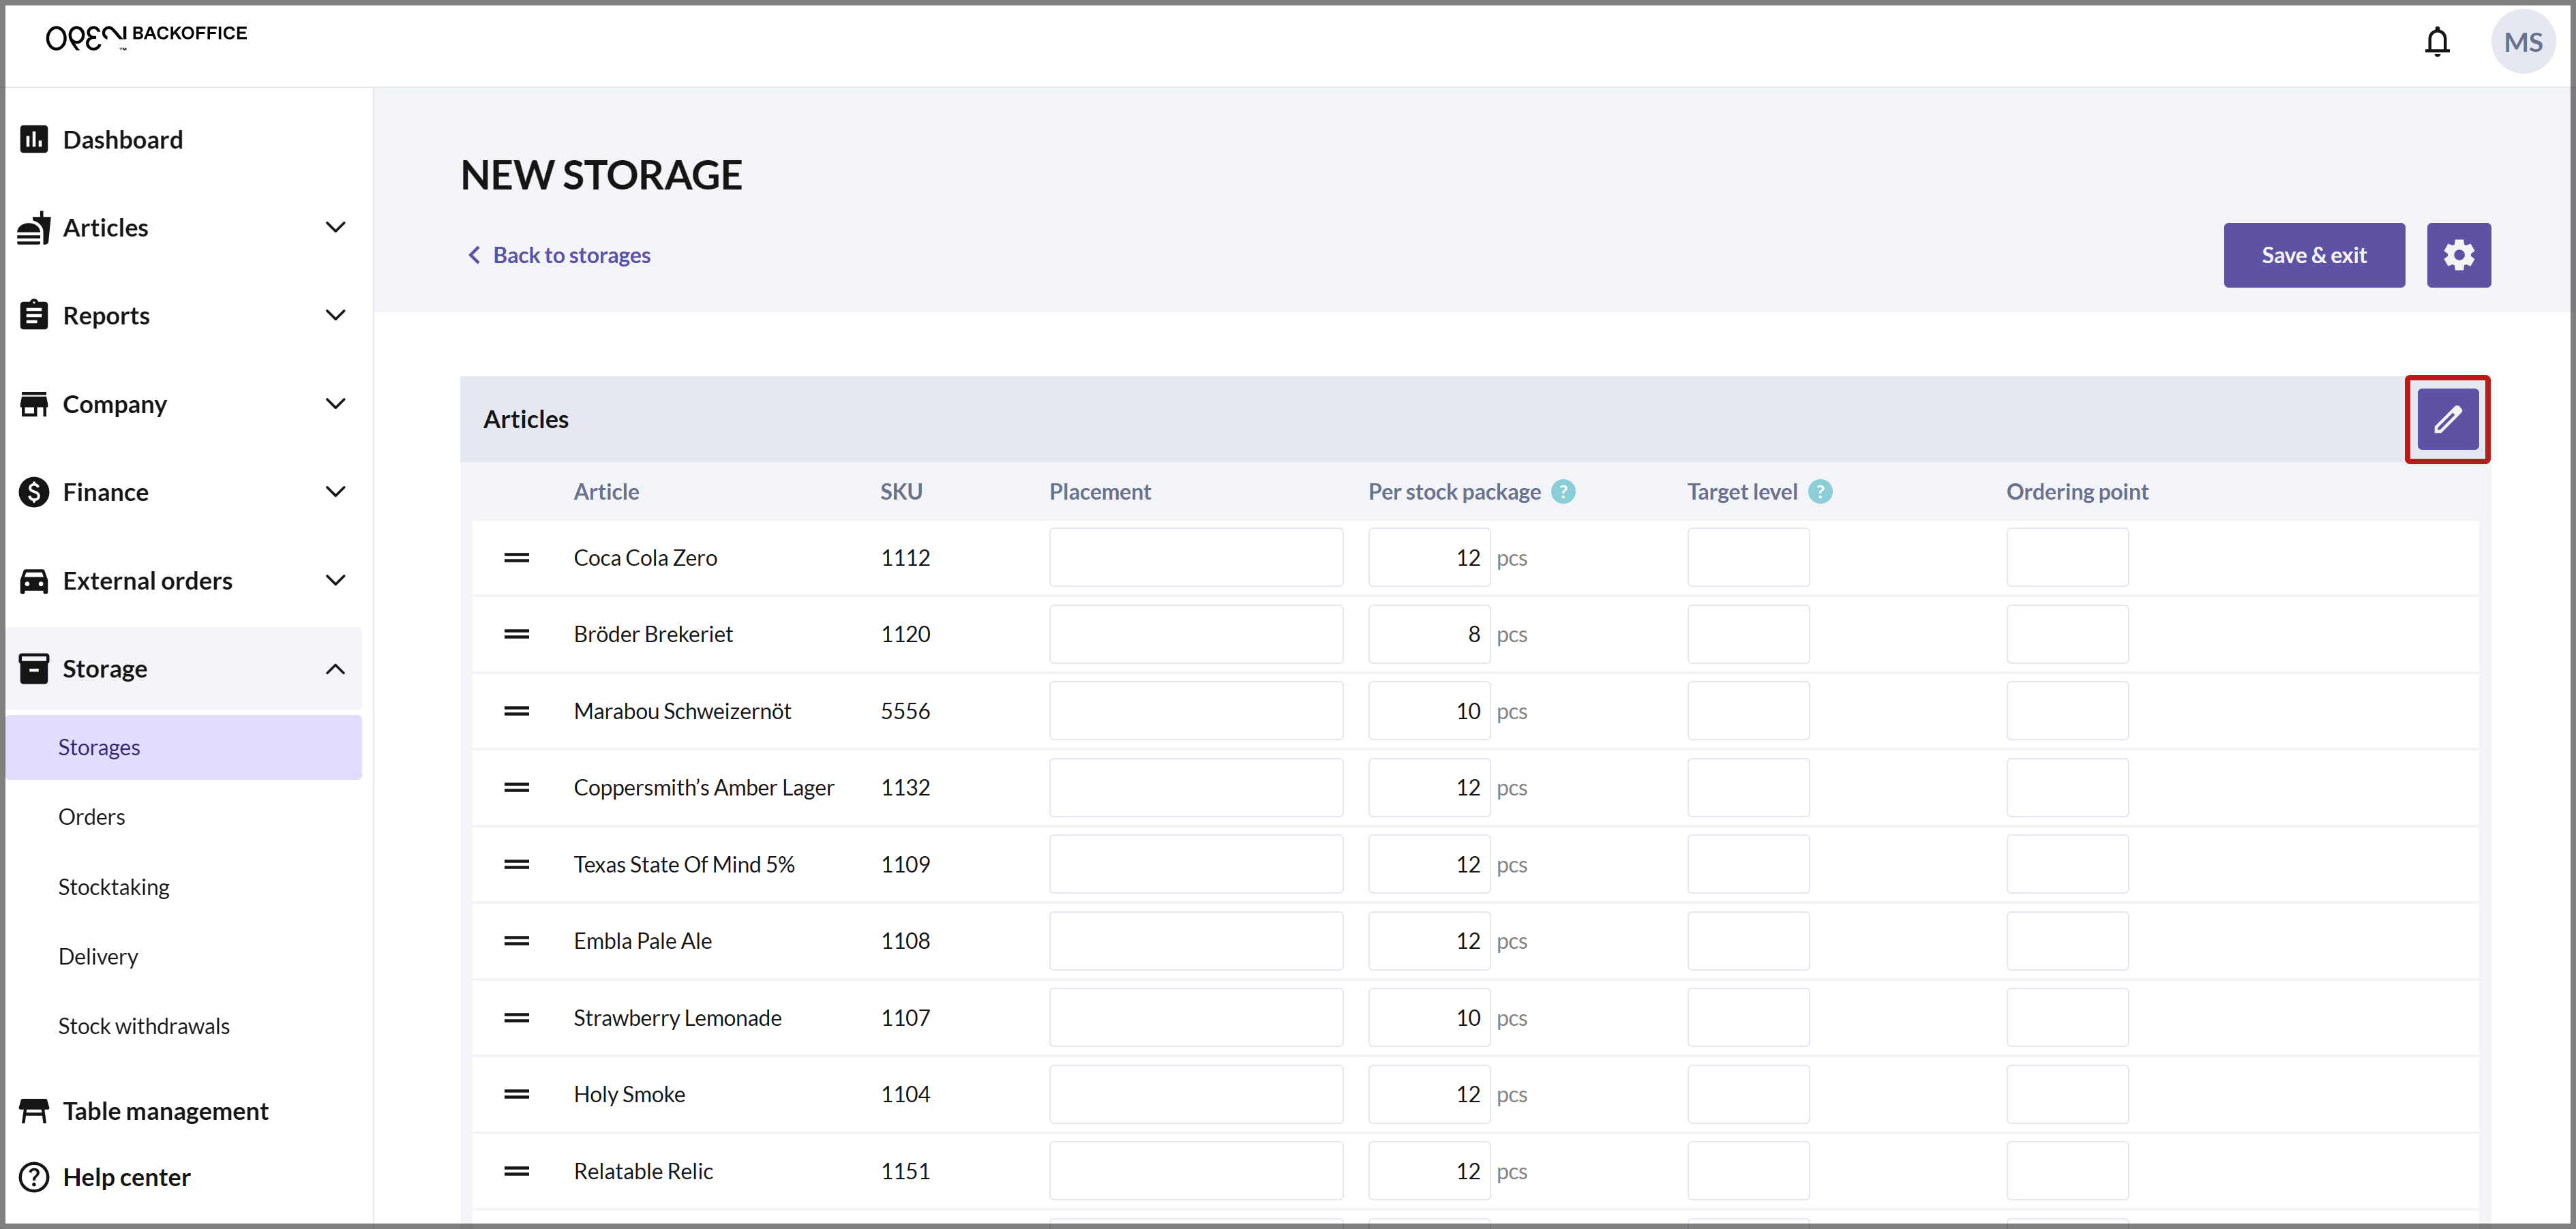
If you've chosen to copy the articles from your external Ongoing storage, they have been automatically imported along with information about how many articles are in each stock package (see the "Per stock package" column). Note that only the articles with the same SKU in your external Ongoing storage as in your article structure in BackOffice will be imported.
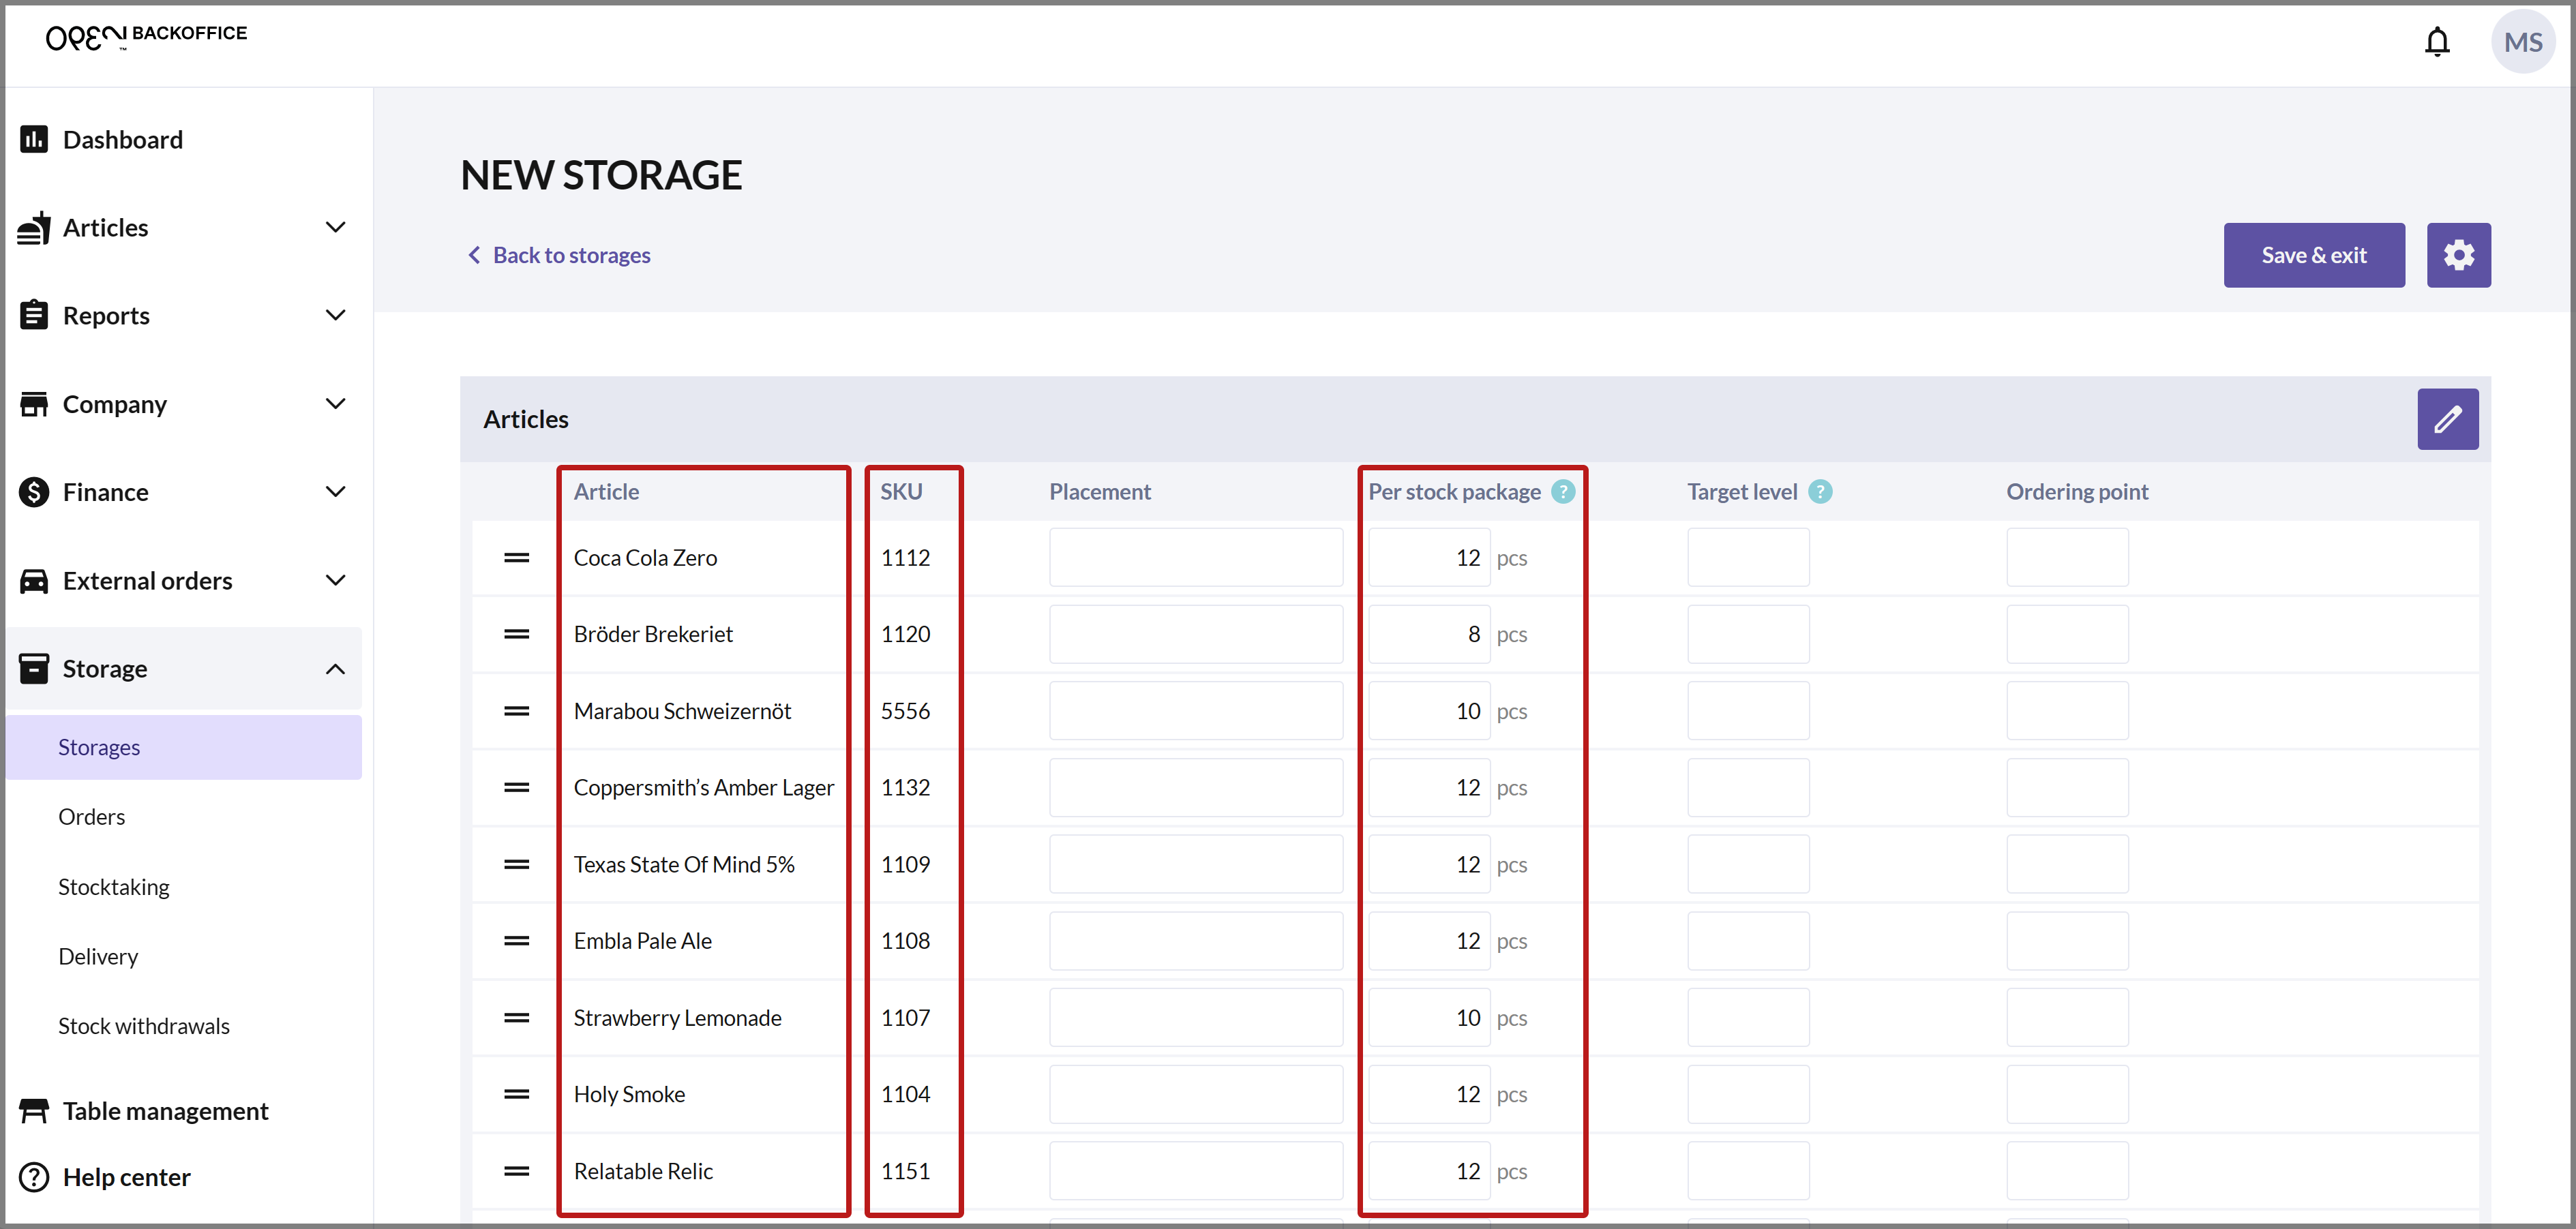
If you don't have an external Ongoing storage, or you haven't chosen to copy the articles, you can add them by clicking on the PEN ICON in the top right corner.