Setting up campaigns in BackOffice
You can easily set up campaigns that contains discount rules in BackOffice.
Each campaign:
- includes a name, validity period and other basic settings
- can apply to the entire company, specific sub-companies or selected cost centers
- can contain one or more discount rules
Remember: it's the discount rules inside a campaign that actually trigger discounts at the cash register.
For large retail customers
For larger organizations, it's often more efficiten if HQ creates a campaign for each sub-company. This way, HQ can define central discount rules, while each sub-company can still add it's own local discount rules when needed.
How to create a campaign using the guide
Sign in to BackOffice.
Go to Loyalty > Discount campaign wizard.
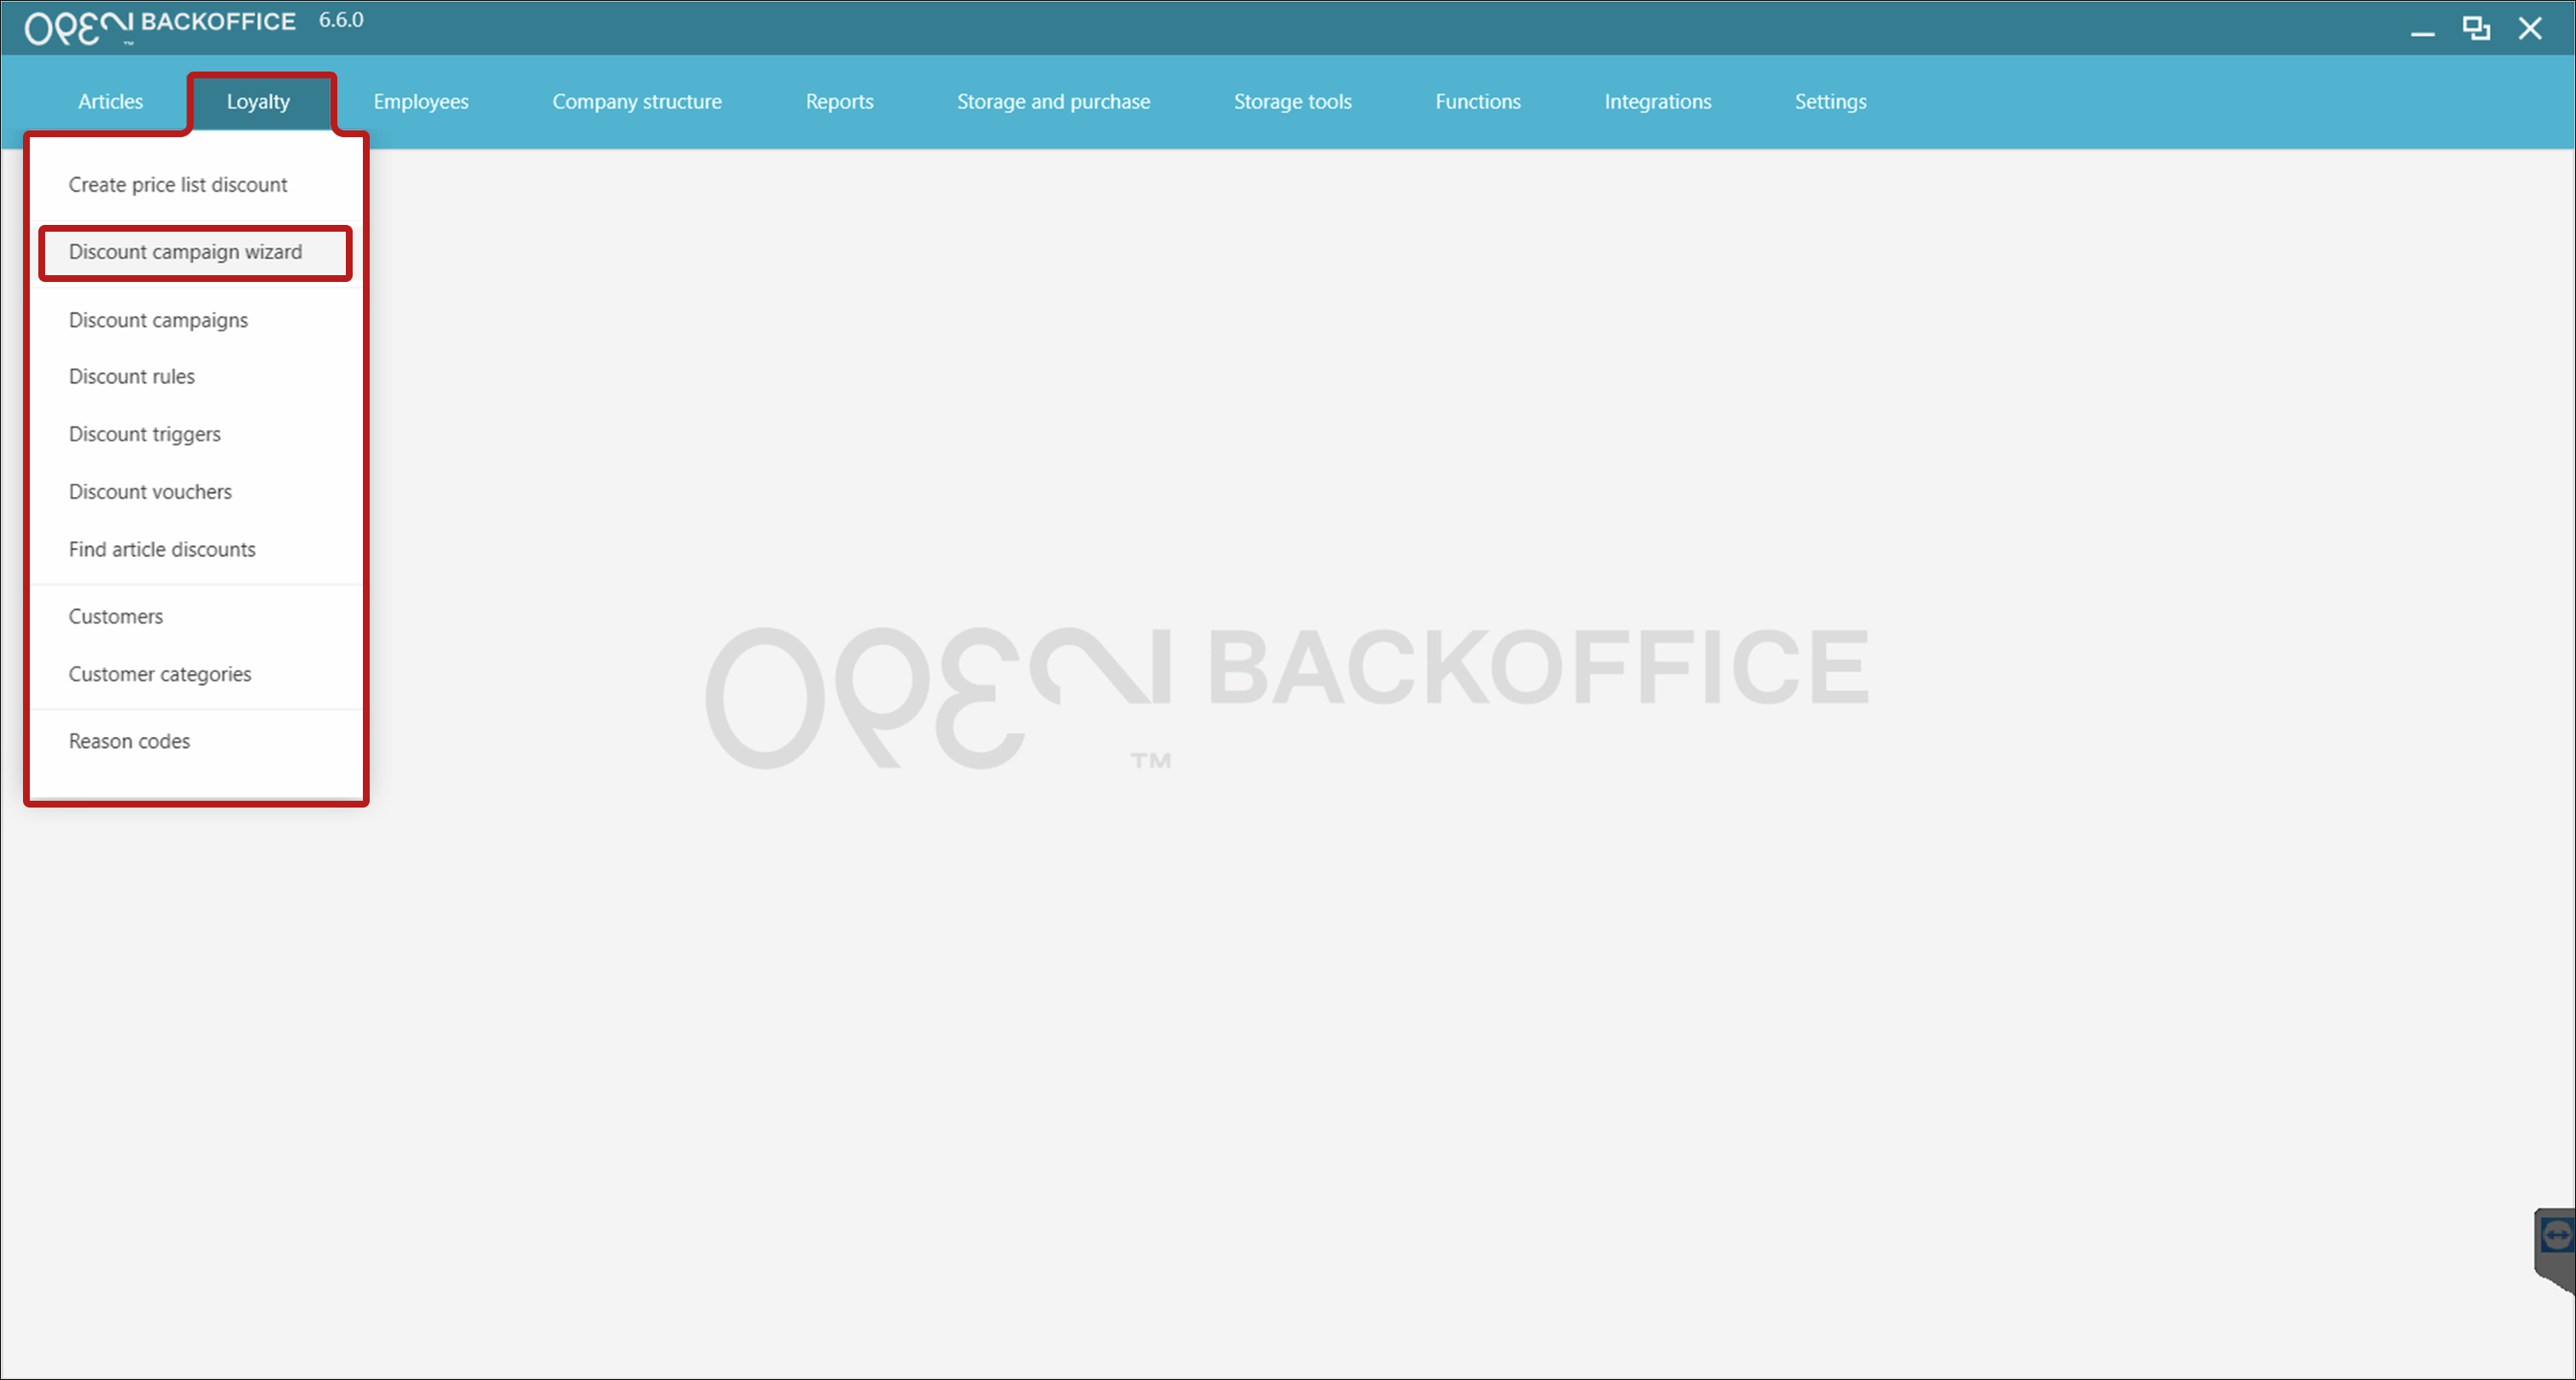
The steps to create a new campaign are highlighted in green.
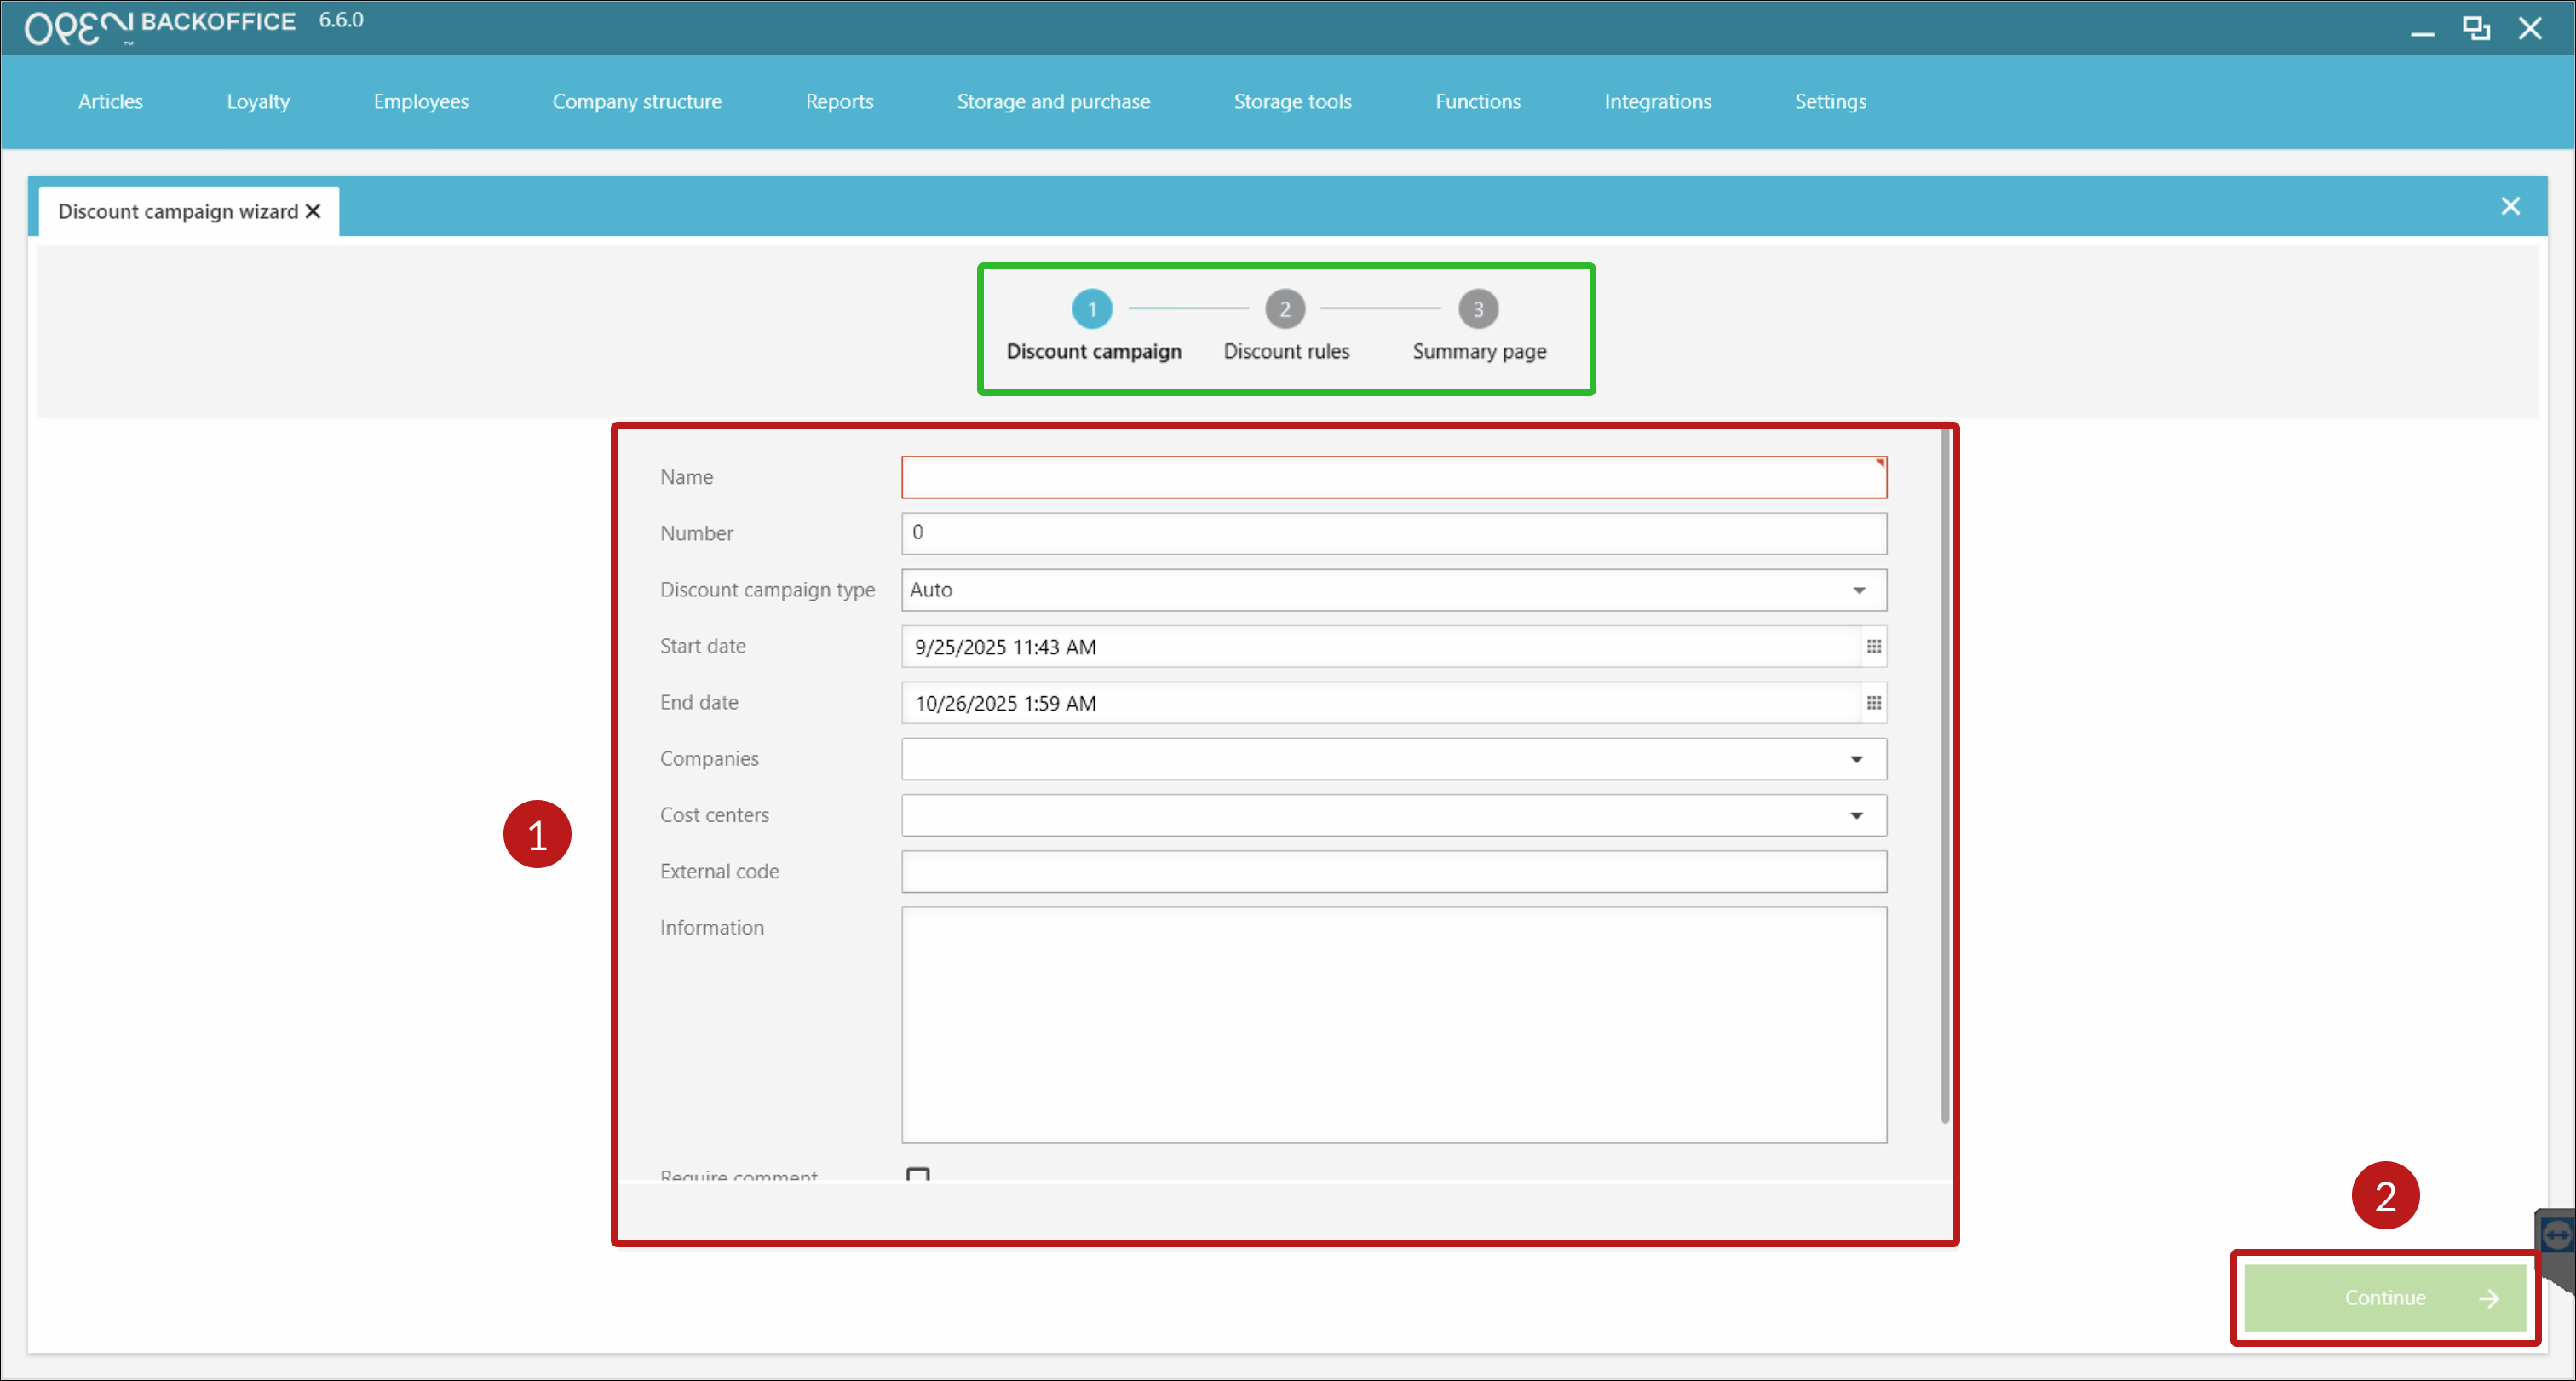
3.1: Enter the basic settings:
- Name
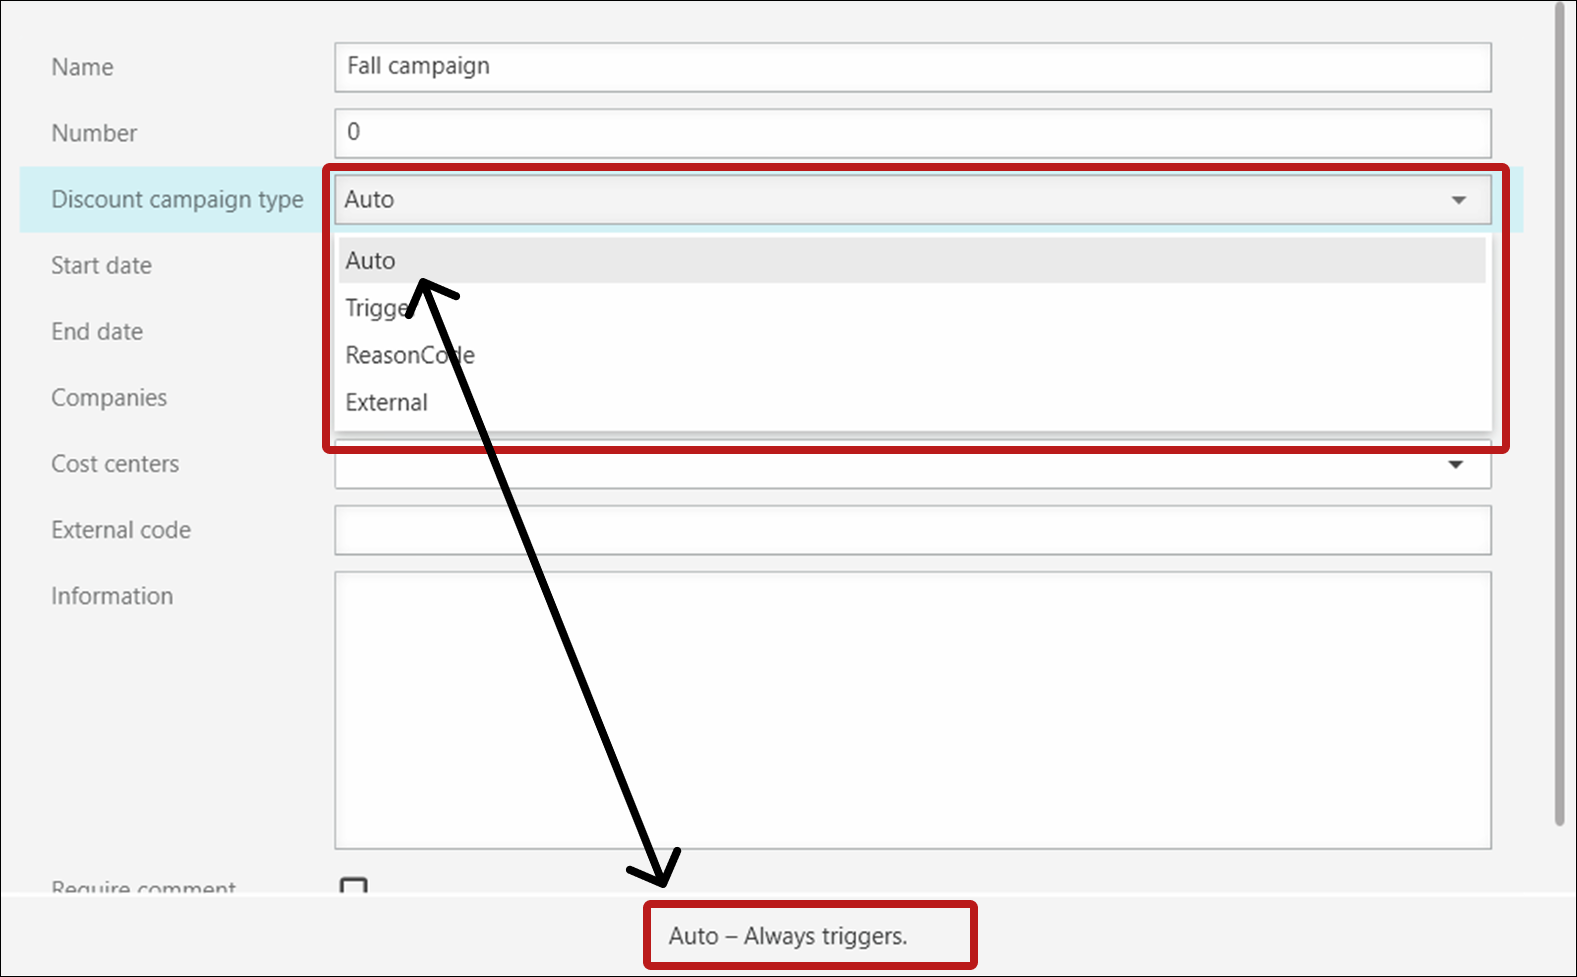
- Discount type
- Start and end date
TIP
For each setting there is an explanation at the bottom of the wizard.
3.2: Then press Next.
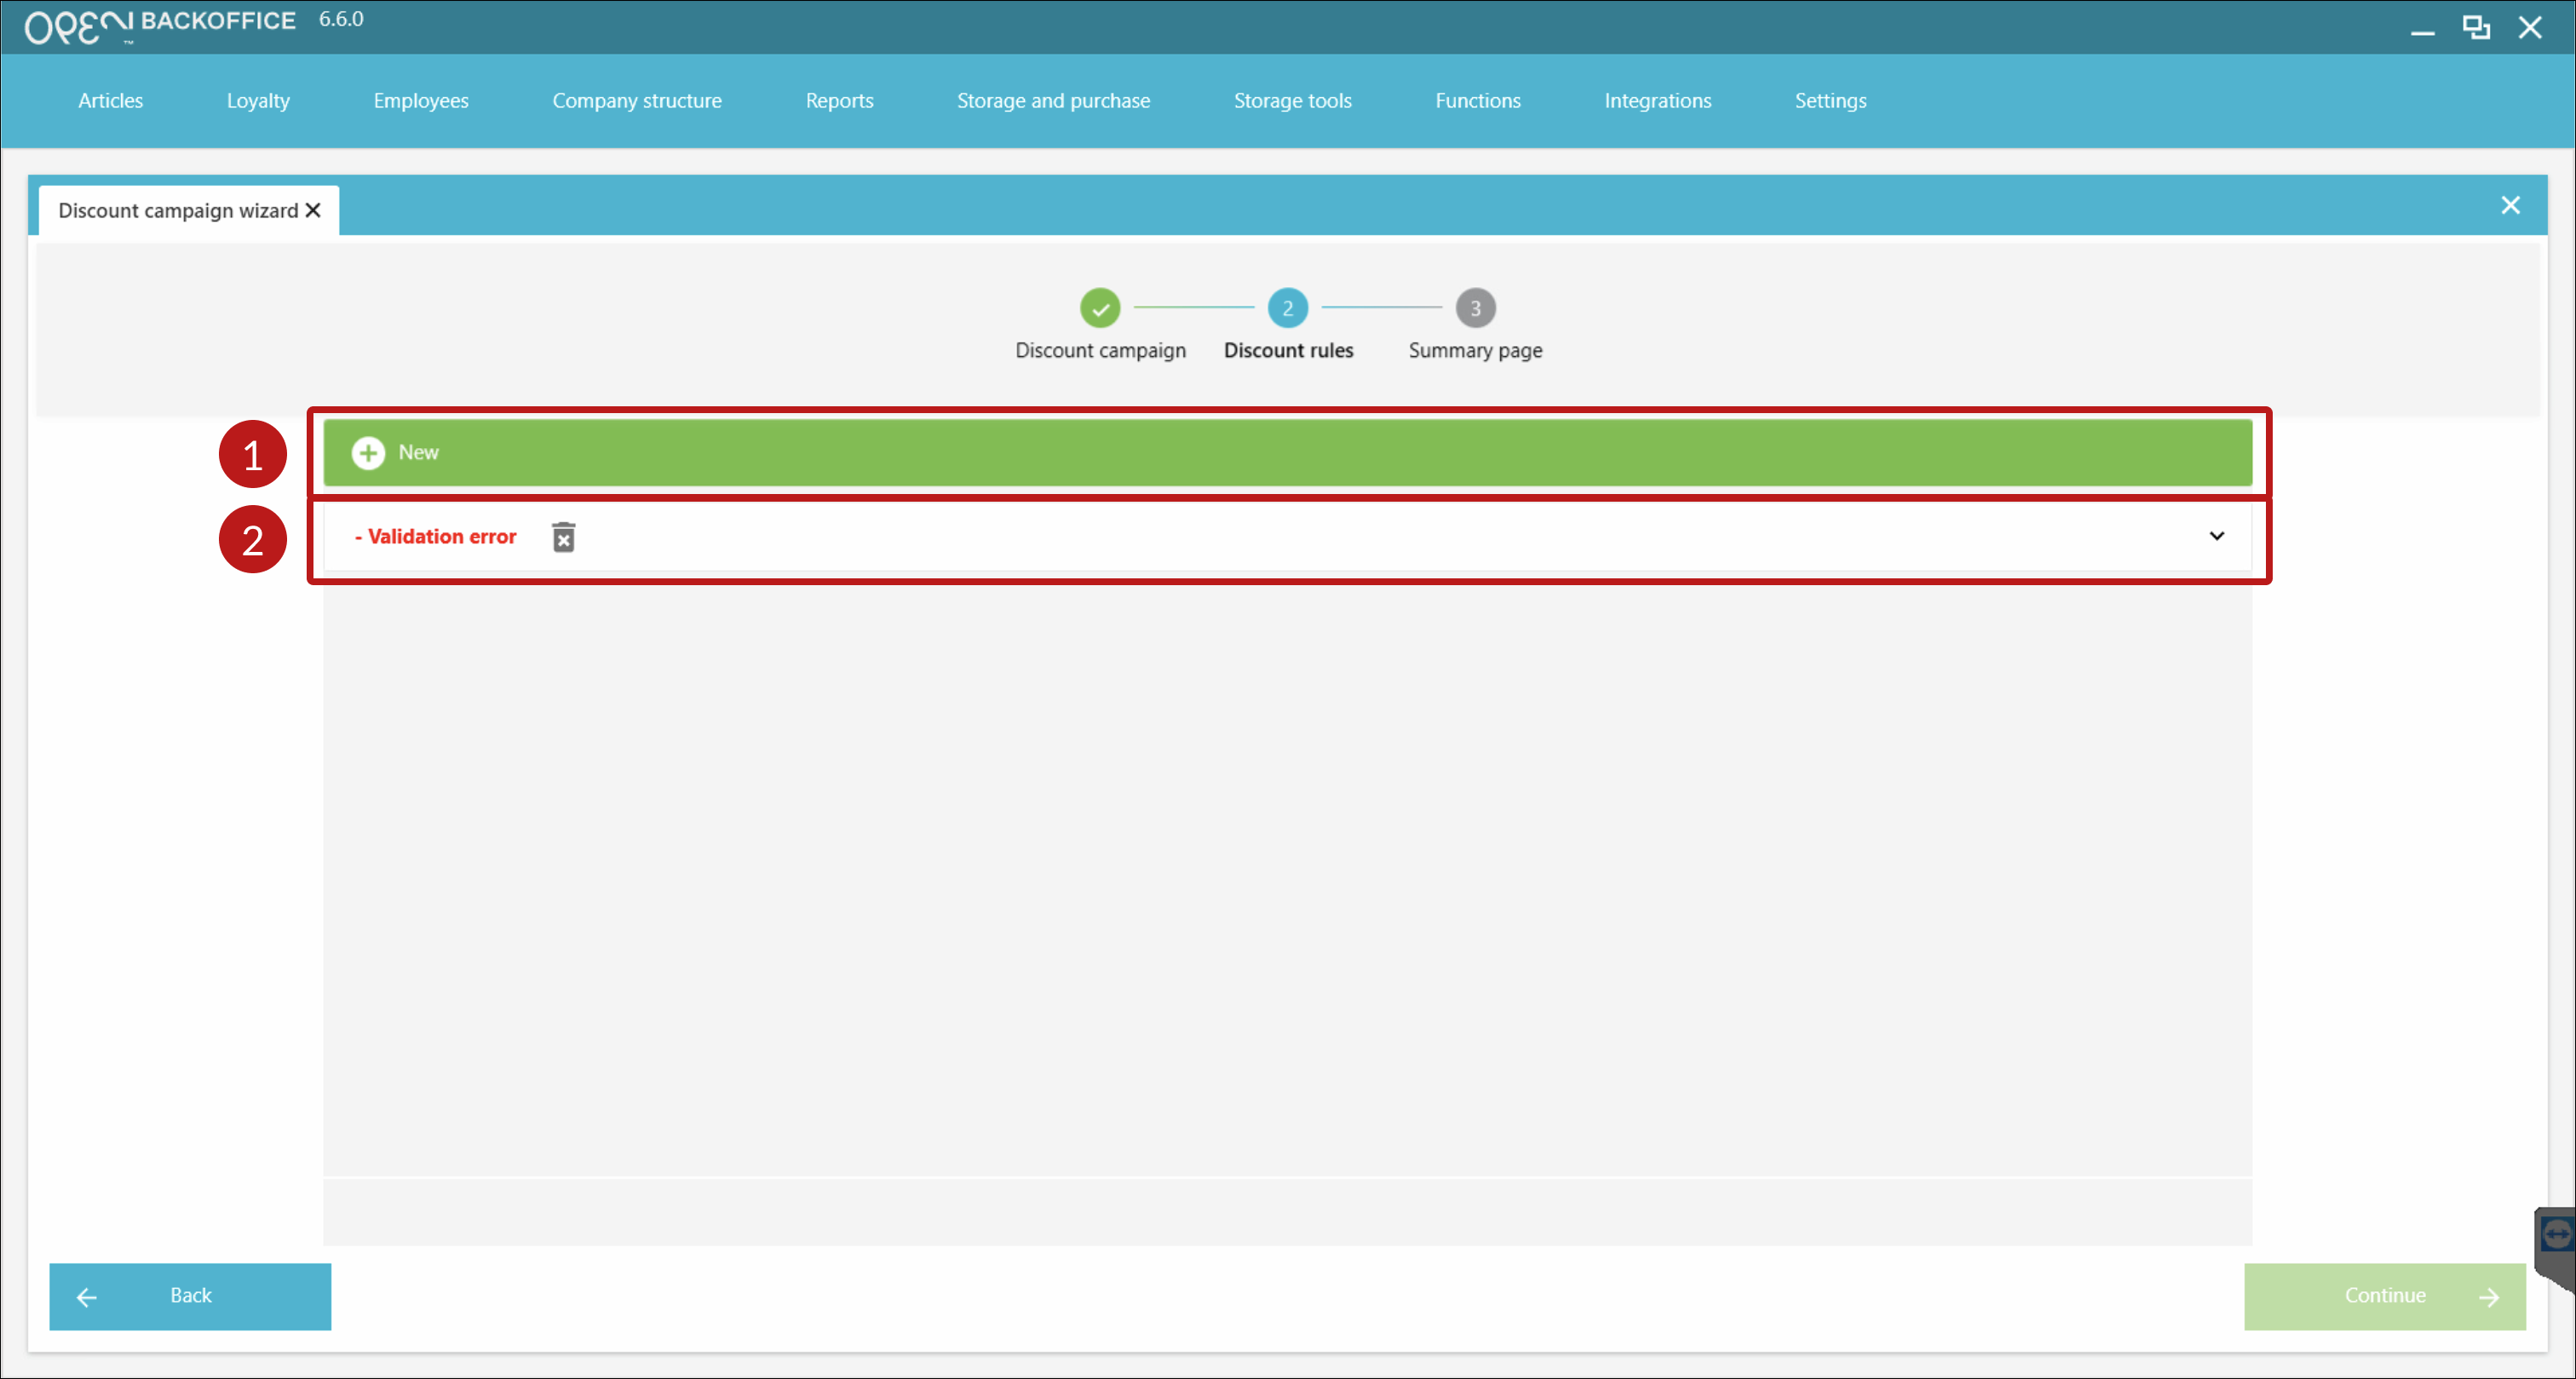
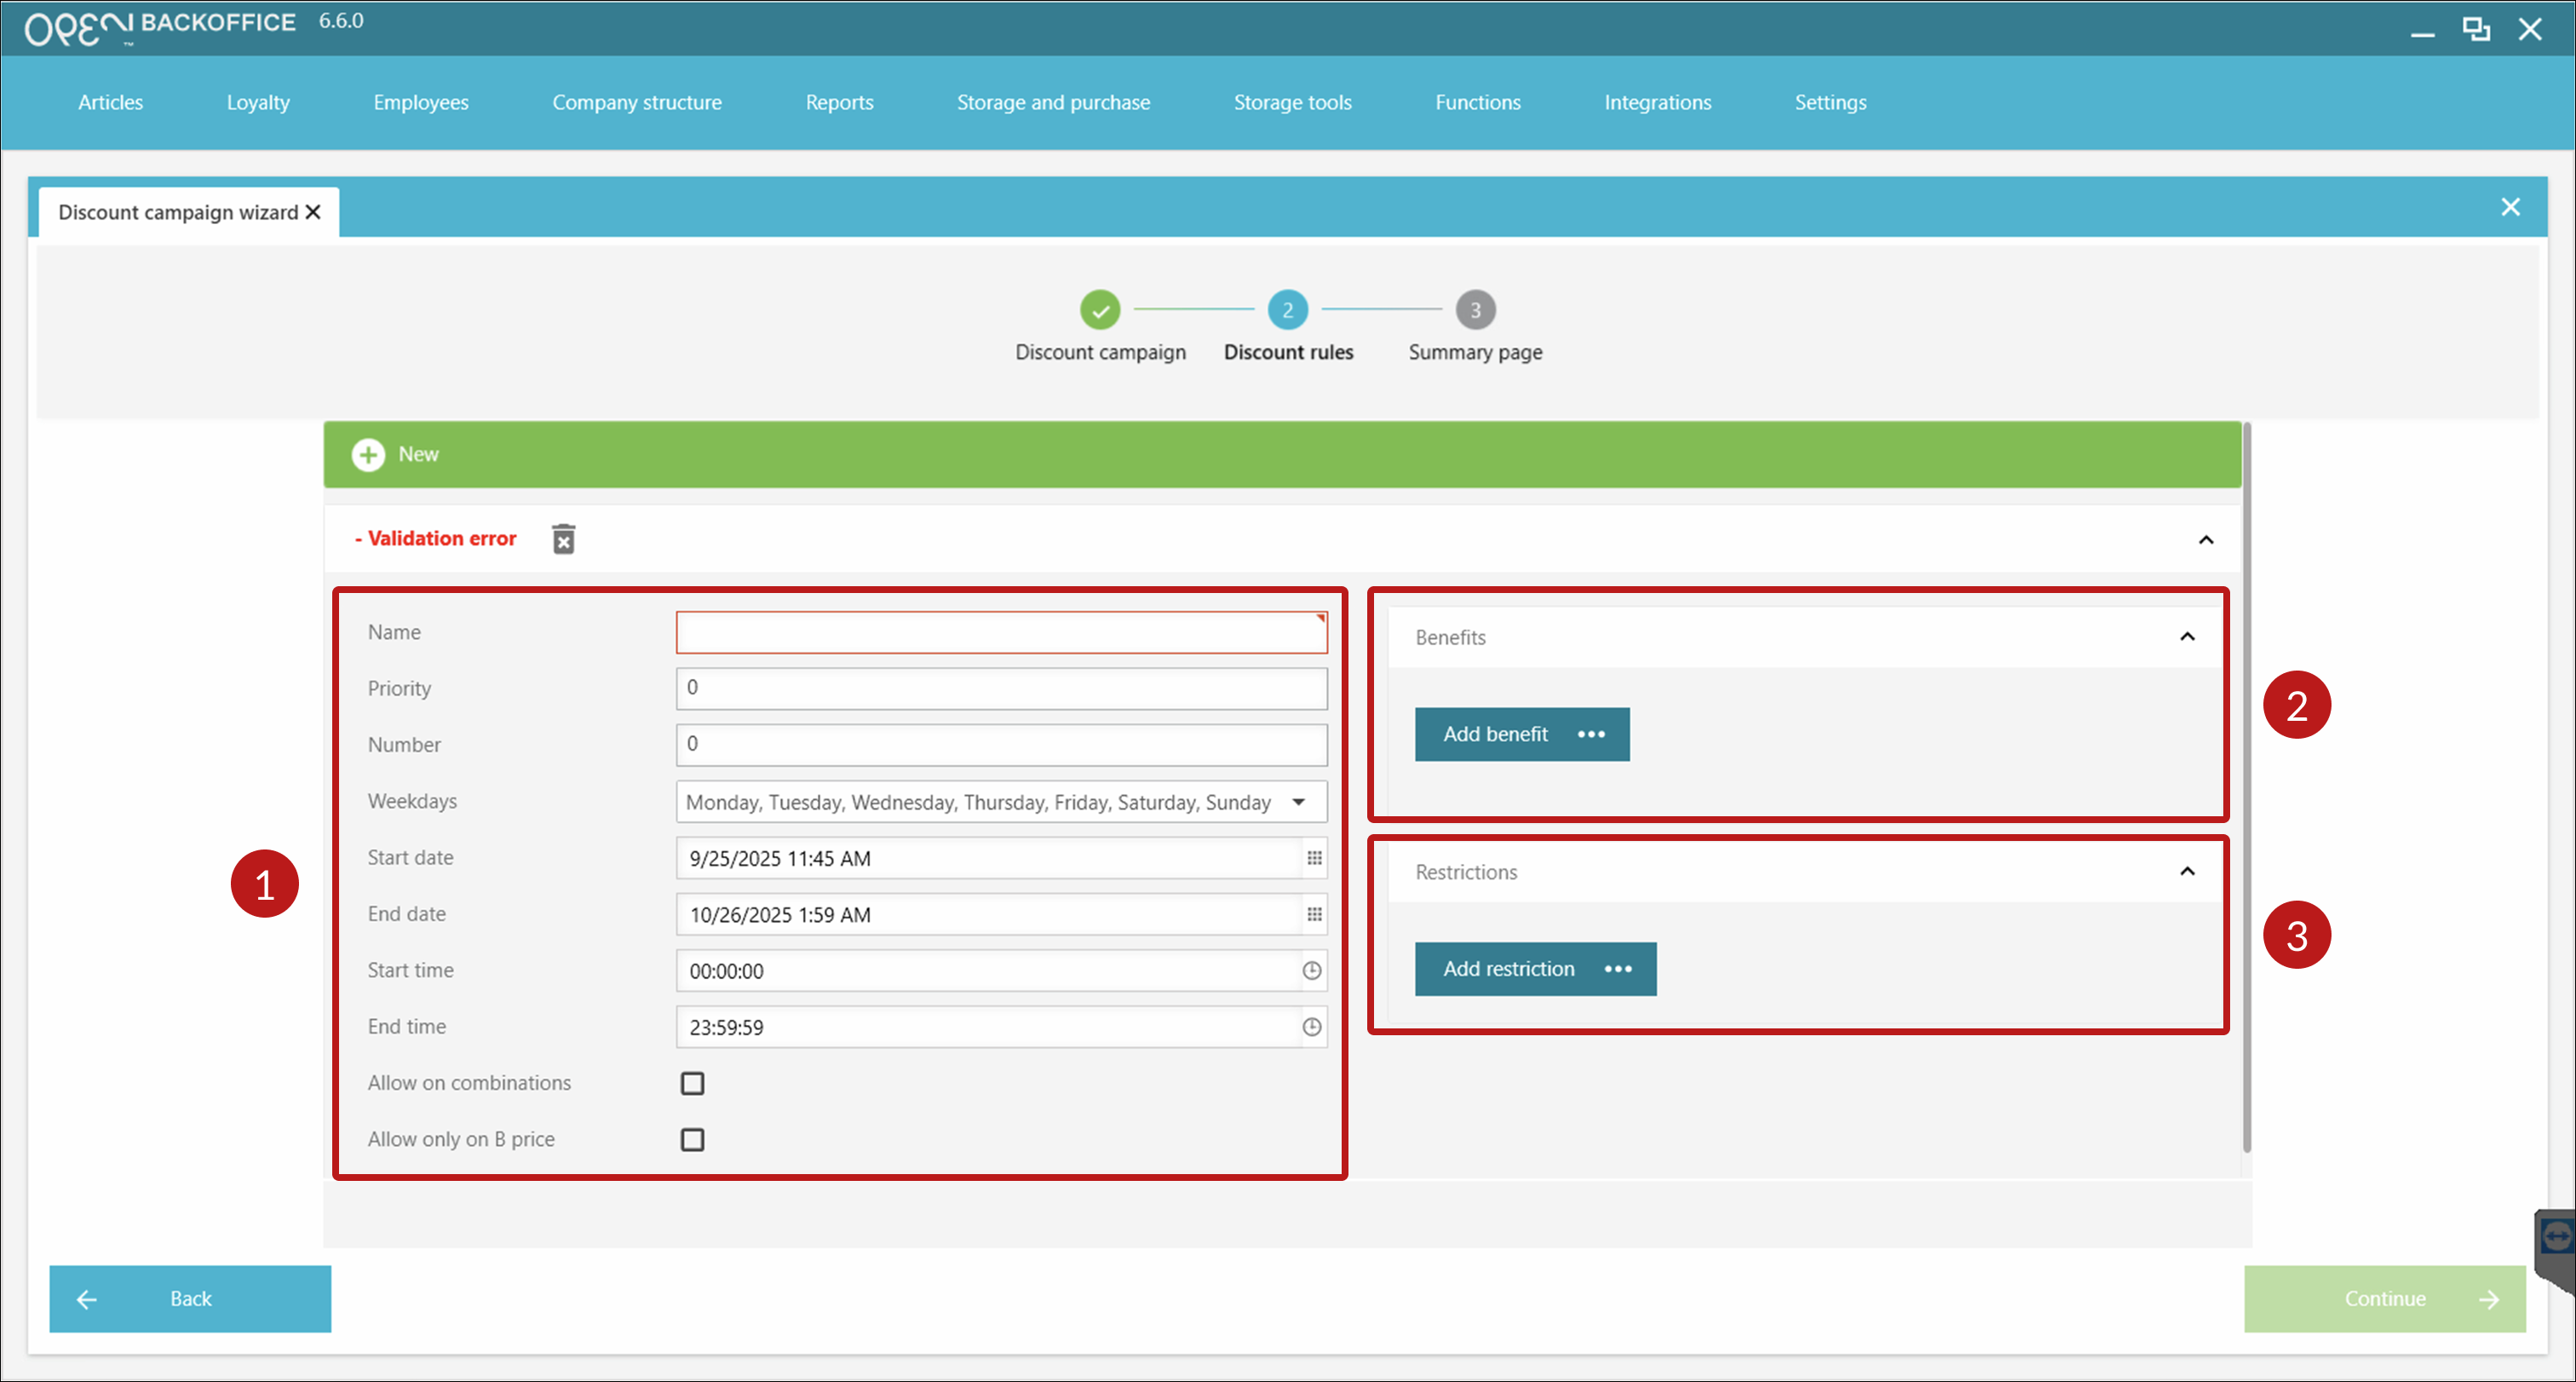
Enter one or ore discount rules.
- Press New.
Ignore “Validation error”
You can ignore the text “Validation error”; it will disappear once you have filled in the settings for the discount rule.
- Click to open you discount rule and enter the settings.
- Press New.
Enter the discount rule settings:
- Fill out the settings to the left.
- Add one or more advantage (for example a new fixed price for the included articles).
- Add one or more restriction (for example which articles or product groups the rule should apply to).
If you want to add more discount rules:
- Scroll up to collaps the current discount rule.
- Click New.
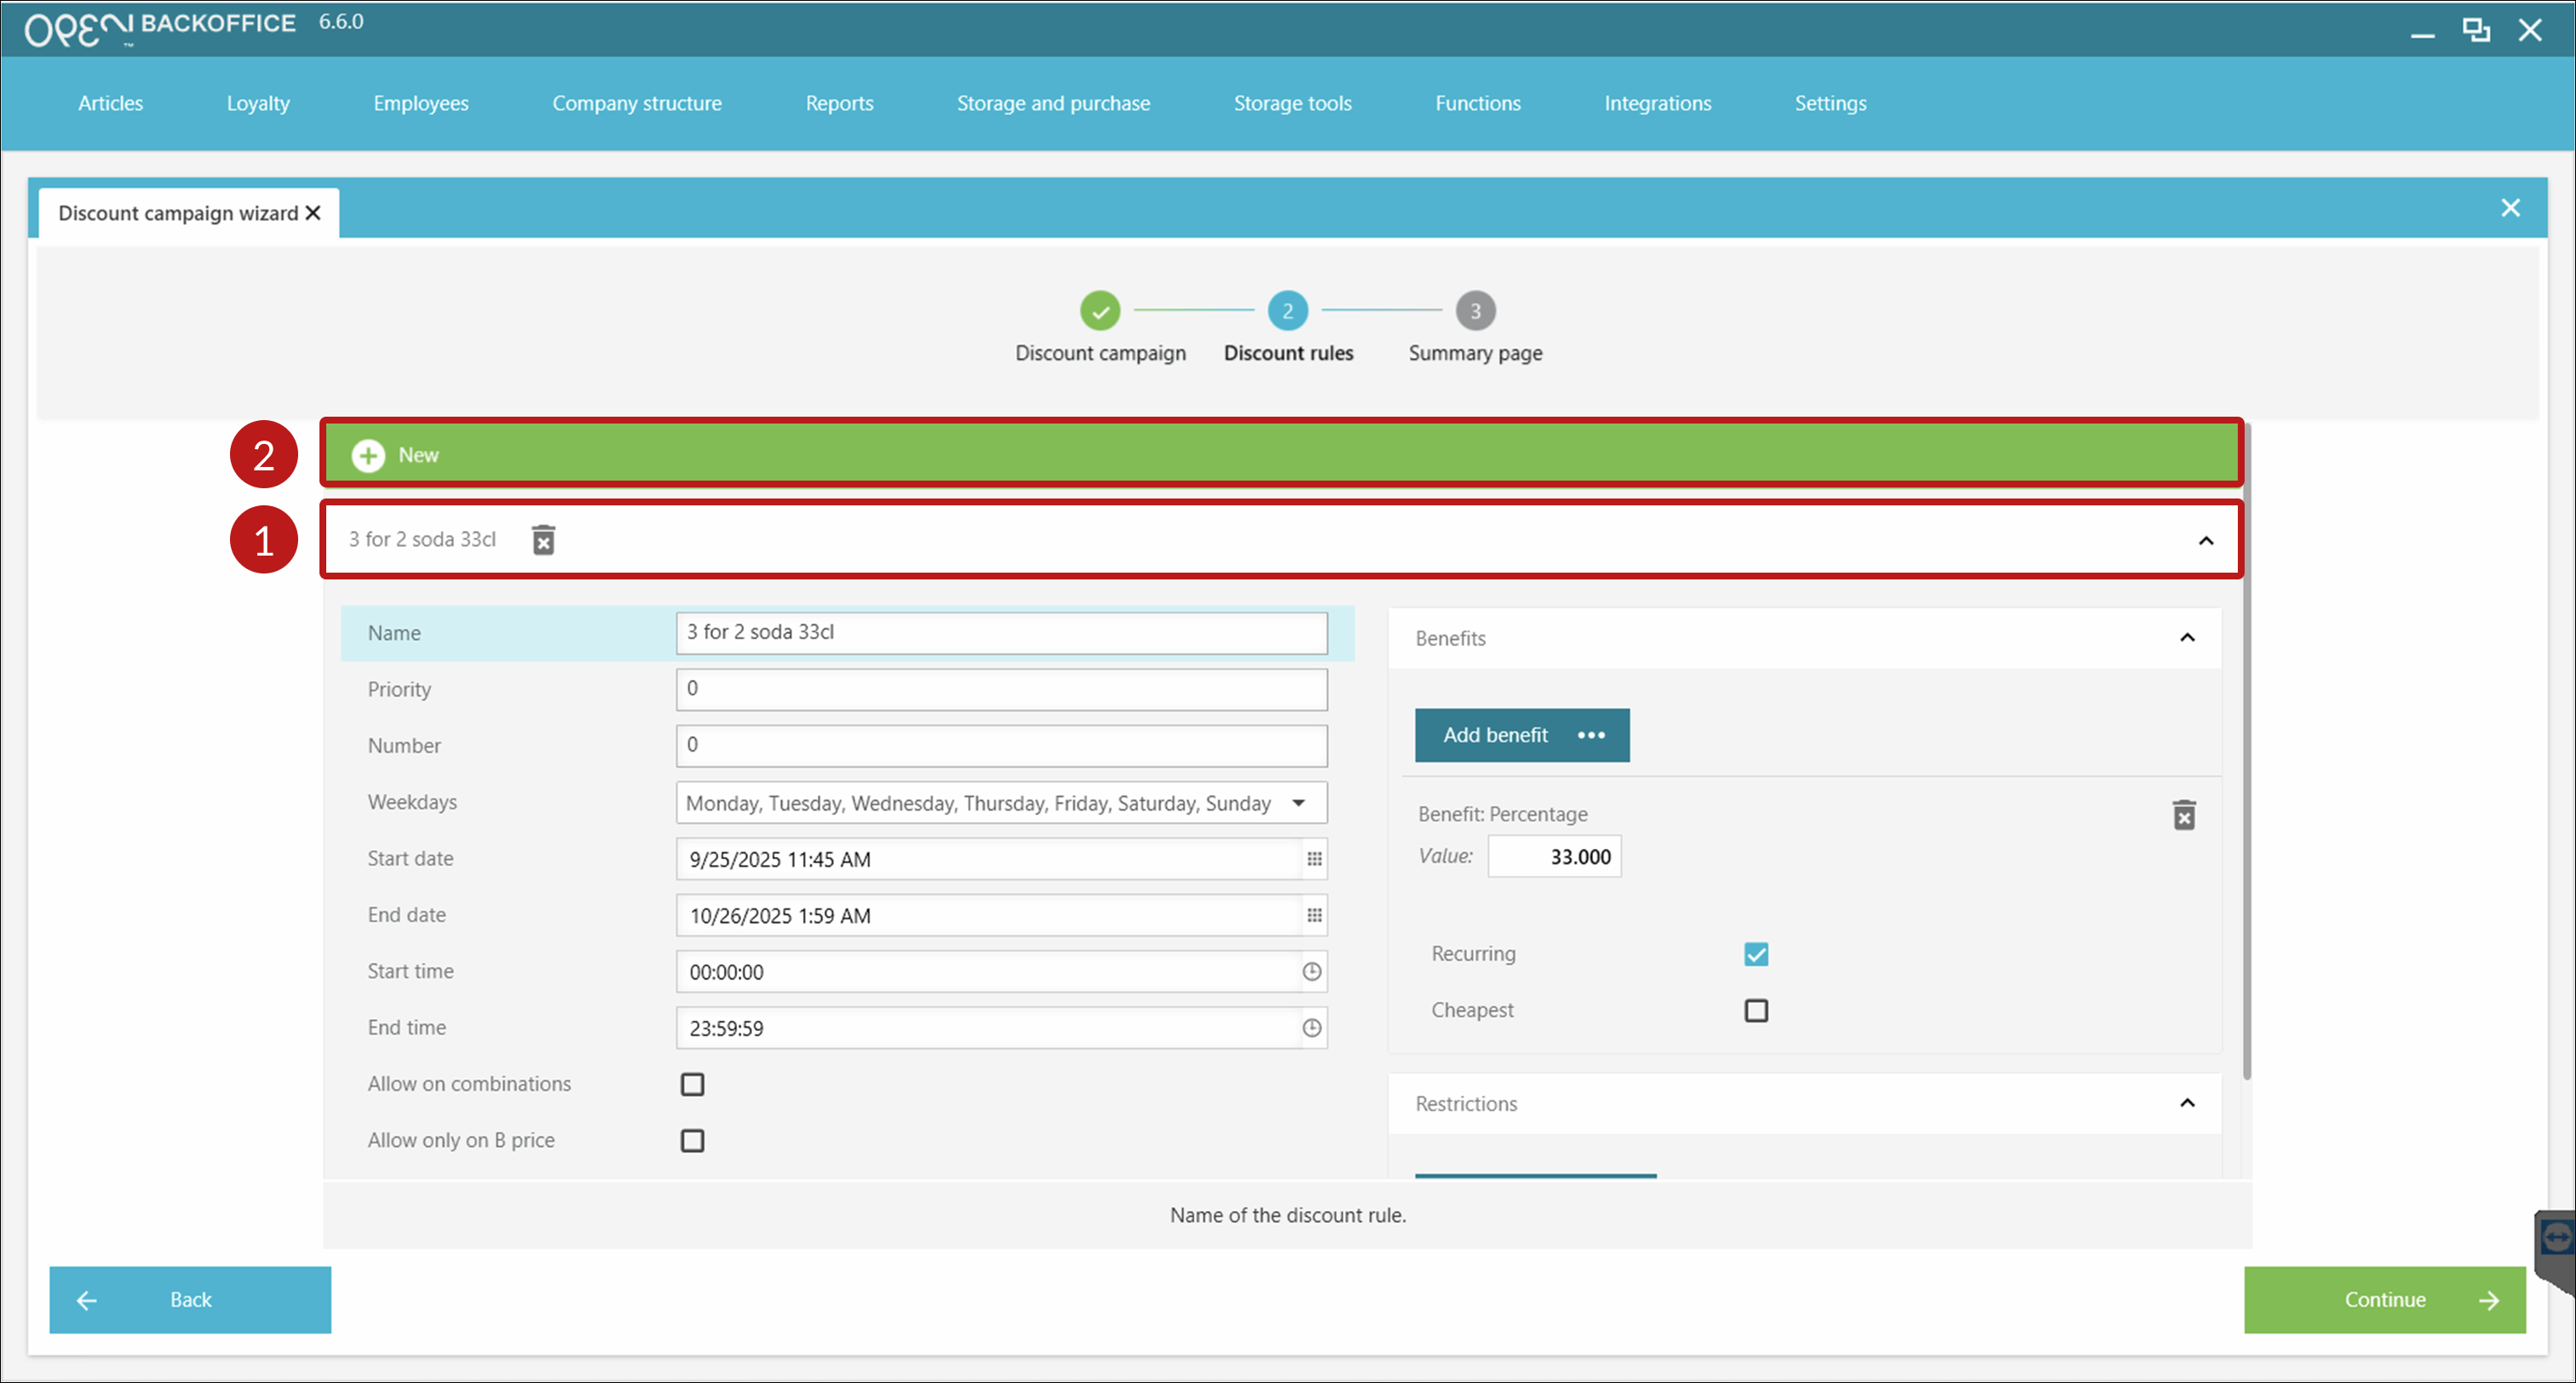
Once you're done, press Continue.

Adding more discount rules
Please note that you can start by creating a campaign and add more discount rules later on.
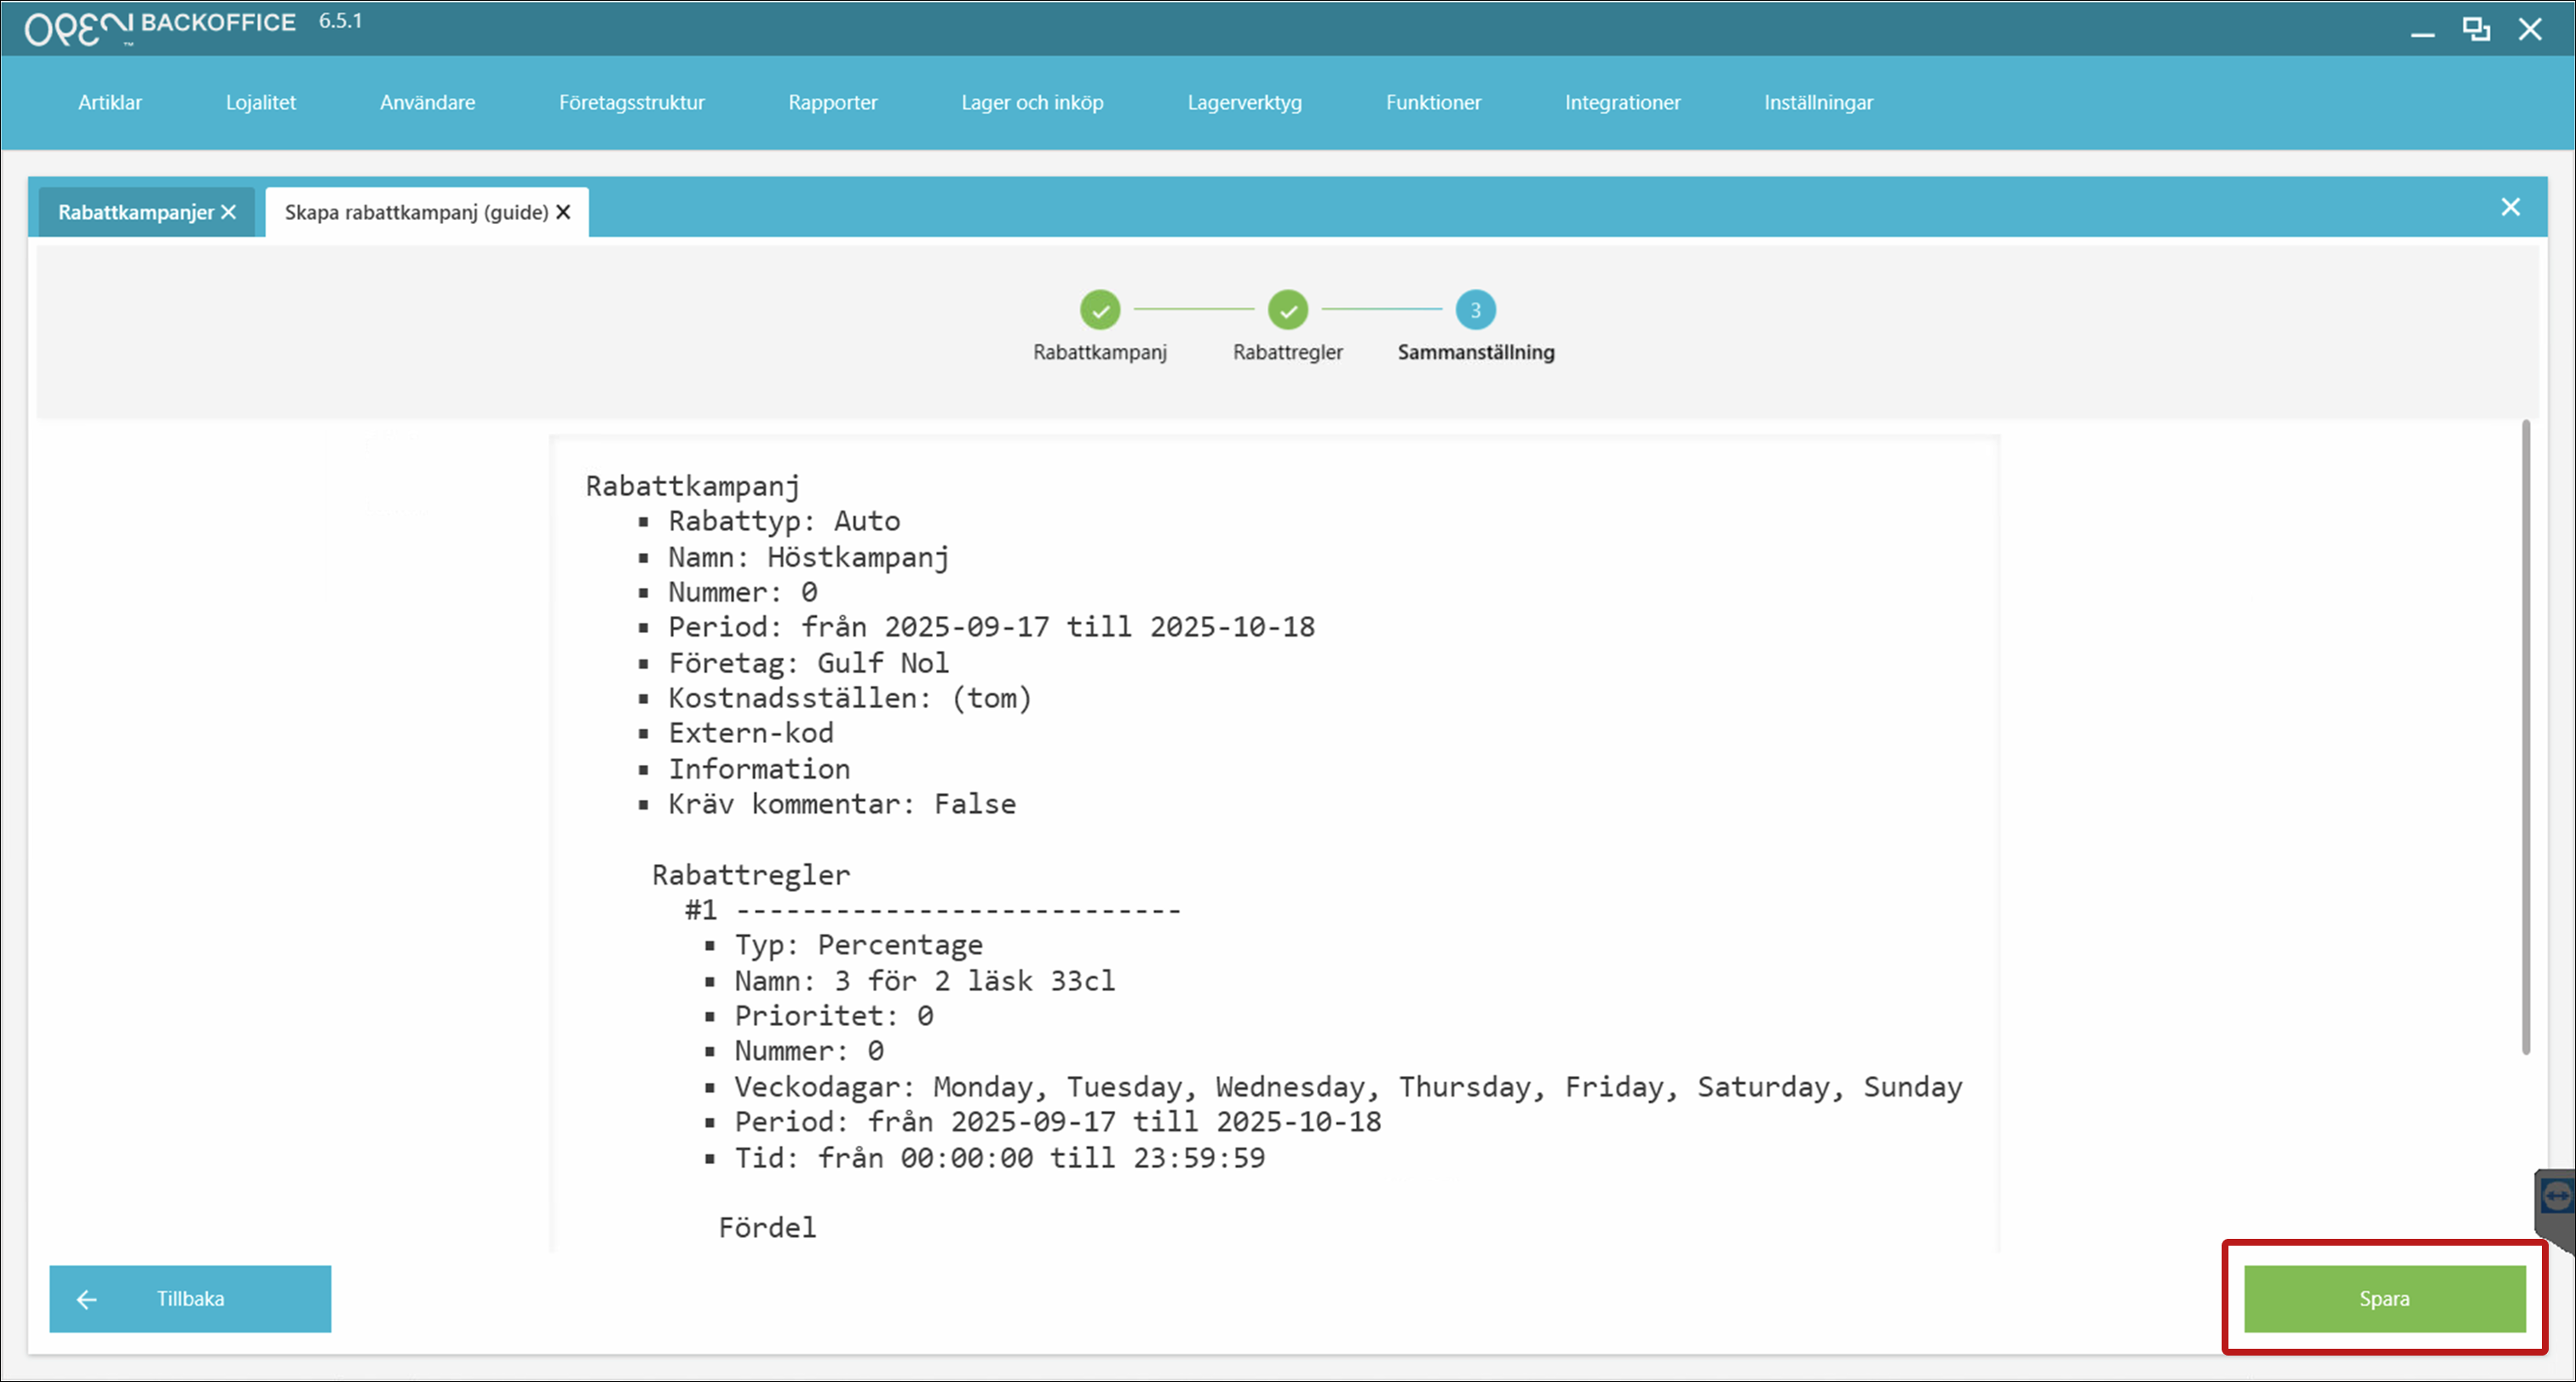
Review your campaign, then click Save.


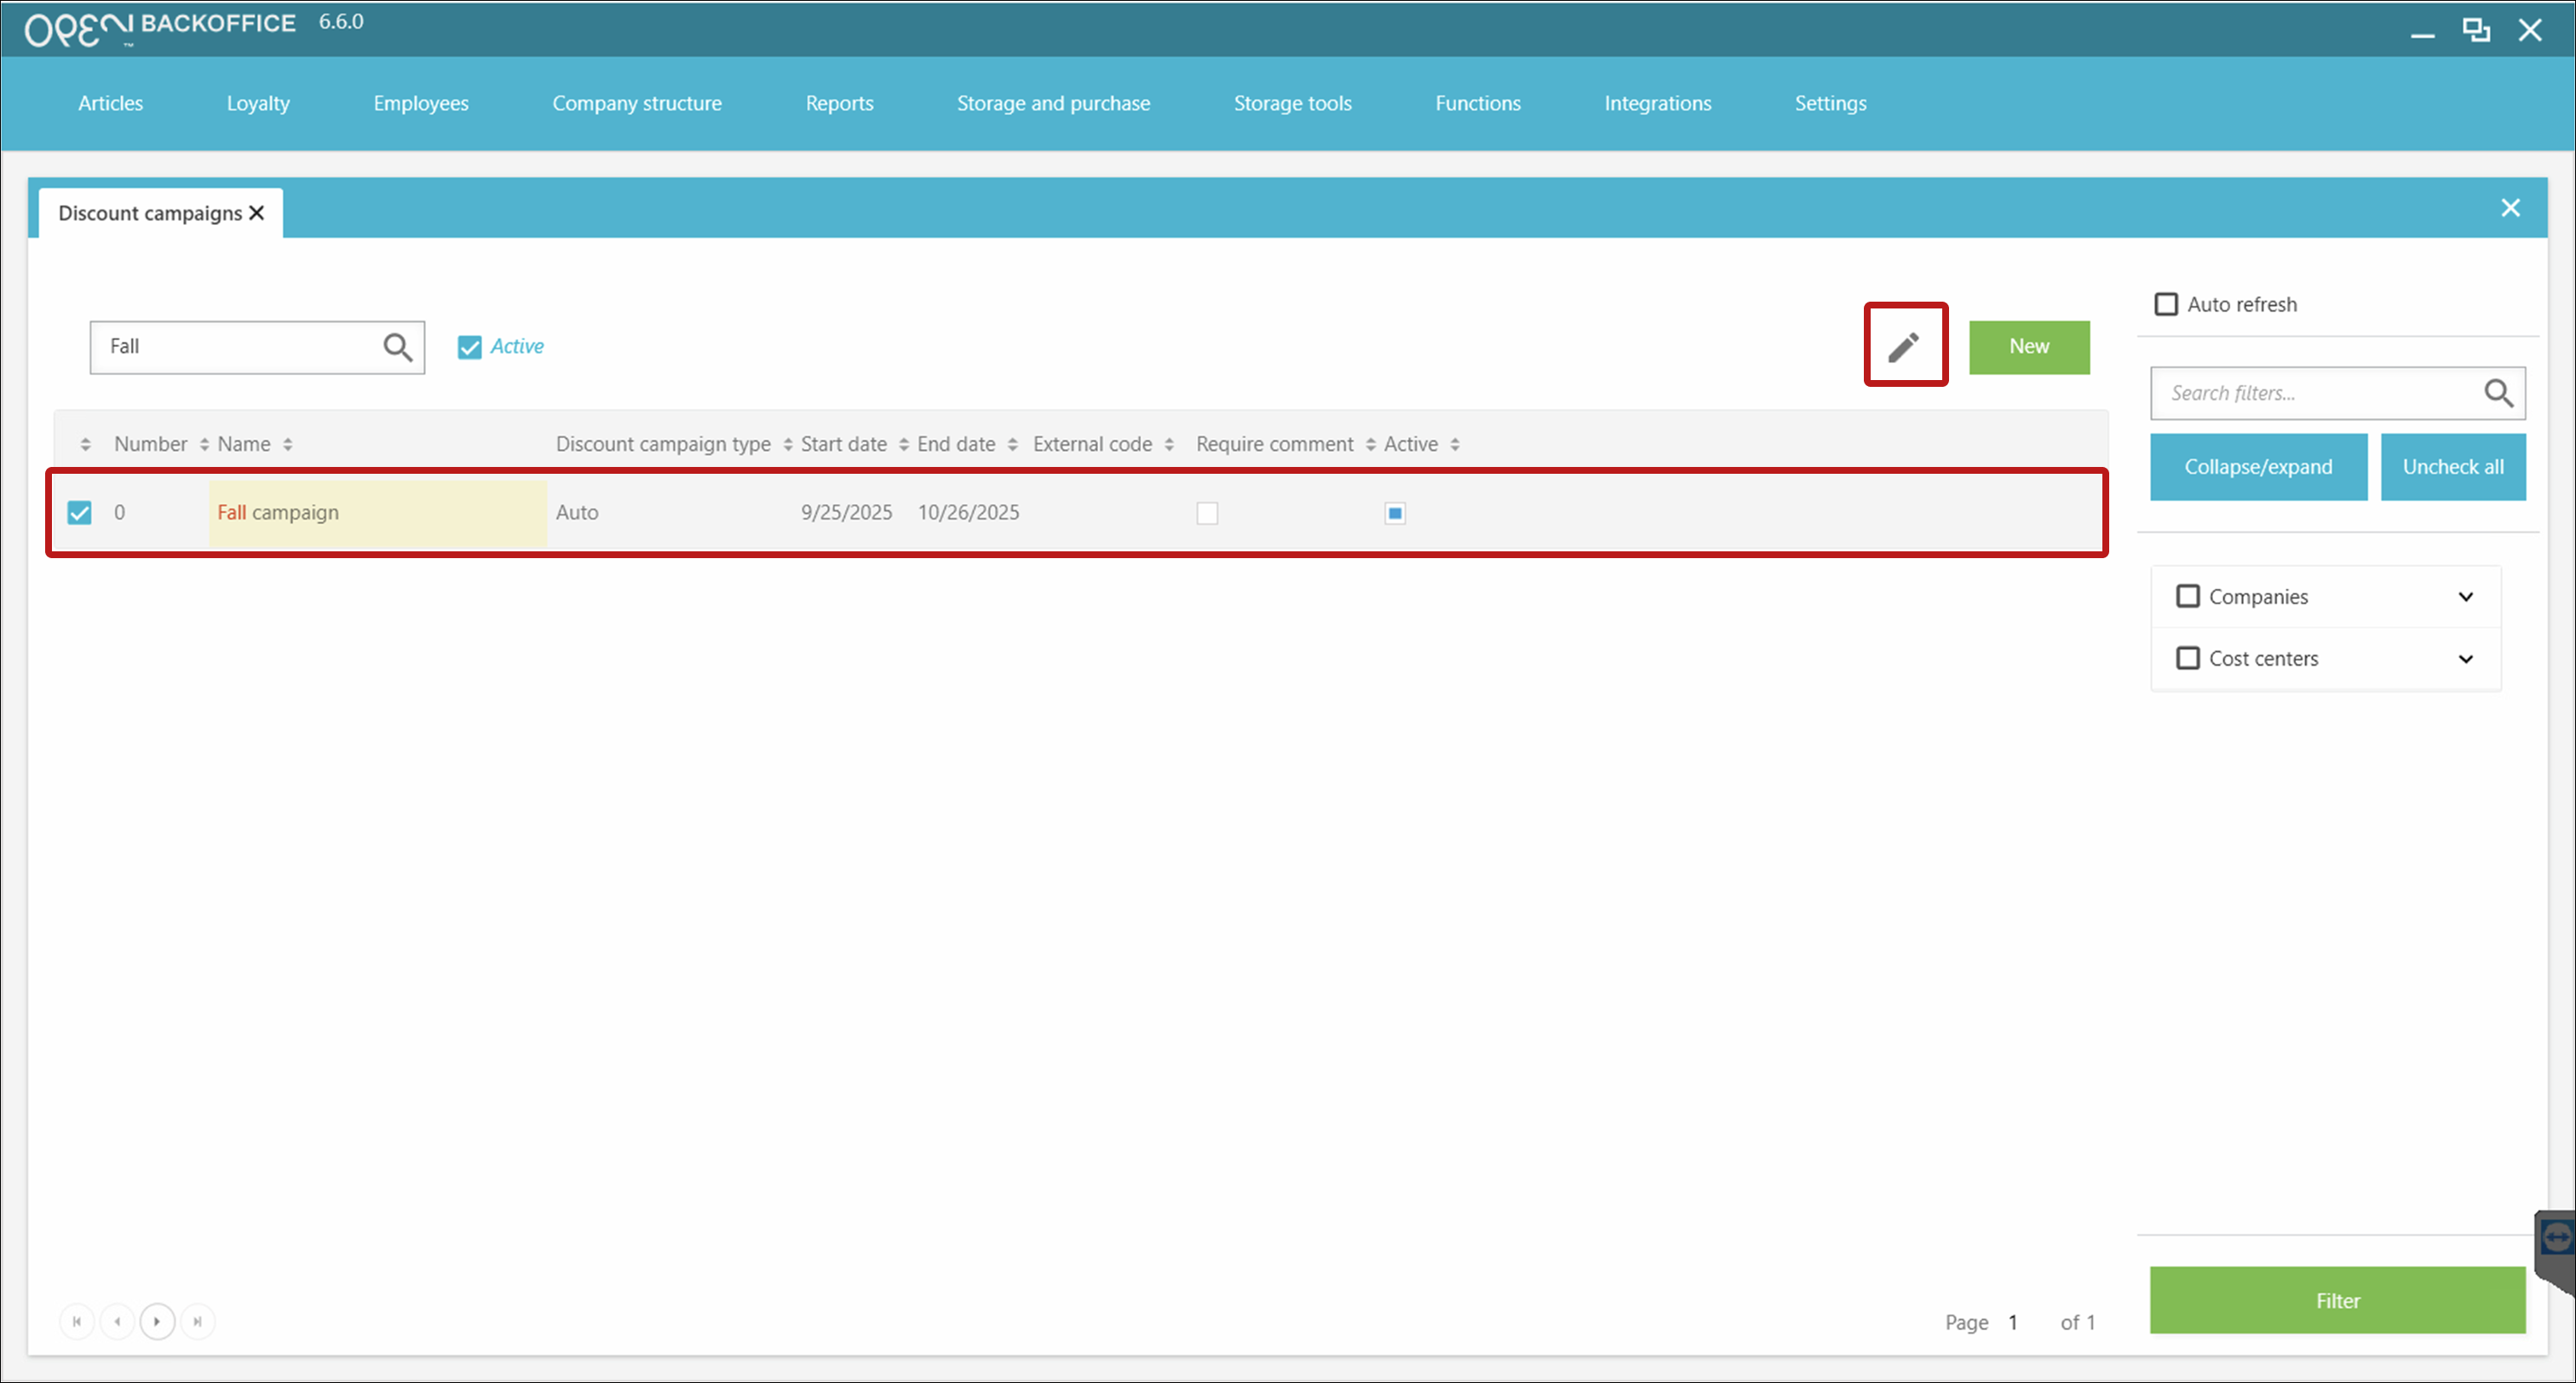
How to access & edit existing campaigns
- Sign in to BackOffice.
- Go to Loyalty > Discount campaigns.
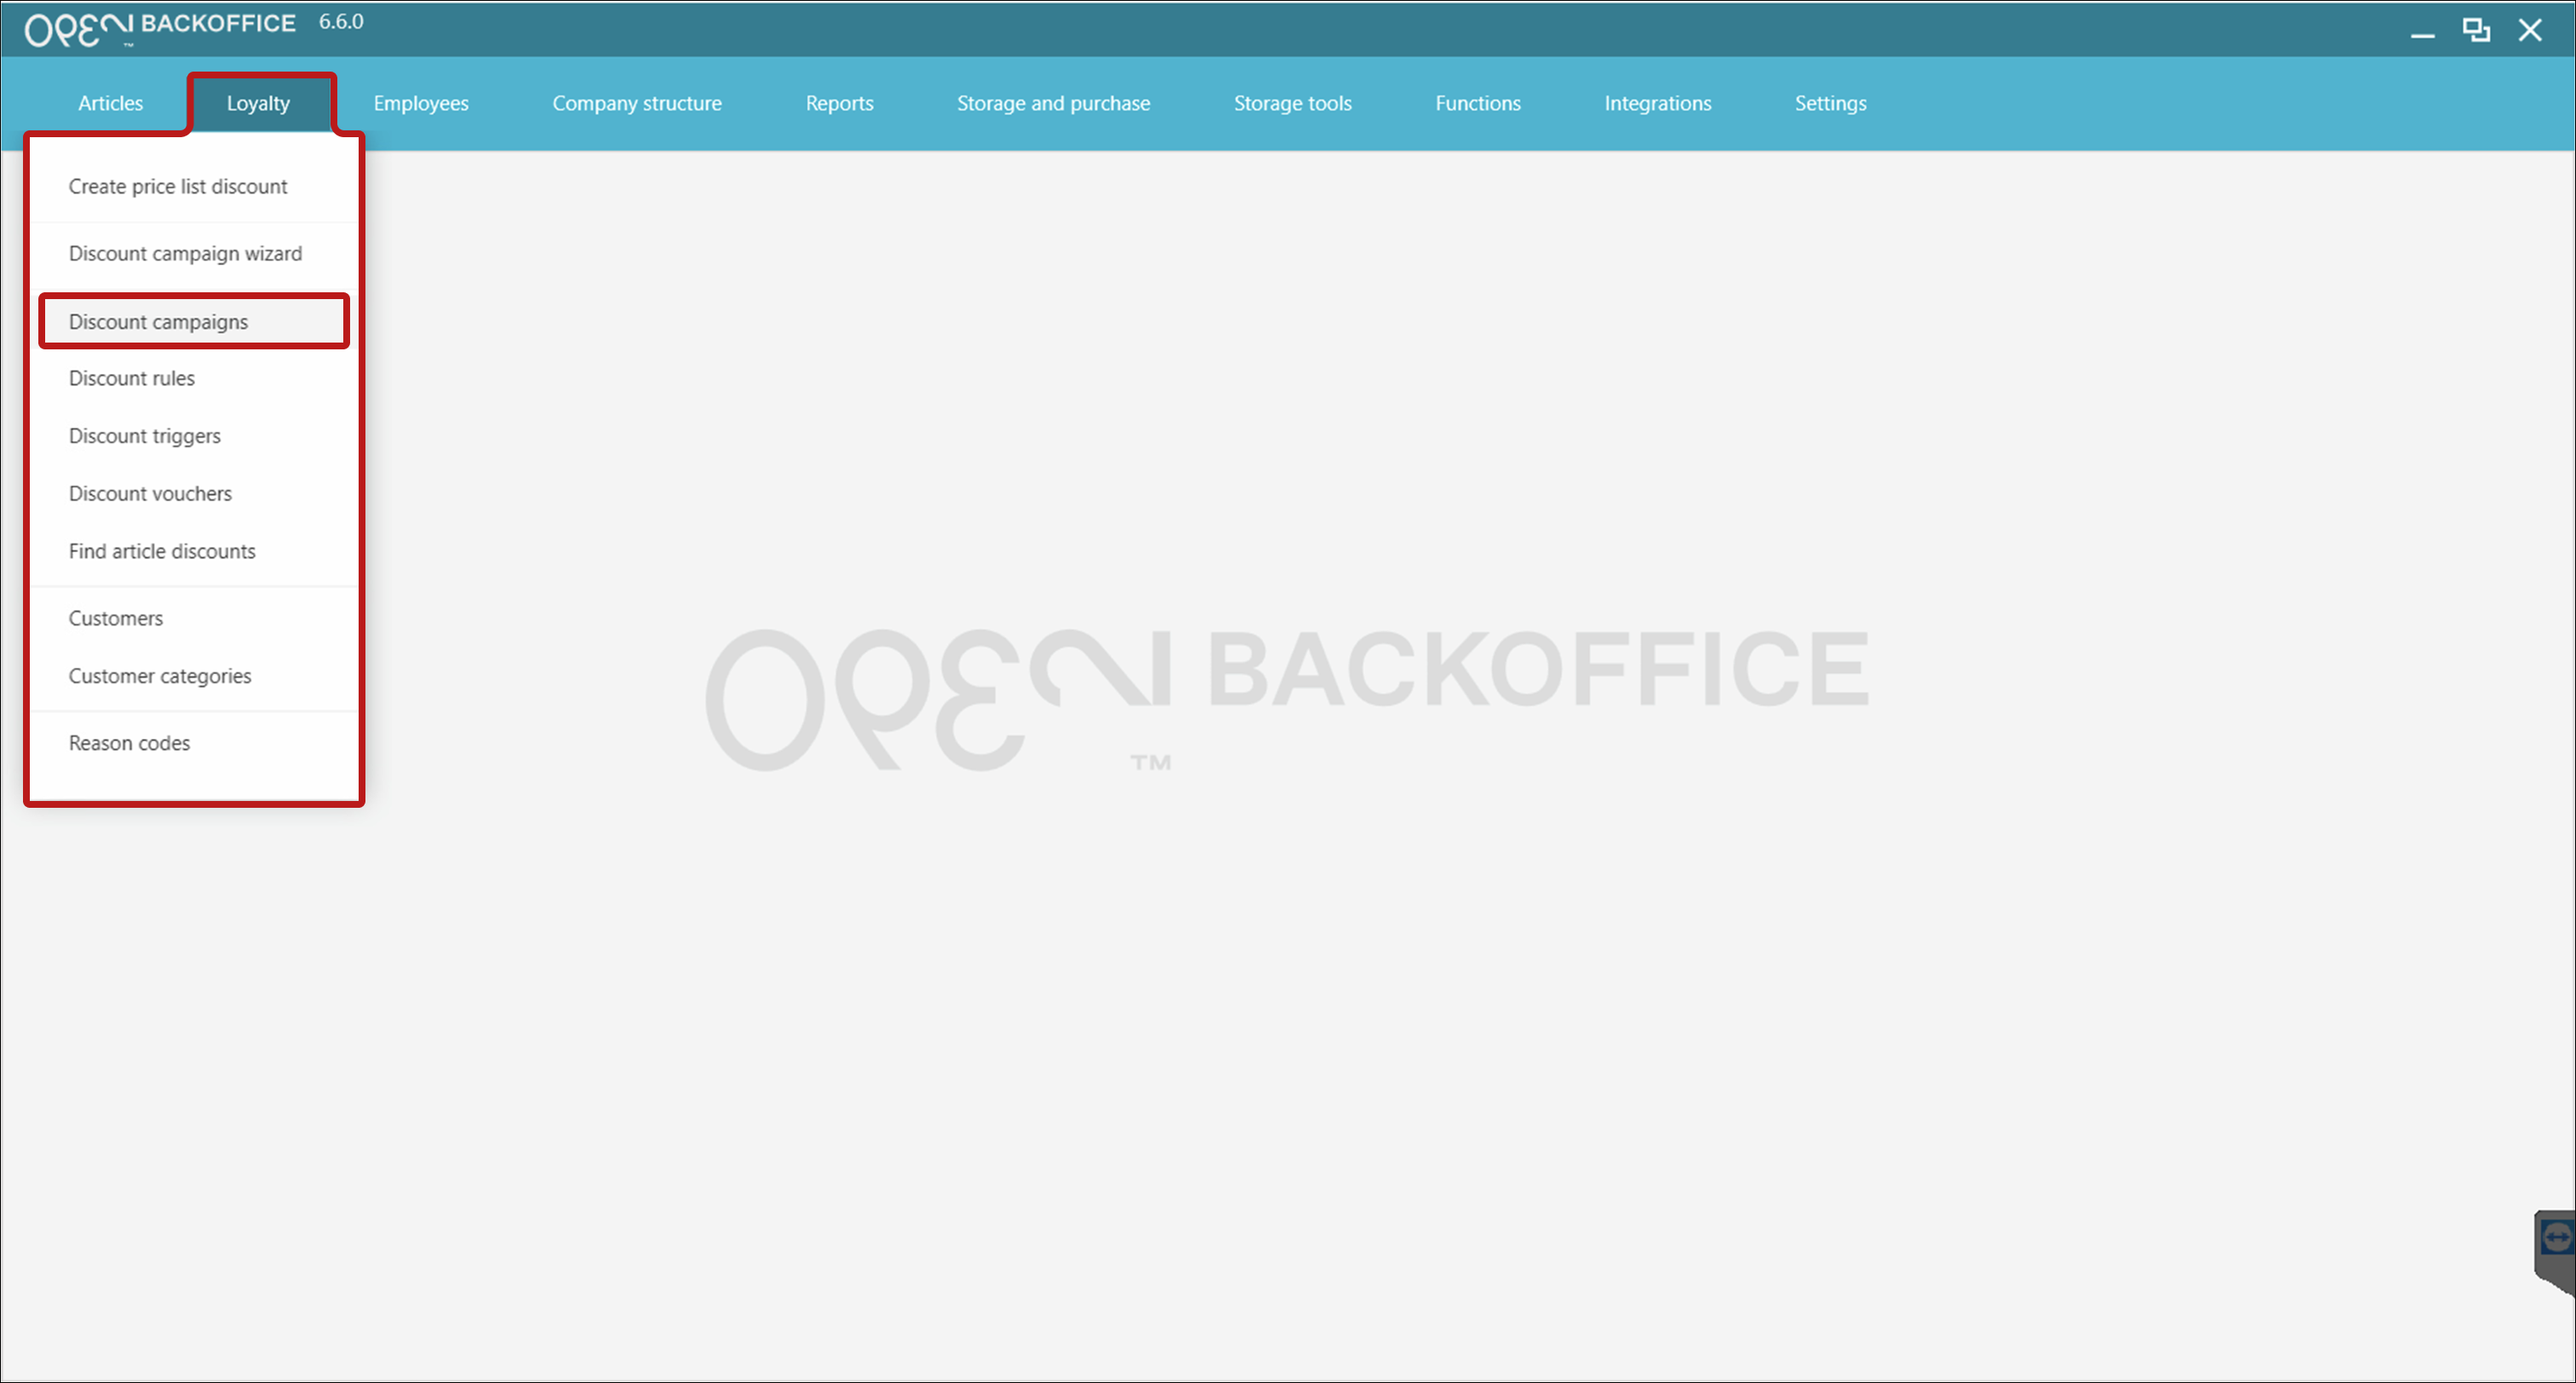
- Locate and mark the campaign you want to edit, then press the pen button to edit.


- In the view that opens to the right:
- Make your changes.
- Press Save.

How to manage discounts in POS
Read the guide on how to work with discounts in the cash register.