Open Express
Have your guests order at their own pace in the self-service terminal, giving your staff time to focus on food prep and service.
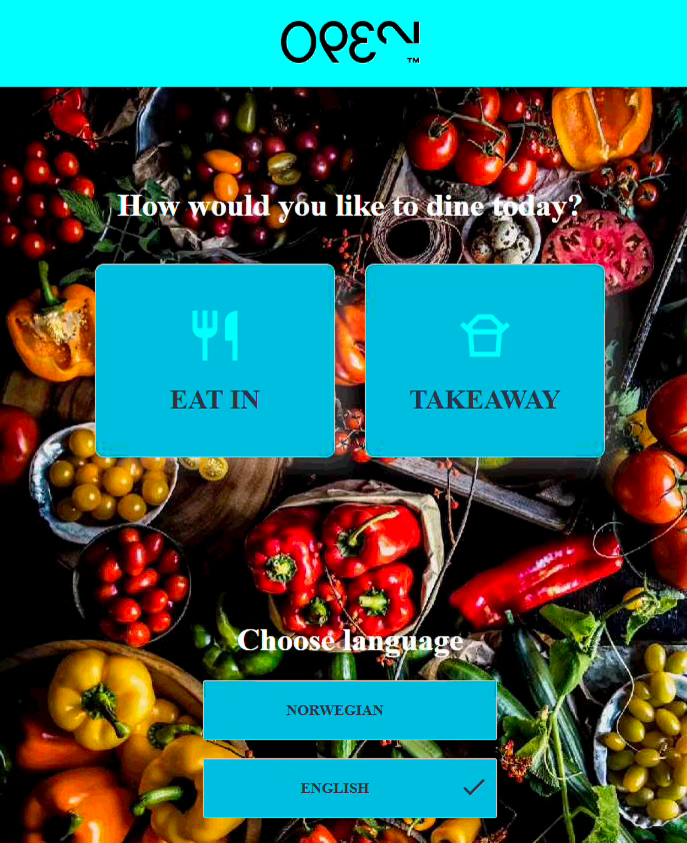
OPEN EXPRESS is a terminal where the guests can order their food in the restaurant, at a self-service kiosk.
From OPEN Backoffice you can edit your OPEN Express layout, with your preferred colours, fonts and images, as well as adding images and descriptions to your articles and product groups.
You can set up your OPEN Express checkout with an integrated card terminal, but you can also pay using VIPPS or Swish, or even your gift cards/internal cards from Open One.
OPEN Express behaves exactly like a regular Open One cash register, meaning orders are processed normally in Open One, and production tickets sent to the kitchen or bar.
OPEN Express can also be combined with a KDS system, with information screens in kitchen and towards customers.
OPEN Express supports Eat in and Takeaway ordering, if both are enabled the guest can choose how they want to order from the start page.
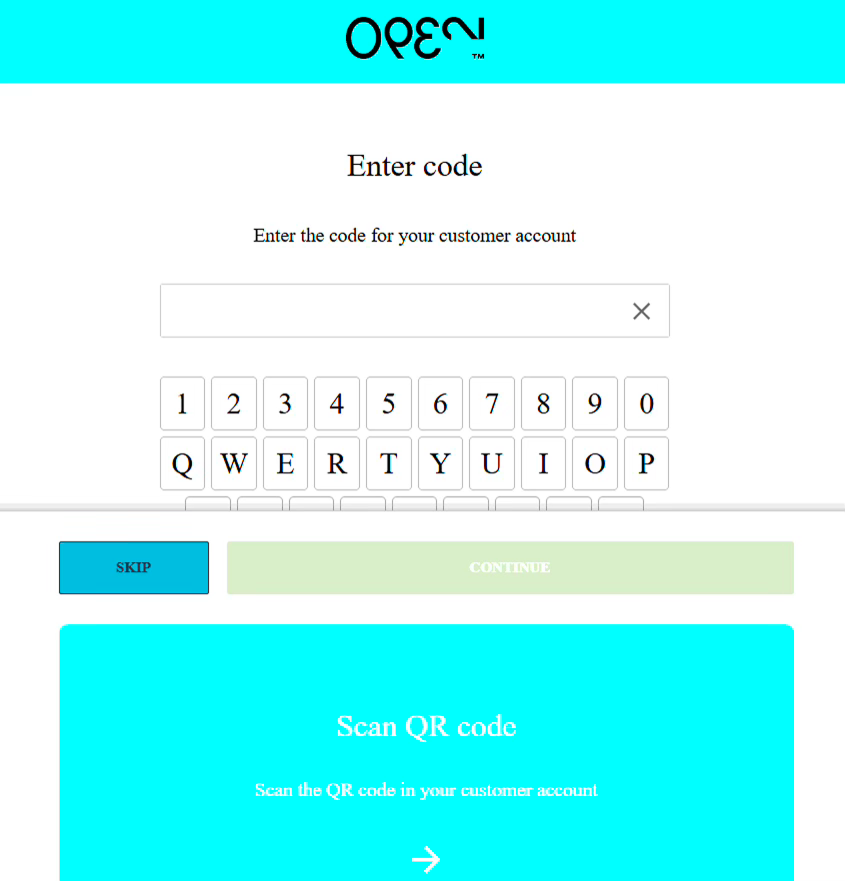
The guest can register their “Customer ID” or scan a QR code connected to their Customer user from the OPEN One database to connect their customer account to the purchase, and get potential discounts connected to their customer account.
Articles in the menu can be tagged with “Allergens and preferences” from OPEN Backoffice. The tags can be used for filtering the menu in OPEN Express.
Internal info
OPEN Express will be available from Open One version 6.6.0.
The Express Checkout should be set up in Backoffice as a regular cash register, so each Express Checkout has its own CR ID. This means that Express behaves like a normal cash register regarding Compliance and signing orders.
There is added functionality to articles and product groups to support adding all necessary information for OPEN Express from Backoffice, such as descriptions, images, allergen info etc.

Set-up, settings and possibilities
Layout editor and settings
When you have set up a cash register ID for your Express CR, go to Settings --> Express checkout layout to edit the look and feel. You can edit colours, background image, font and text size.
If you have several Express CRs, you can save different layouts to different cost centers or cash registers.
Default images added in Express Checkout Layout will be used for articles that don’t have their own specified image.
The setting “Article view type” defines how we show ticket message groups and add ons. Shown separately means you will get a new page for each add on group, Shown Together means all will be shown on the same page.
In Settings --> Settings --> Express Checkout you define Default employee for the incoming orders.
Menu handling
You can use the same menu for OPEN Express as for your other cash registers or create a separate one. Articles with OPEN PRICE will be excluded from the Express Checkout.
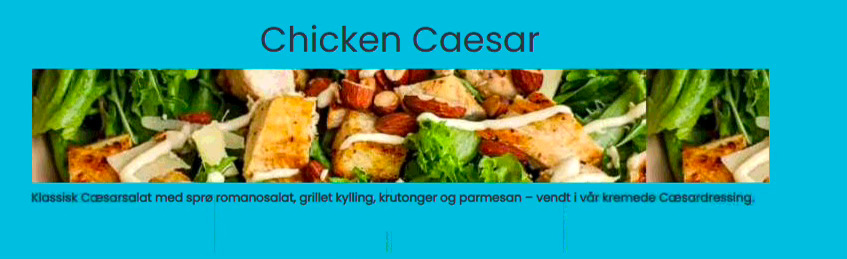
Images and descriptions for the Express Checkout are added to the article itself. Images can also be added to Product group level. For example, you might not want to add different images of all the wines in your wine list, so you can add an illustration image of a standard red wine bottle to all red wines. Image can also be added to Article Combinations, and even to Add ons and Kitchen Ticket Messages.
You have two images – Preview image, and Detailed image.
Preview image is the image that will be shown when you see the full menu.
Detailed image is the image that will be shown when you click the article for more information or for ordering.
Recommended articles
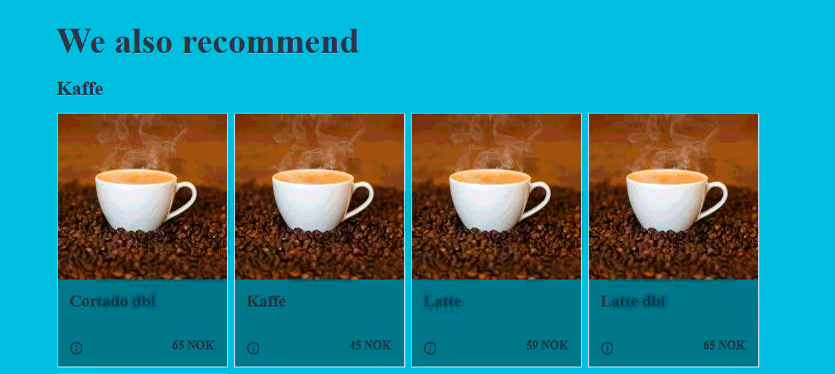
In Backoffice we have a new menu item – Articles --> Recommended article Groups. This is meant as an Upsell feature, to get your customer to purchase more.
You can create a group of articles – for example Recommendation group “Coffee” – and add all your coffee articles to this group.
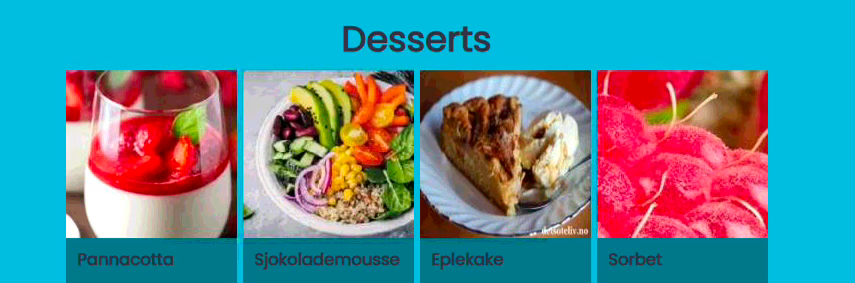
Then on Product Group level, I can connect this Recommendation group to a product group – for example Coffee groups should be recommended every time I sell an article in product group “Desserts”.
Allergens and Preferences
Allergens and Preferences are set up using Article Filters. We have added Article Filter Types “Allergens” and “Preferences”. Set up “Allergens” as a filter group with Type “Allergens”, and equally for Preferences. Then add the allergens and preferences you want to be able to filter in the Express Checkout as filter items. Article Filters must then be connected to the articles on the menu.
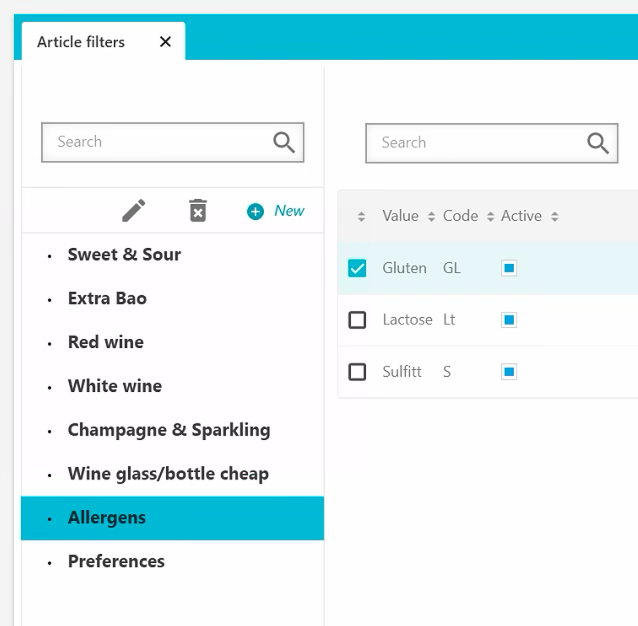
You now have a filtering menu in your OPEN Express.
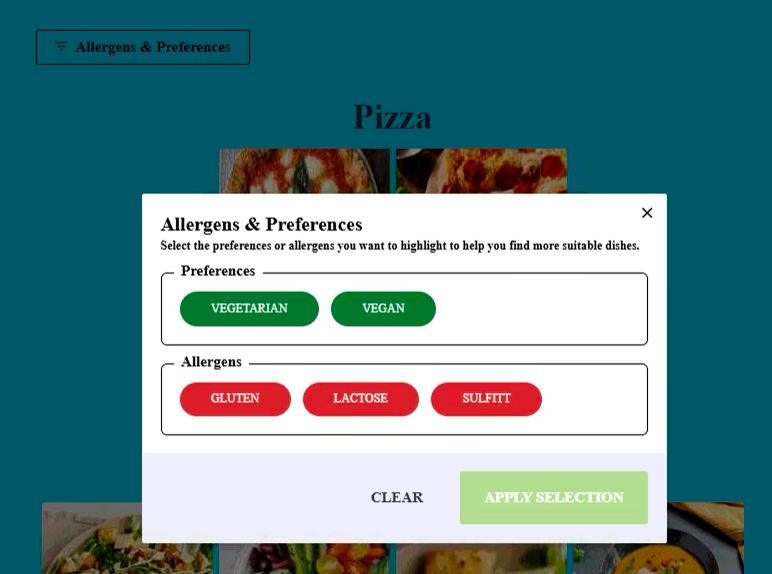
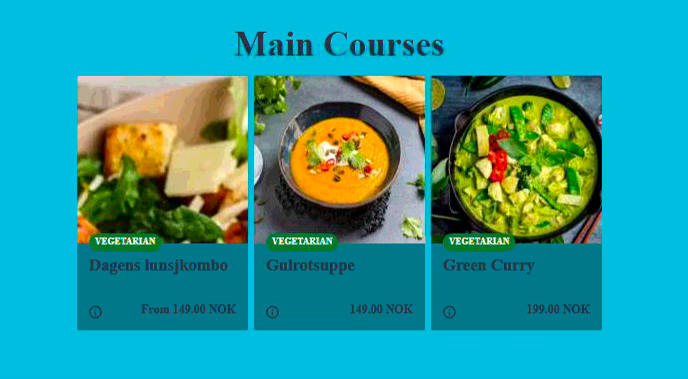
When filtering a PREFERENCE, all items that are NOT tagged with this preference, will be hidden – so you will only see your preferred choice.
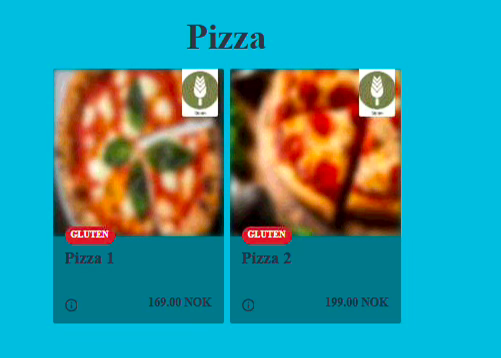
When filtering an ALLERGEN, all articles in the menu are still visible, but the allergen tag is shown on the menu item, and the image on the articles containing this allergen is blurred.
Customer loyalty
In Settings --> Express checkout layout, you can define setting “Support customers”.
If this is set to True, you will get the option to connect a customer account to the Express purchase.
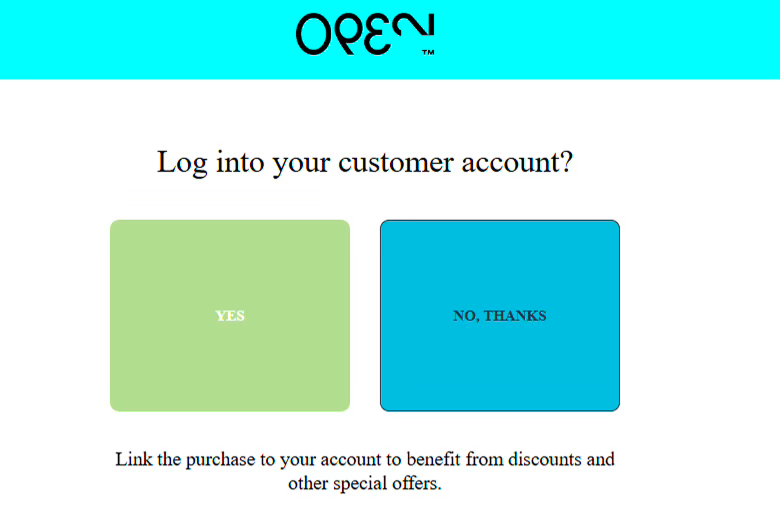
If you choose YES, you will get the option to either scan a QR, or manually input customer ID. In Express Checkout Layout you can define the direction you want the arrow in “Scan QR code” message to point – depending on where you have the scanner set up.
When a customer from the Open One database is connected to the order, discounts connected to this customer or customer group is supported in OPEN Express.