Create & manage articles
Let's go through how to easily create and work with articles in OPEN Two.
Create new articles
Step-by-step
Follow these simple steps to create an article in BackOffice.
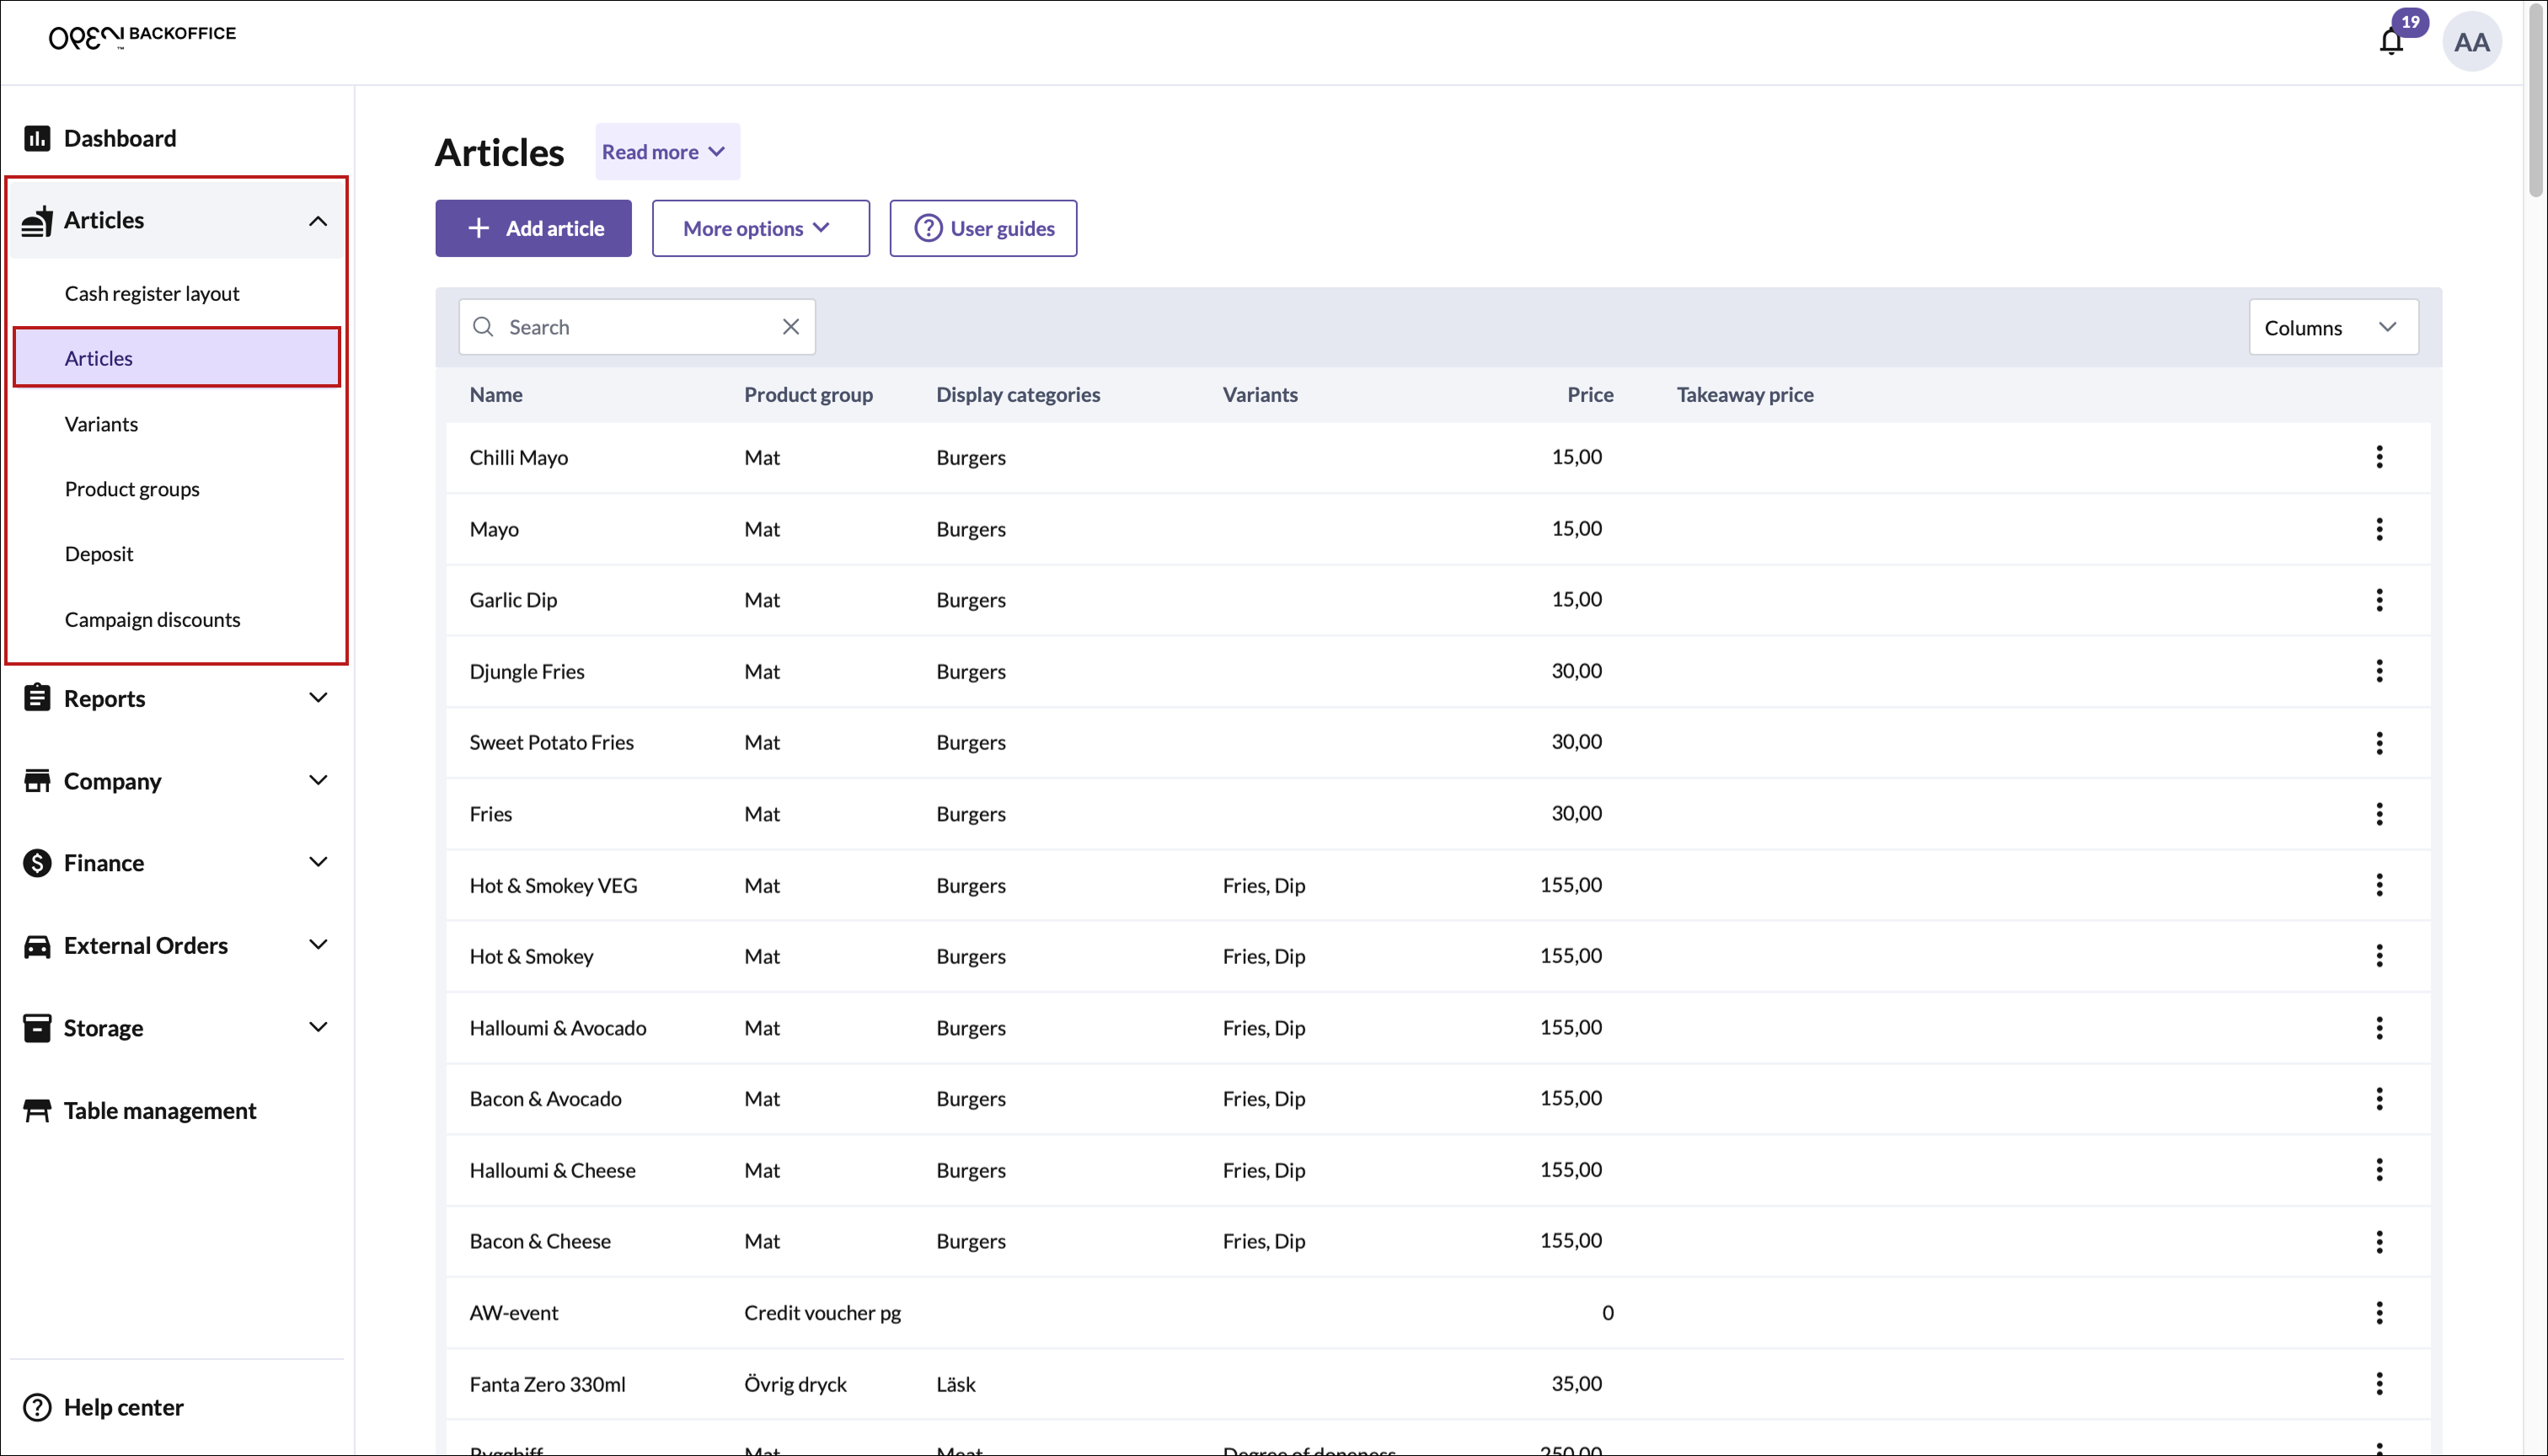
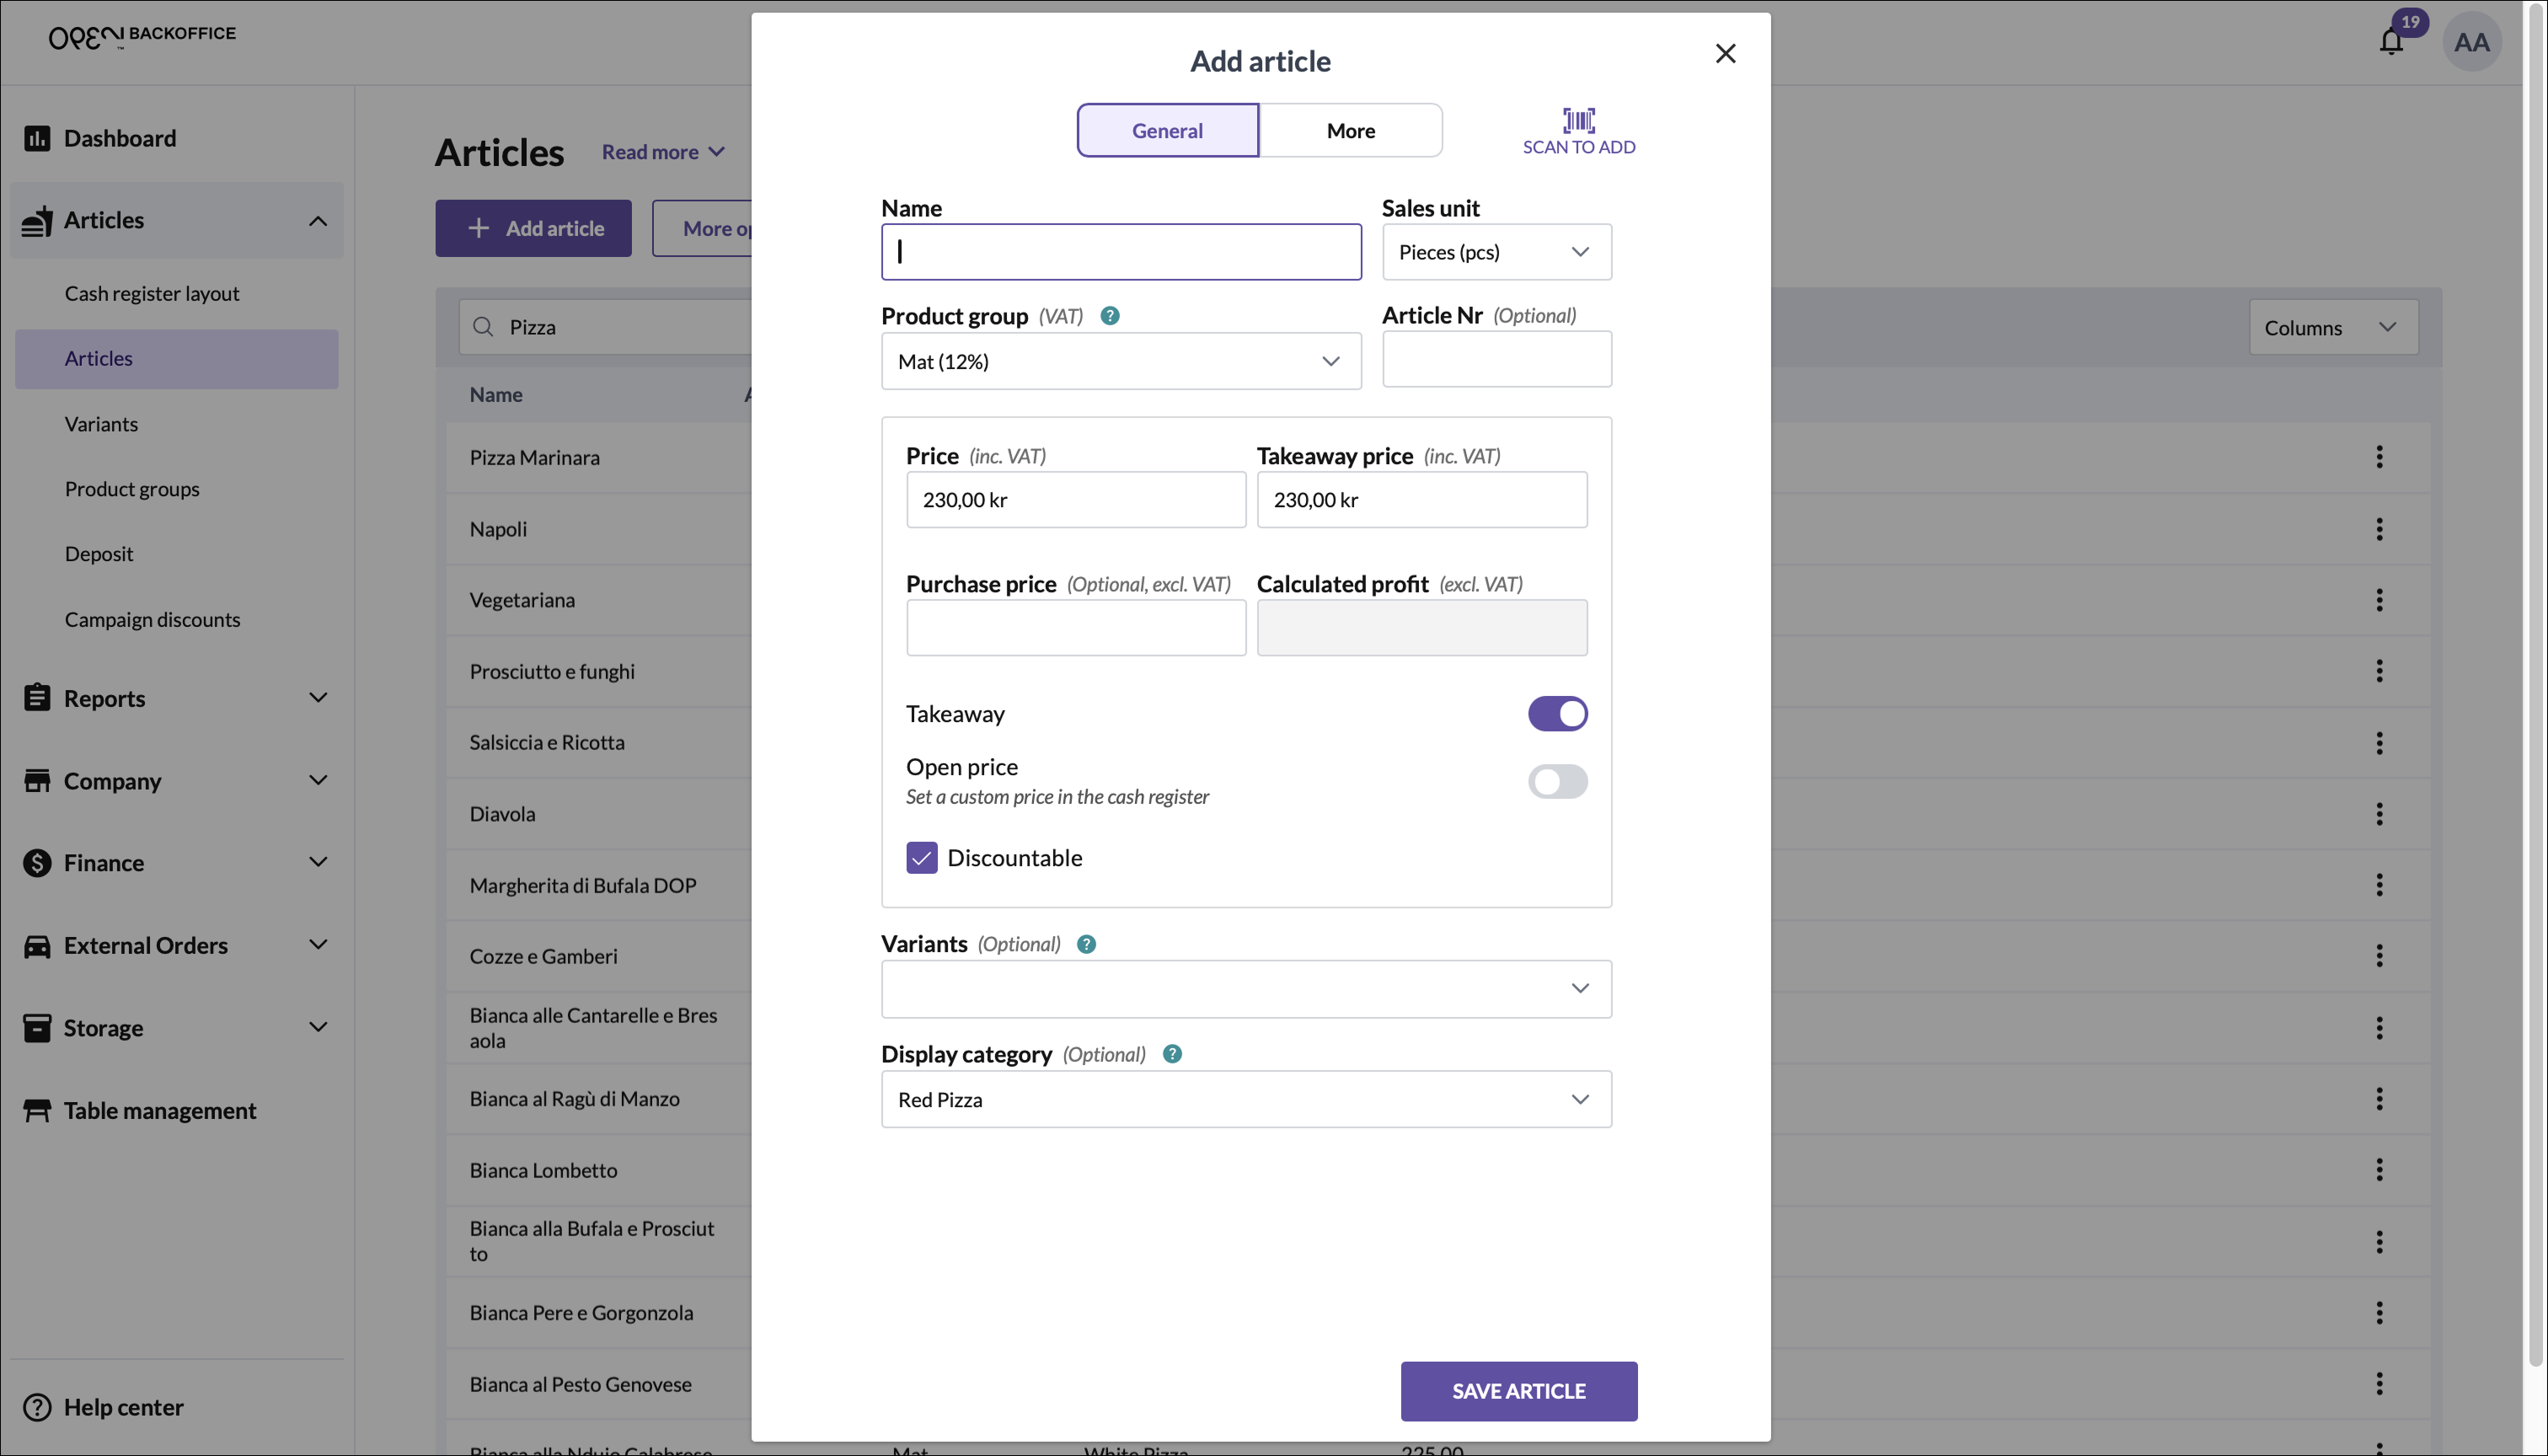
In the BackOffice menu, open Articles and go to the Articles page.
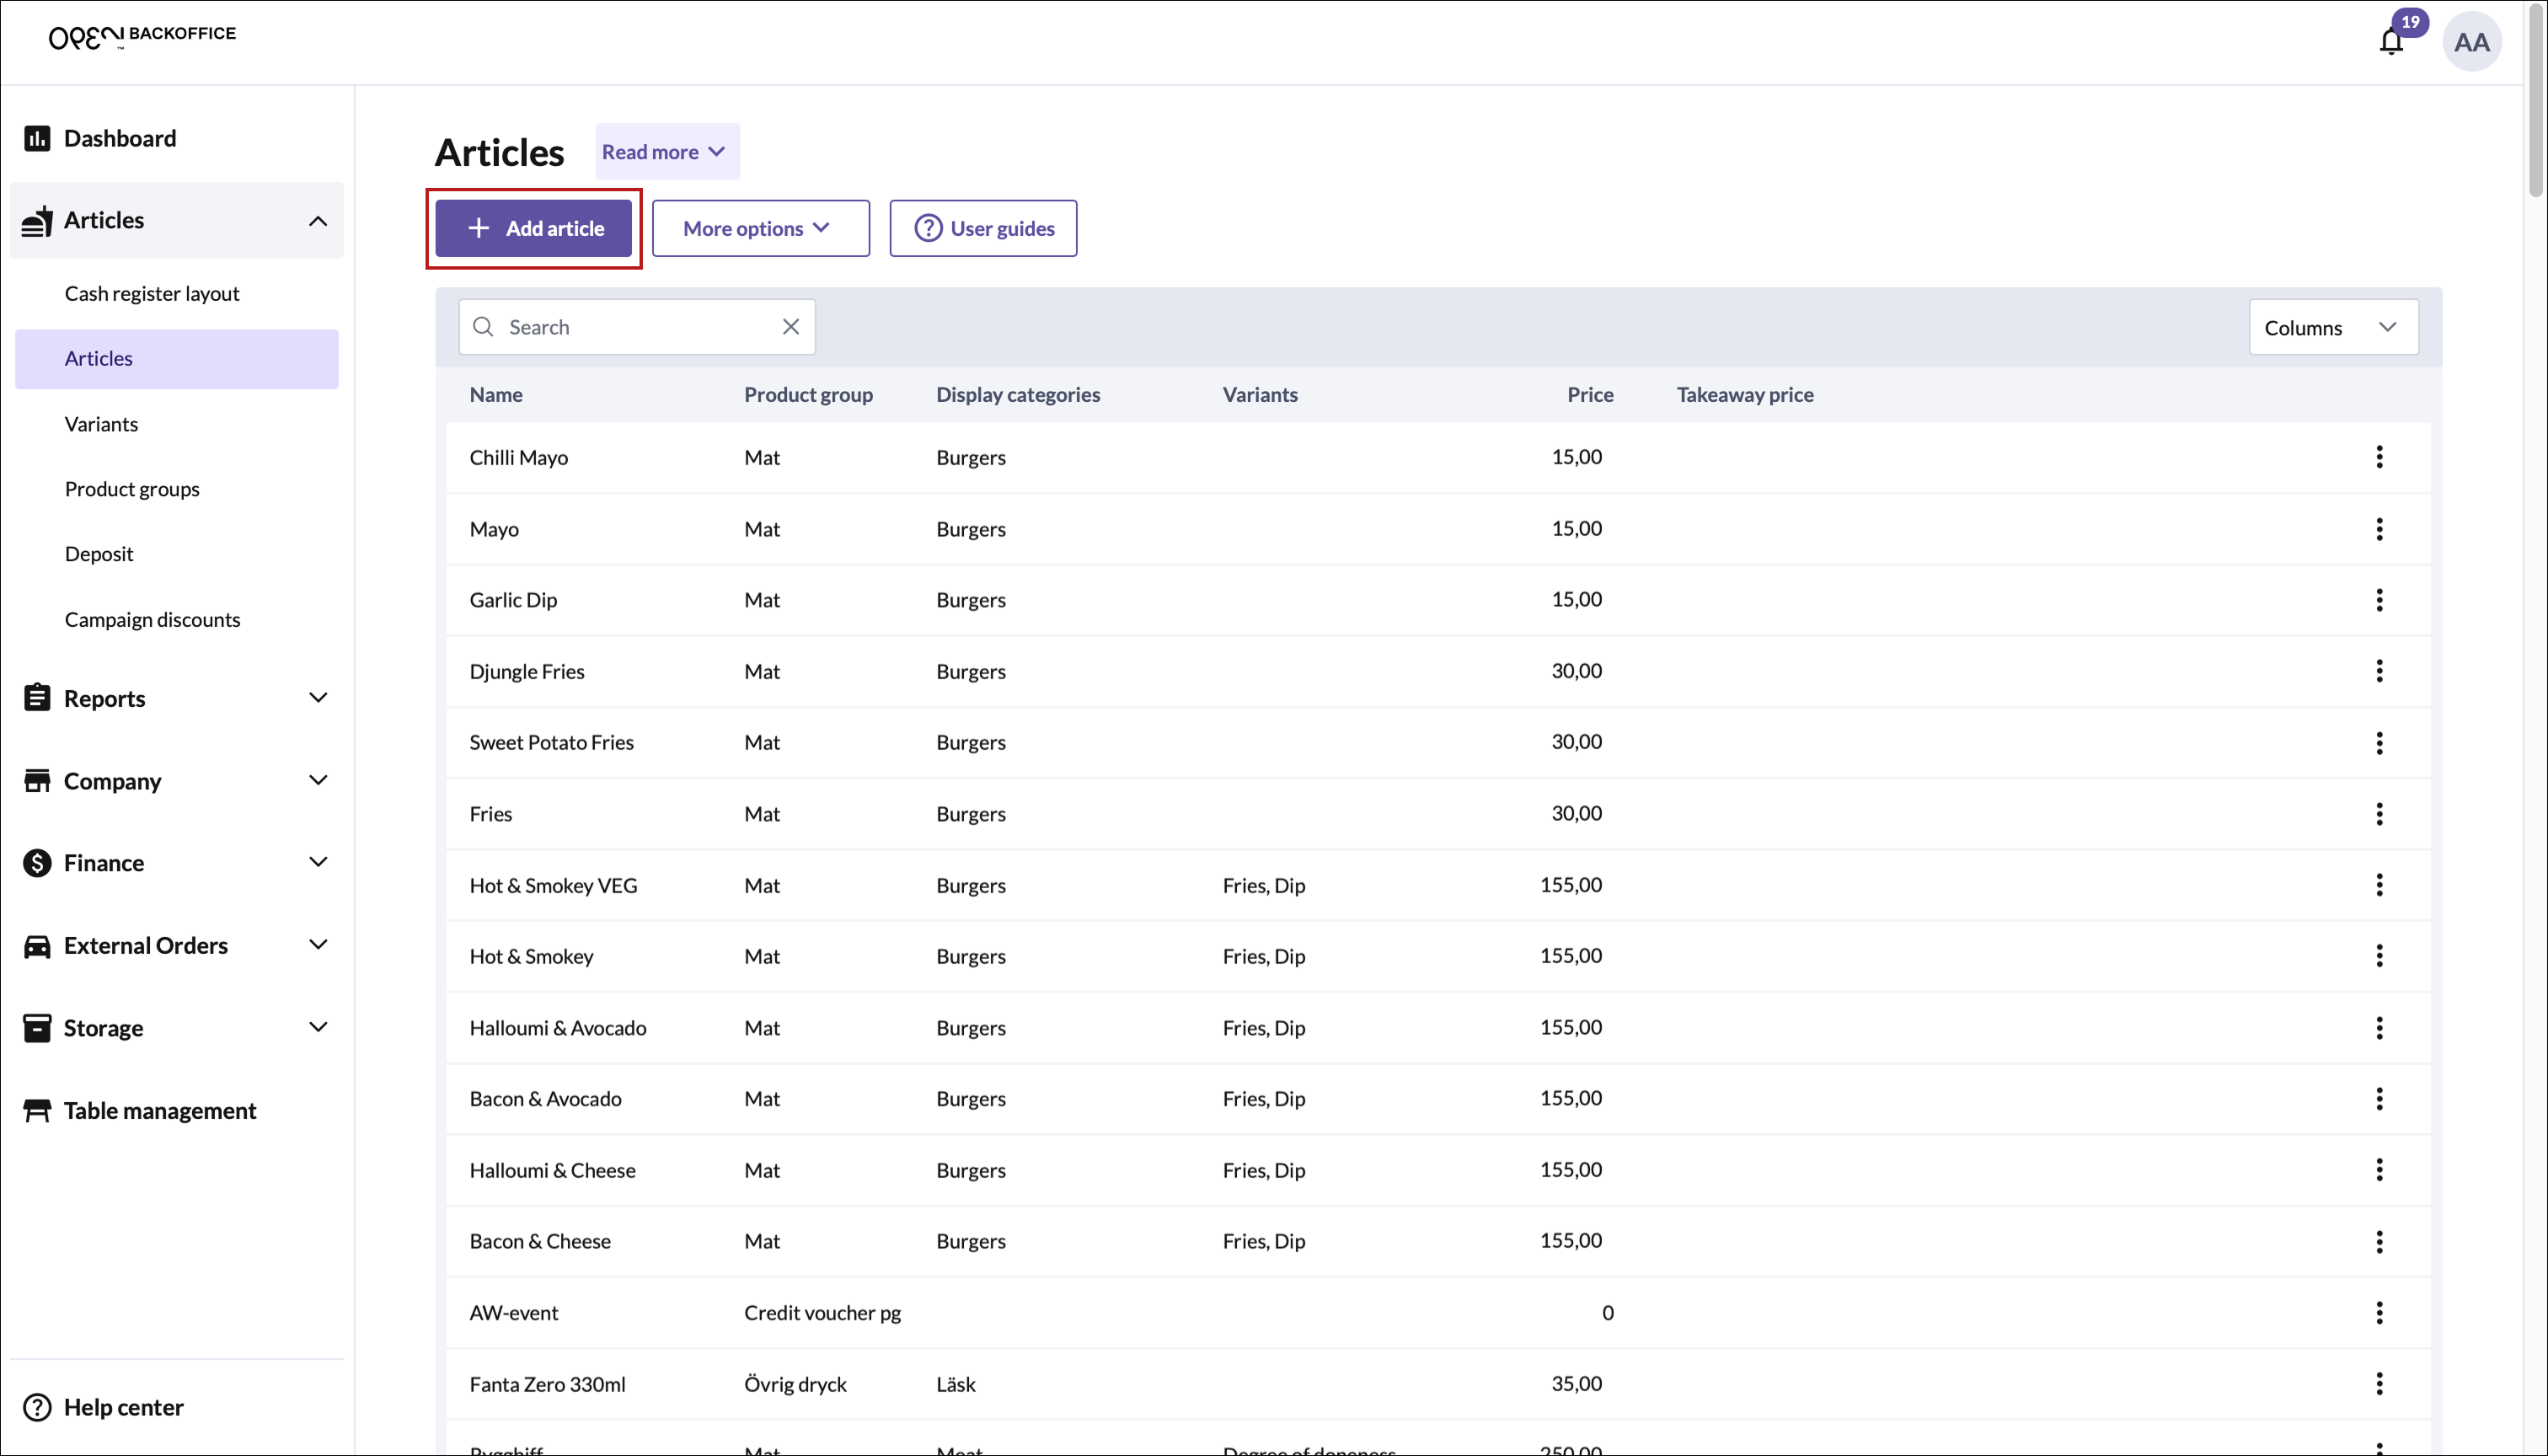
Press the Add article button.
In the dialog that opens, fill in the settings.
The most basic settings can be found on the 'General' tab, of which only a few are required for each article.
Note
The required settings are highlighted in below picture, but there are more settings to apply as needed.
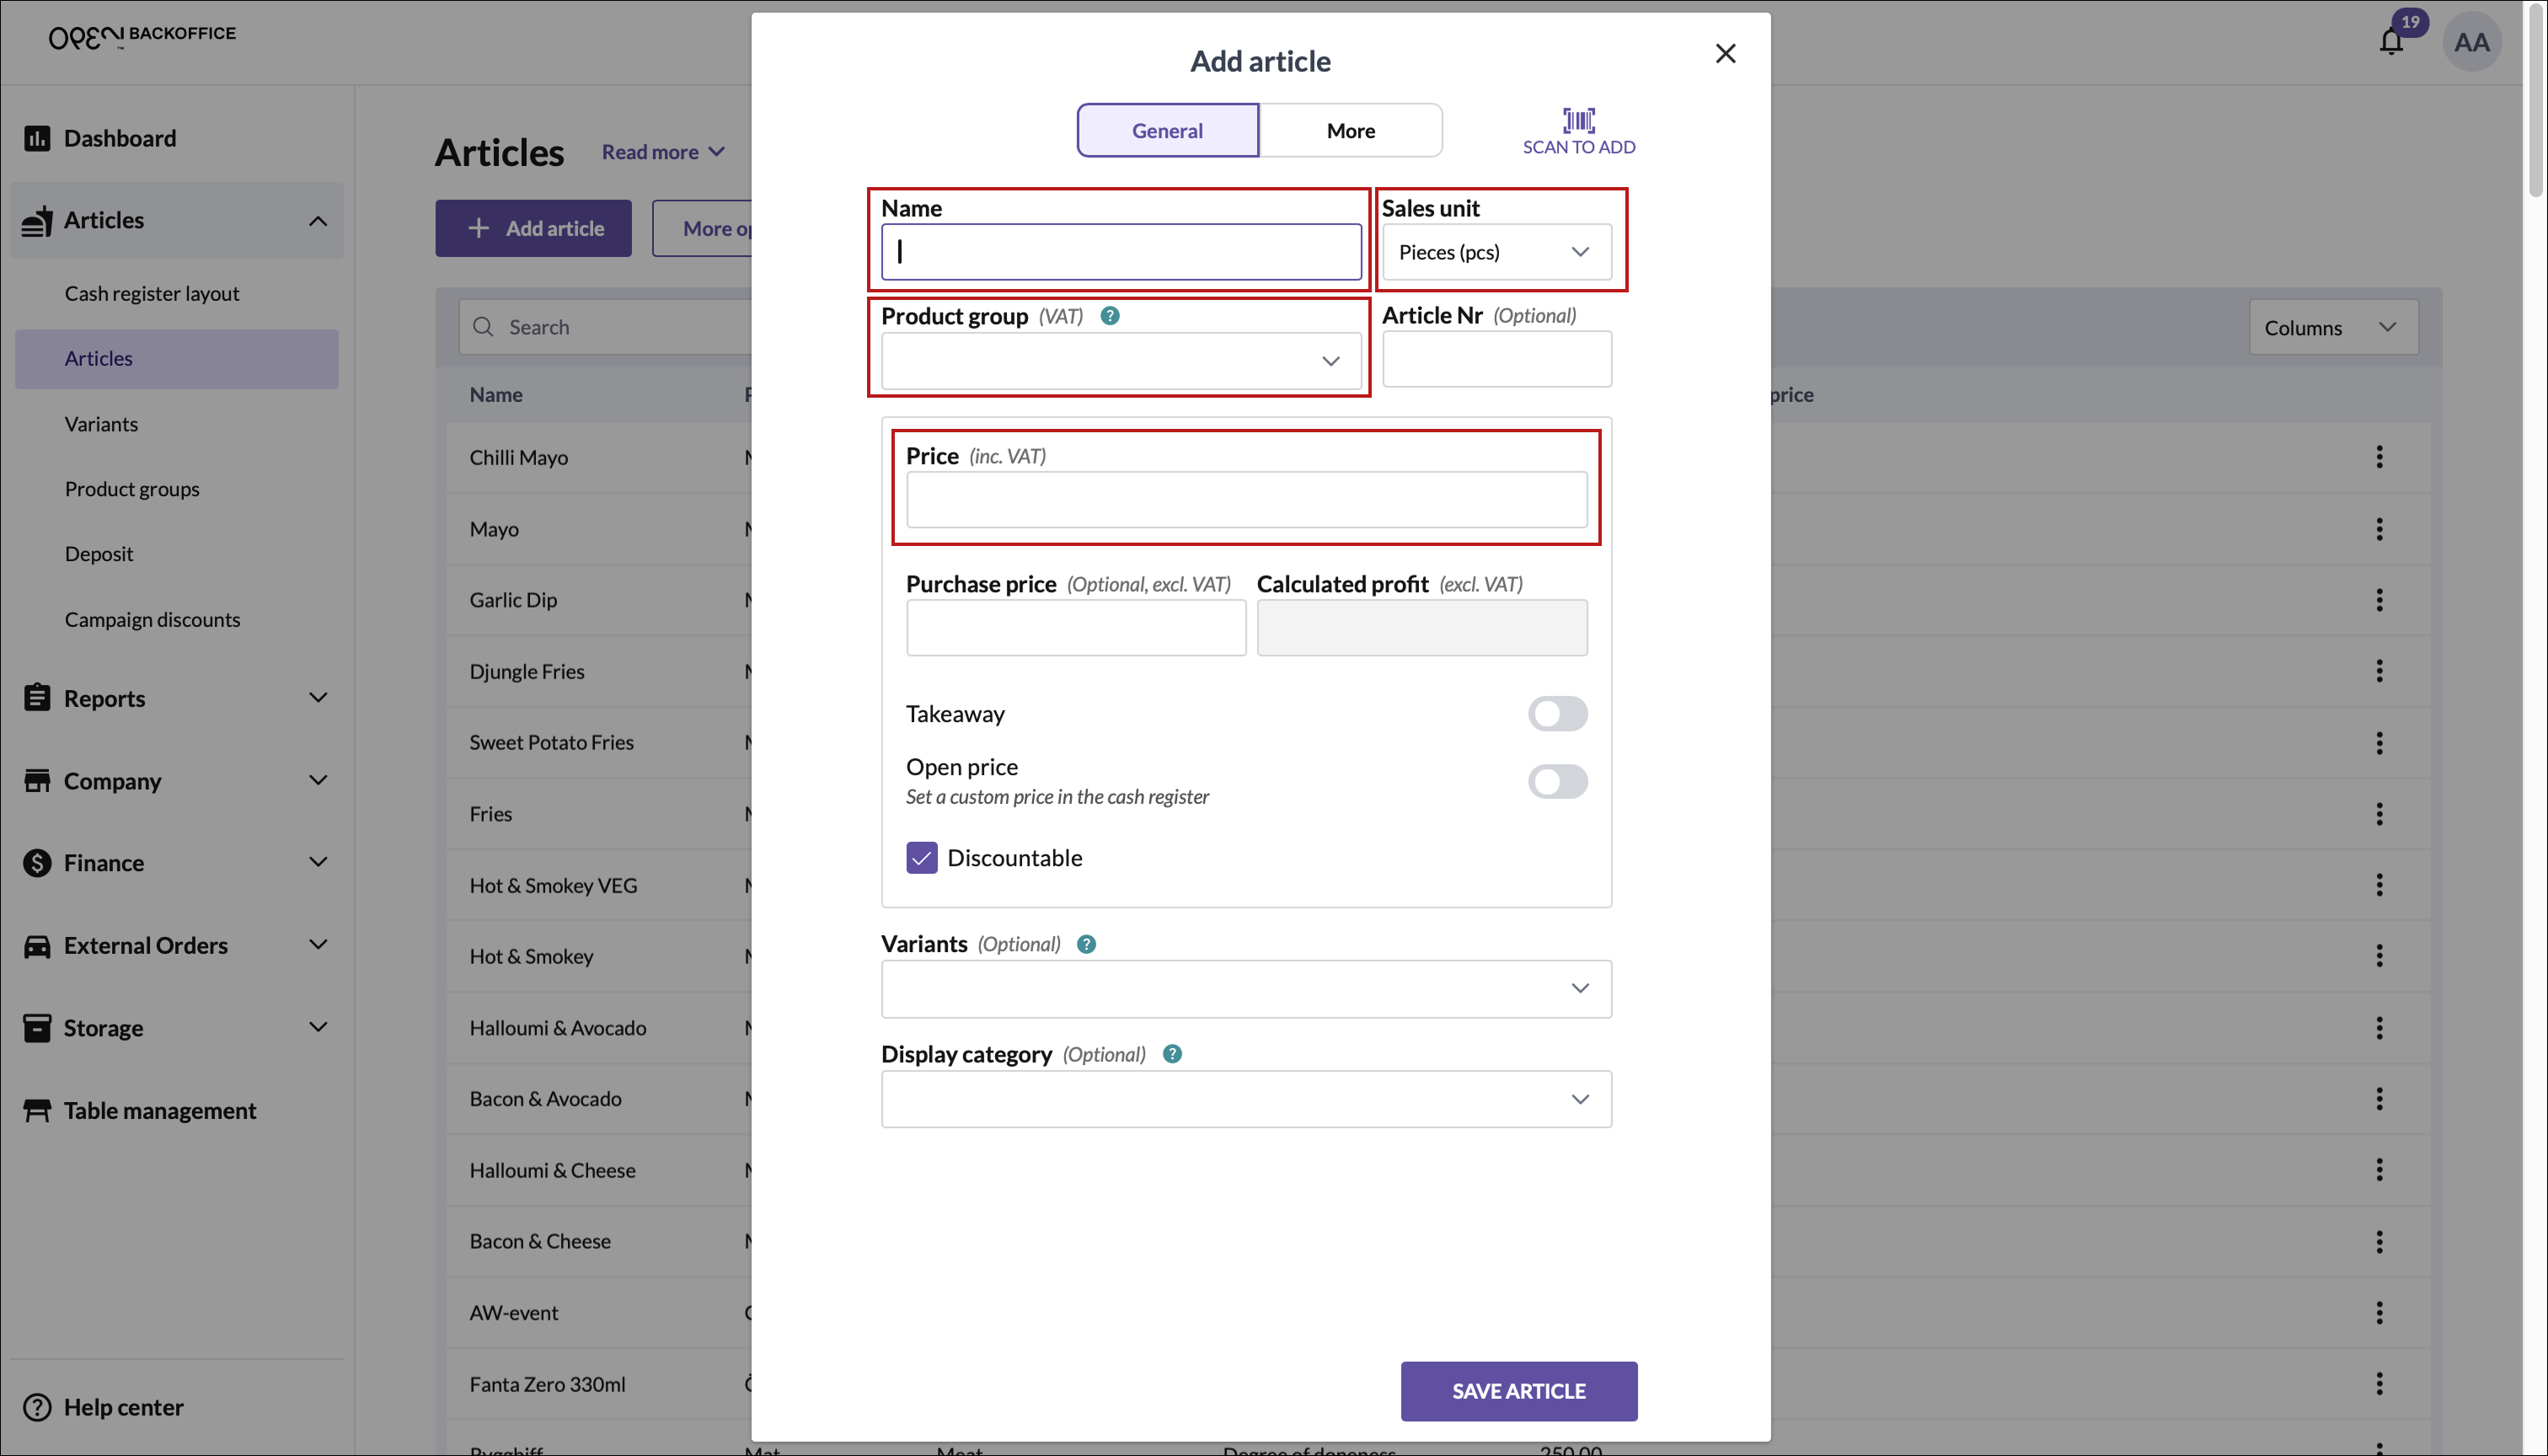
Click Save article in the bottom right corner.


General article settings
These settings are found under the 'General' tab.
| Setting | Required | About this setting |
|---|---|---|
| Name | ✅ | Free text |
| Sales unit | ✅ | Default option: pieces (pcs) |
| Article nr | Letters & digits | |
| Product group | ✅ | Determines VAT |
| Price | ✅ | Fixed or open price |
| Purchase price | ✅ | When added, the calculated profit is displayed |
| Set as 'Takeaway' item | Enables adding a takeaway price | |
| Set as discountable | Enabled by default, allows adding discounts in POS | |
| Variants | Modifications such as size, flavour etc | |
| Display group | Where the article appears in POS |
Advanced article settings
These settings are found under the 'More' tab.
Note
Some settings are only visible if you have a specific license, e.g. storage license.
| Setting | Required | About this setting |
|---|---|---|
| Set as 'Active' | Enabled by default, makes the article visible in POS | |
| Print kitchen ticket | Enables the item to be included in kitchen tickets | |
| Inventory tracking | Allows the item to be added to a storage | |
| SKU | ✅* | Only required if 'Stock tracking' is enabled |
| Deposit | Includes a deposit in the price, redeemable separately | |
| Printer category | Group articles to send to the right kitchen printer | |
| Barcodes | Add barcodes via scanner or manually | |
| Description | Item description that is available in POS, menus etc | |
| Ingredients | Ingredients list that is available in POS, menus etc | |
| Allergens | Allergens list that is available in POS, menus etc | |
| Image | Visible in POS, menus etc |
*SKU is only required when inventory tracking is enabled.
Copy articles
It's easy to make a copy of an article, providing the new article with the same settings as the original except for name, SKU and barcodes. This is convenient if you have several similar products and want a faster way to add them to your product range in BackOffice.
To copy an article, follow these steps:
In the BackOffice menu, open Articles and go to the Articles page.
Locate the article you want to copy and press the three dot-button in the right corner.
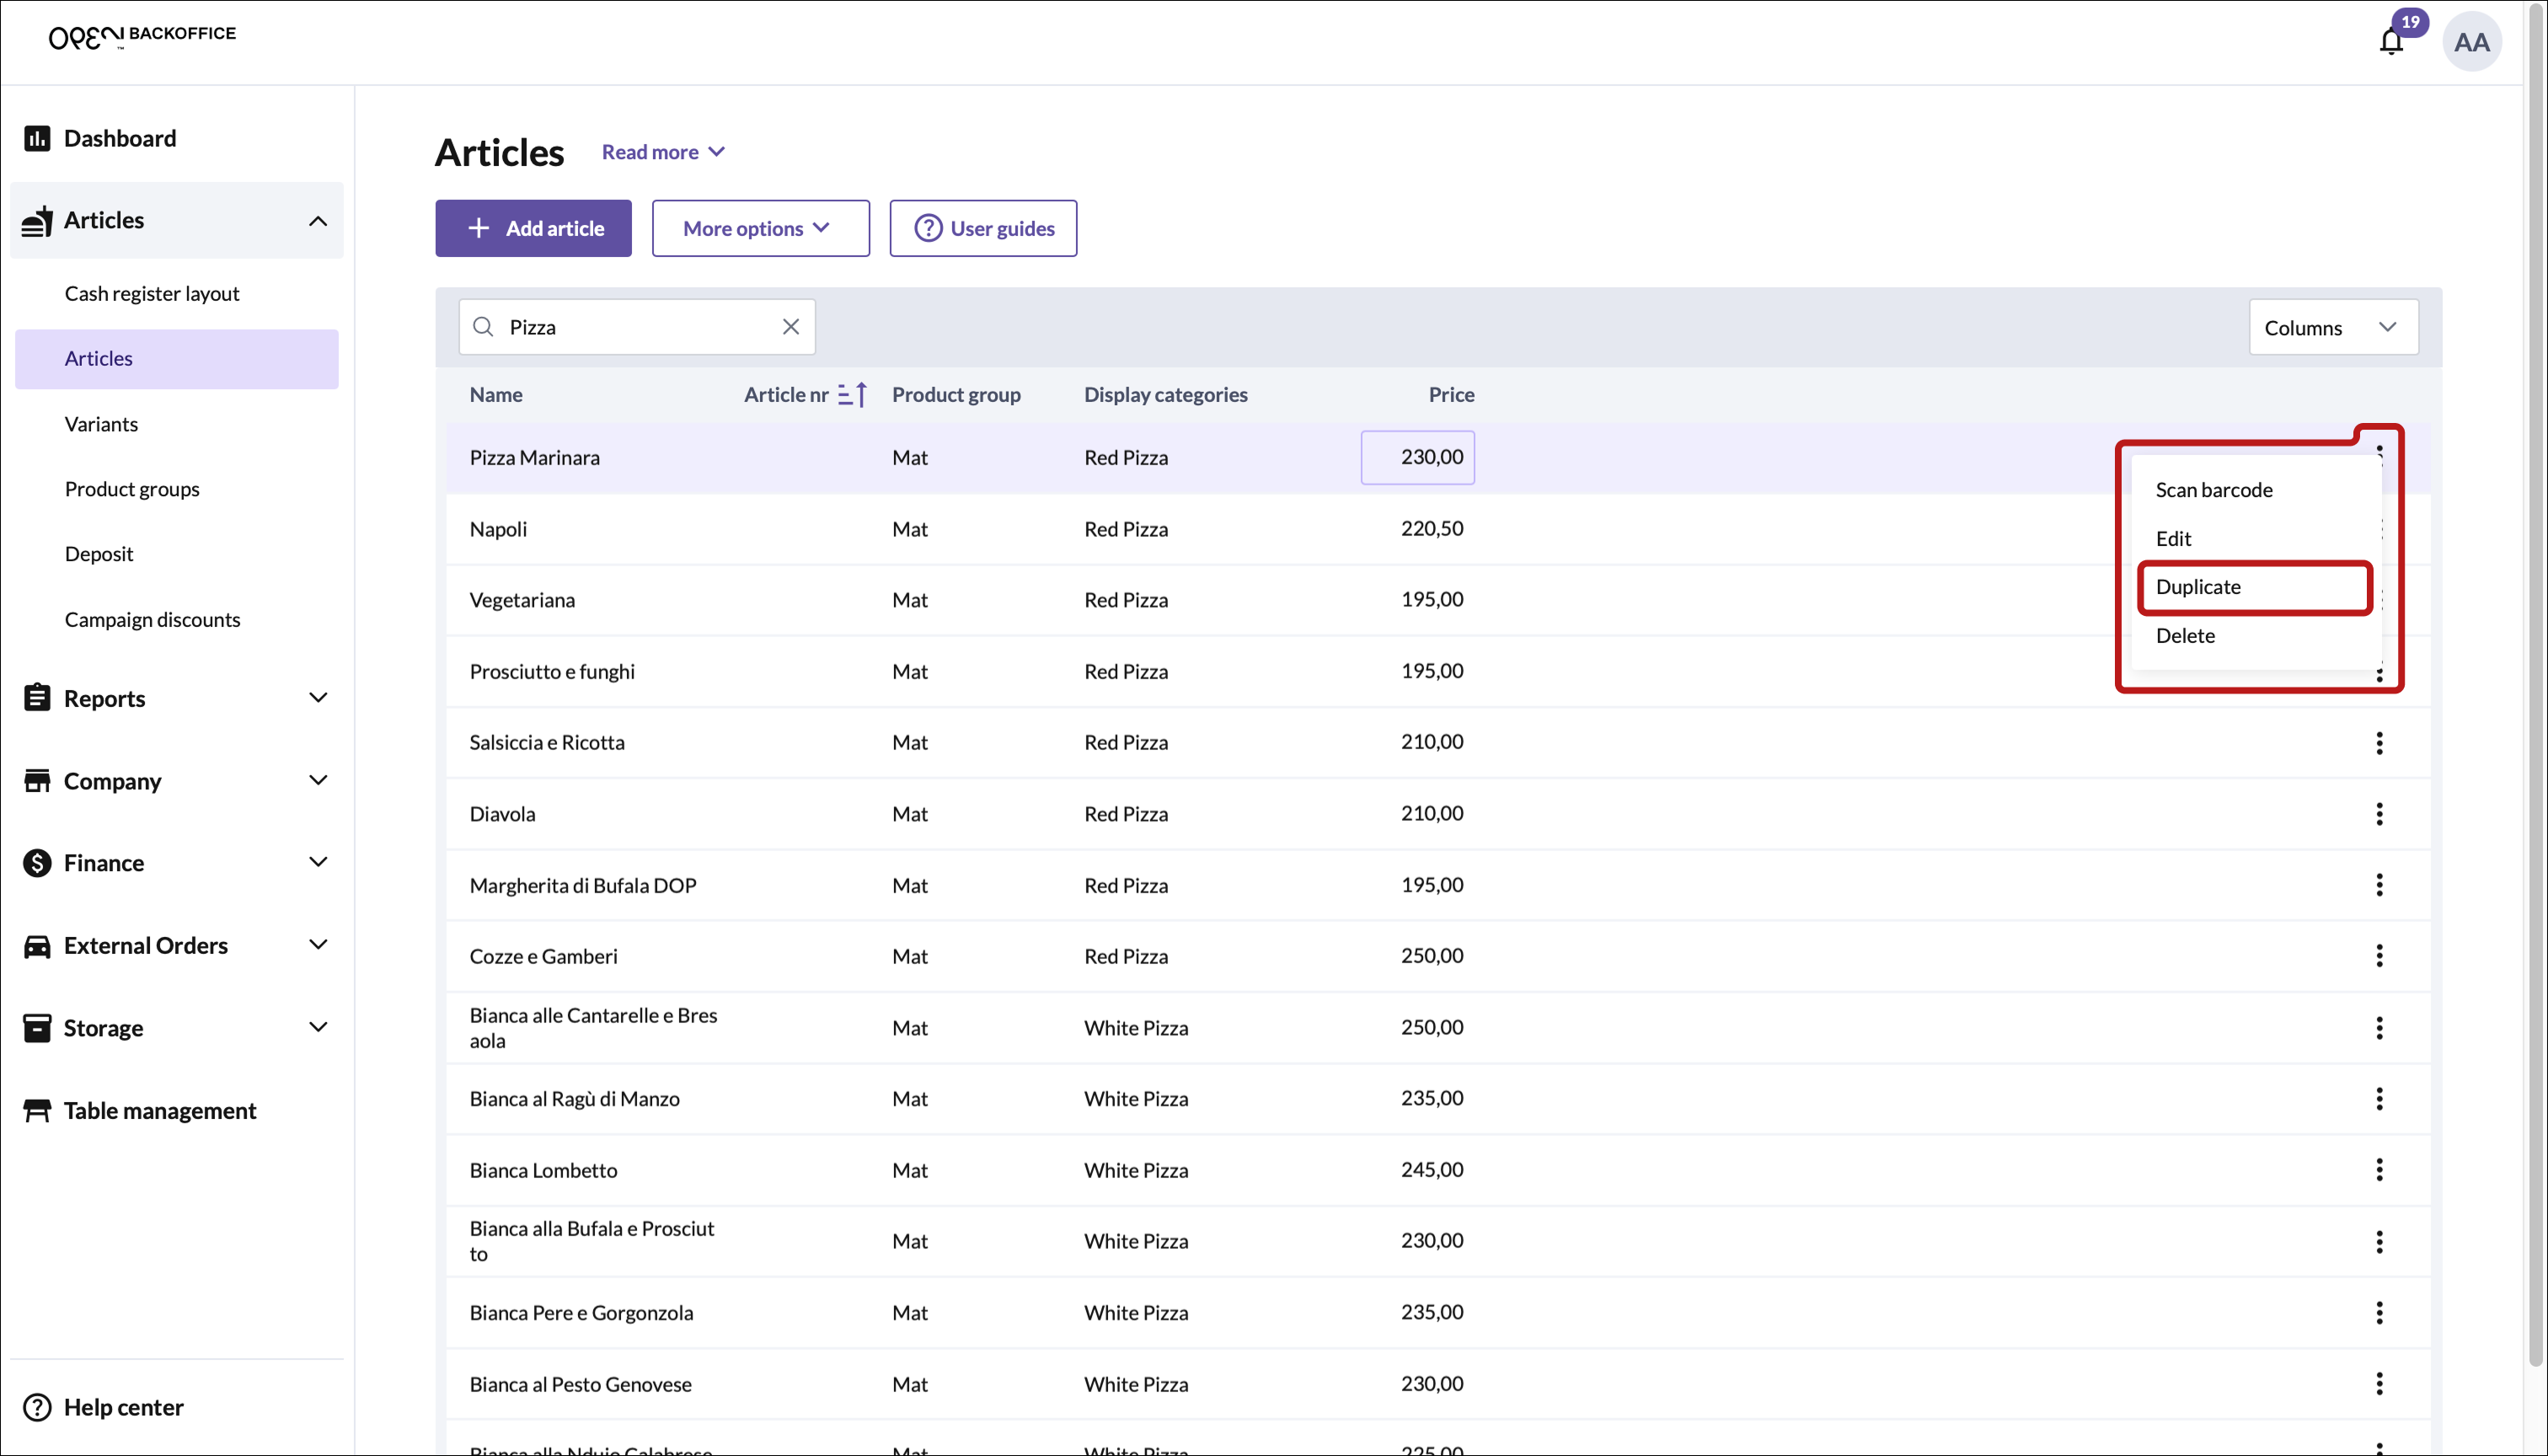
Select Duplicate.
In the dialog that opens, add a name and make further changes if needed.
Press Save article.


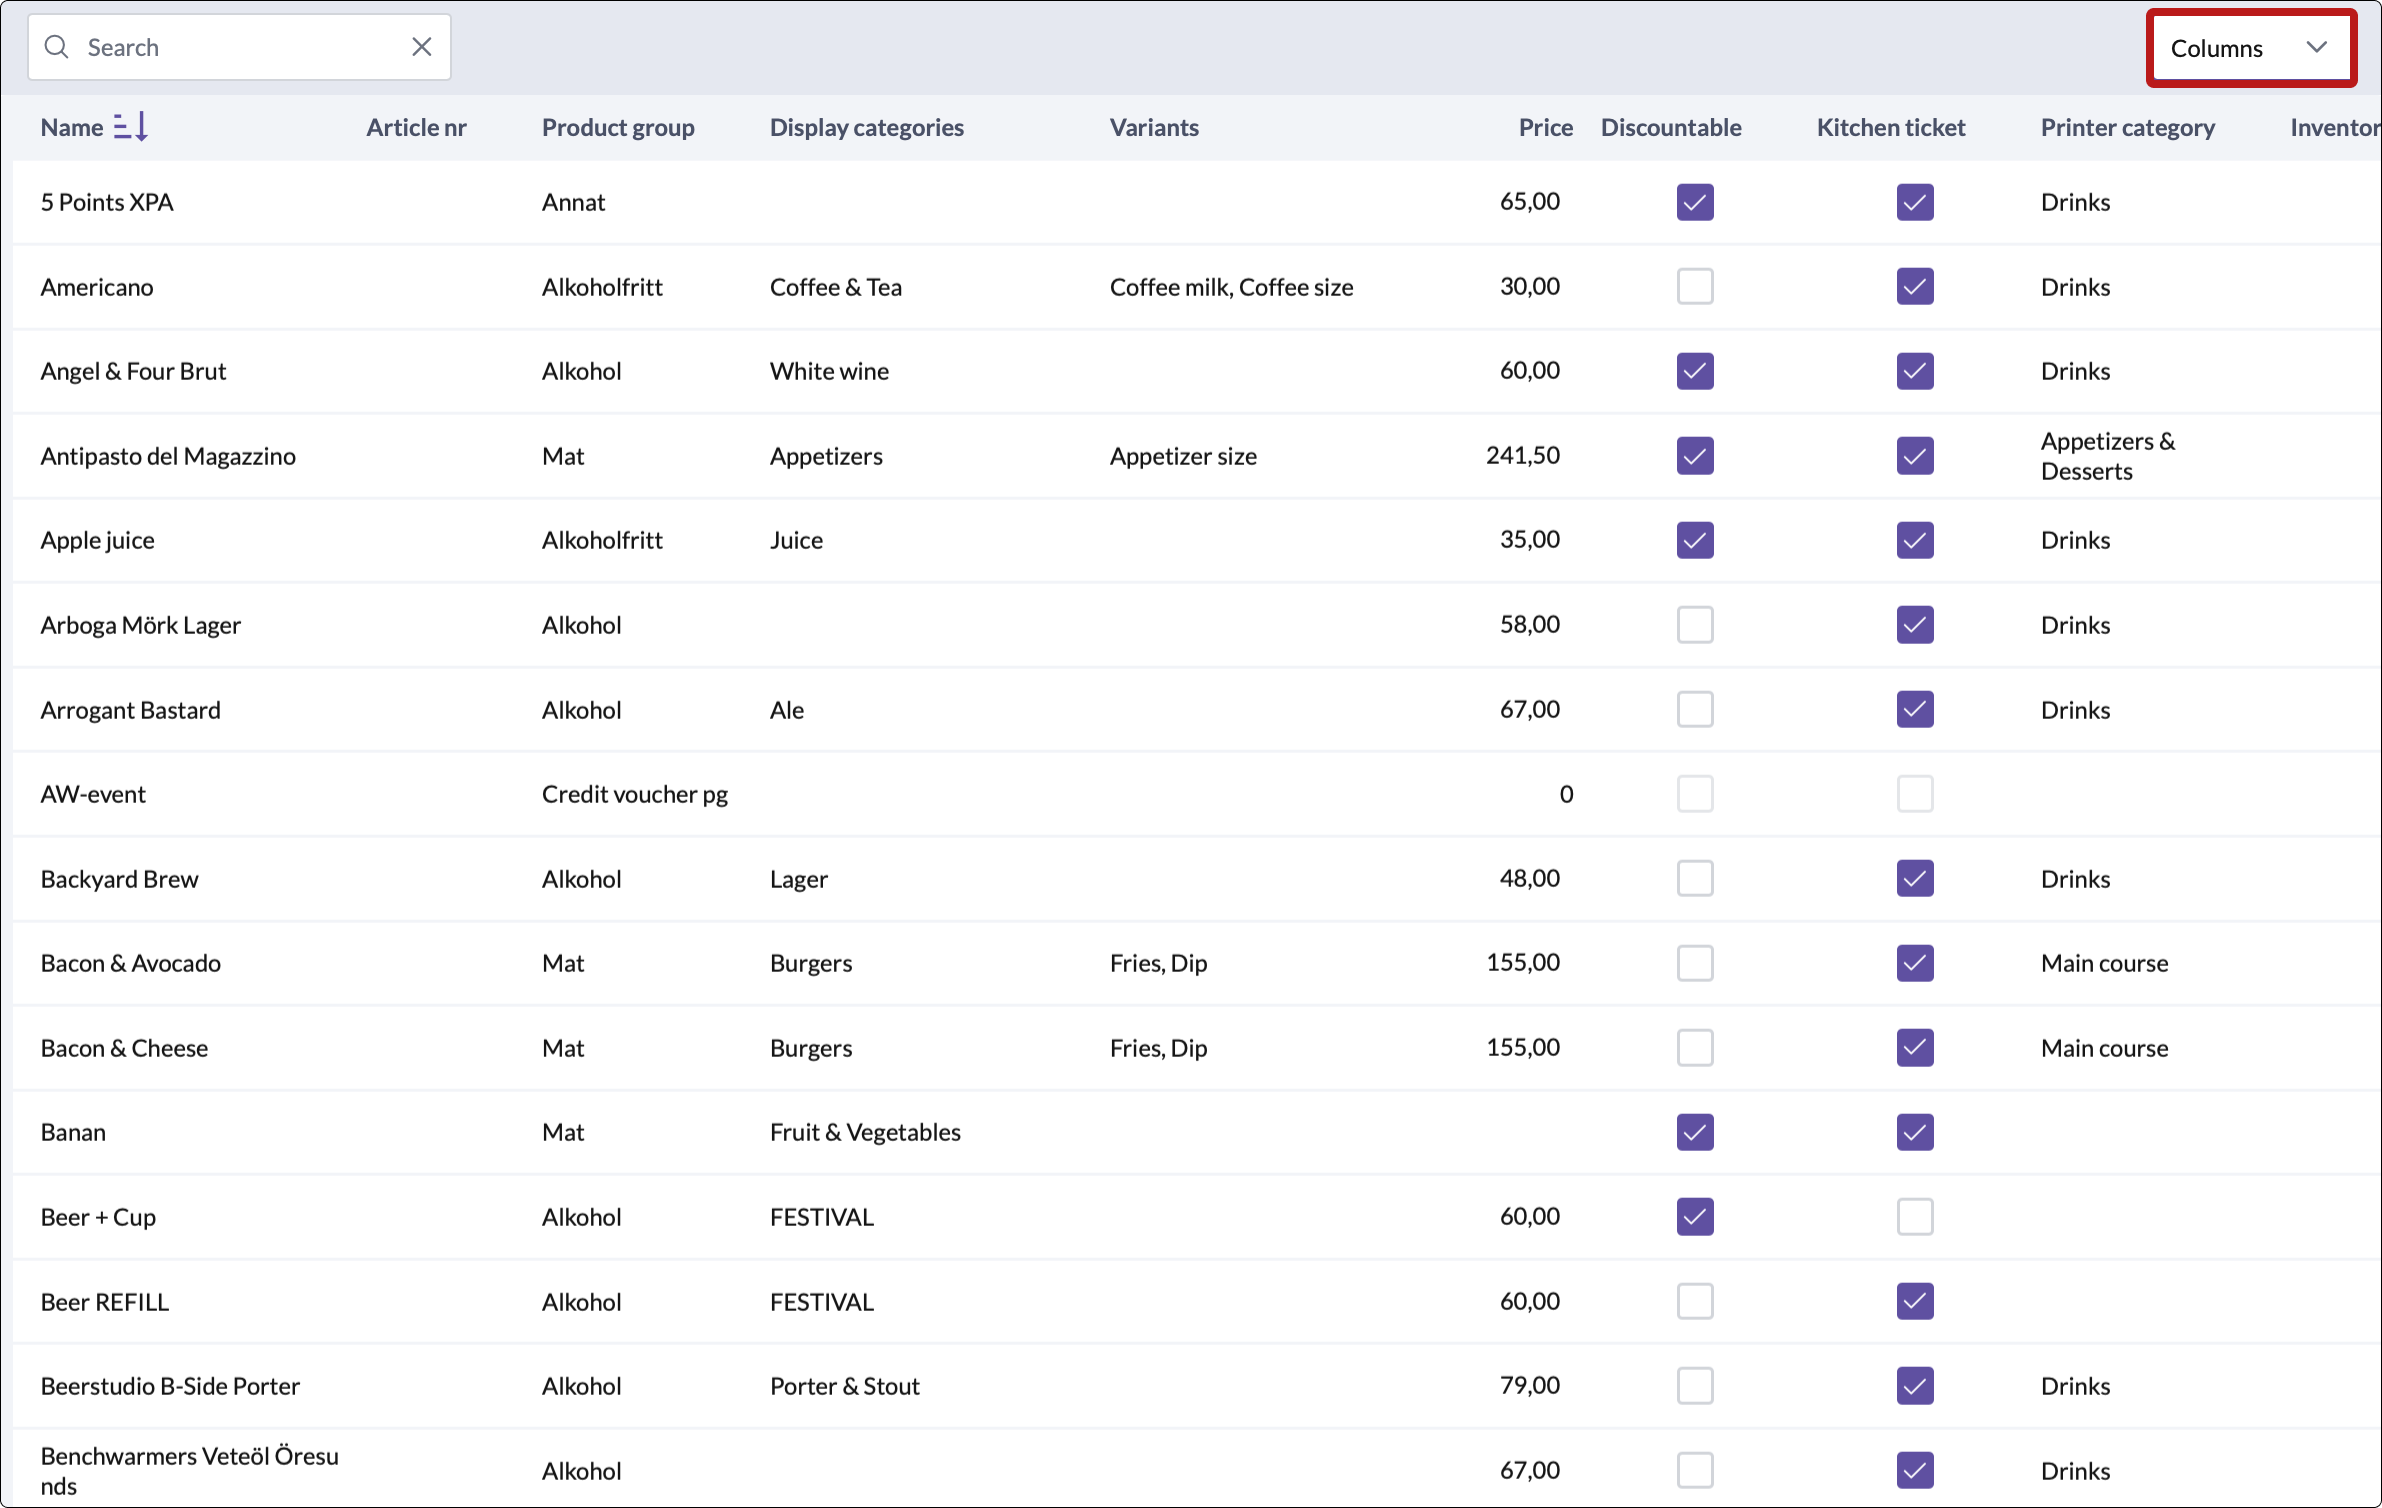
Working with the 'Articles' table
Here are some helpful tips for managing your articles more efficiently.
Table overview
The Article's table lists all your articles and provides several ways to make quick changes or find specific information. All article settings are displayed as columns in the table, making the list scrollable both vertically and horizontally.

You can customize the table to focus only on the information that matters most to you — by choosing which columns to show or hide.
How to customize columns
To show or hide specific columns:
- Click the Columns menu (top right corner of the table).
- Scroll through the menu to view all available options.
- Check or uncheck the columns you want to display or hide.
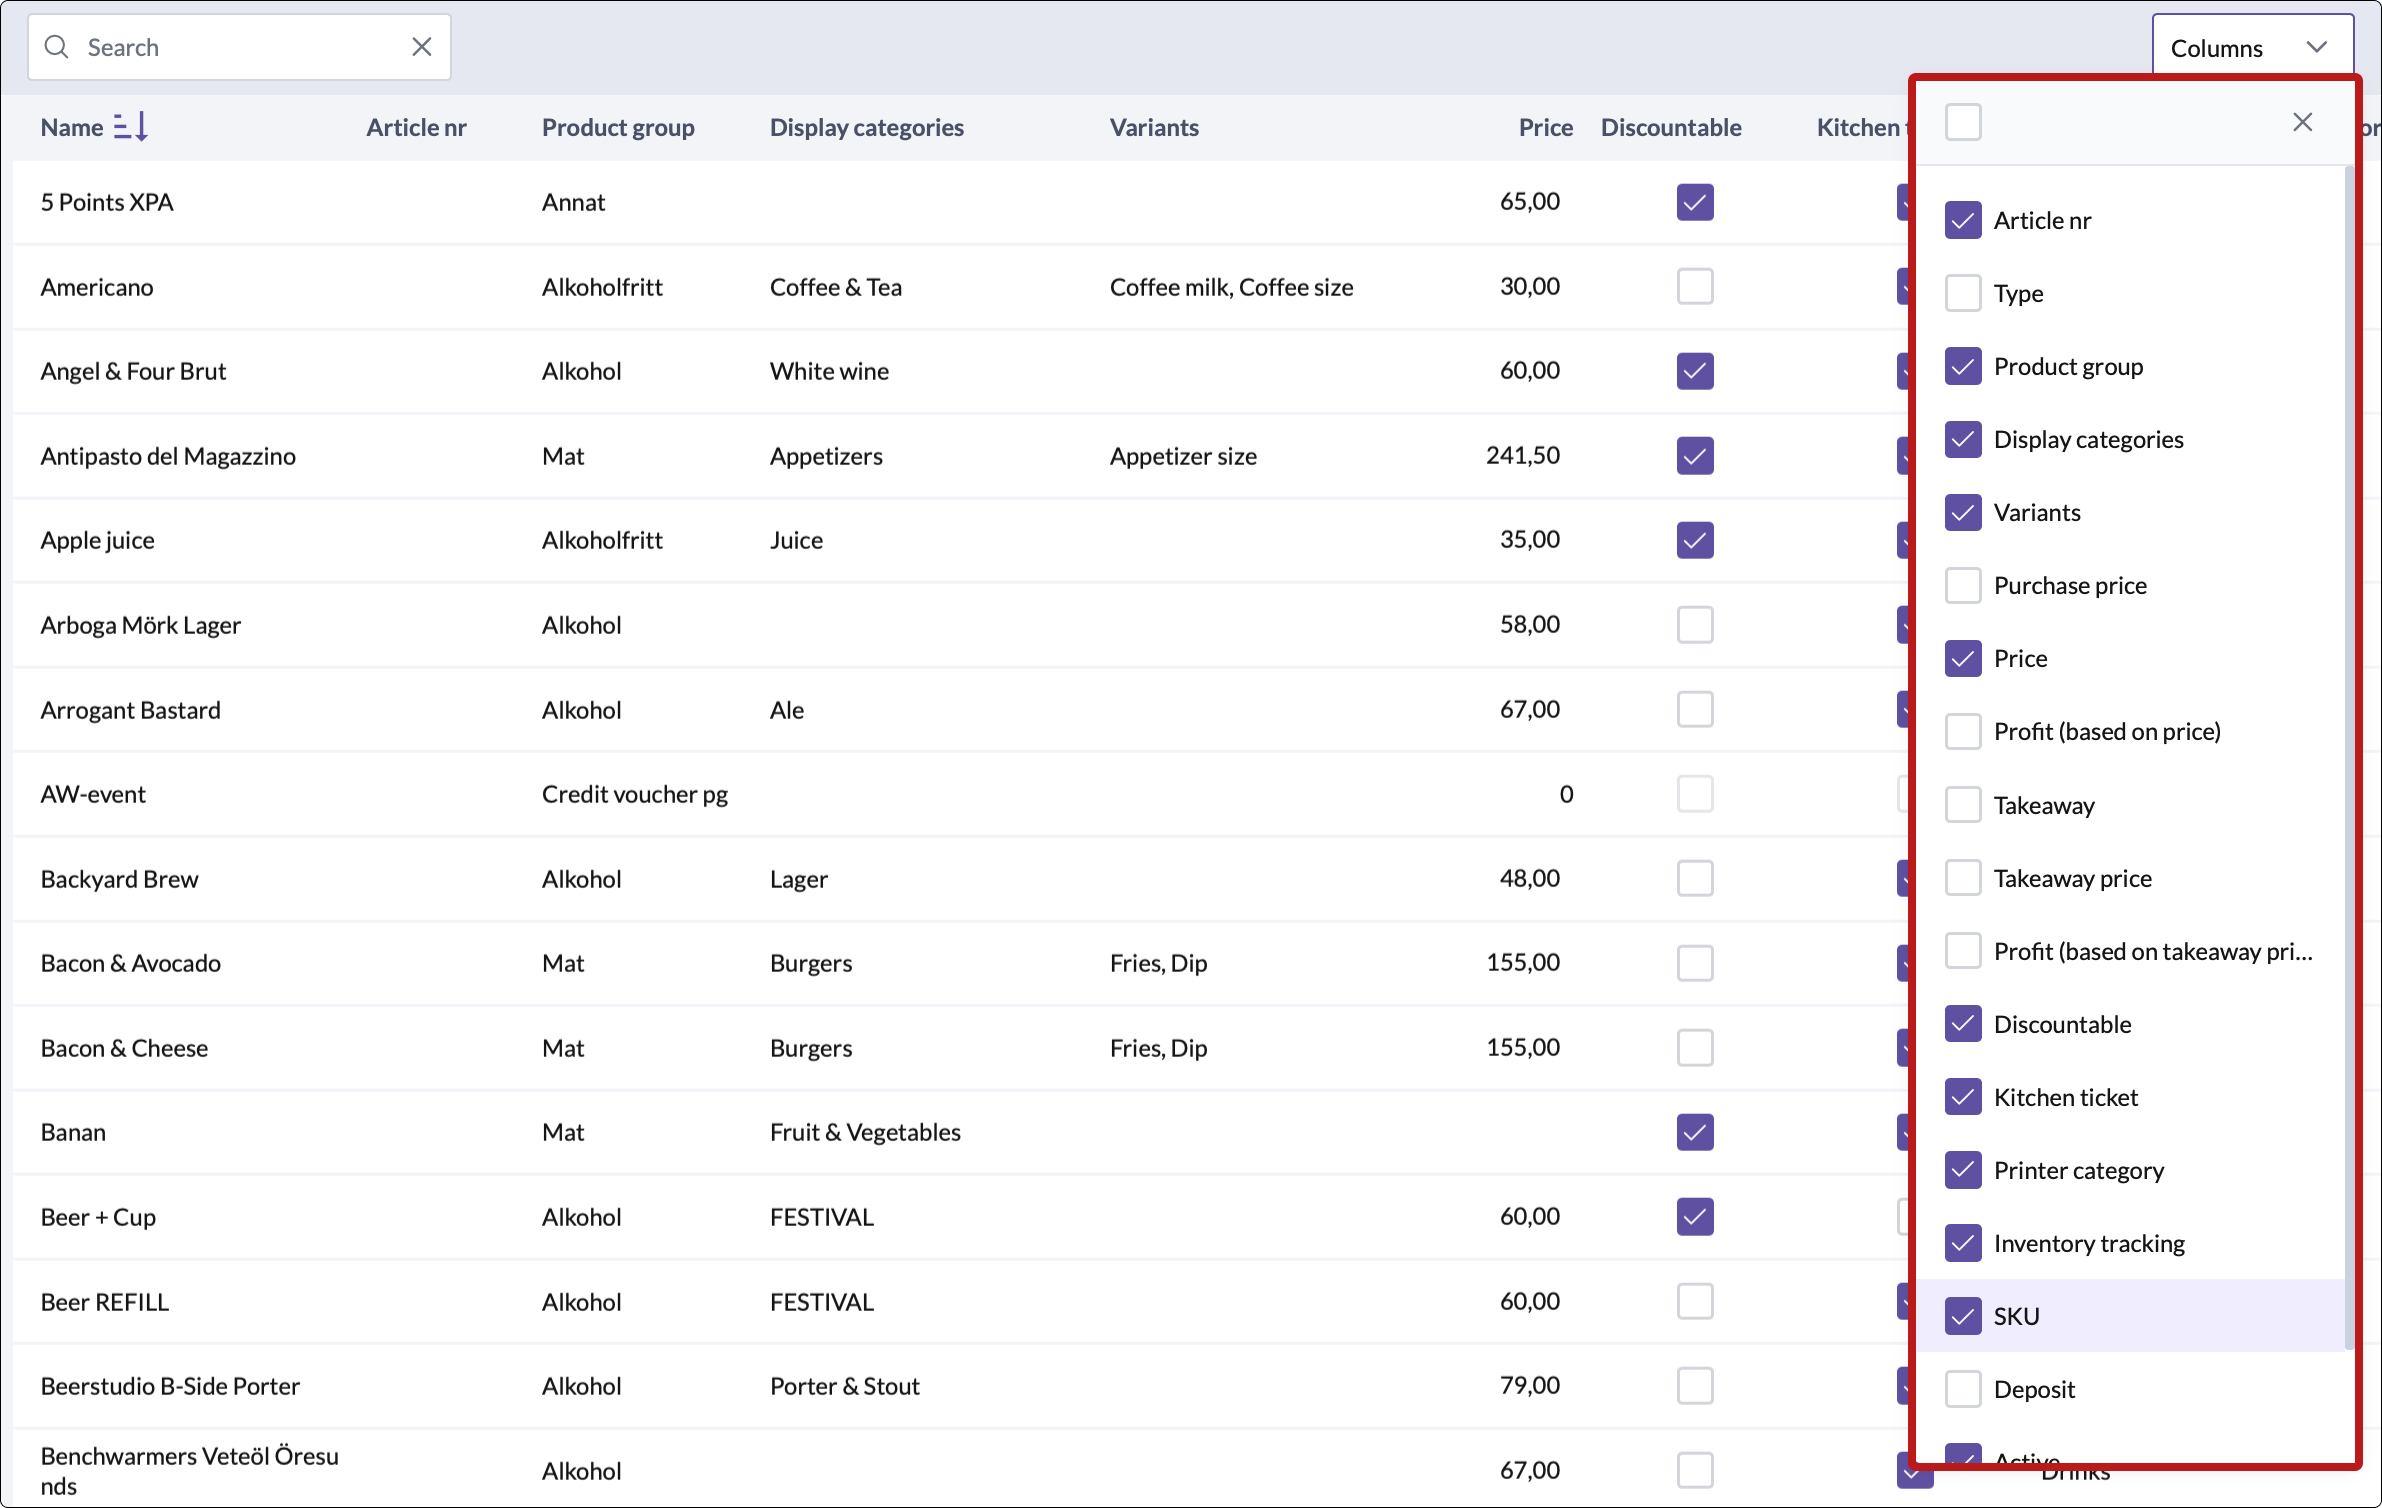
- Click anywhere outside the menu to close it.


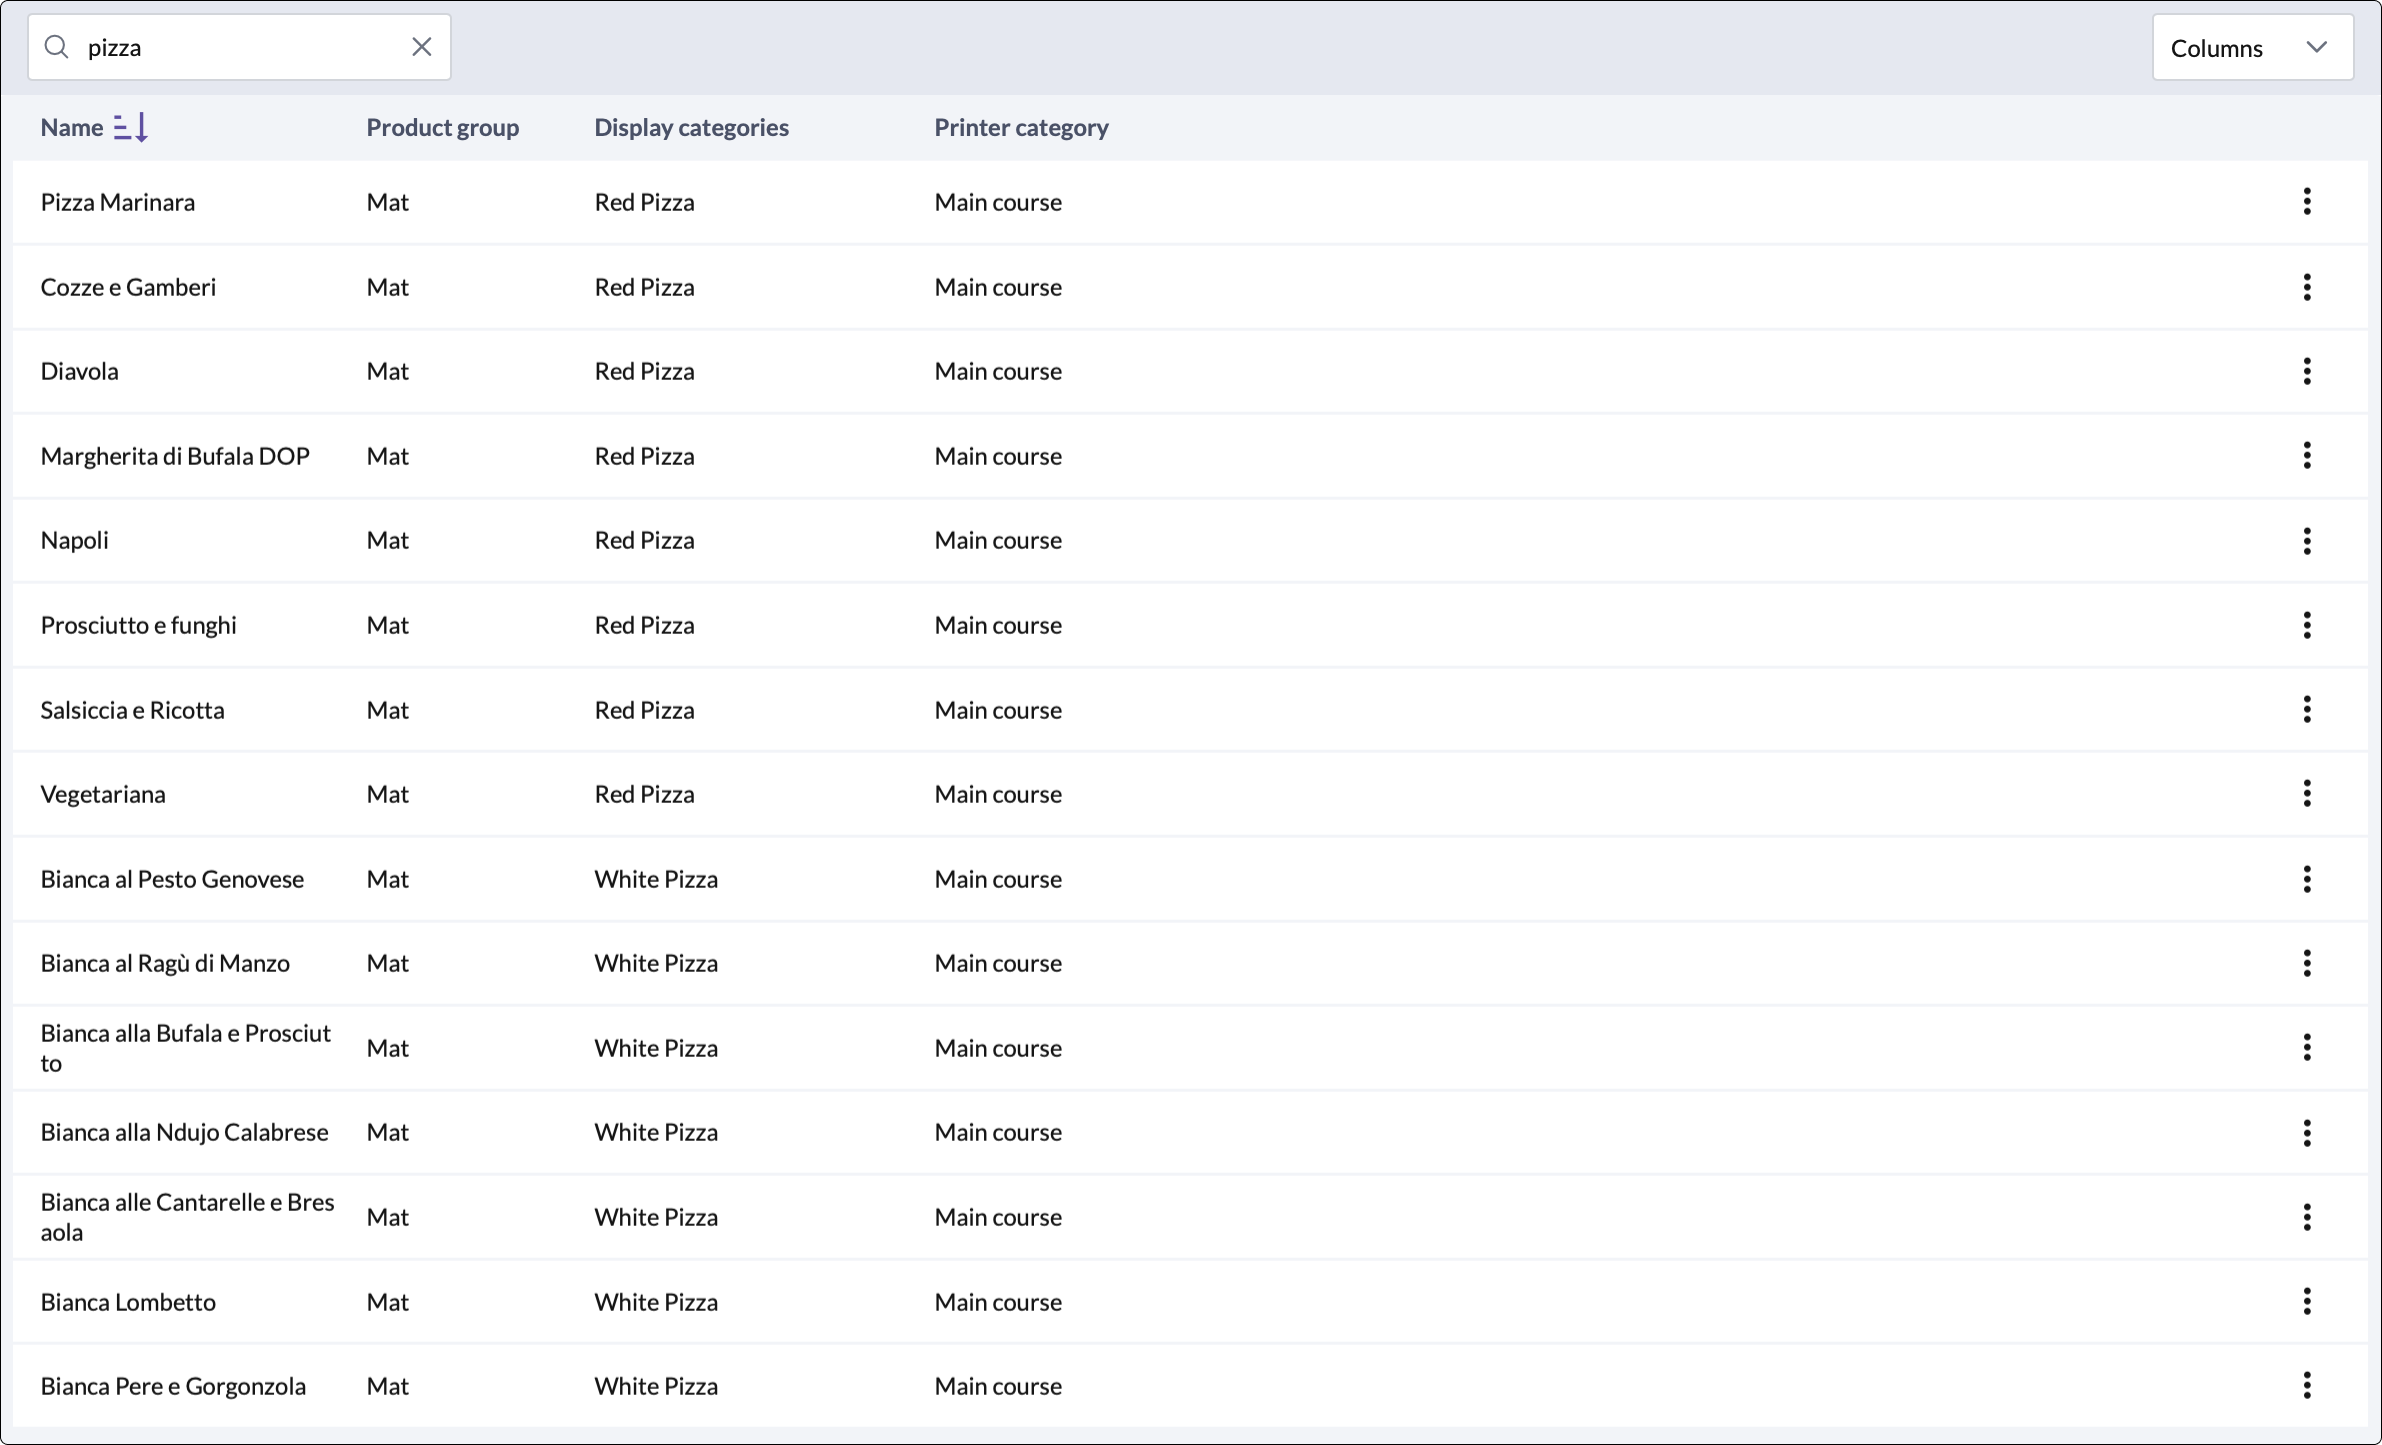
Use case example: Fixing Kitchen printer routing
Let’s say you want to troubleshoot why some pizzas are sent to the wrong kitchen printer. Here’s how you could do it:
- Search for "Pizza"
- Use the search bar to filter articles - this searches across names, product groups and display categories.
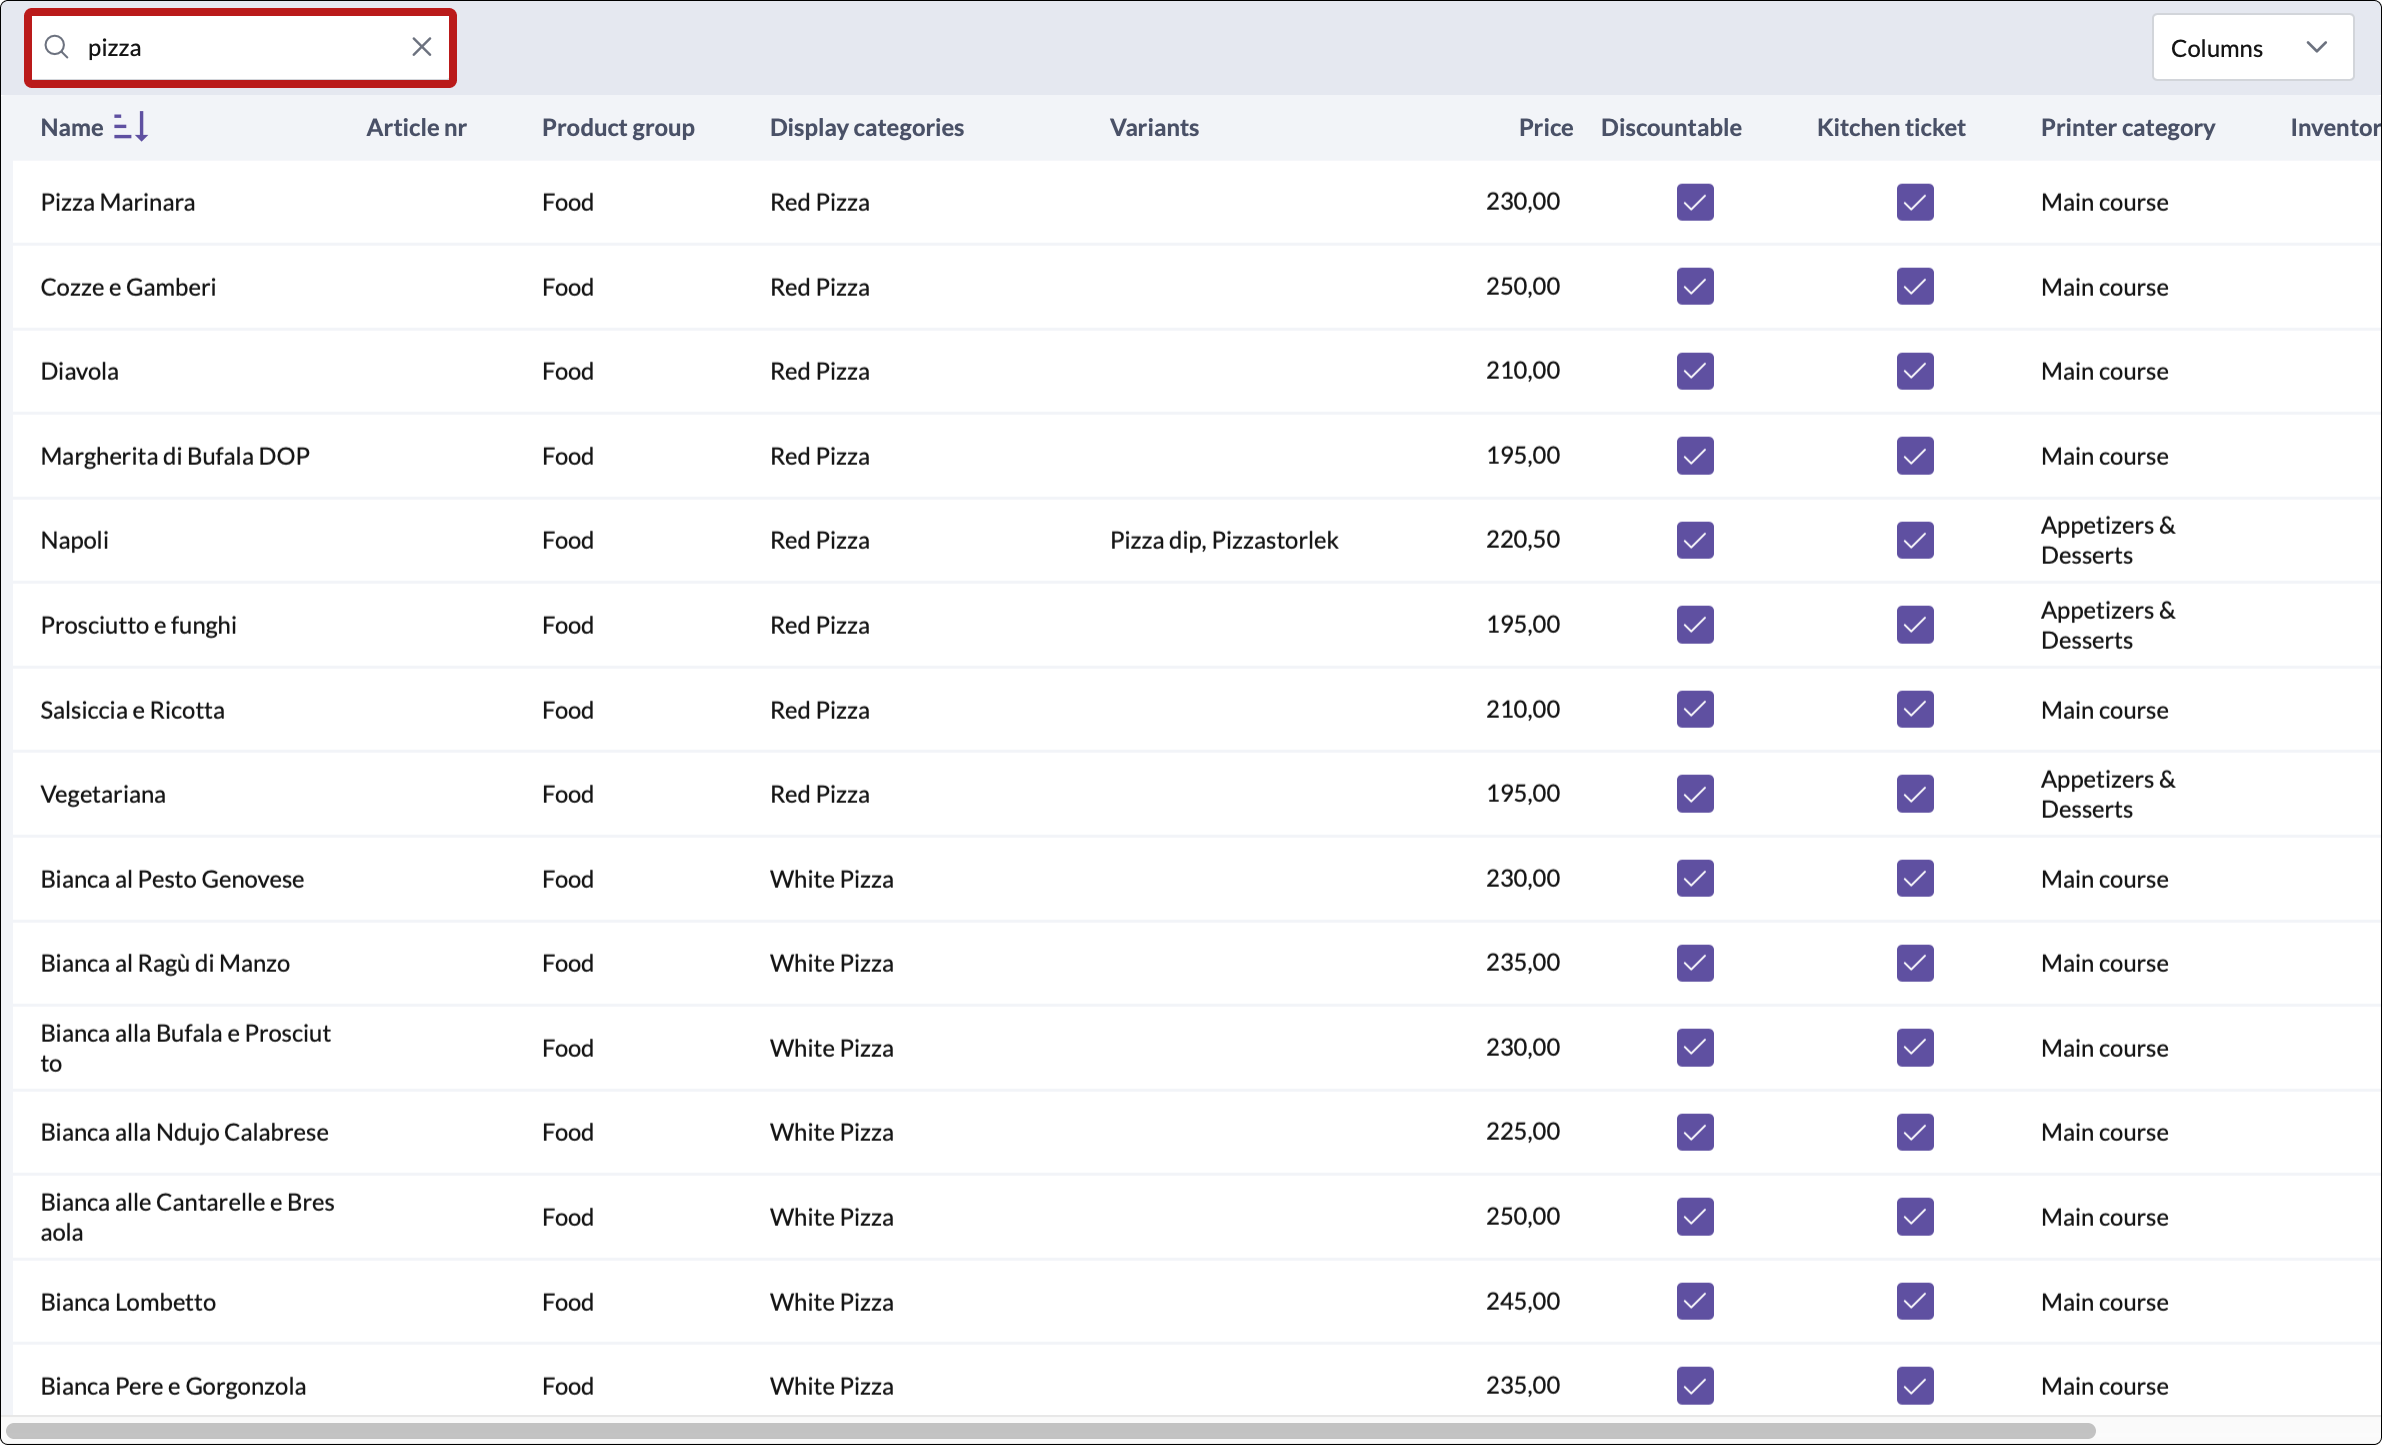
- Adjust visible columns
- Hide all unecessary columns to reduce clutter
- Make sure the Printer category column is visible
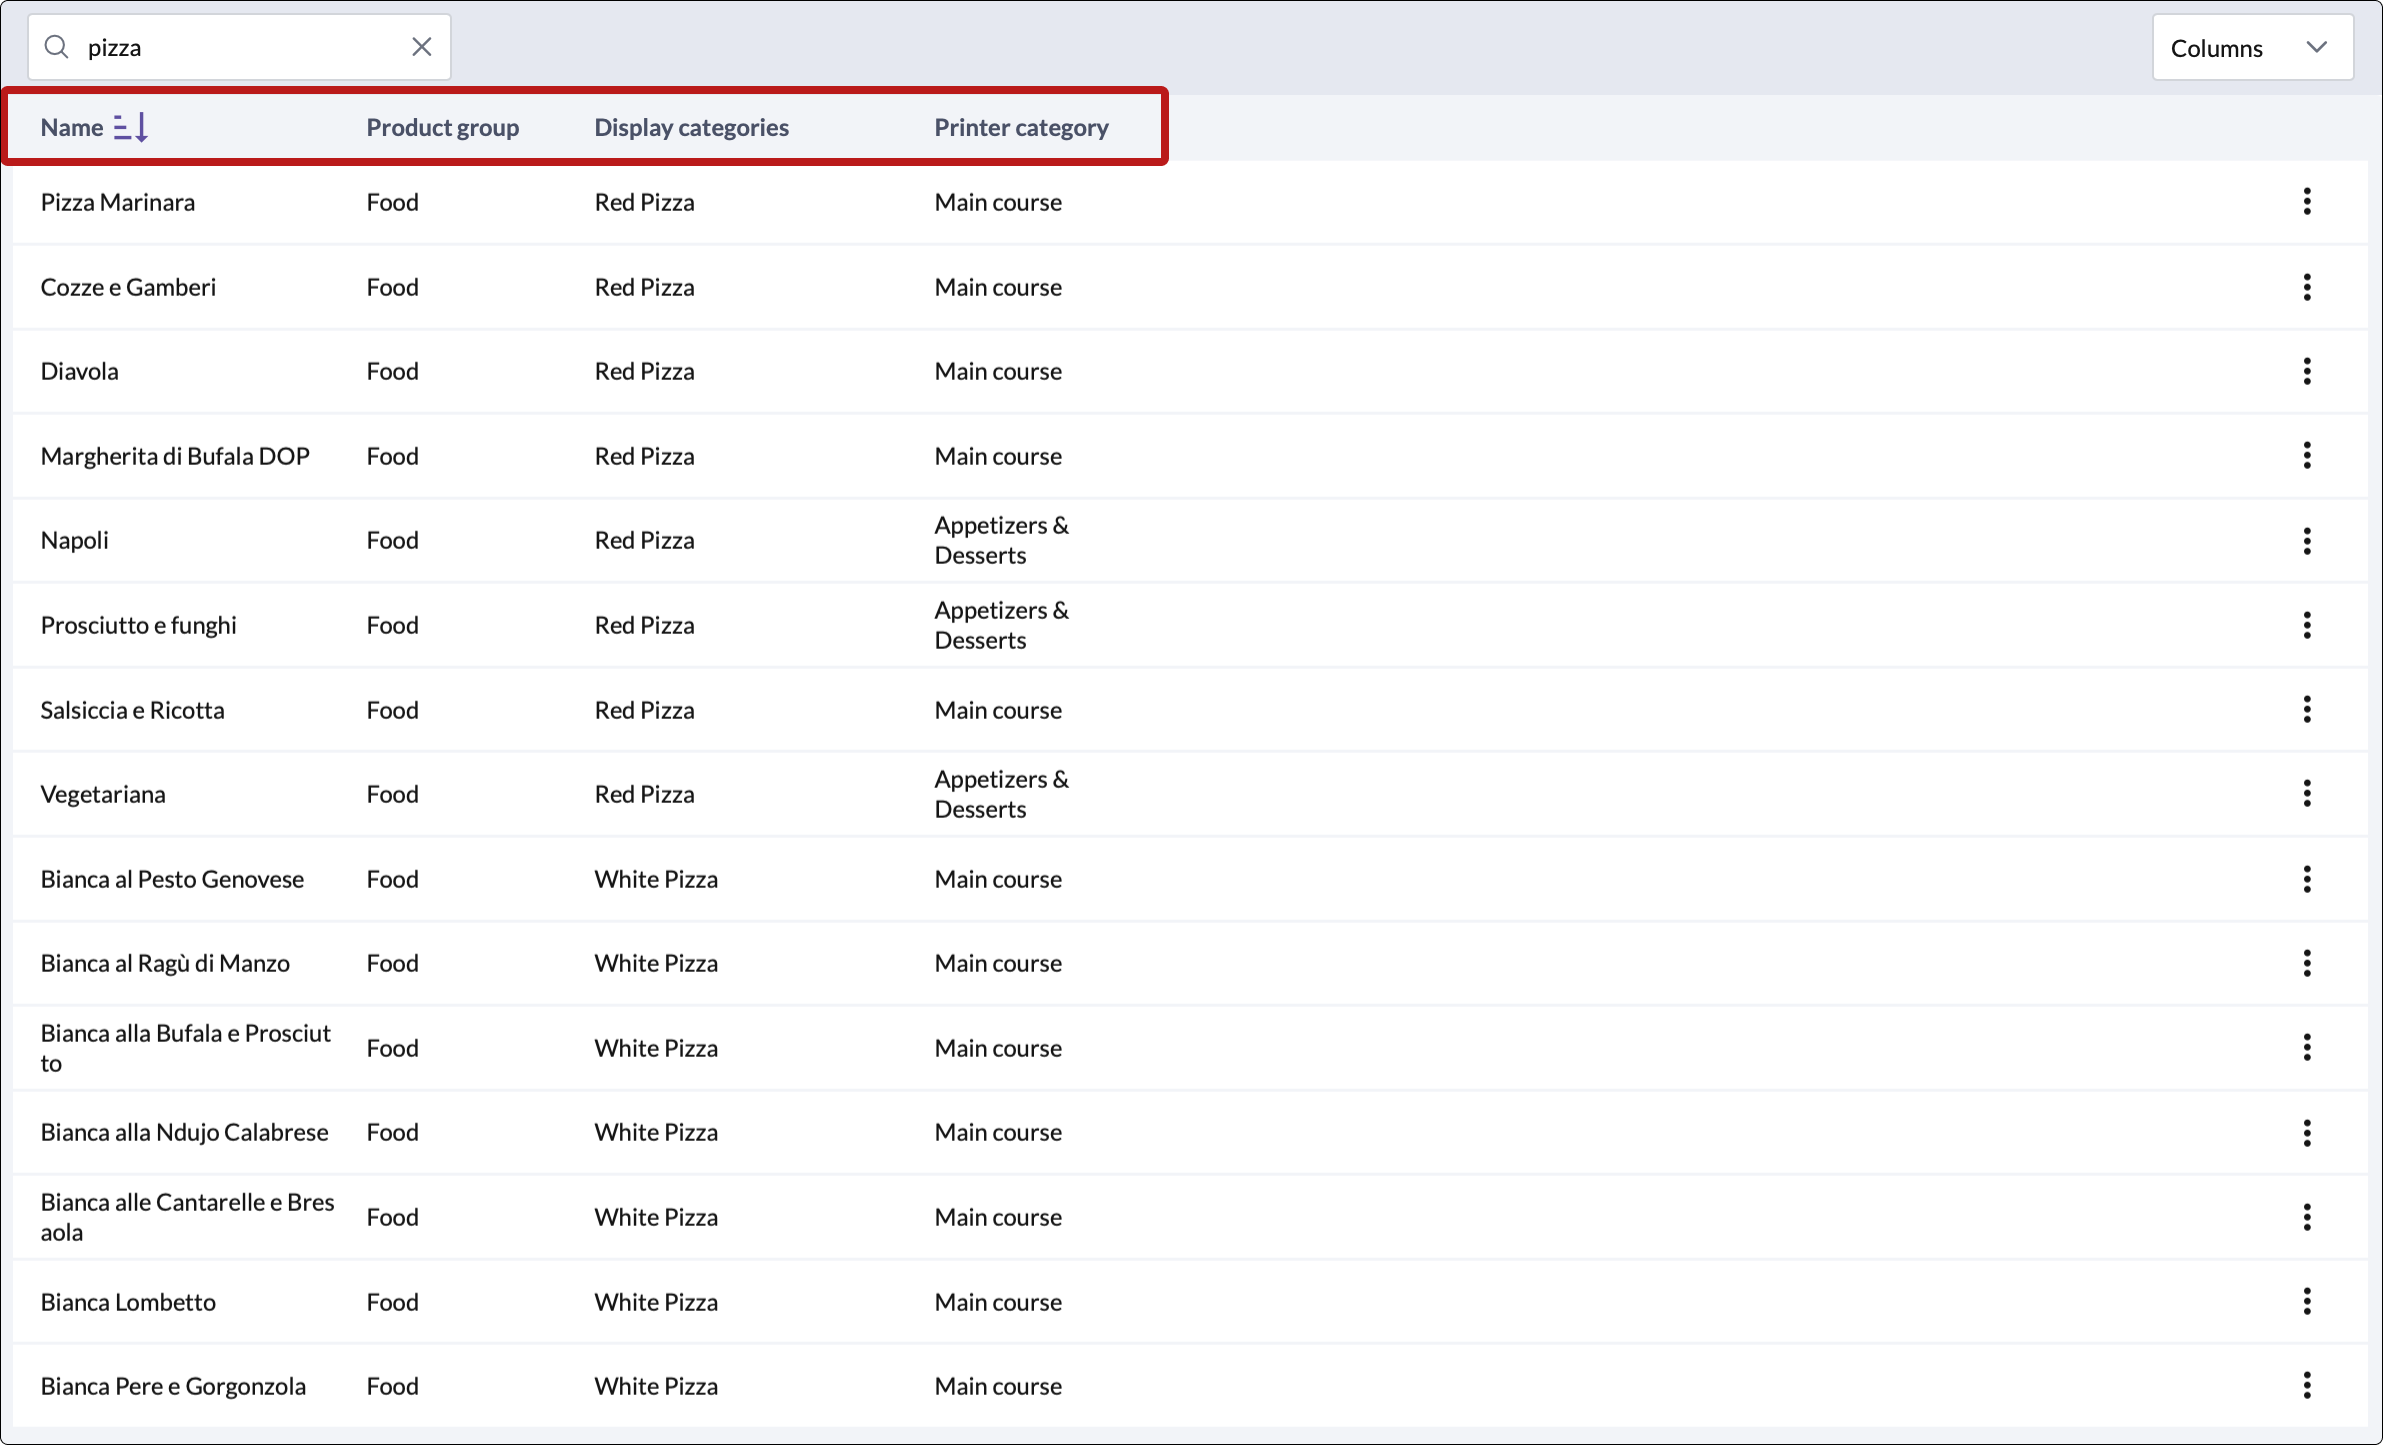
- Analyze the results
- For example, some pizzas might be assigned to the "Appetizers" printer category, which is linked to the cold kitchen printer - explaining why tickets print in the wrong location.
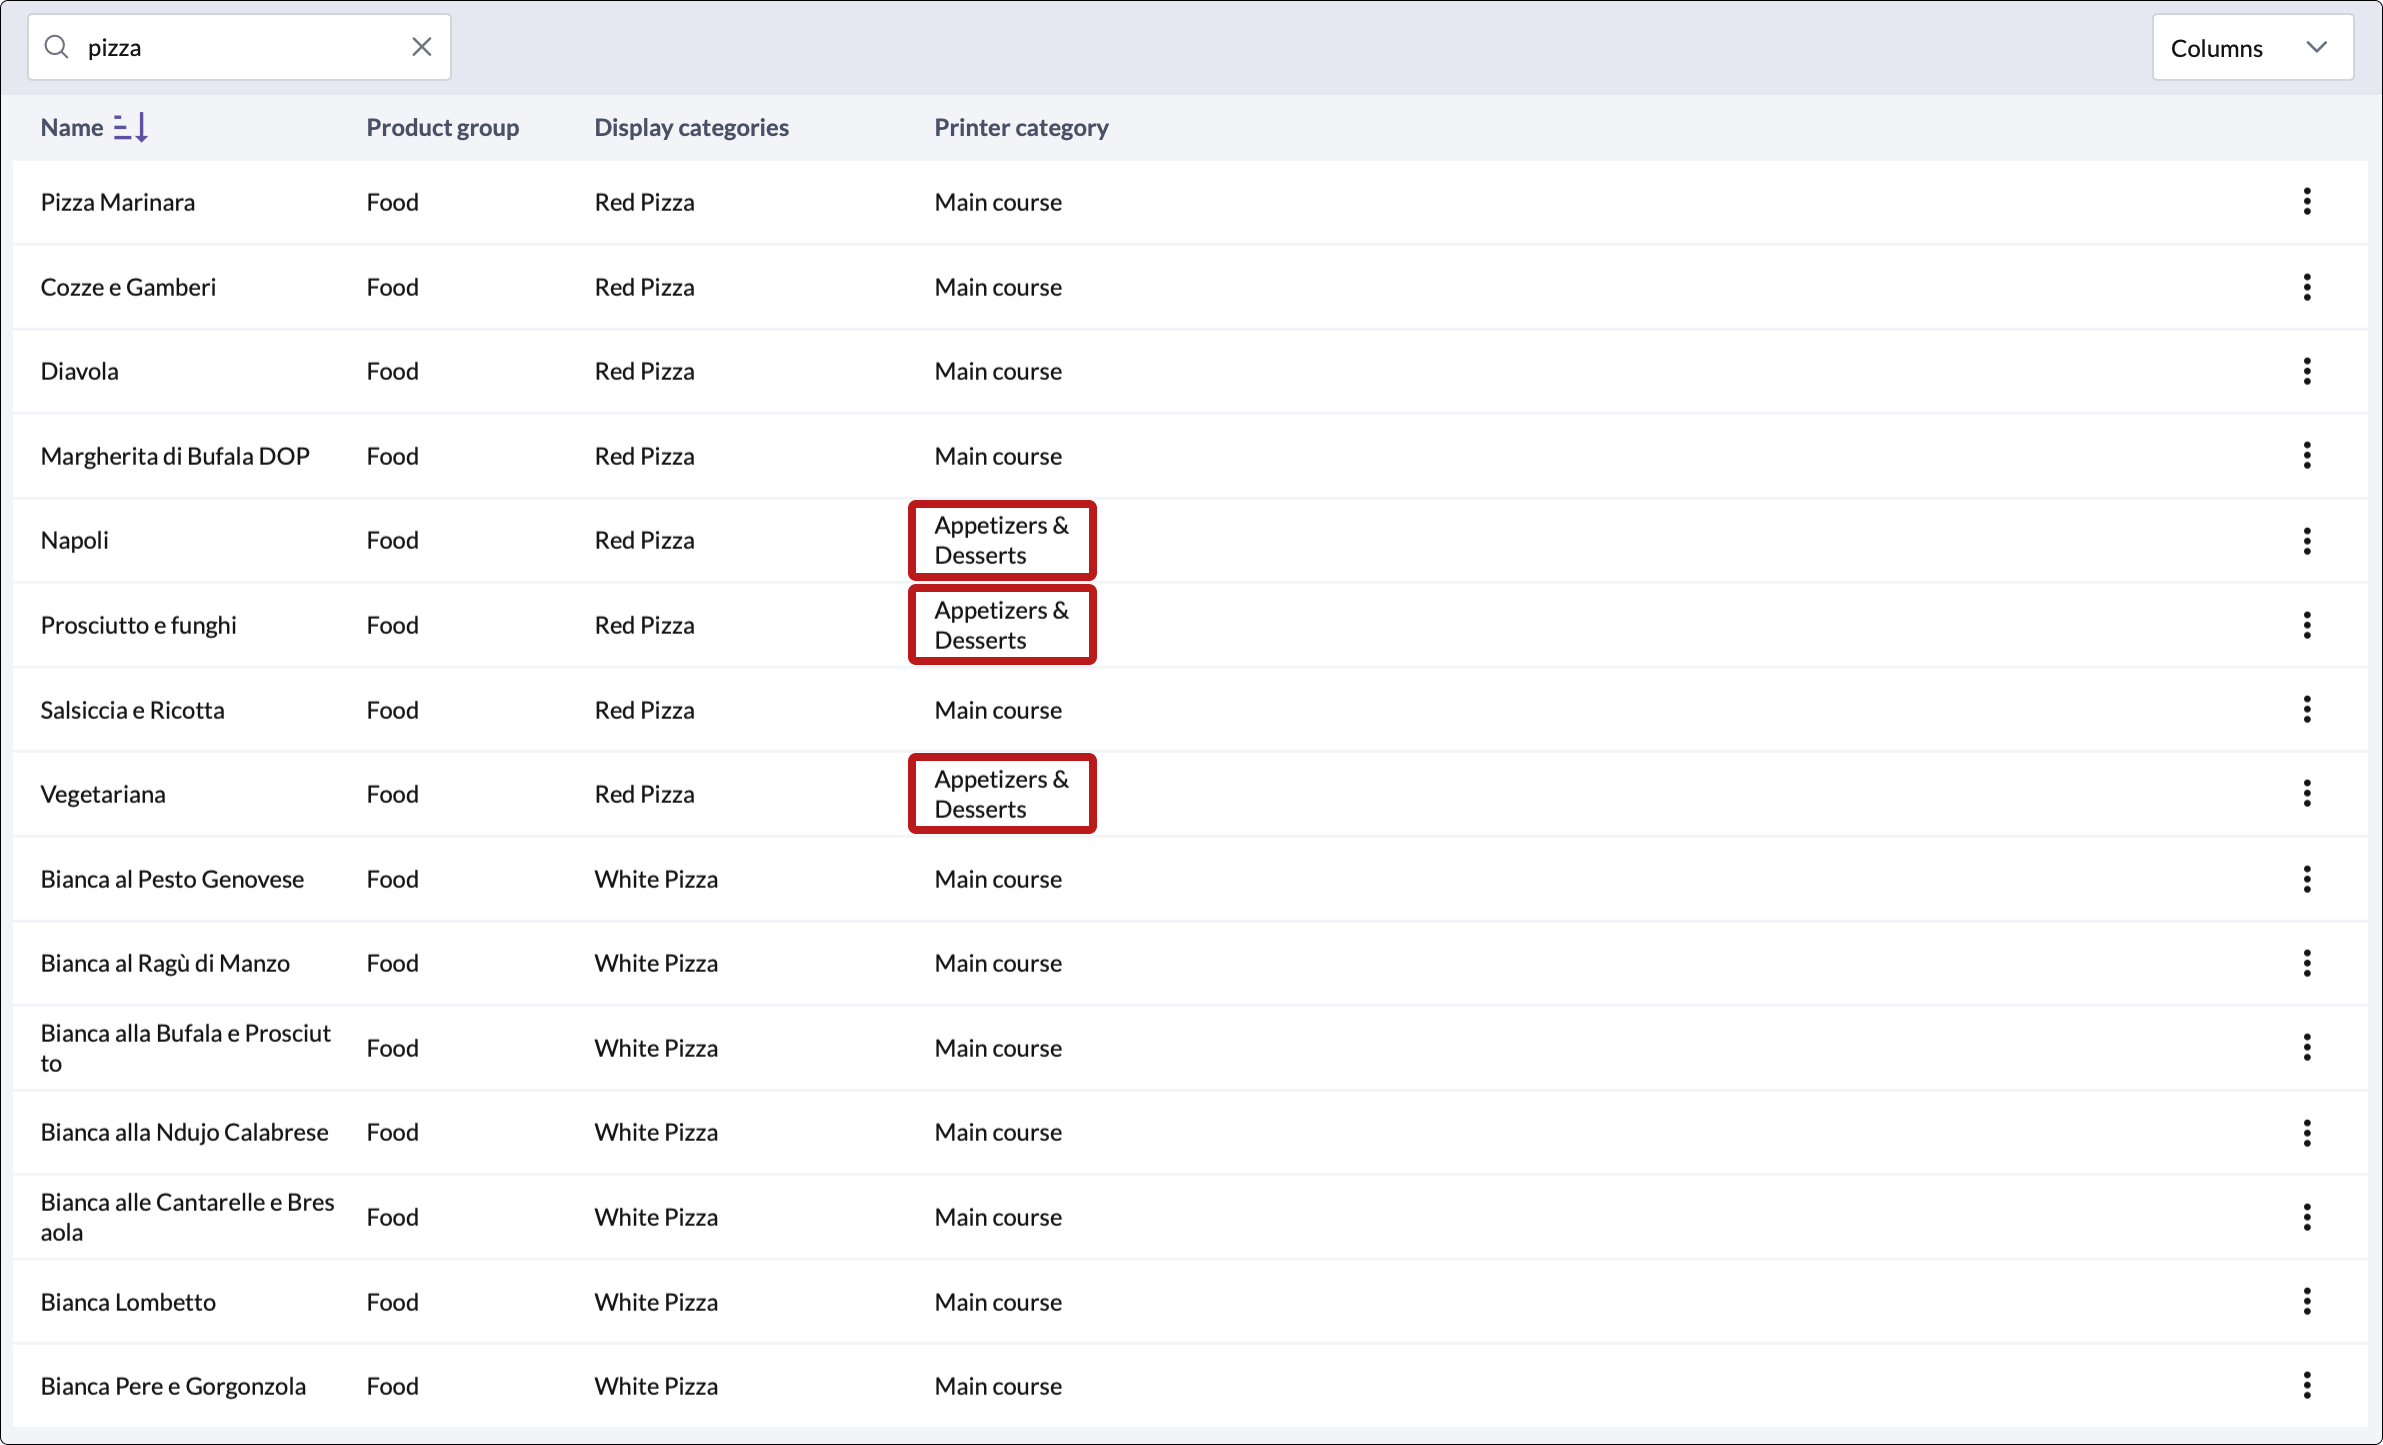
- Change Printer Category
- Change it to "Main course" to redirect the article to the correct kitchen area.
- Further troubleshooting (if needed)
- Visit the Devices page to continue investigating your kitchen printer setup.


