Create your Webshop Layout
Once you’ve received your OnlineOrder license, the next step is to set up your webshop page. This page can include one or more menus, depending on how you want to present your articles. Below is a breakdown of each section.

Access your restaurant
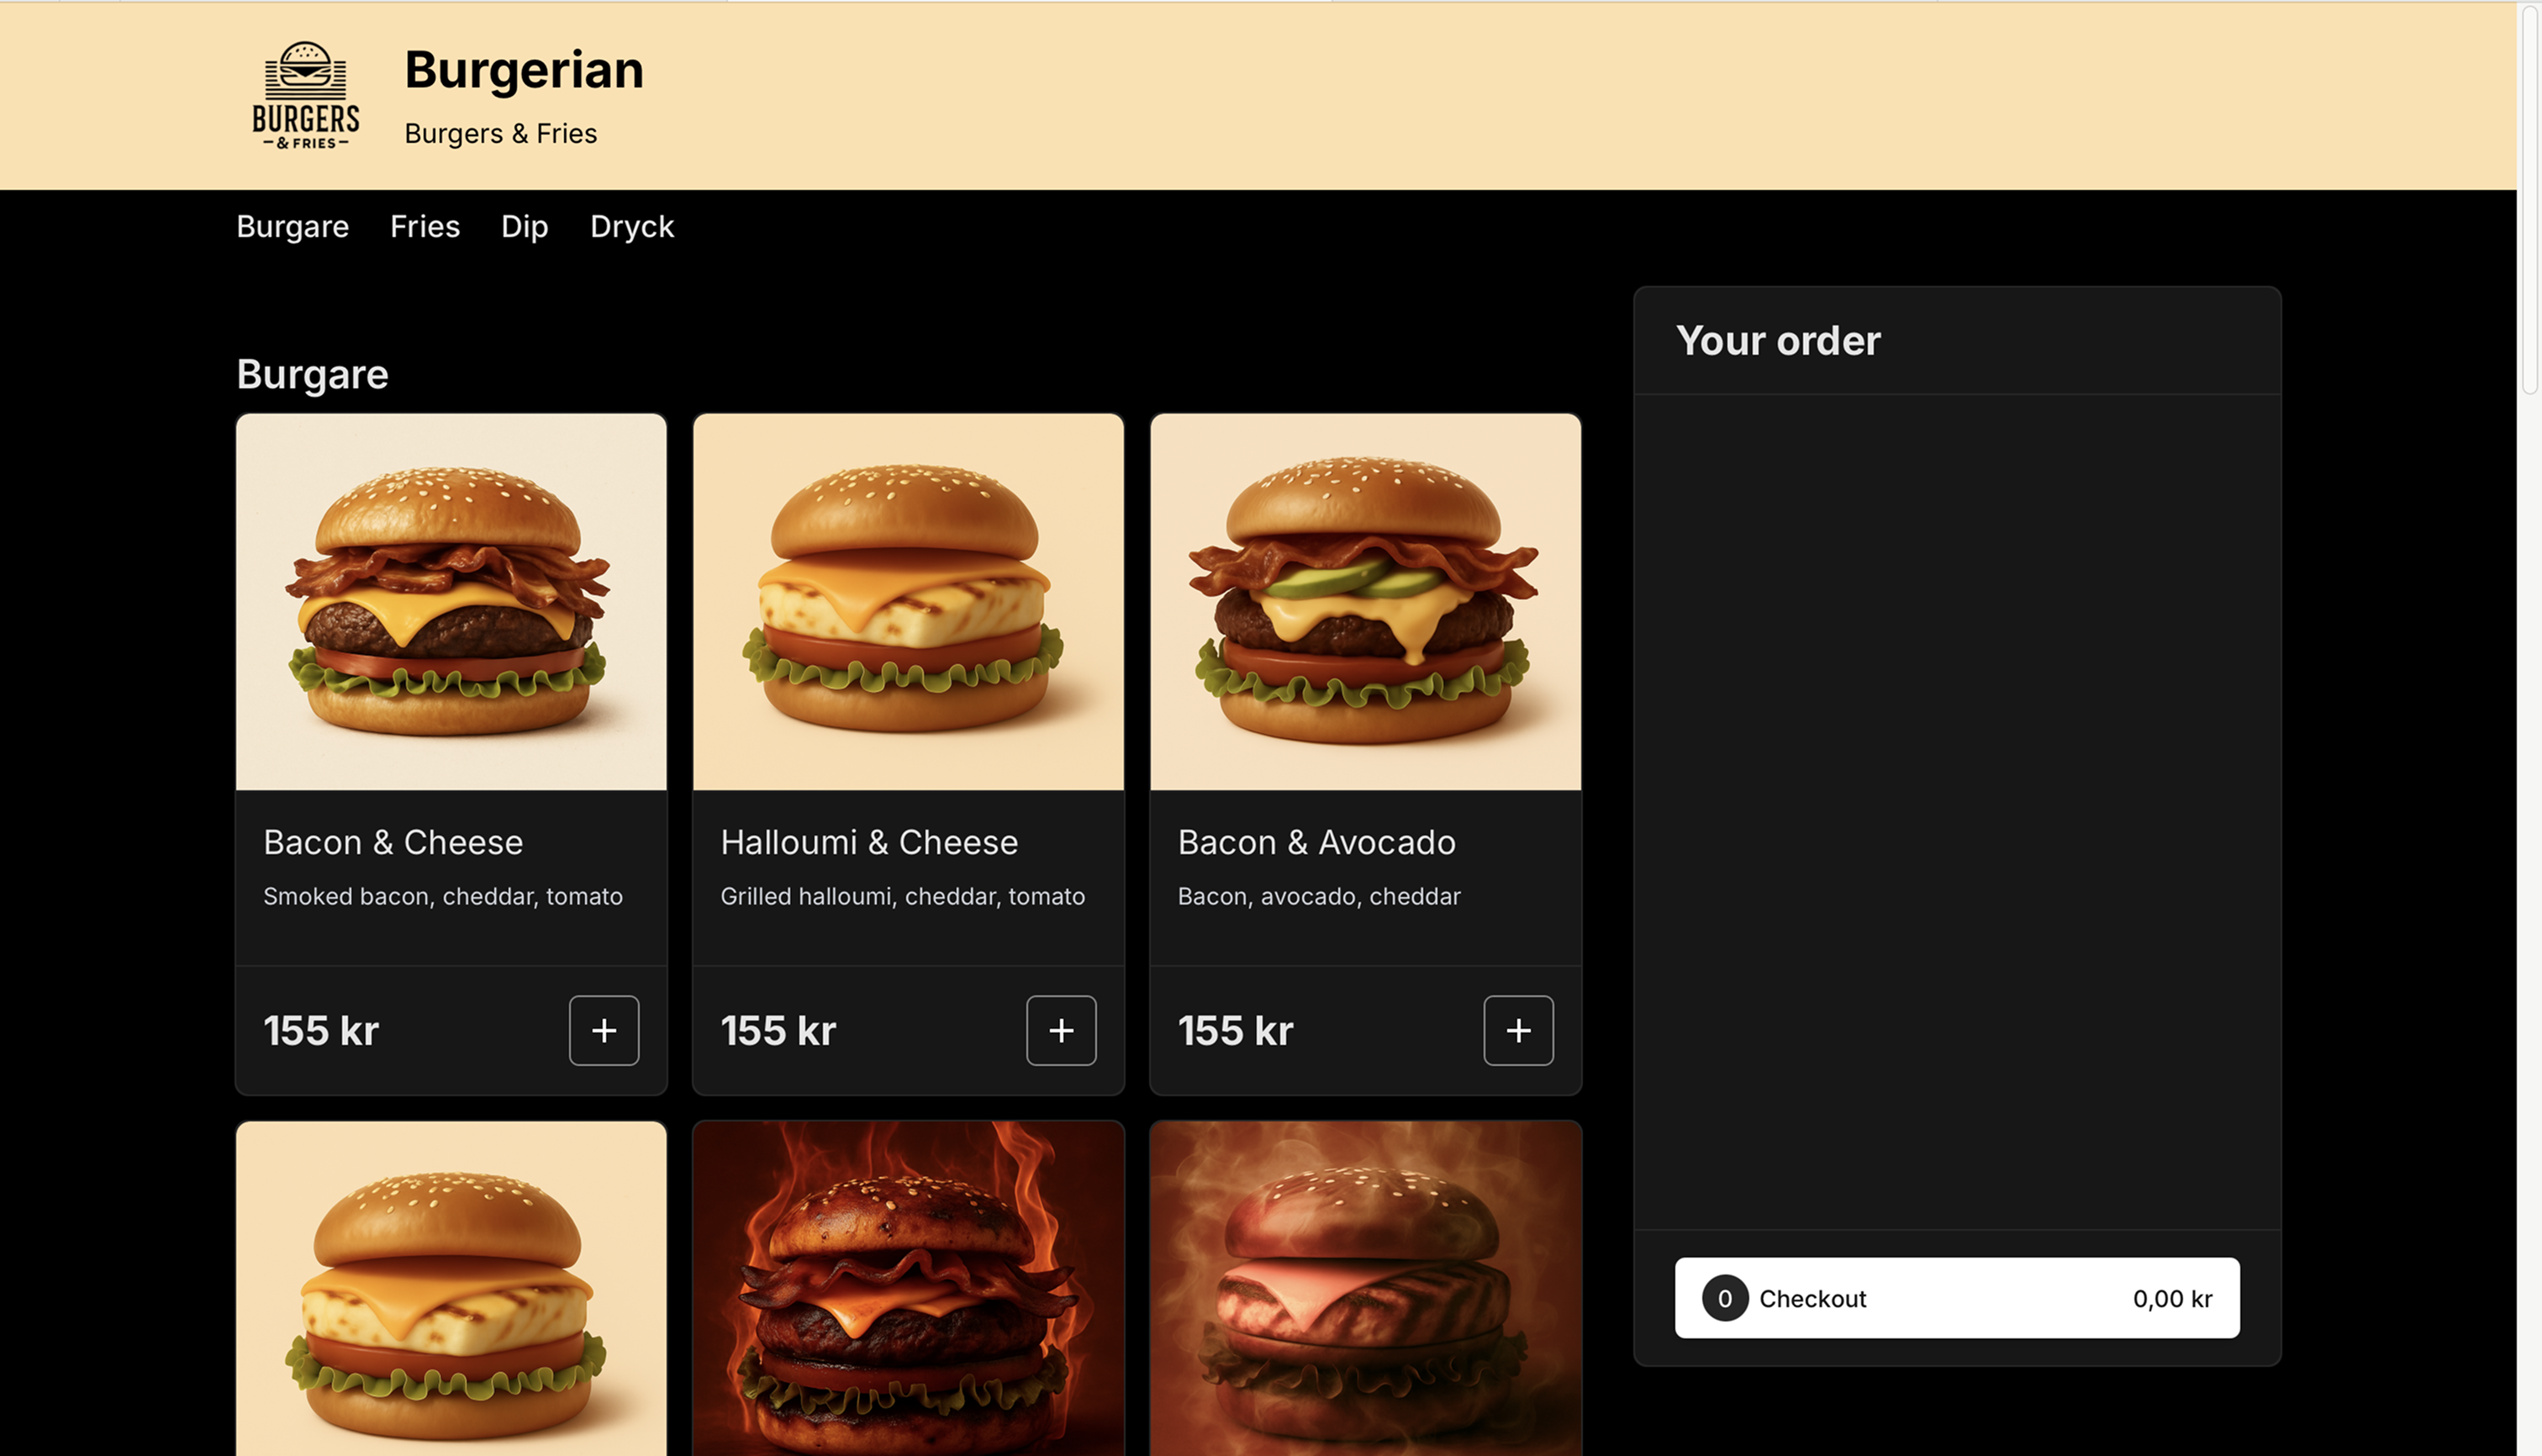
Once your website is live, you will find your restaurant here: https://order.openpos.cloud
Step 1: Navigate to 'Webshop Layout'
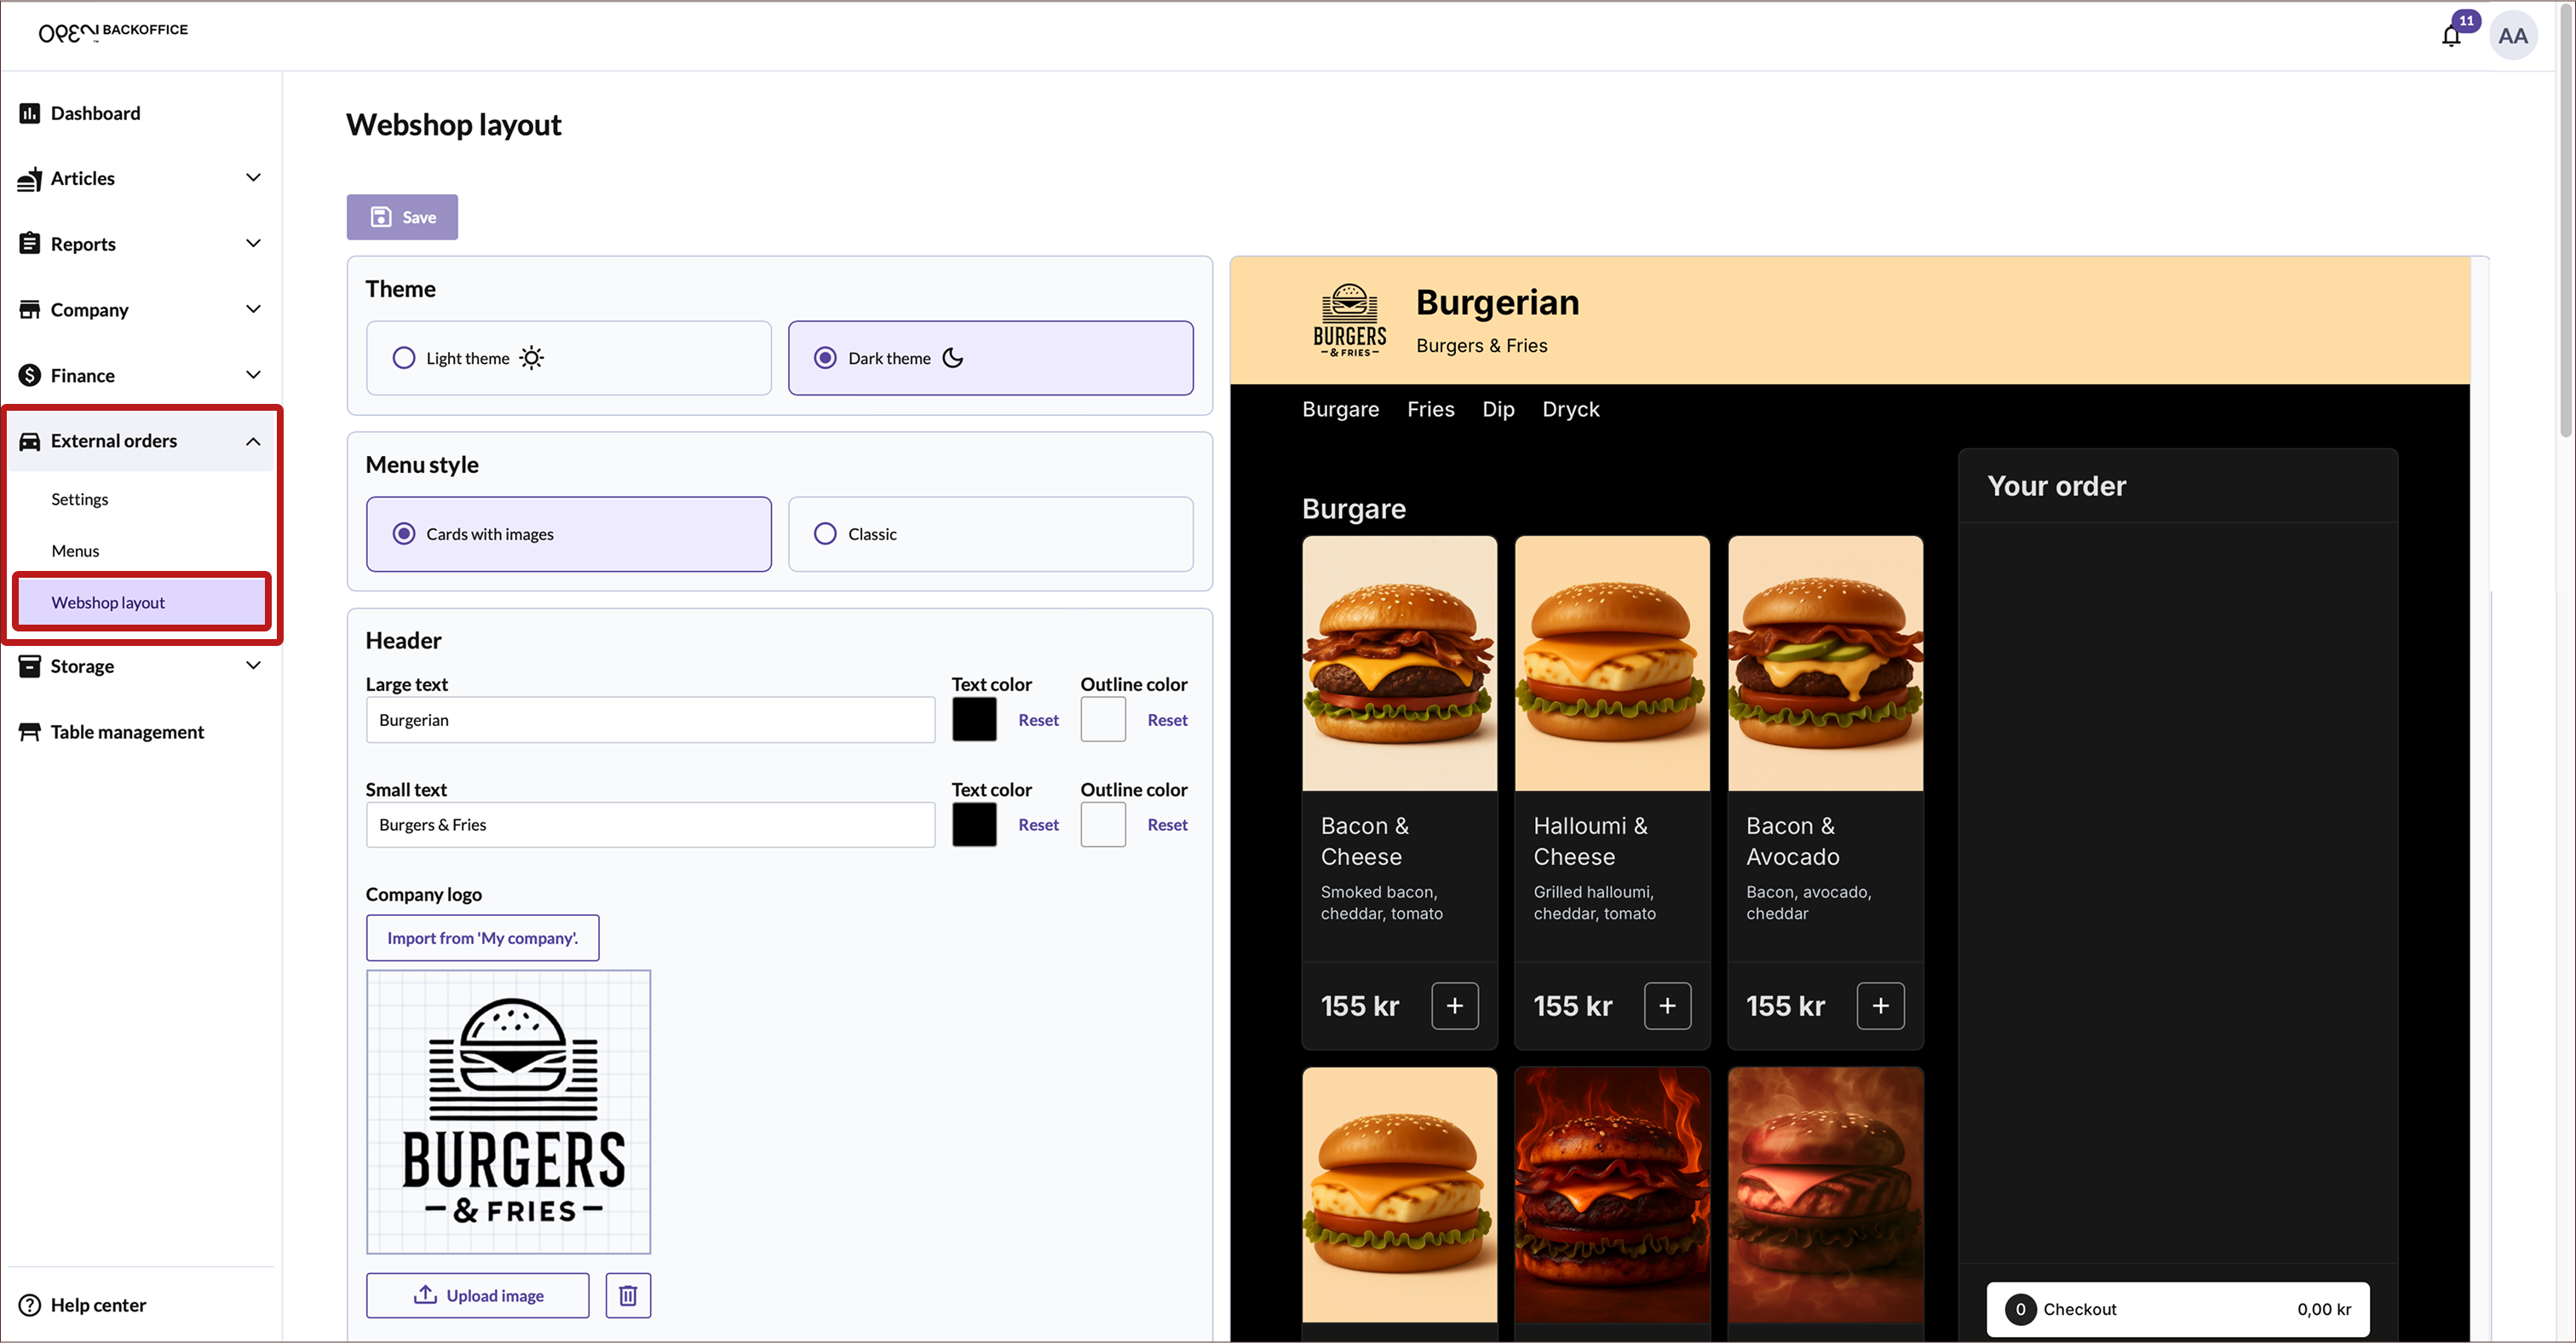
- Navigate to Online orders in the BackOffice menu, then go to Webshop Layout.
- When entering your layout settings here, you will see a preview of your webshop to the right.
TIP
Note that to see your changes in the preview, you must first press Save.

Step 2: Choose a theme
Decide if your webshop should use a:
- Light theme
- Dark theme
Step 3: Select menu style
- Cards with images: Displays product image + name inside a card layout.
- Classic: Shows only product names, no images.
Step 4: Header
Header text
Add text to your header, and choose text color.
- Large text: Add a title (e.g., “Restaurant Name” or “Welcome”).
- Small text: Optionally, add a slogan or subheading.
TIP
Choose text colours that contrast clearly with the background, e.g. white on a dark background and black on a light background.
Upload company logo
Display your logo at the top of the page – great for brand recognition.
Header style: 'banner image' or color fill
You can choose whether to use a 'banner image, or to use a solid color to style the header.
Banner image
Upload an image to use as header background.
Header background color
Choose a background color to style the header.
Step 5: Page background image
Want a background image behind your content? Upload an image to use as a background for the whole page.
Step 6: Select font (typeface)
Pick a font that fits your brand. If you don’t select one, the default font "Inter" will be used.
Step 7: Advanced settings (CSS)
Use custom CSS code to fully design your own layout and style.
Don’t forget to save!
When you're done with your settings – click Save at the top of the page, to make sure everything is stored.