Elevate your brand in OPEN Two
Learn how to customize your POS with logos, slogans, colors, and more!
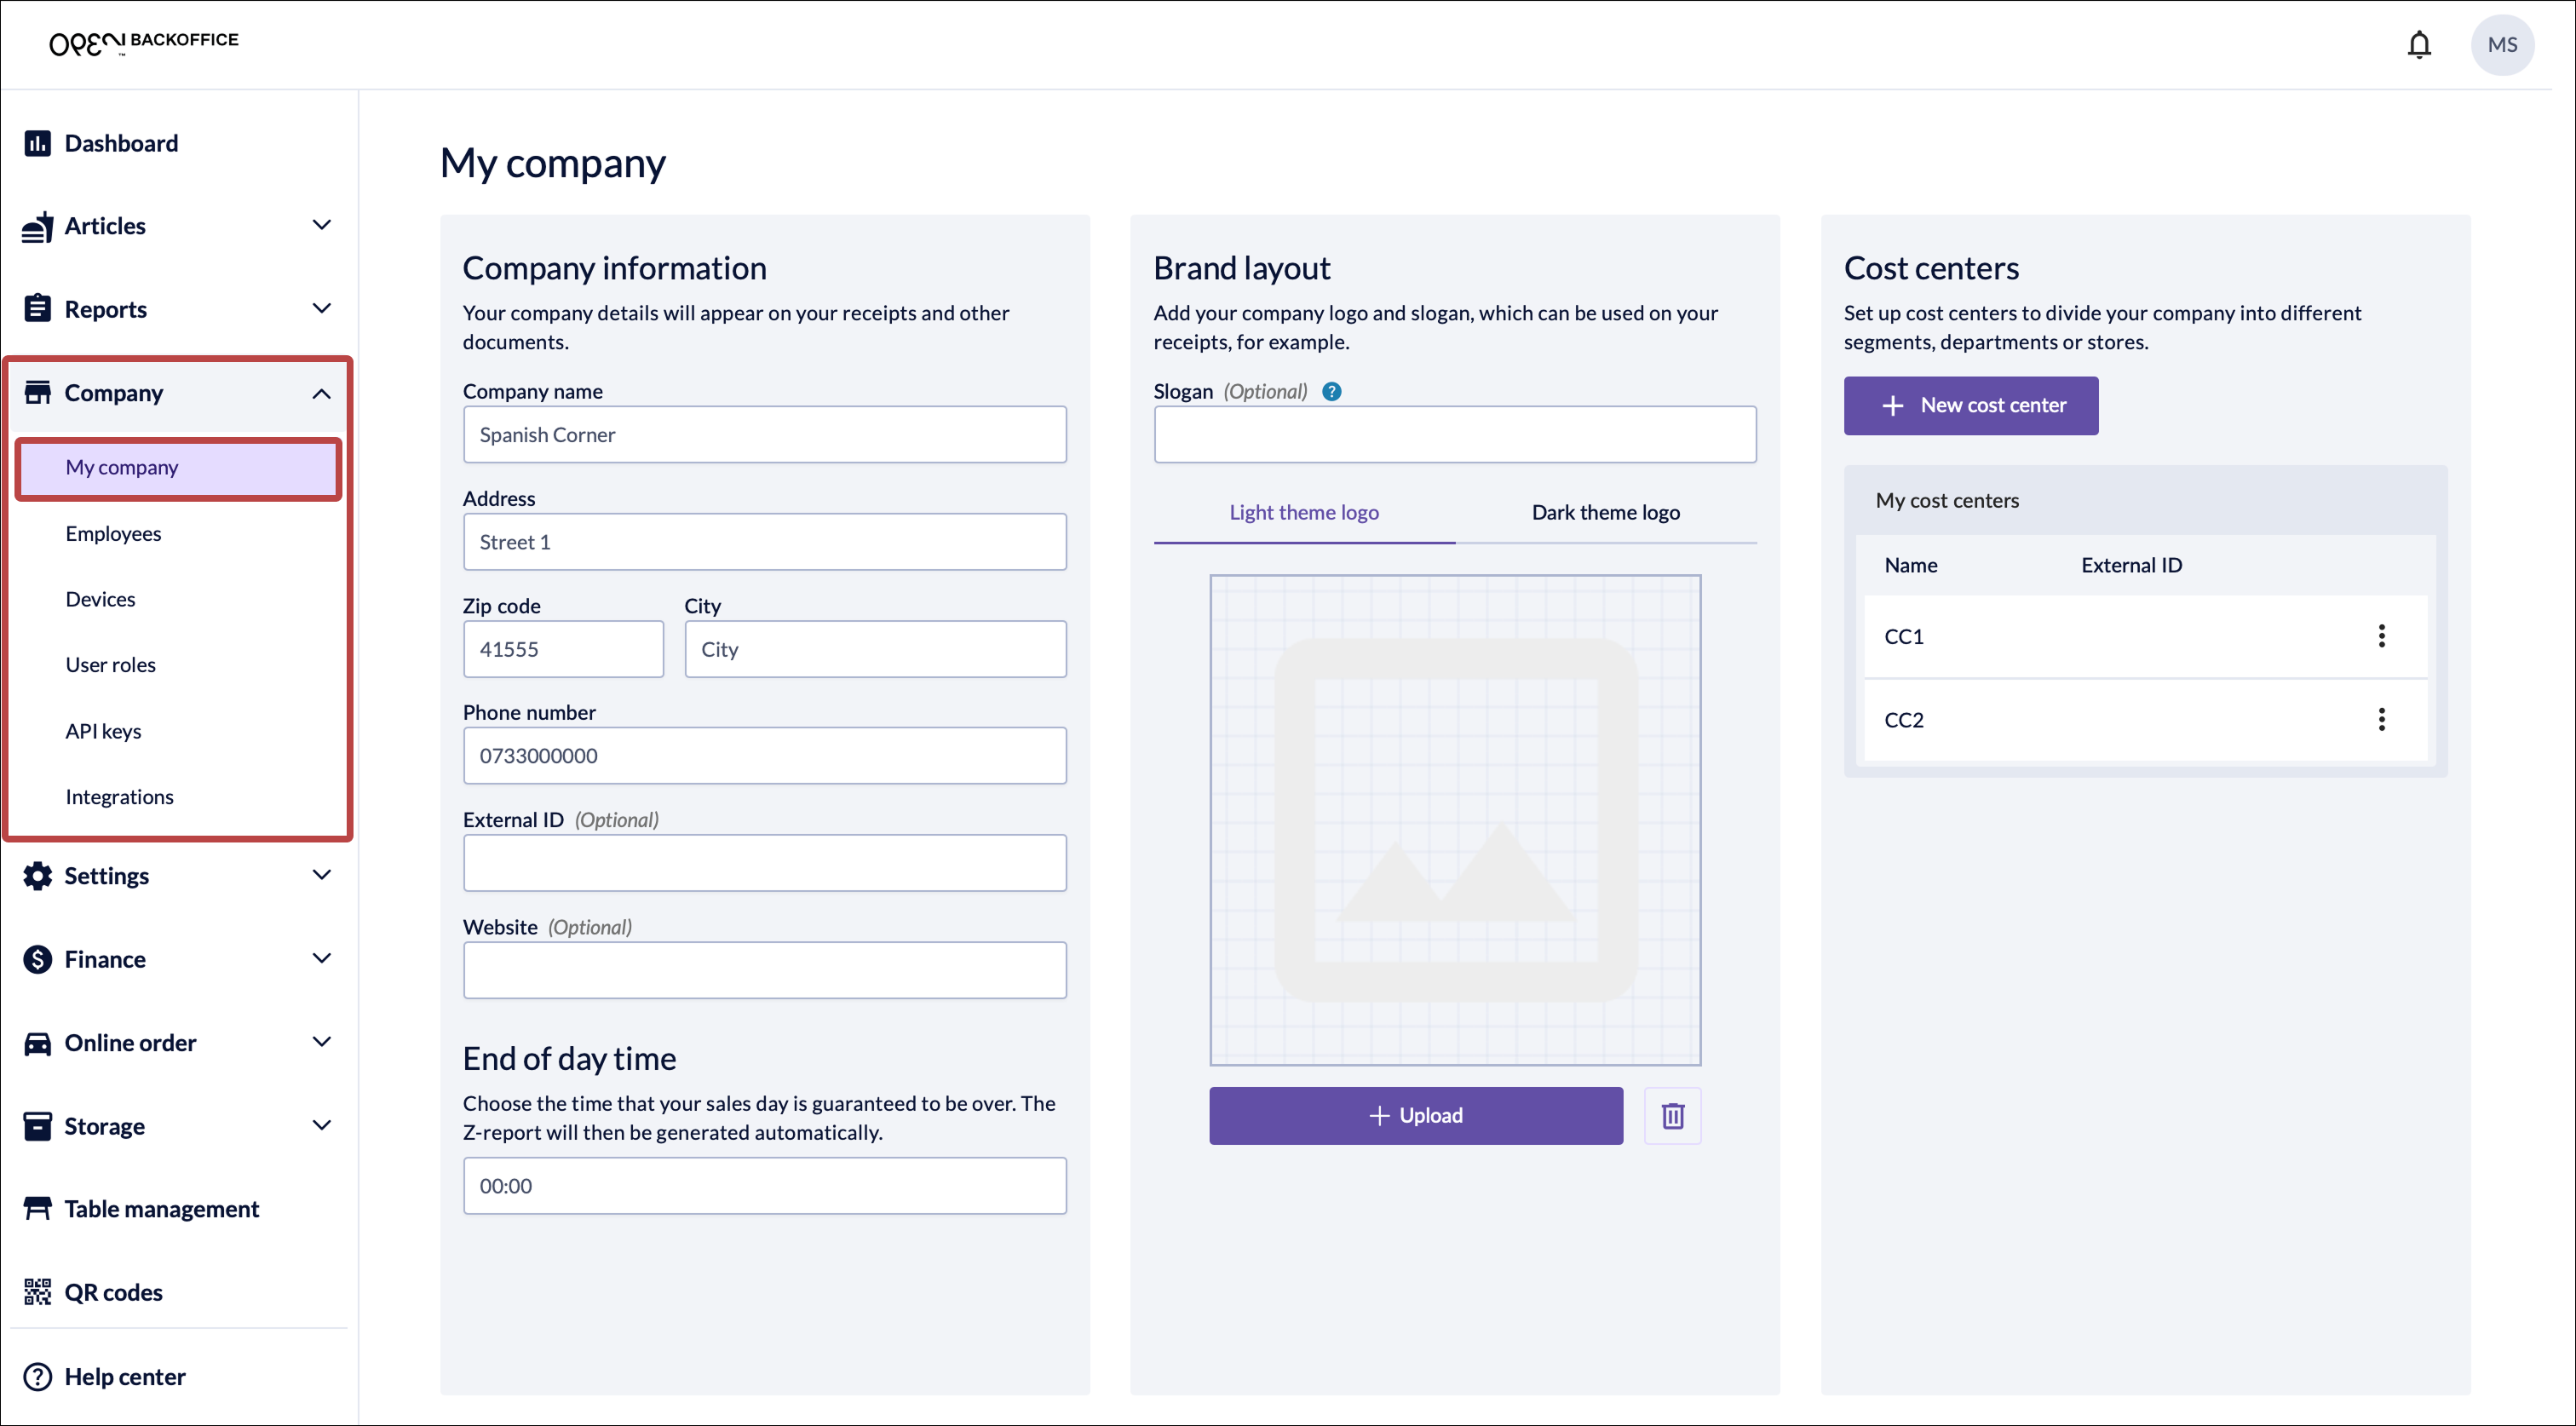
Company branding elements
On the Company page in BackOffice, you can enter company information that will appear on your receipts and other outputs. This includes:
- Company name
- Address
- Phone number and website URL
You can also add branding elements here, such as:
- A company logo (for light and dark theme)
- A slogan

Where they’re used
The company logo will be visible on:
- Payment terminals
- Customer display screens (e.g. Landi C20 Pro)
- Invoices (if using OPEN Invoice)
- Online Order menus (you can easily import the company logo)
The slogan will be visible:
- In OnlineOrder
- With virtual payments via QR Checkout or OnlineOrder
Add company logo
Sign in to BackOffice.
Go to Company -> My company.
Use the Brand layout section.
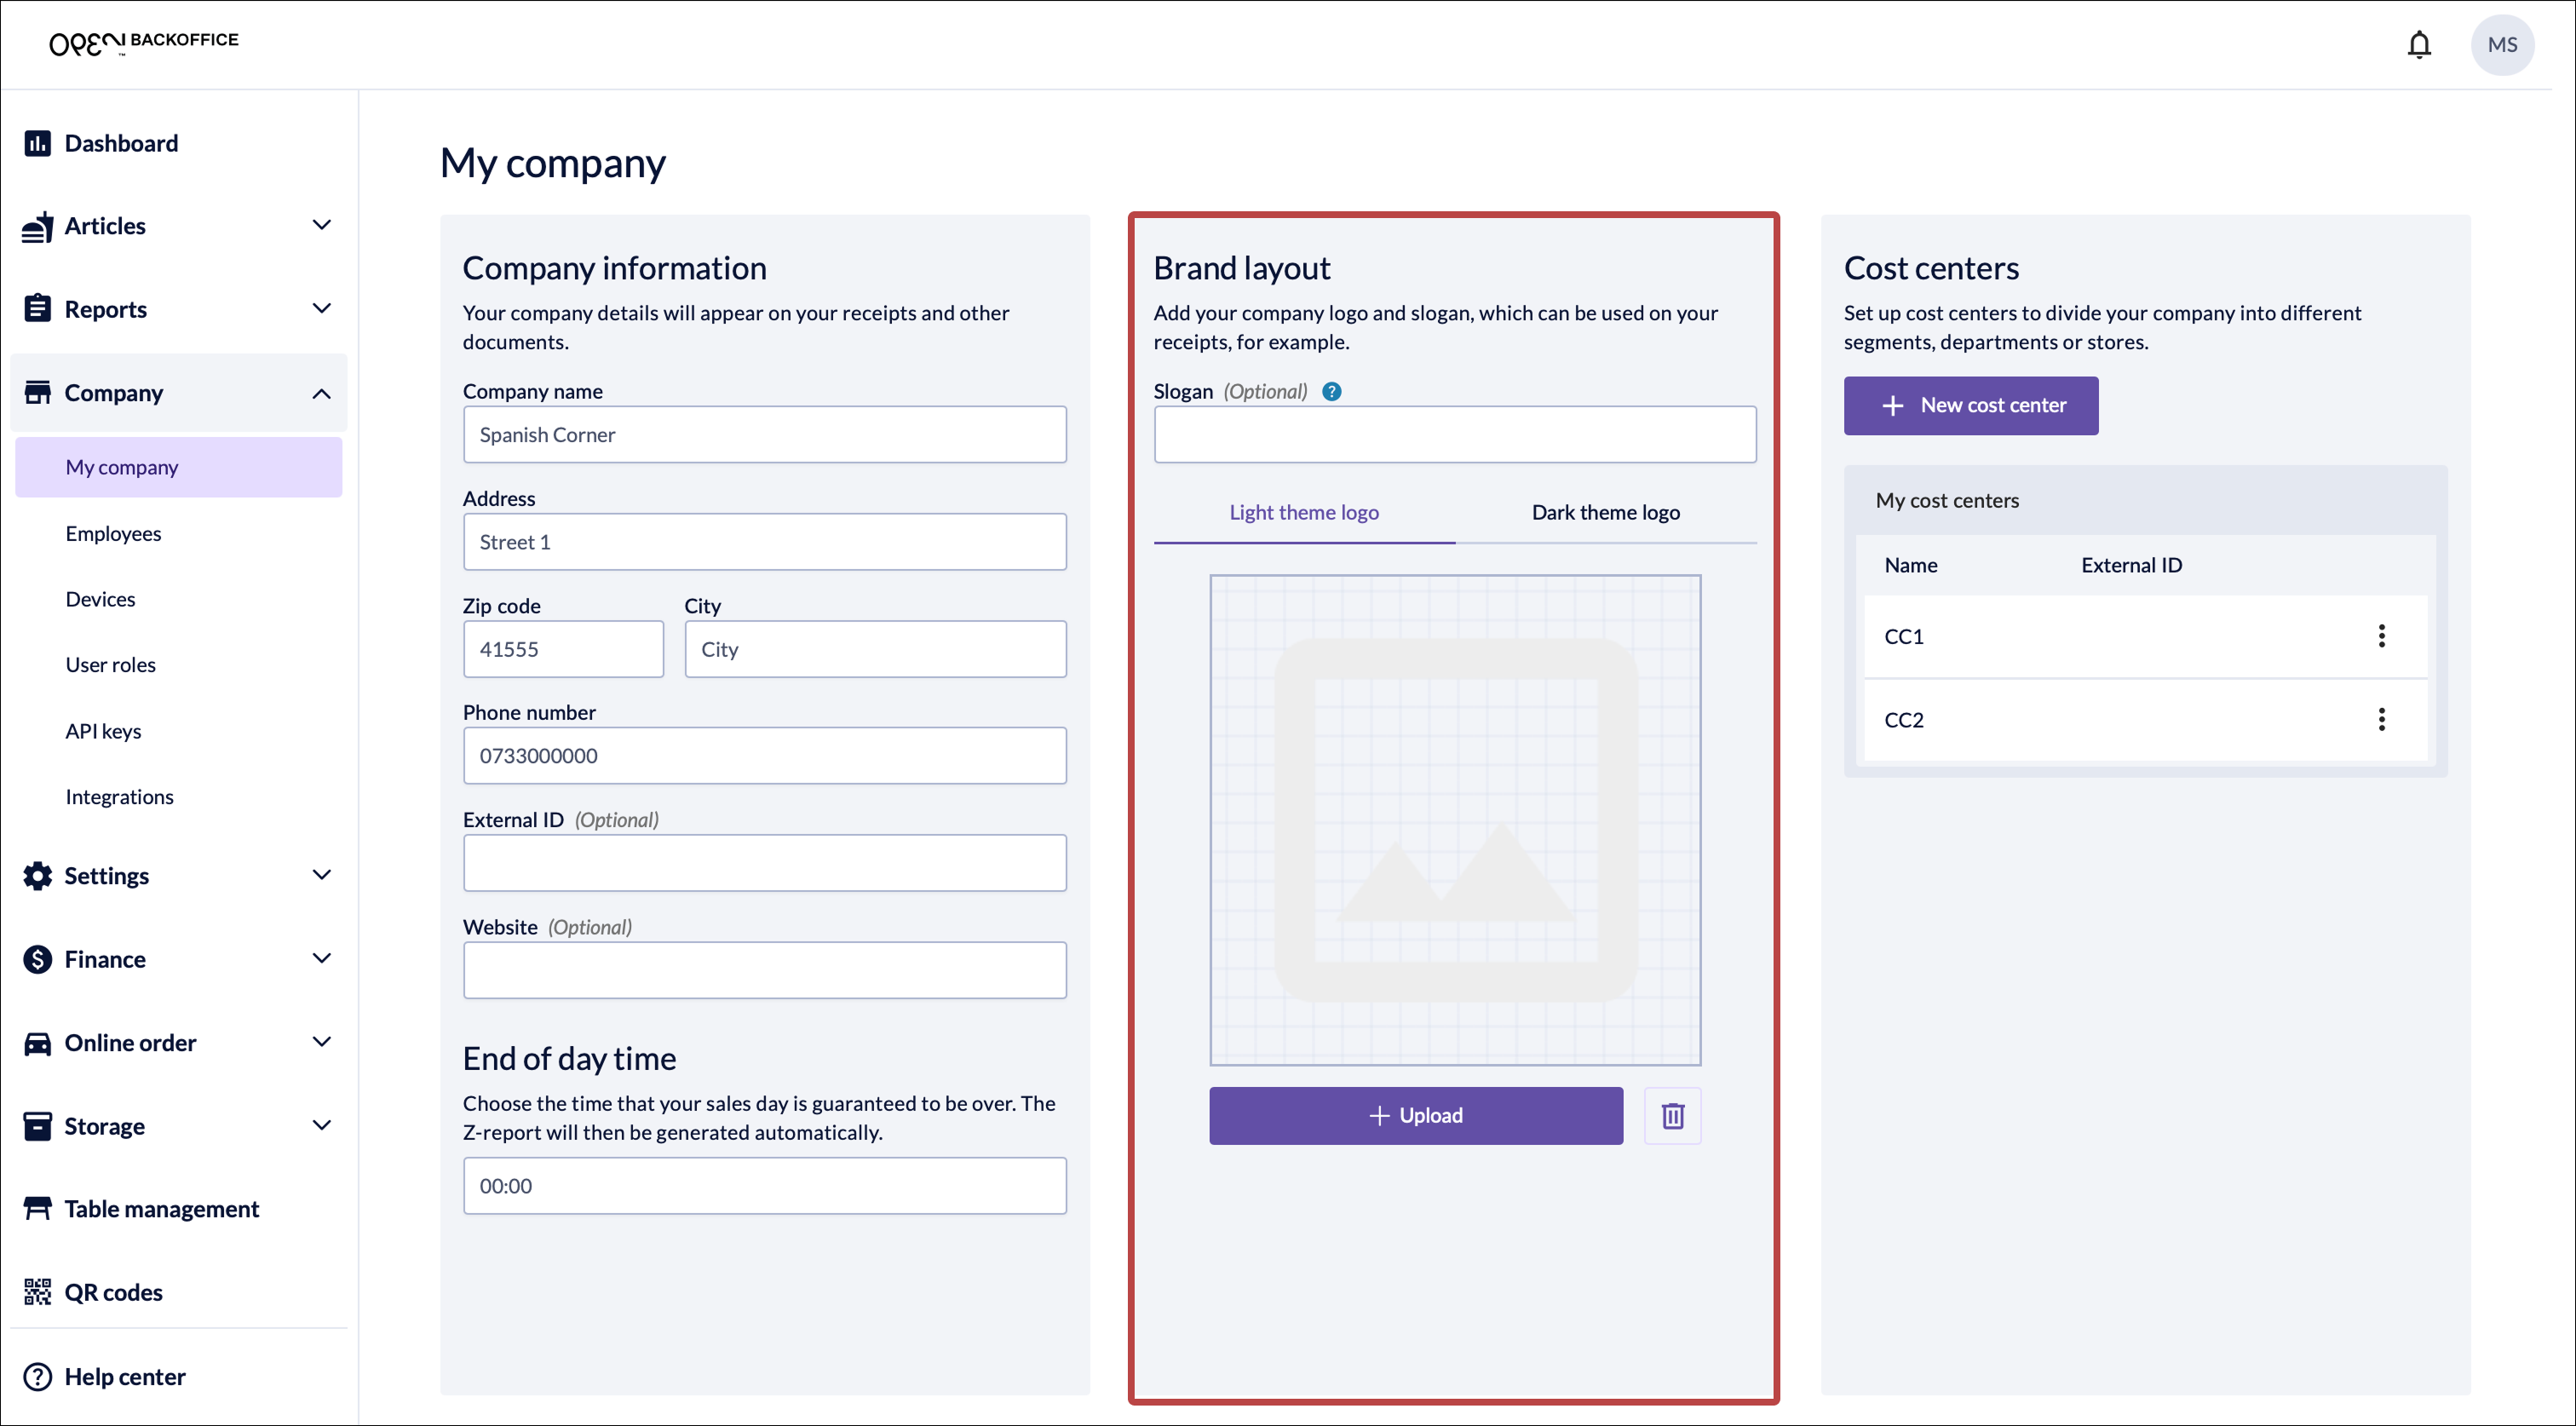
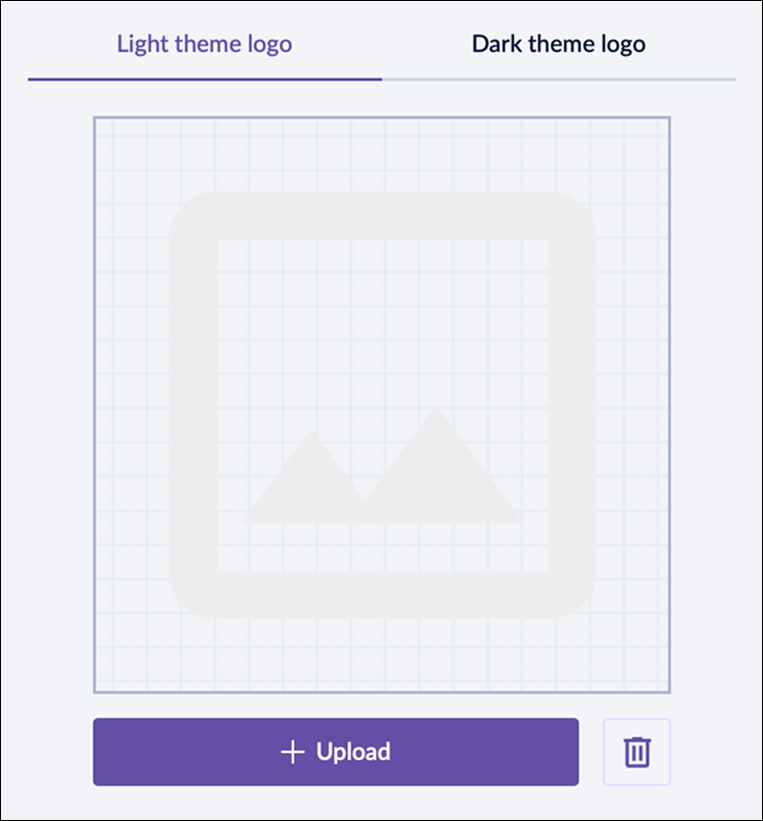
Upload a company logo:
- Use the tabs to upload either a light or dark theme logo.
- Press the Upload image button.
- Choose your logo (accepted formats: JPG, PNG, SVG).
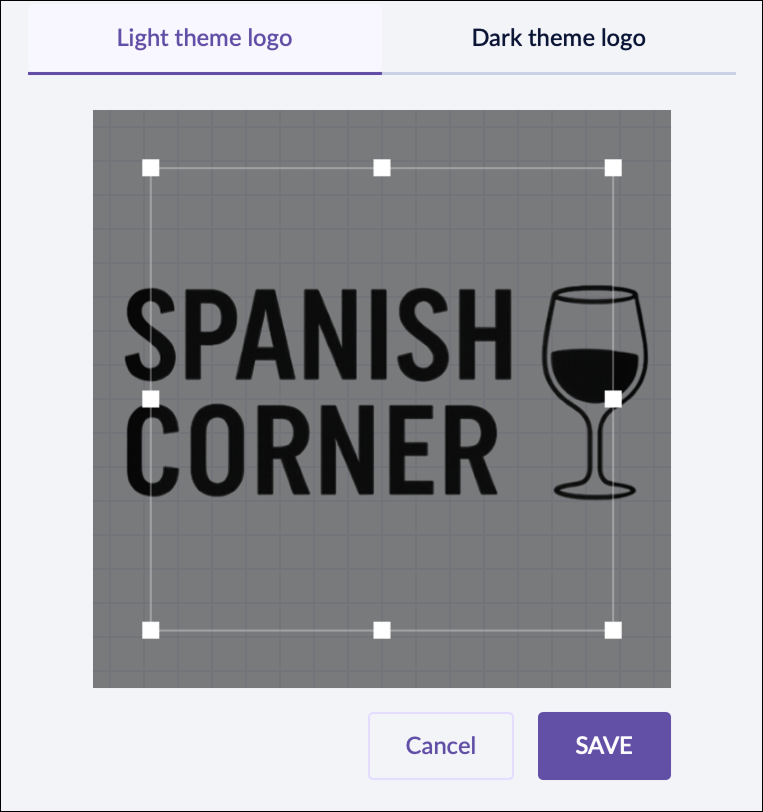
- Crop the image as needed.
- Save the logo.


Add company slogan
- Sign in to BackOffice.
- Go to Company -> My company.
- Use the Brand layout section.
- Enter a slogan in the text field.

Receipts
To customize your printed and digital receipts, go to Company -> Receipt design.
Digital receipts
To edit digital receipts:
- Go to Settings -> Receipt
- Select the Digital receipt tab
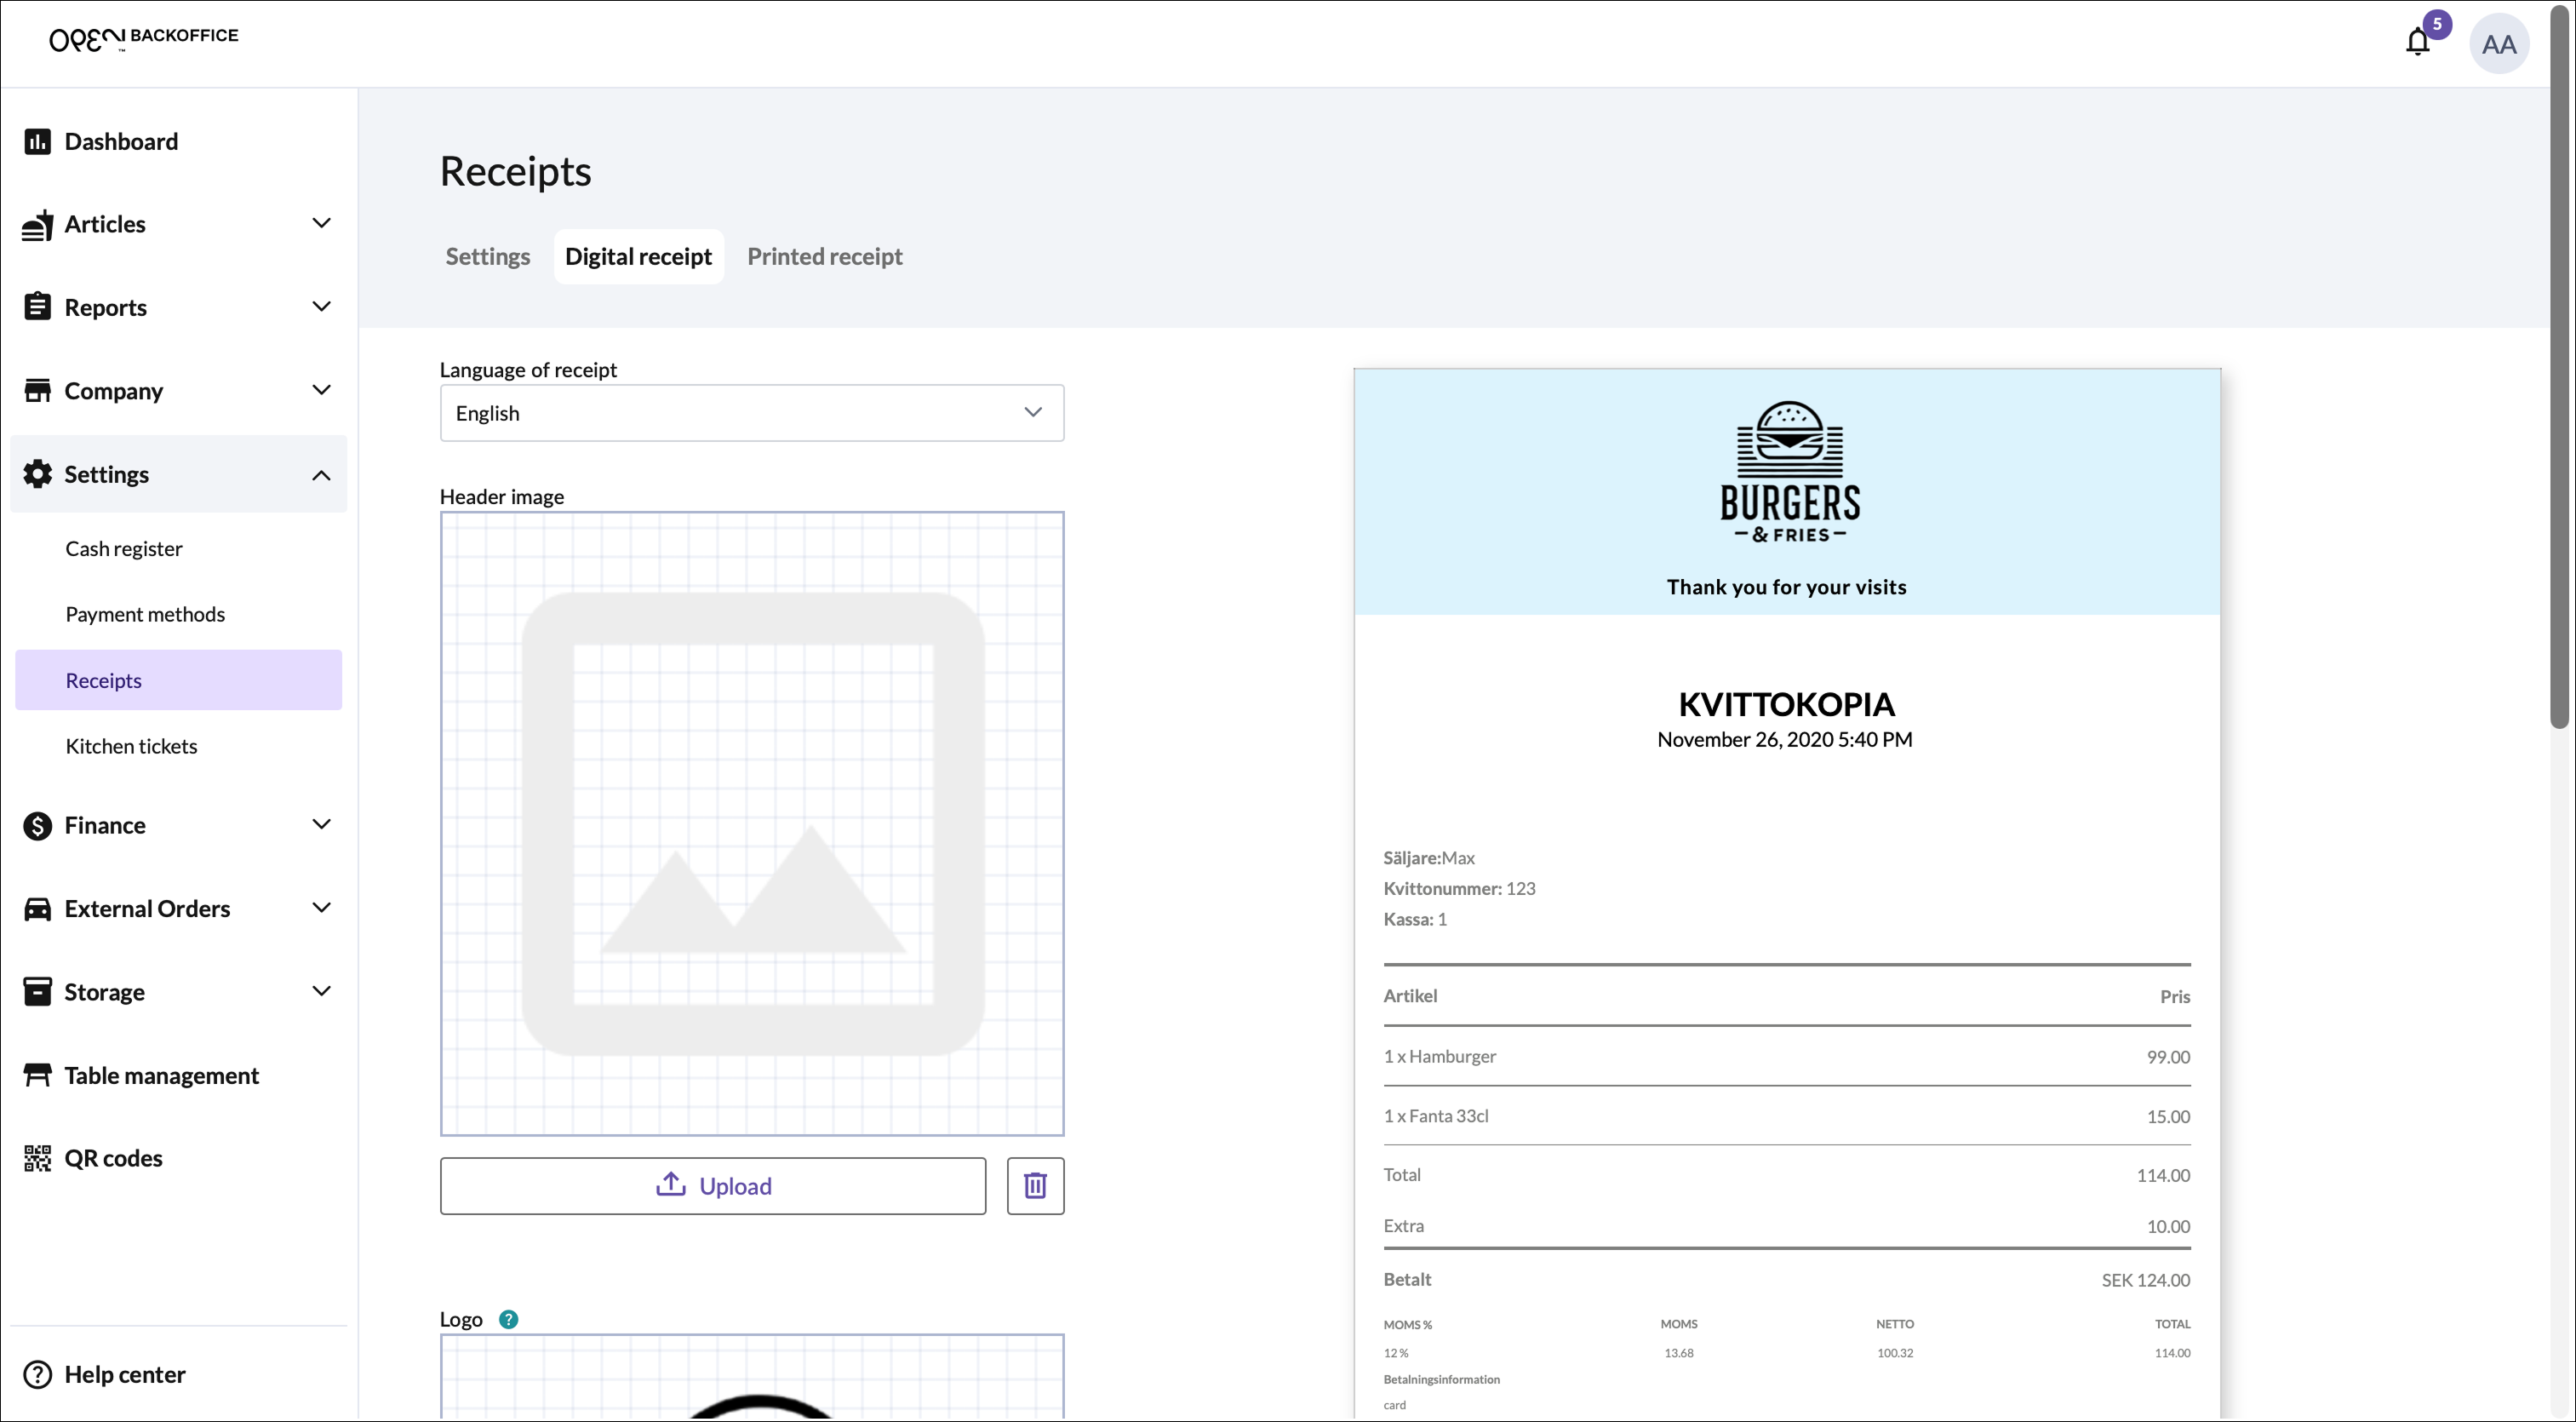
- Here, you can:
- Add a header image
- Set header and footer background colors
- Add a logo
Tip
Use your light or dark themed company logo here
- Add header and footer text
Tip
Use your company slogan here
- Add a QR code URL (to your website for example)

Printed receipts
To edit printed receipts:
- Go to Settings -> Receipts
- Select the Printed receipt tab
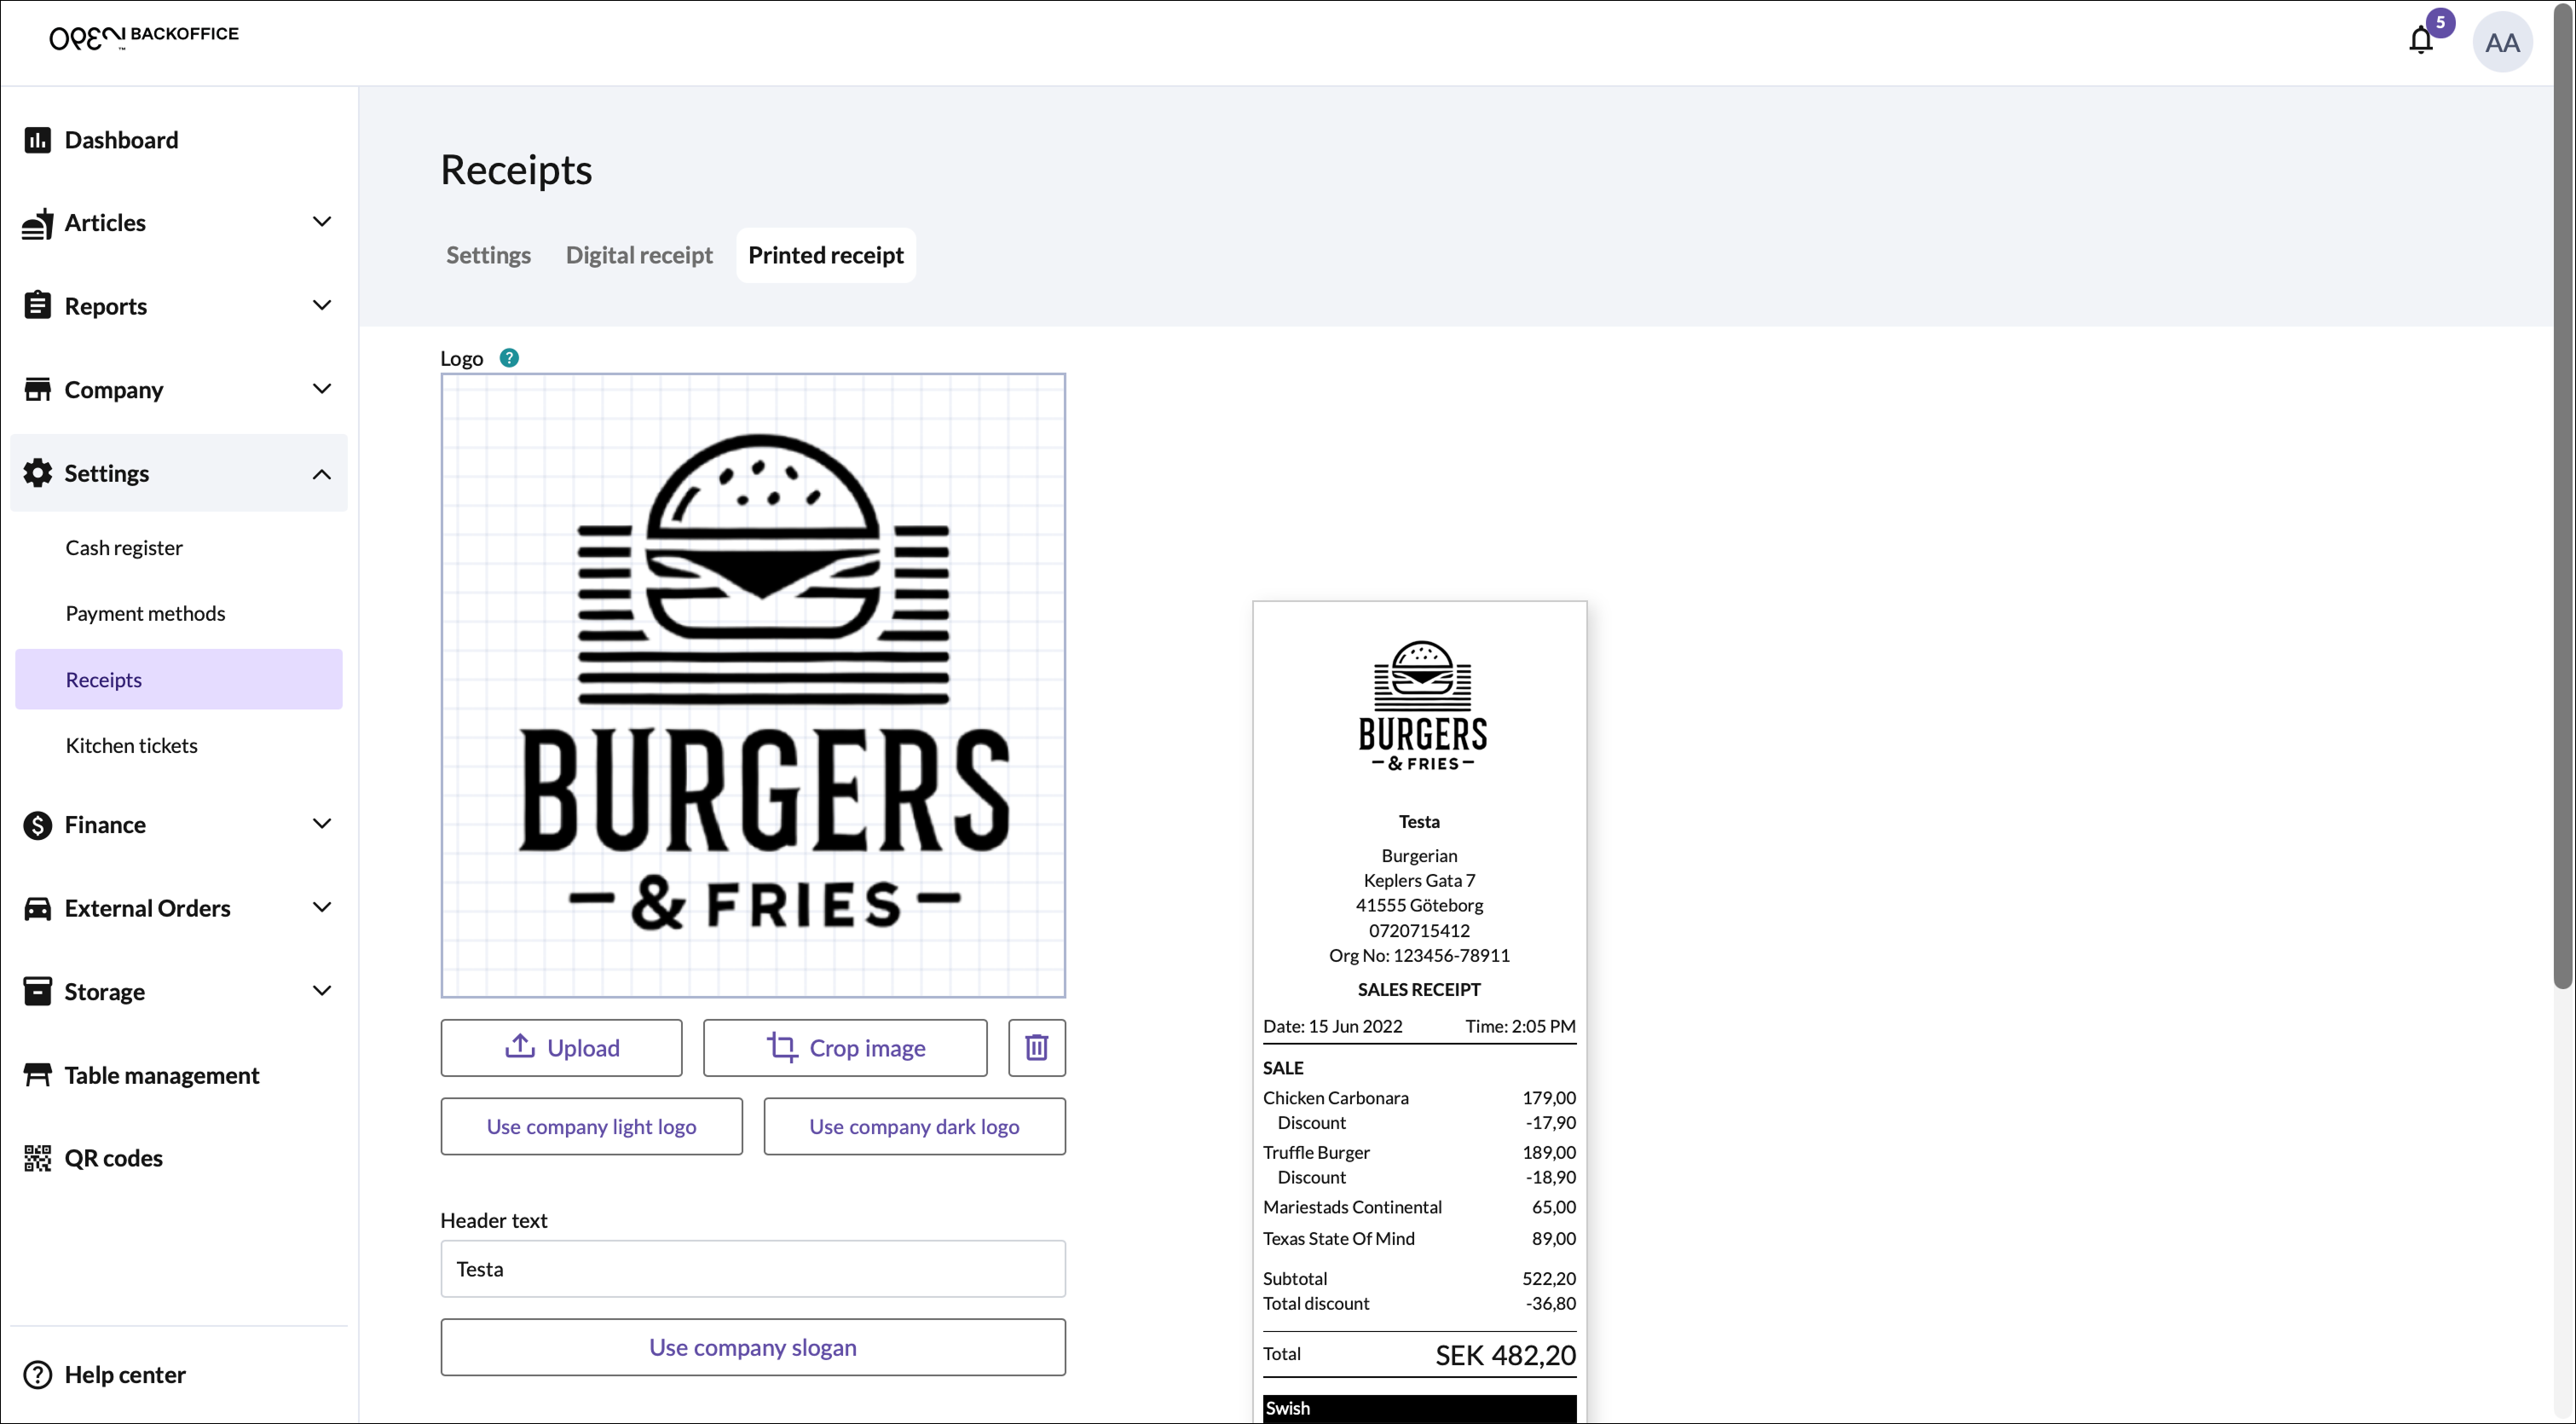
- Here, you can:
- Add a logo
Tip
Use your light or dark themed company logo here
- Add header and footer text
Tip
Use your company slogan here
- Add a logo

Customer Display Screen (CDS)
You can customize the theme (light or dark) for your customer-facing screen. This means you can use, for example, a light theme on the register and a dark theme on the CDS.

Steps:
Sign in to OPEN Two.
Open the menu and go to Settings.
Go to General.
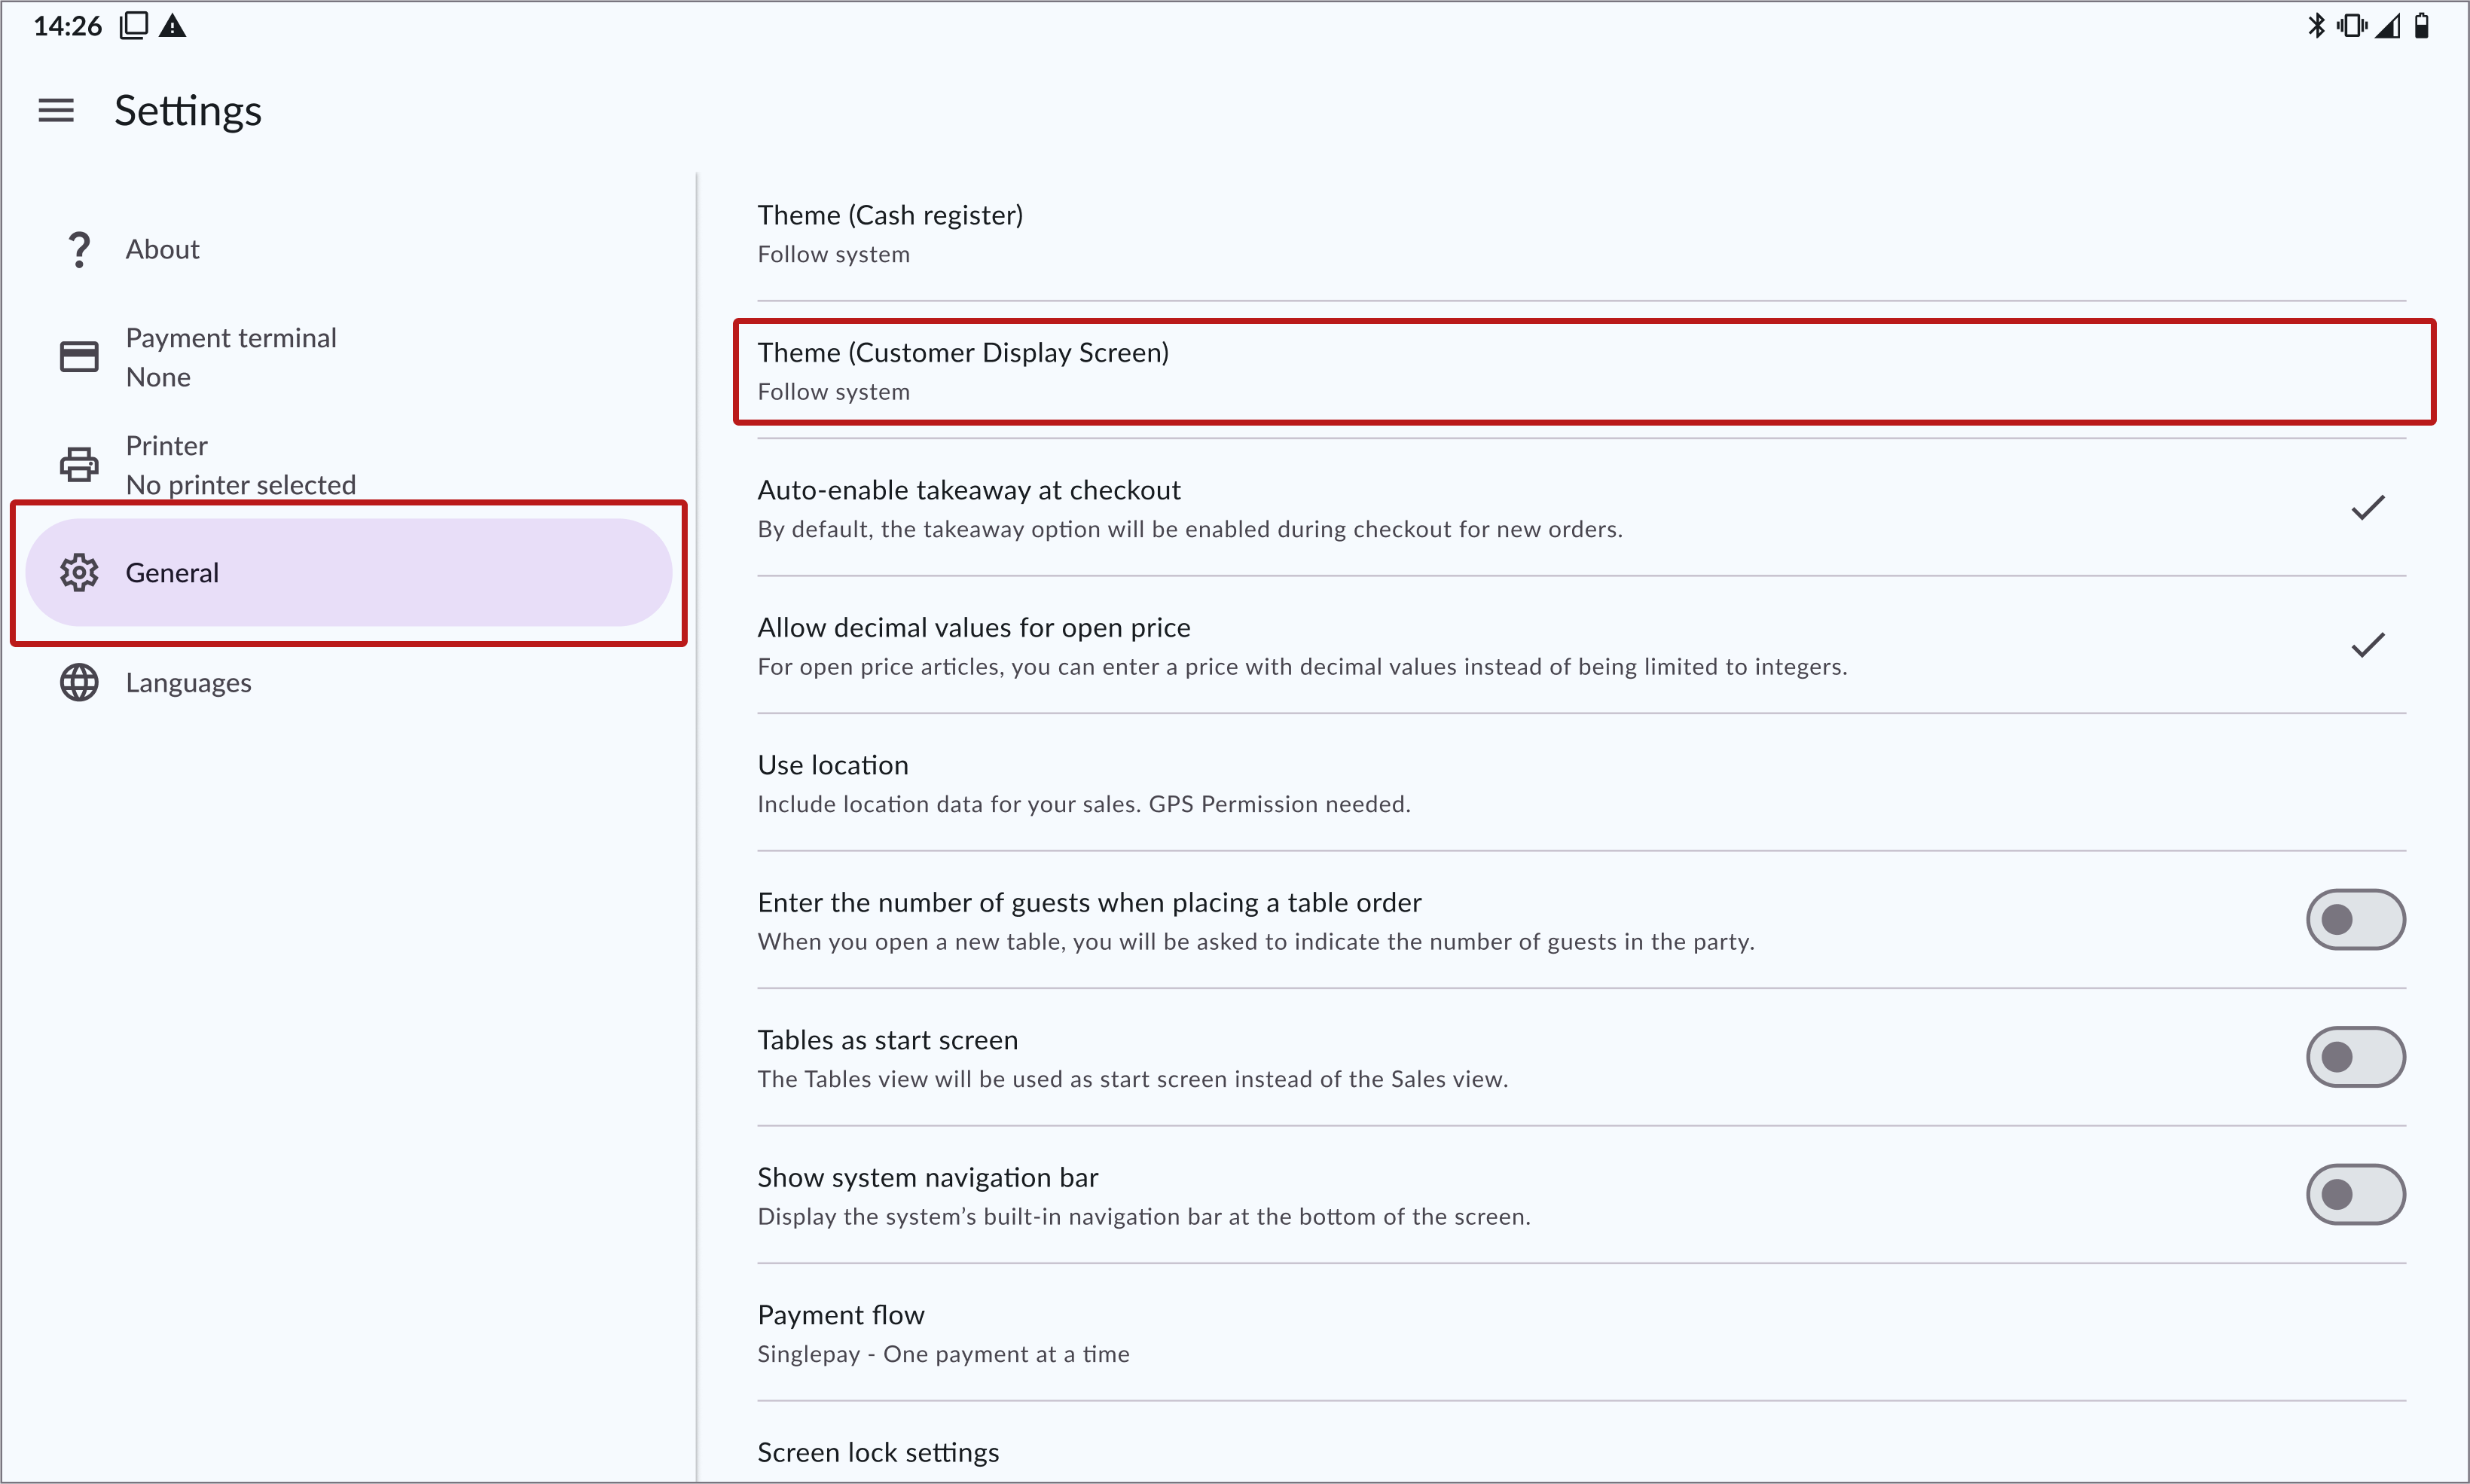
Click on the Customer Display Screen setting.
Choose your theme:
- Follow the system (i.e. the device's system theme)
- Or select a theme for the CDS, light or dark
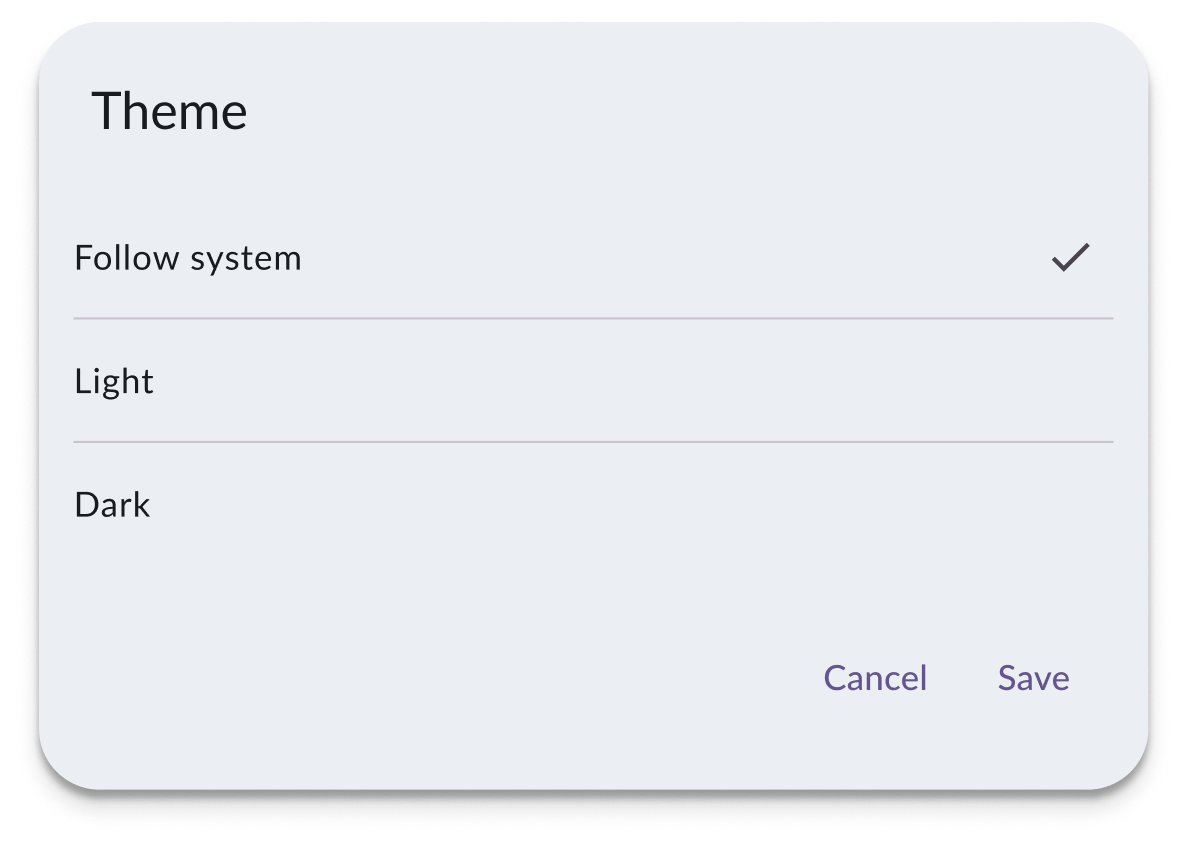
Save your settings.


Can’t see your logo?
Confirm that a company logo has been uploaded in BackOffice (see steps above).
Check the logo’s visibility based on the chosen CDS theme:
- Light theme: Use a dark (e.g. black) logo
- Dark theme: Use a light (e.g. white) logo
Recommended practice
Since your company logo appears on both payment terminals and customer display screens, we recommend using the same theme across your POS system for visual consistency.