Create & publish menus
To receive orders through the external ordering system, you need to publish at least one menu. Here's a step-by-step guide on how to do it:
Step 1: Add new menu
Sign in: Log in to BackOffice.
Go to 'Menus': In the left-hand menu, go to: Online order → Menus.
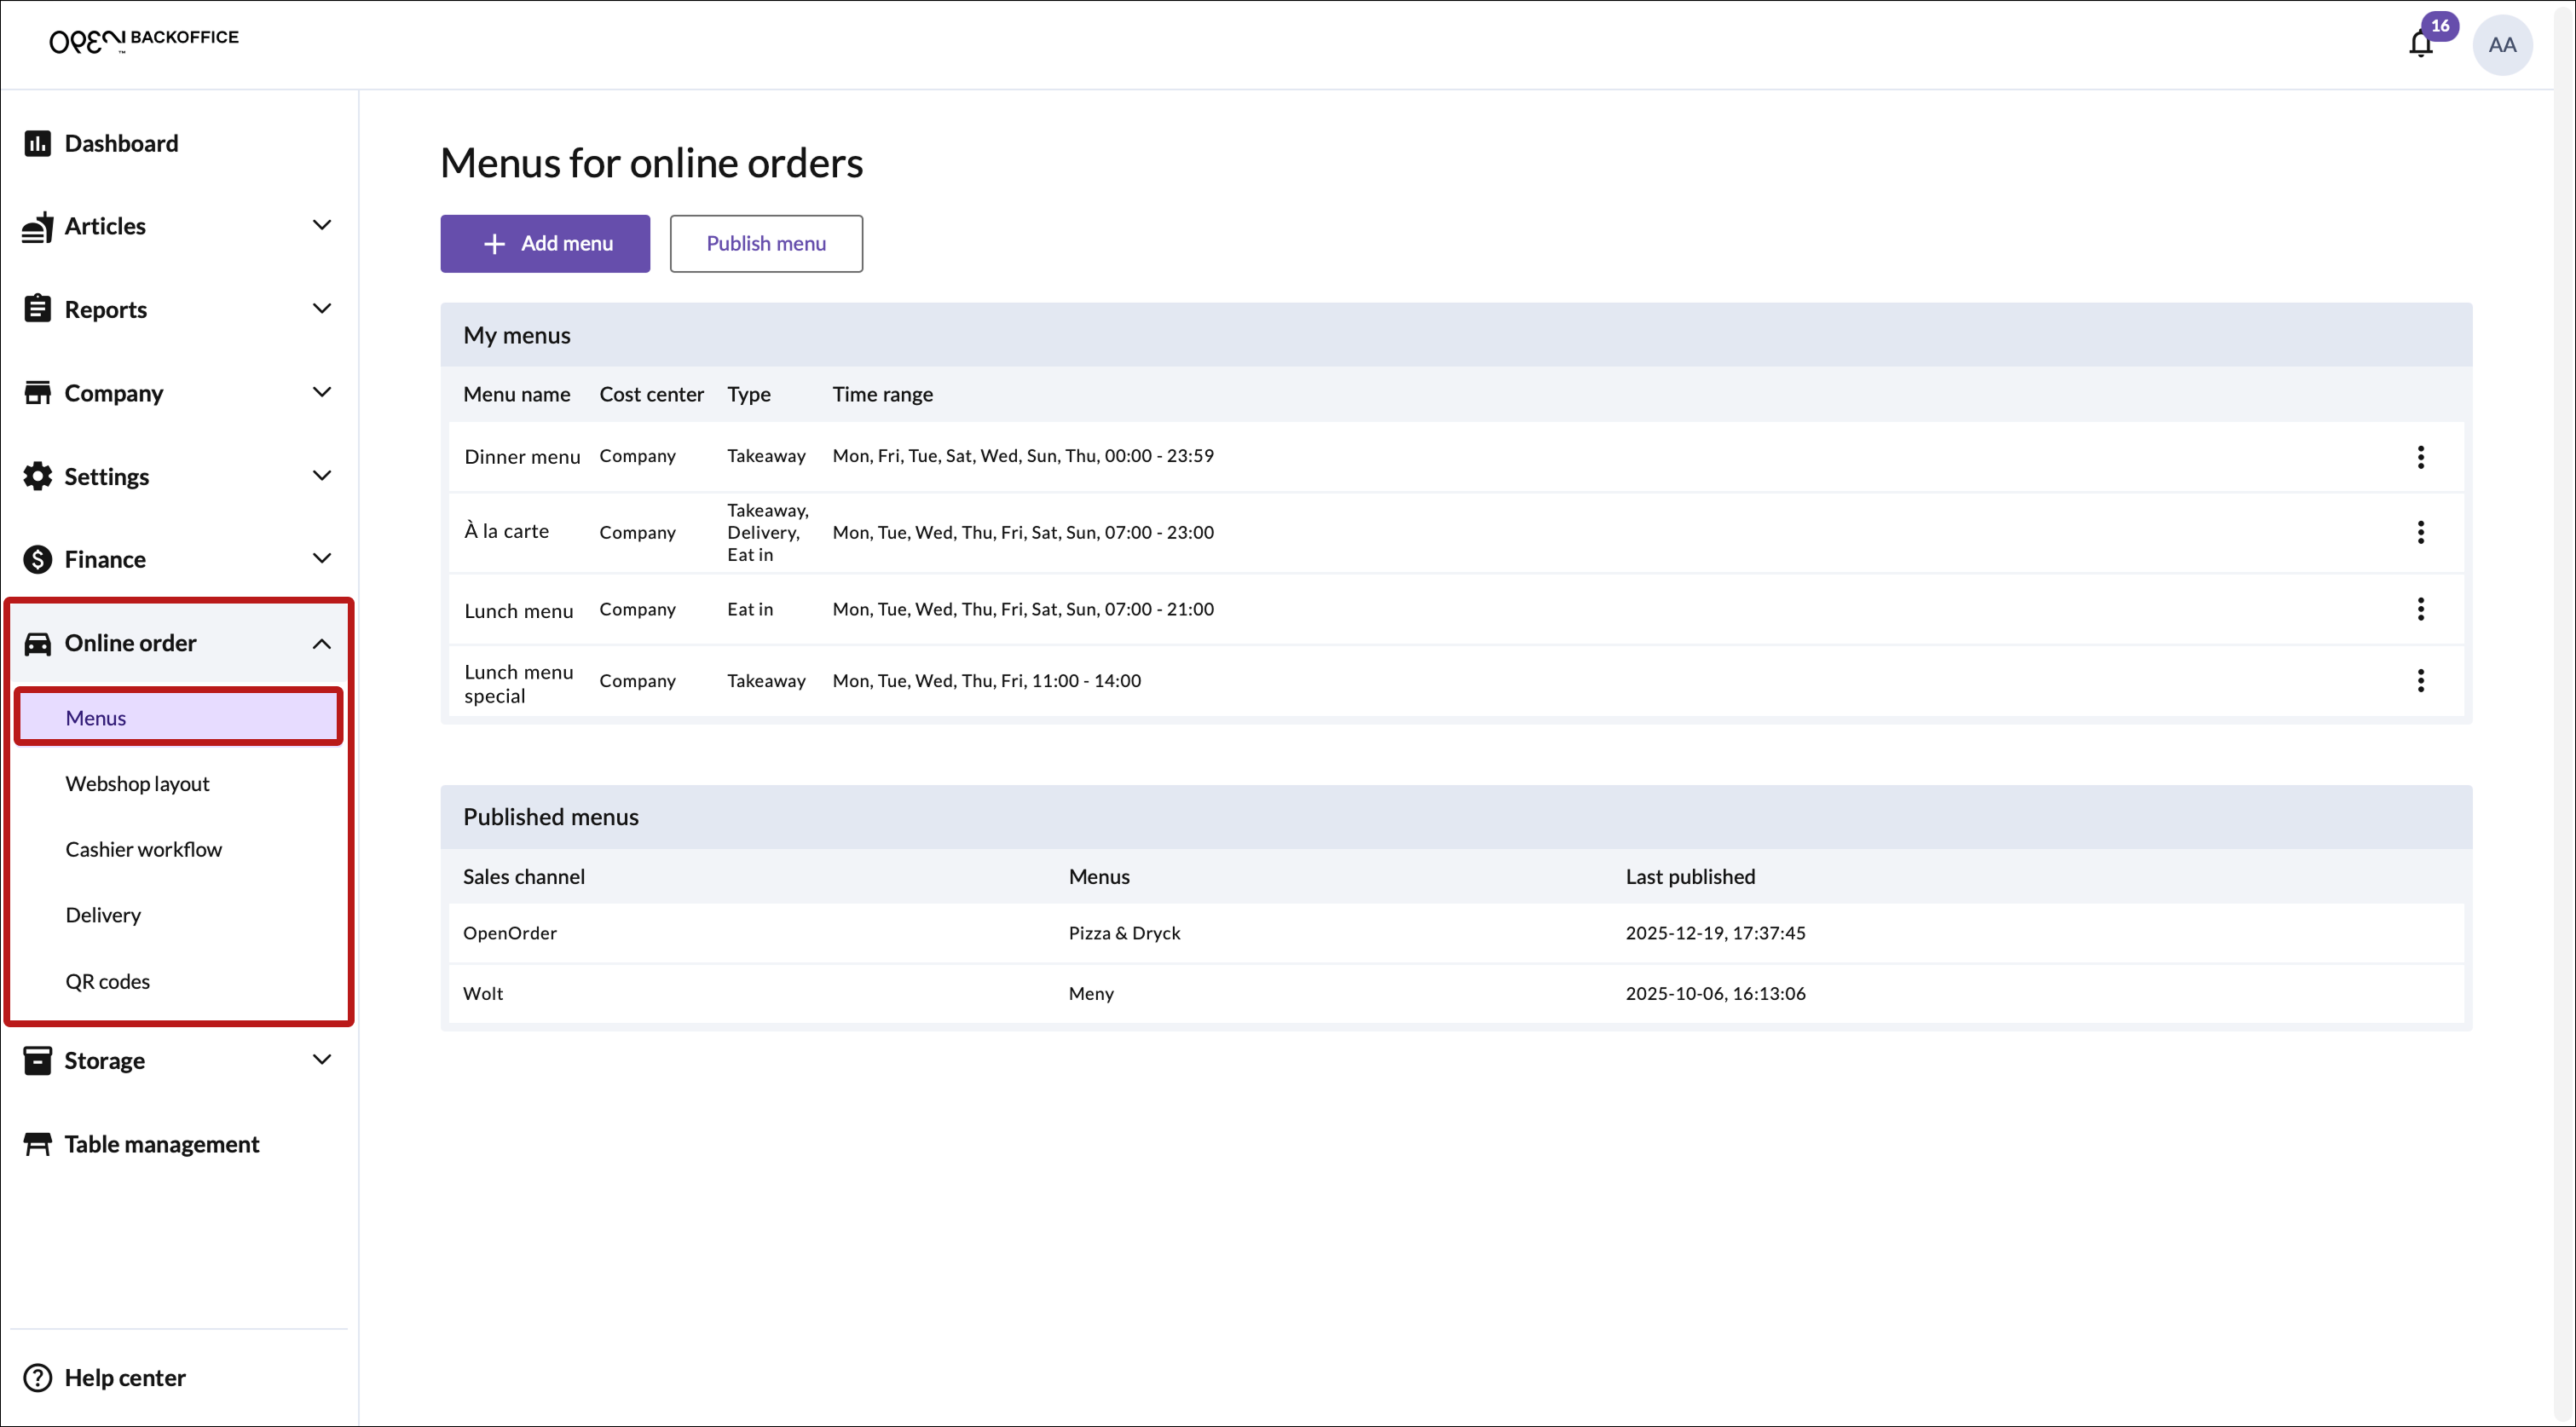
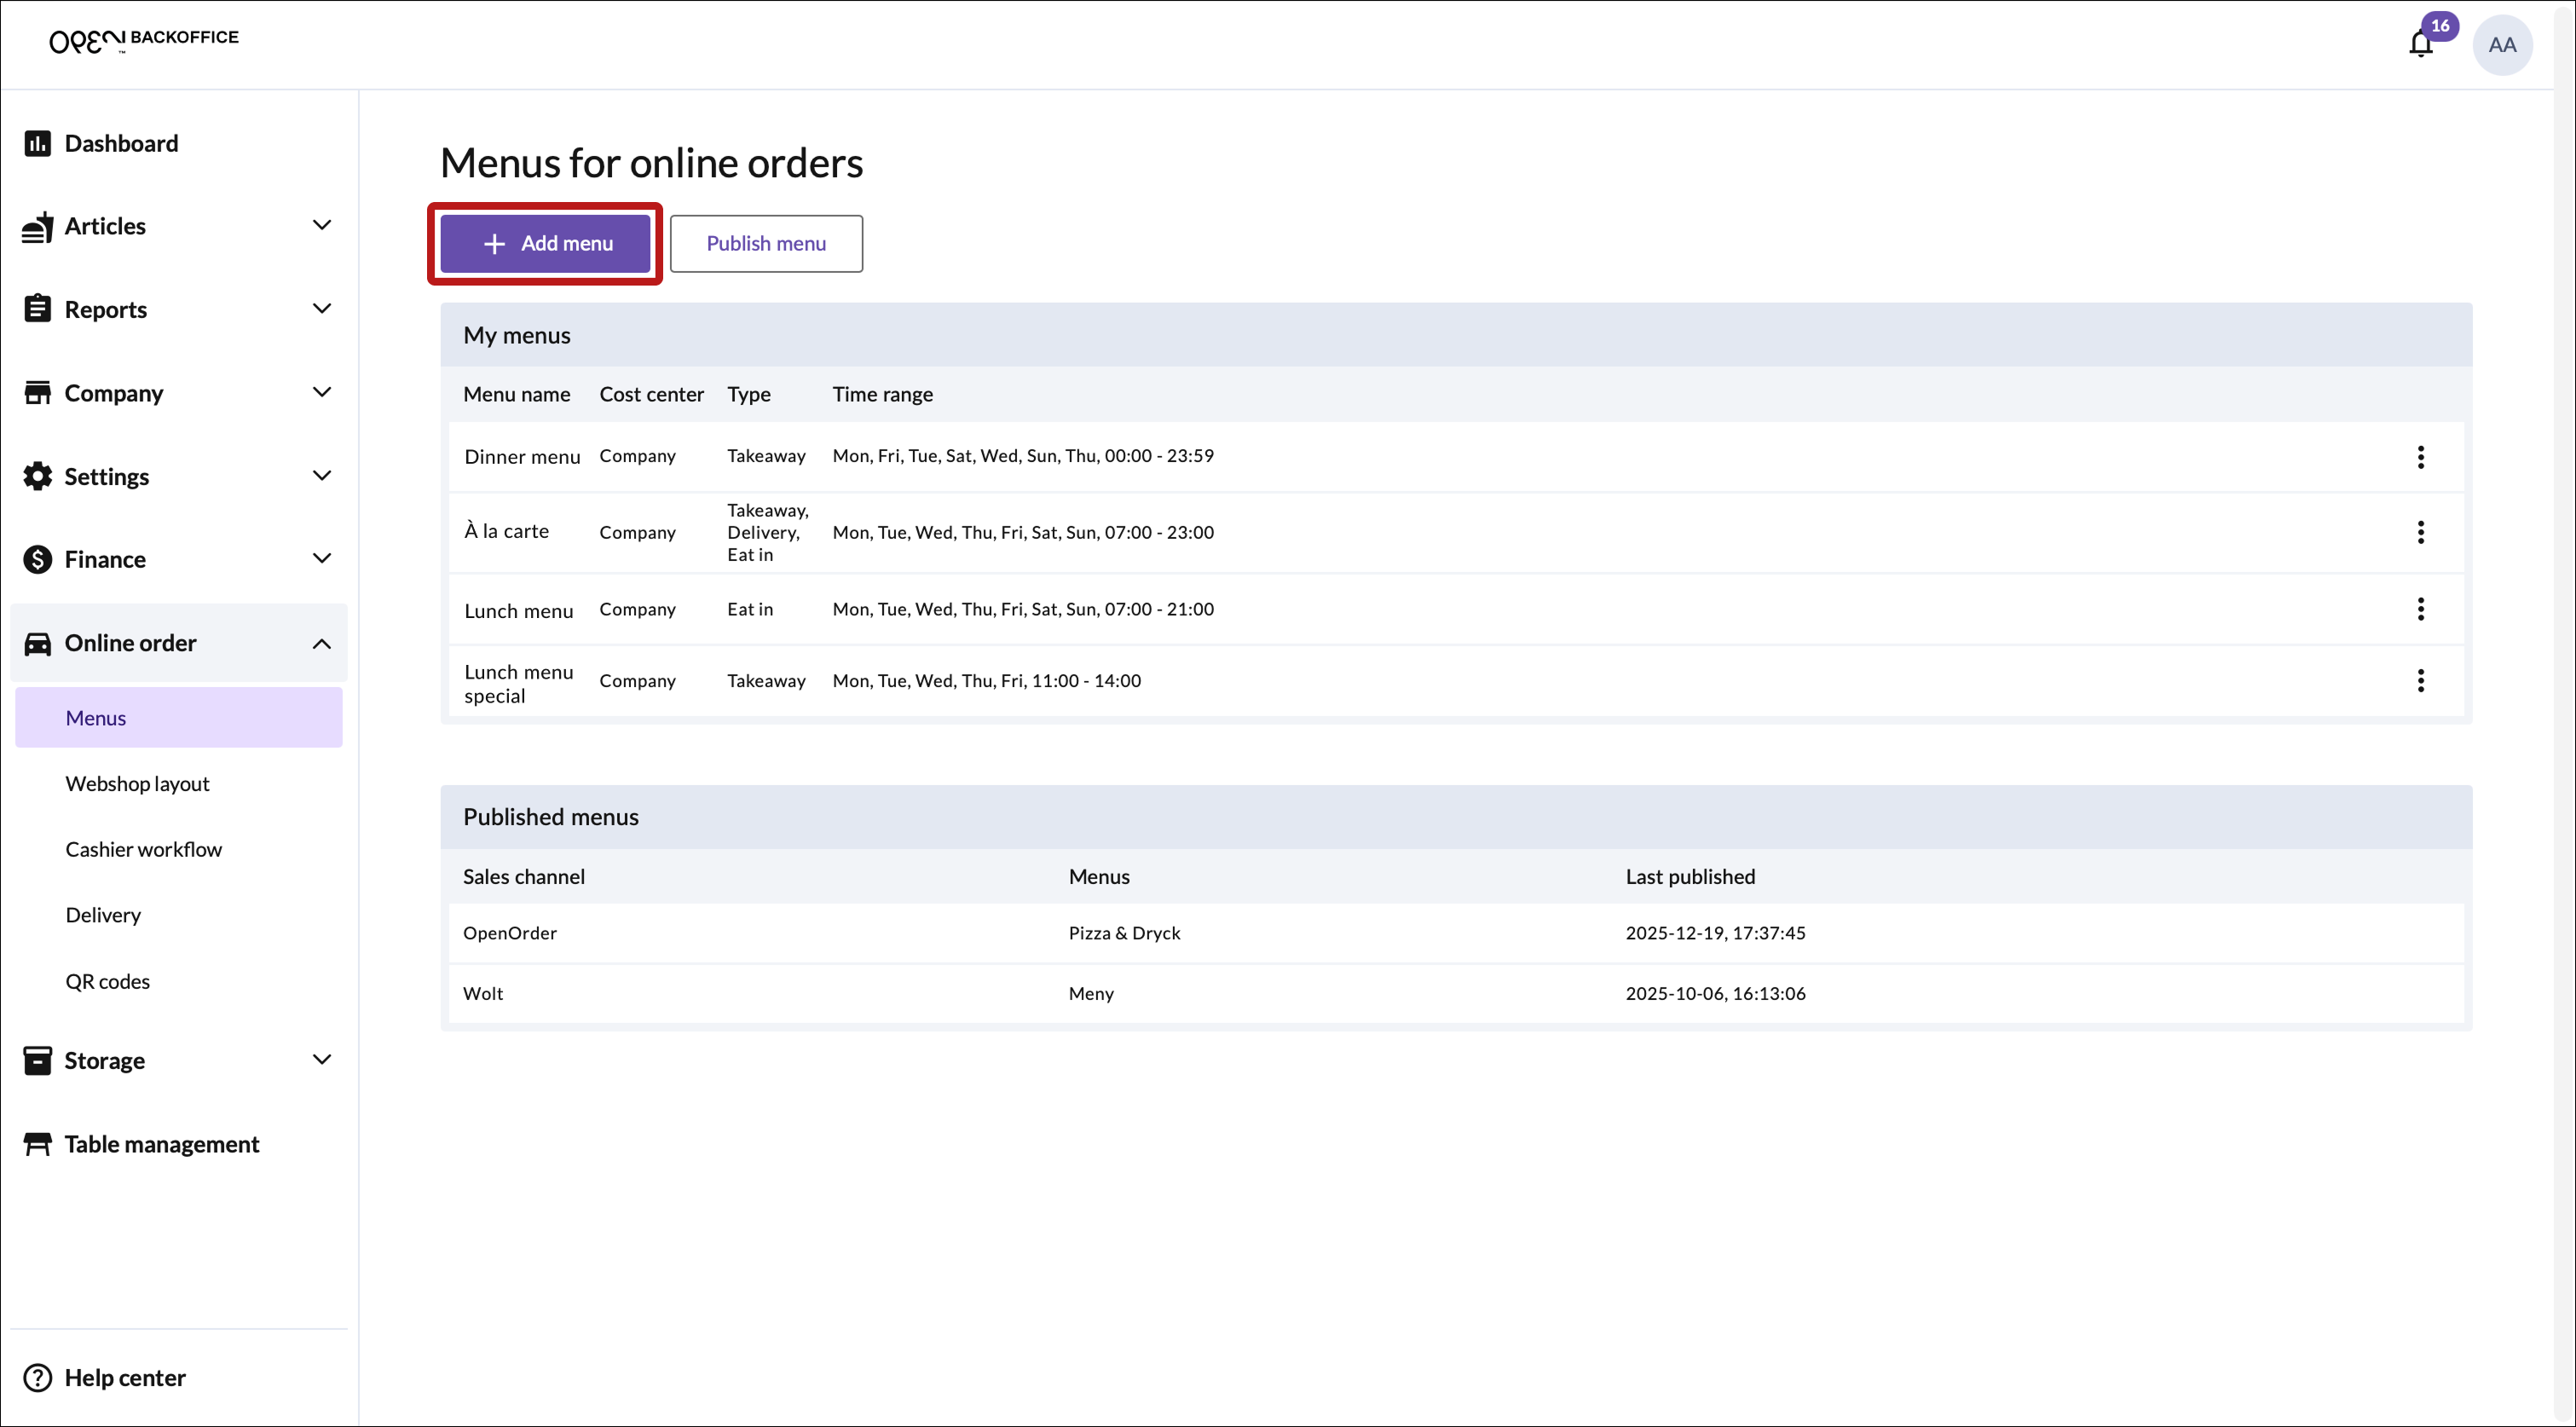
Click the Add menu button.


Step 2: Menu settings
In the new page, start by configuring your menu settings.
Menu name: e.g. “À la carte”.
Cost center: Choose a specific location (e.g. Restaurant A), or select “Company” if the menu should apply to the whole business.
Dining options: Choose which dining options should be supported:
- Eat in
- Takeaway
- Delivery (read this guide on how to offer delivery as a dining option)
Time range: Set when the menu should be active (e.g. weekdays from 11:00–14:00 for a lunch menu).
TIP
Note that you can have multiple time periods for a menu. Click the Add time range to add another one.
Click Next.

Step 3: Select articles
3.1 Copy menu or start blank
Choose if you'd like to copy menu groups and articles from an existing menu or start blank.
- If you have menus from before: select one to import its products into your new menu.
- If not: click 'Start blank'.

3.2 Create a menu group
Use menu groups to categorize your menu so it's easy for your customers to find what they want. In a lunch menu, you could for example have a menu group for drinks and another menu group for food.
- Click Add Menu group.
- Give it a name – e.g. “Burgers”.
- Then click Add articles.

Select products:
- Click on an article to add it.
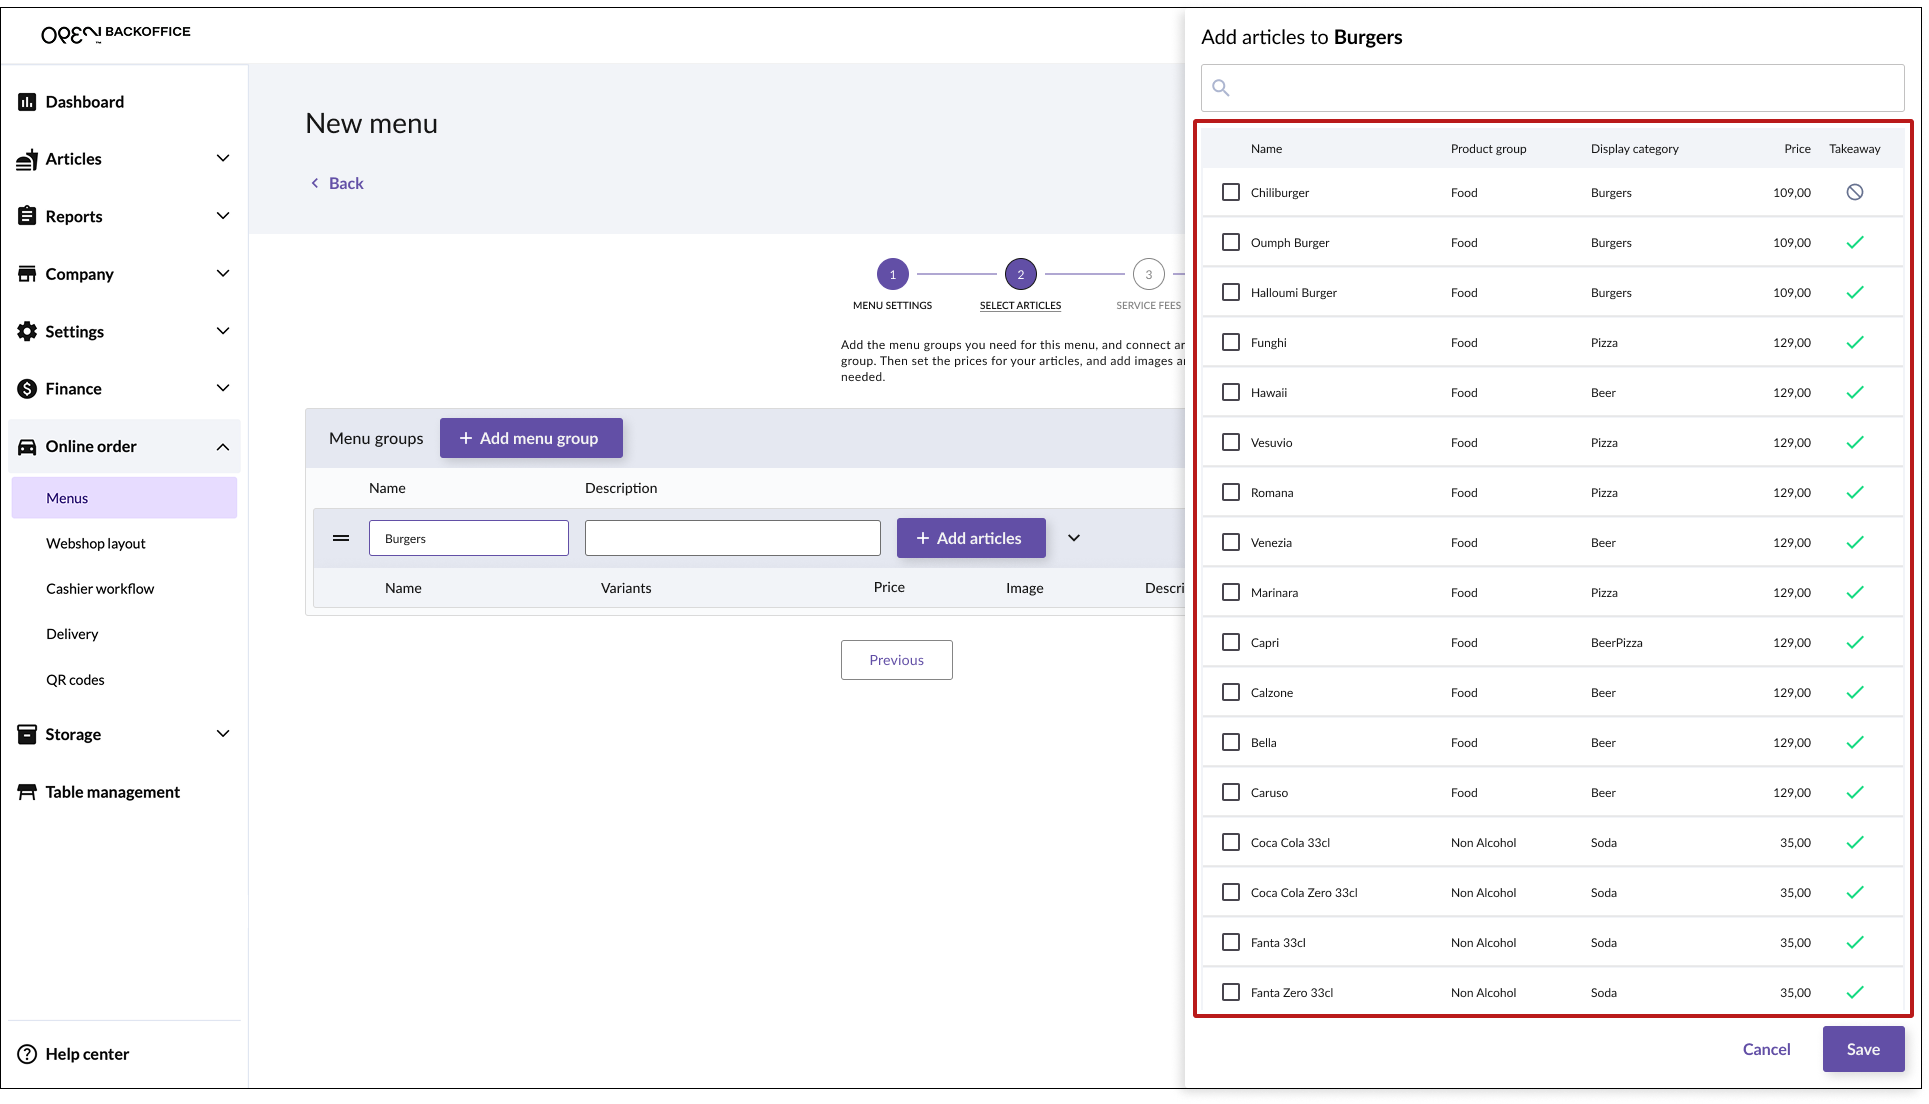
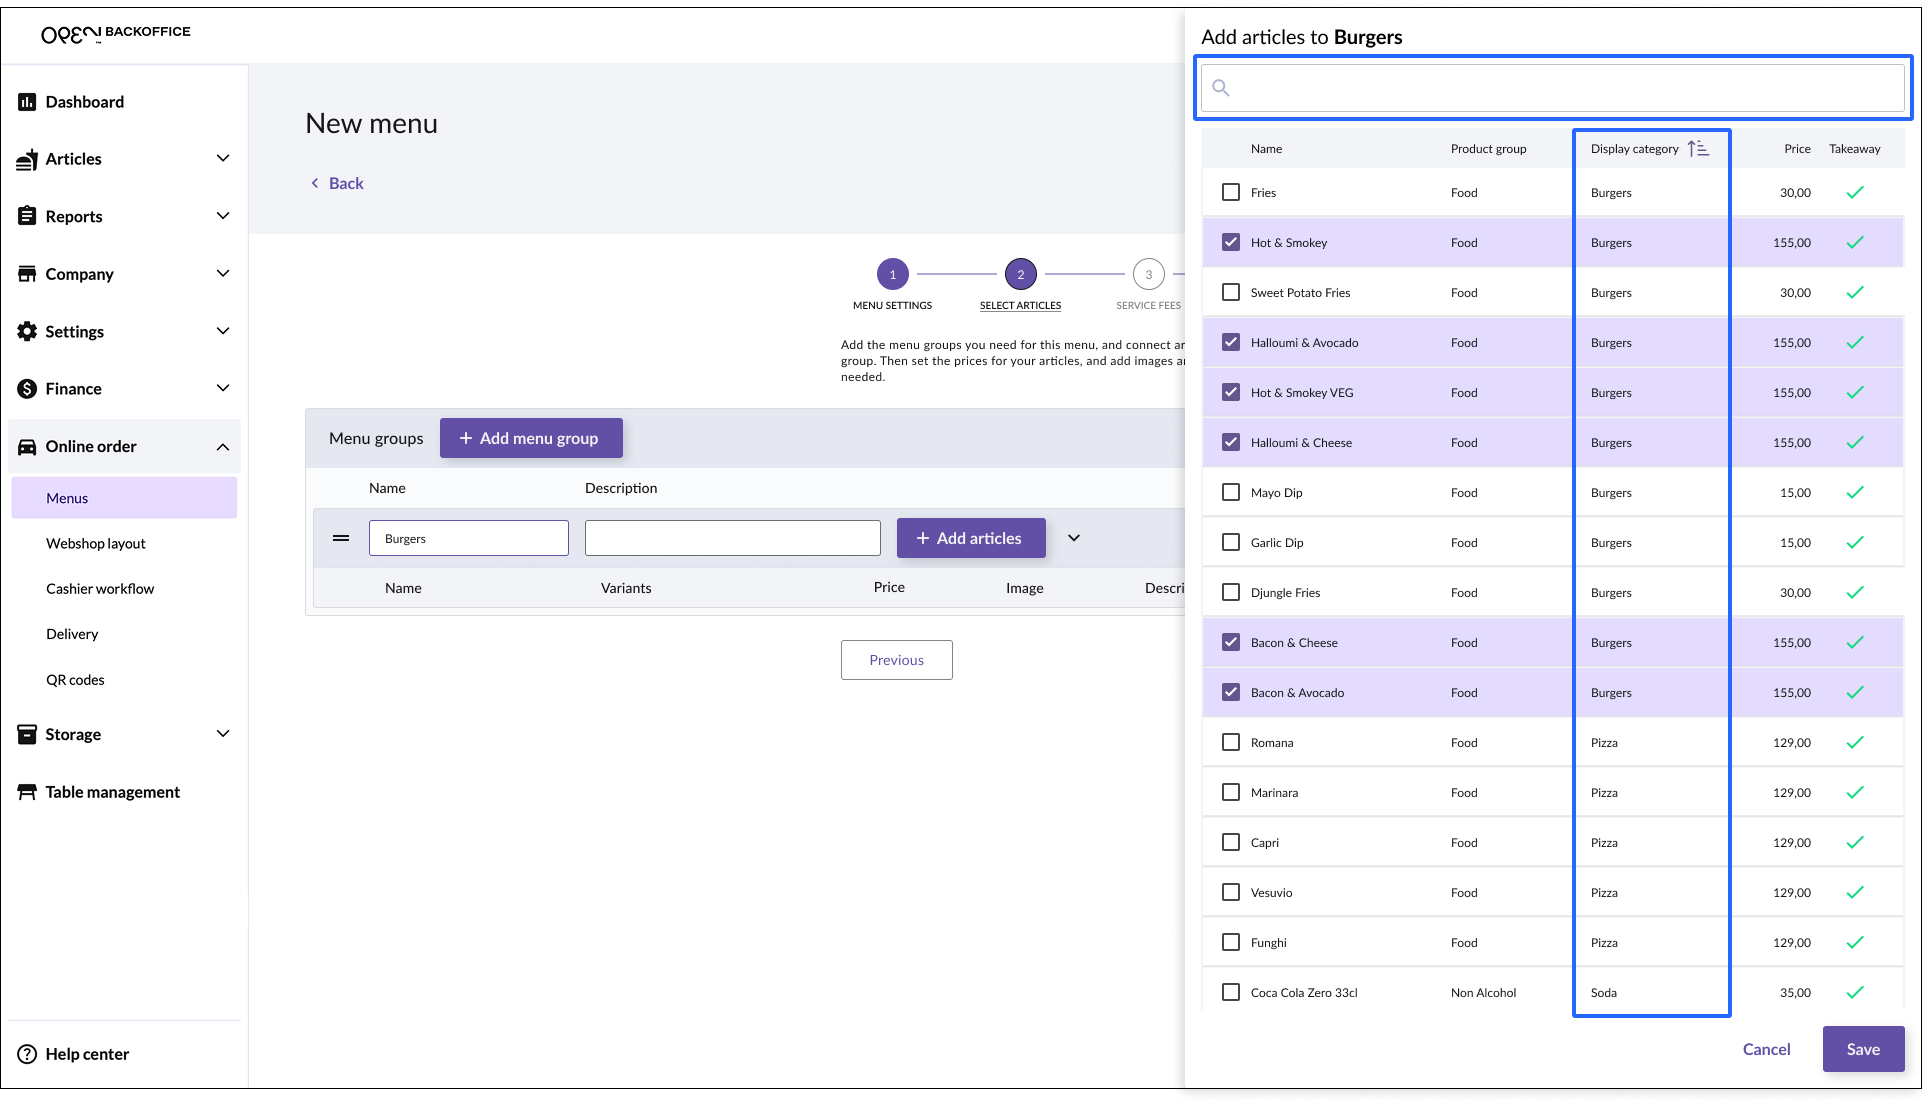
Tip: you can search articles, or sort them by display group etc.
- Click on an article to add it.
Click Save: Your selected articles will now appear in a table under the menu group "Burgers" (in this example).
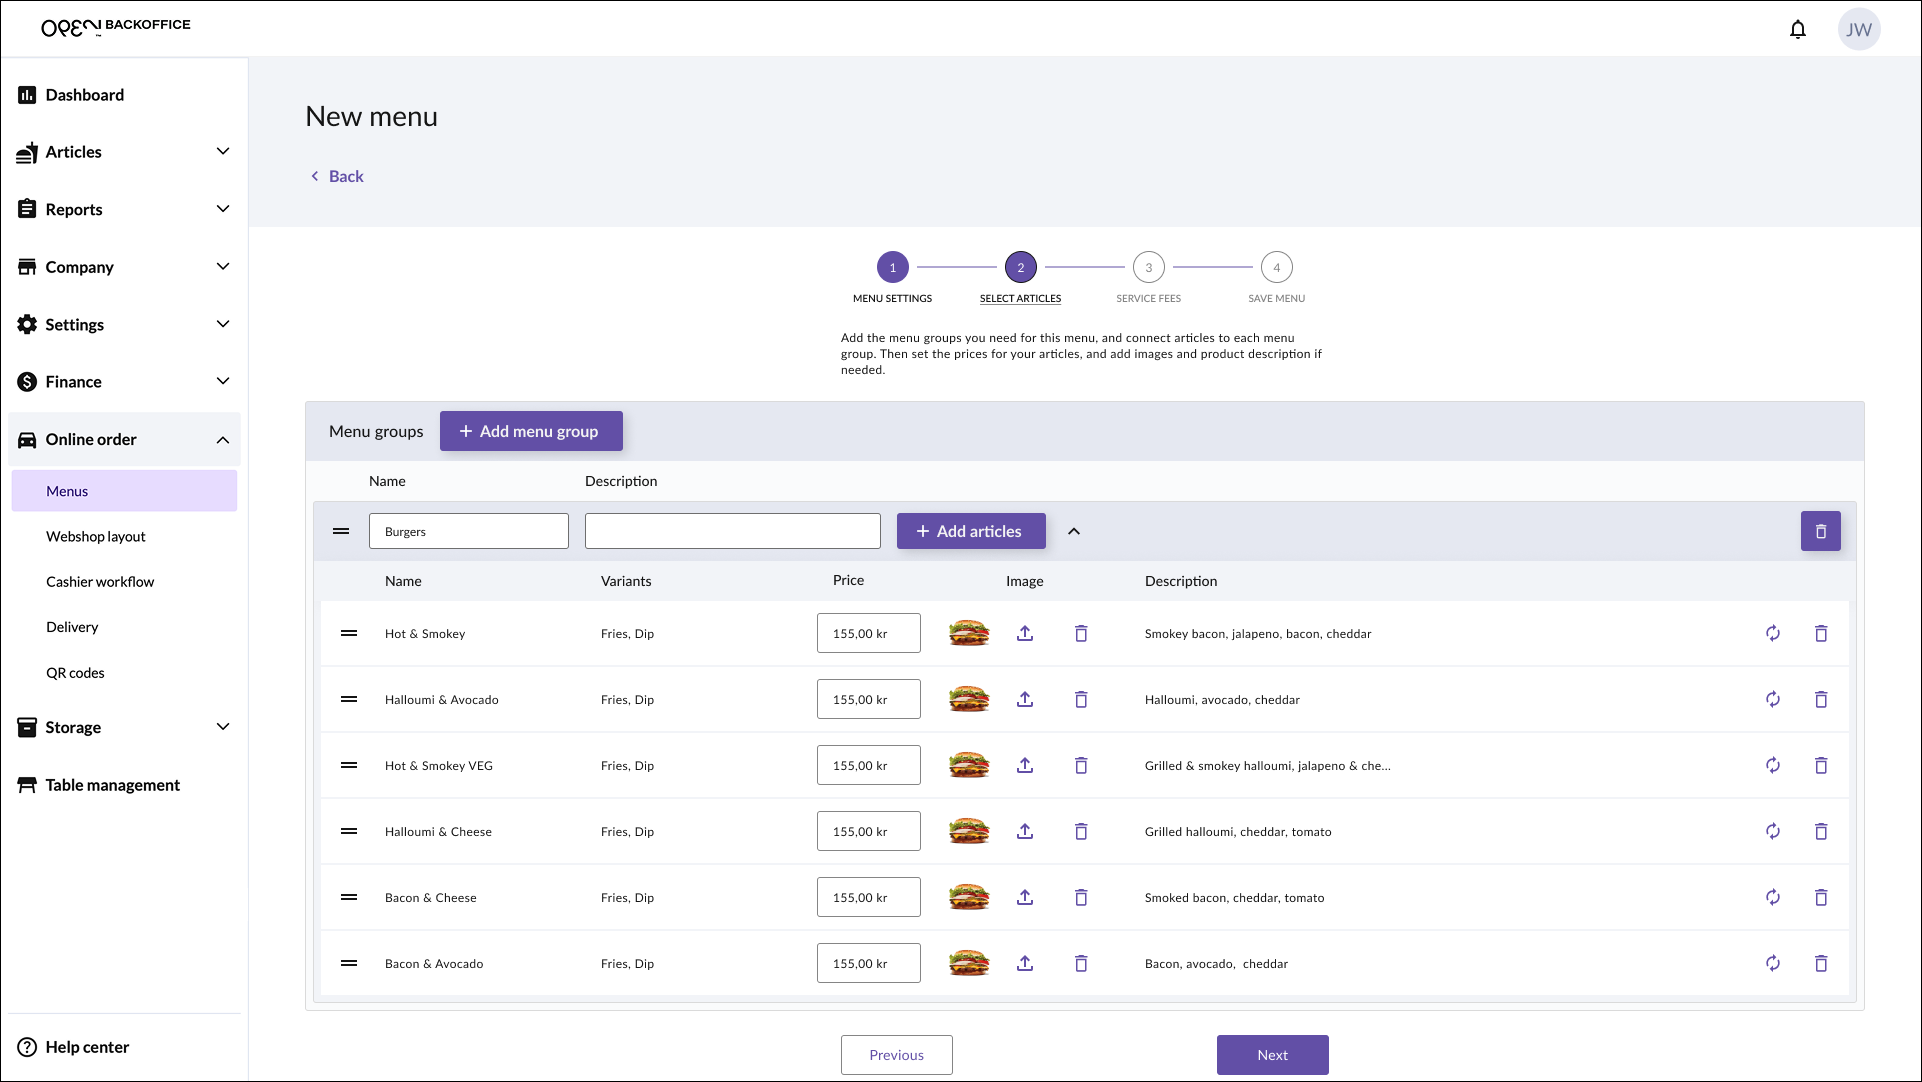


3.3 Adjust prices (optional)
Prices are imported from the 'main articles', but you can update them for your menu - useful if you want to offer discounted prices at certain times (e.g. during lunch).

This does not affect the article price for direct sales, but only for this specific menu when ordering online.
3.4 Image & description (optional)
Images and descriptions are imported from the 'main articles', but you can update them for your menu.

This does not affect the article images or descriptions for direct sales, but only for this specific menu when ordering online.
3.5 Update or delete articles
- Use the Update button to update an article, for example if you've just edited the 'main' article (in the 'Articles' page) and want to apply the changes to this menu.
- Use the Delete button to remove the article from the menu group.

3.6 Multiple menu groups
You can have multiple menu groups in your menu, for example:
- Burgers
- Fries
- Dips
- Drinks

Repeat the steps above until your menu is complete.
3.7 Click 'Next' to continue
Click the Next button at the bottom of the page to continue.

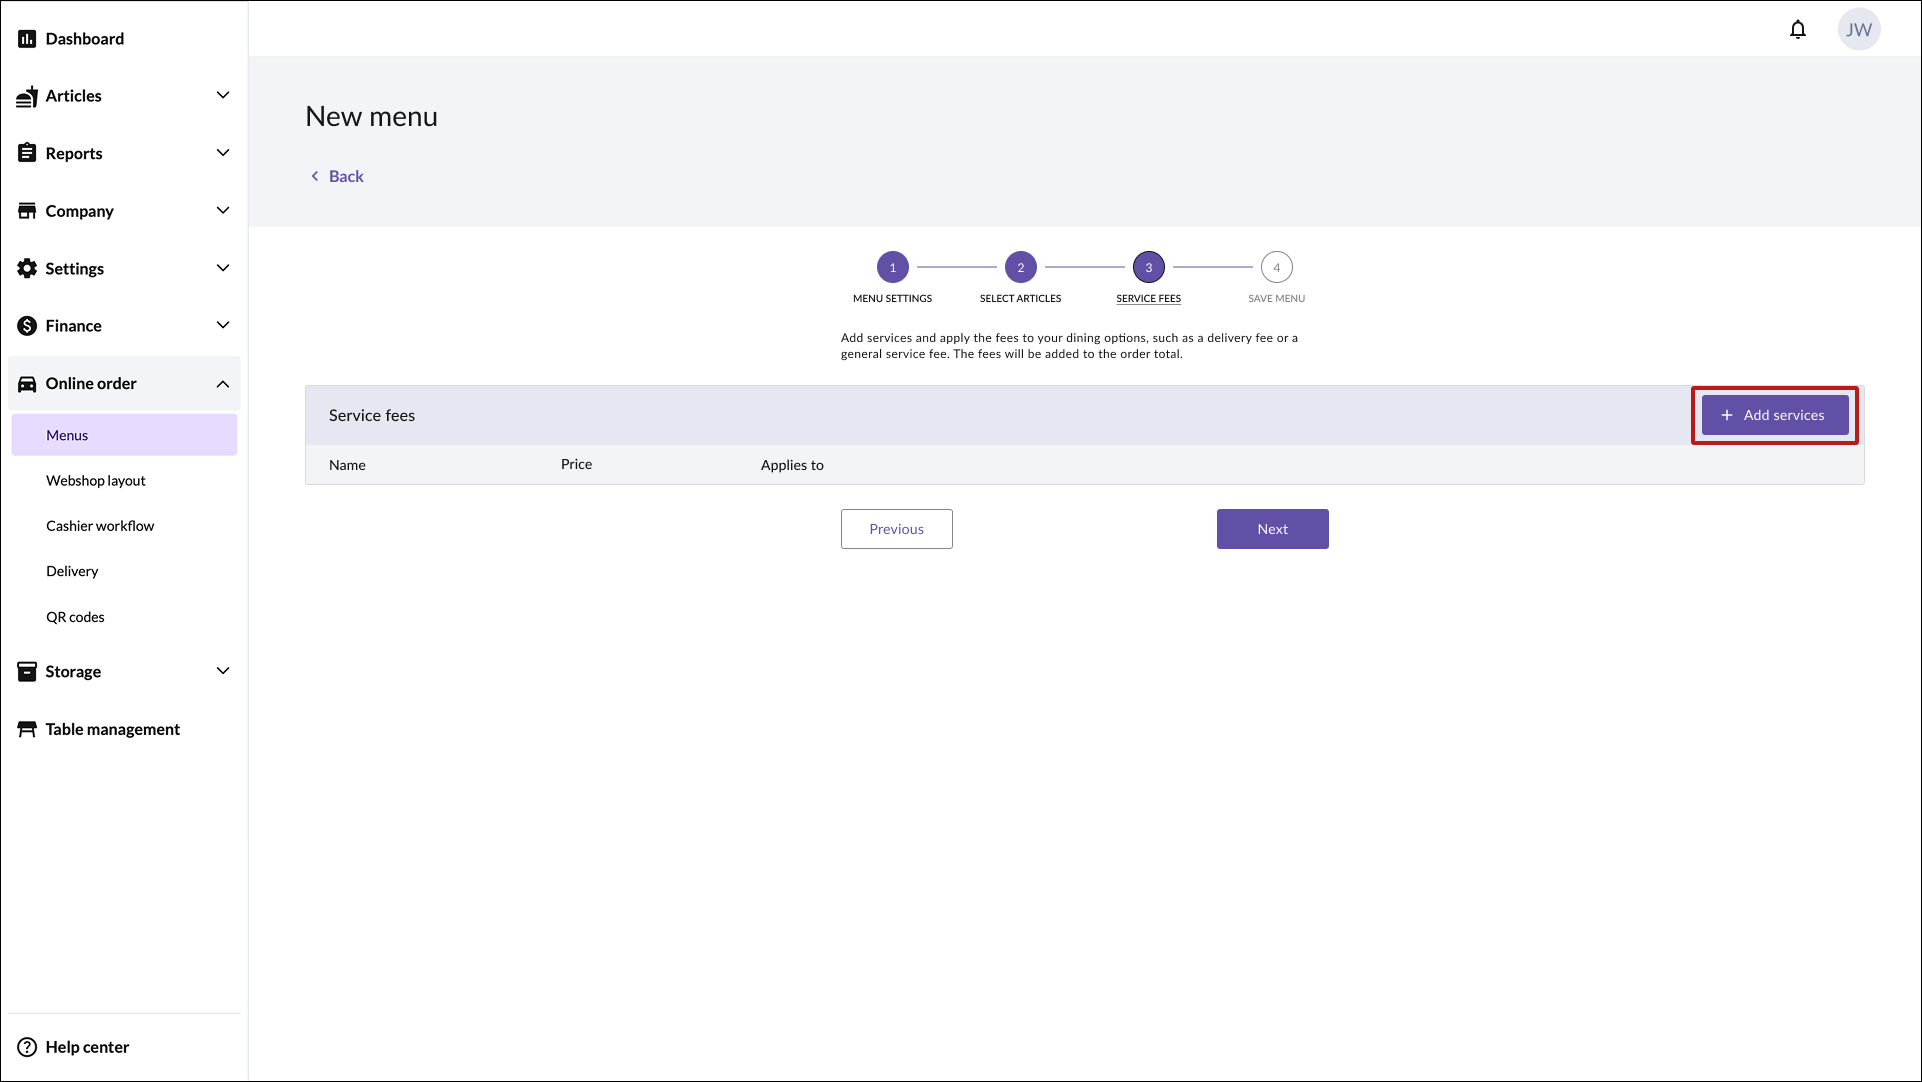
Step 4: Add fees
Add fees to your dining options, such as a delivery fee or a general service fee. The fees will be added to the order total.
INFO
Fees are consist of 'service items', which you can create from the Articles page in BackOffice.
4.1 Create service
Read this guide on how to create a service in BackOffice.
4.2 Add service fees to your menu
For each dining option that you have enabled on your menu, you can add one or more services.
- Click the Add services button.
- In the view that opens, select the suitable service(s) and press Save.
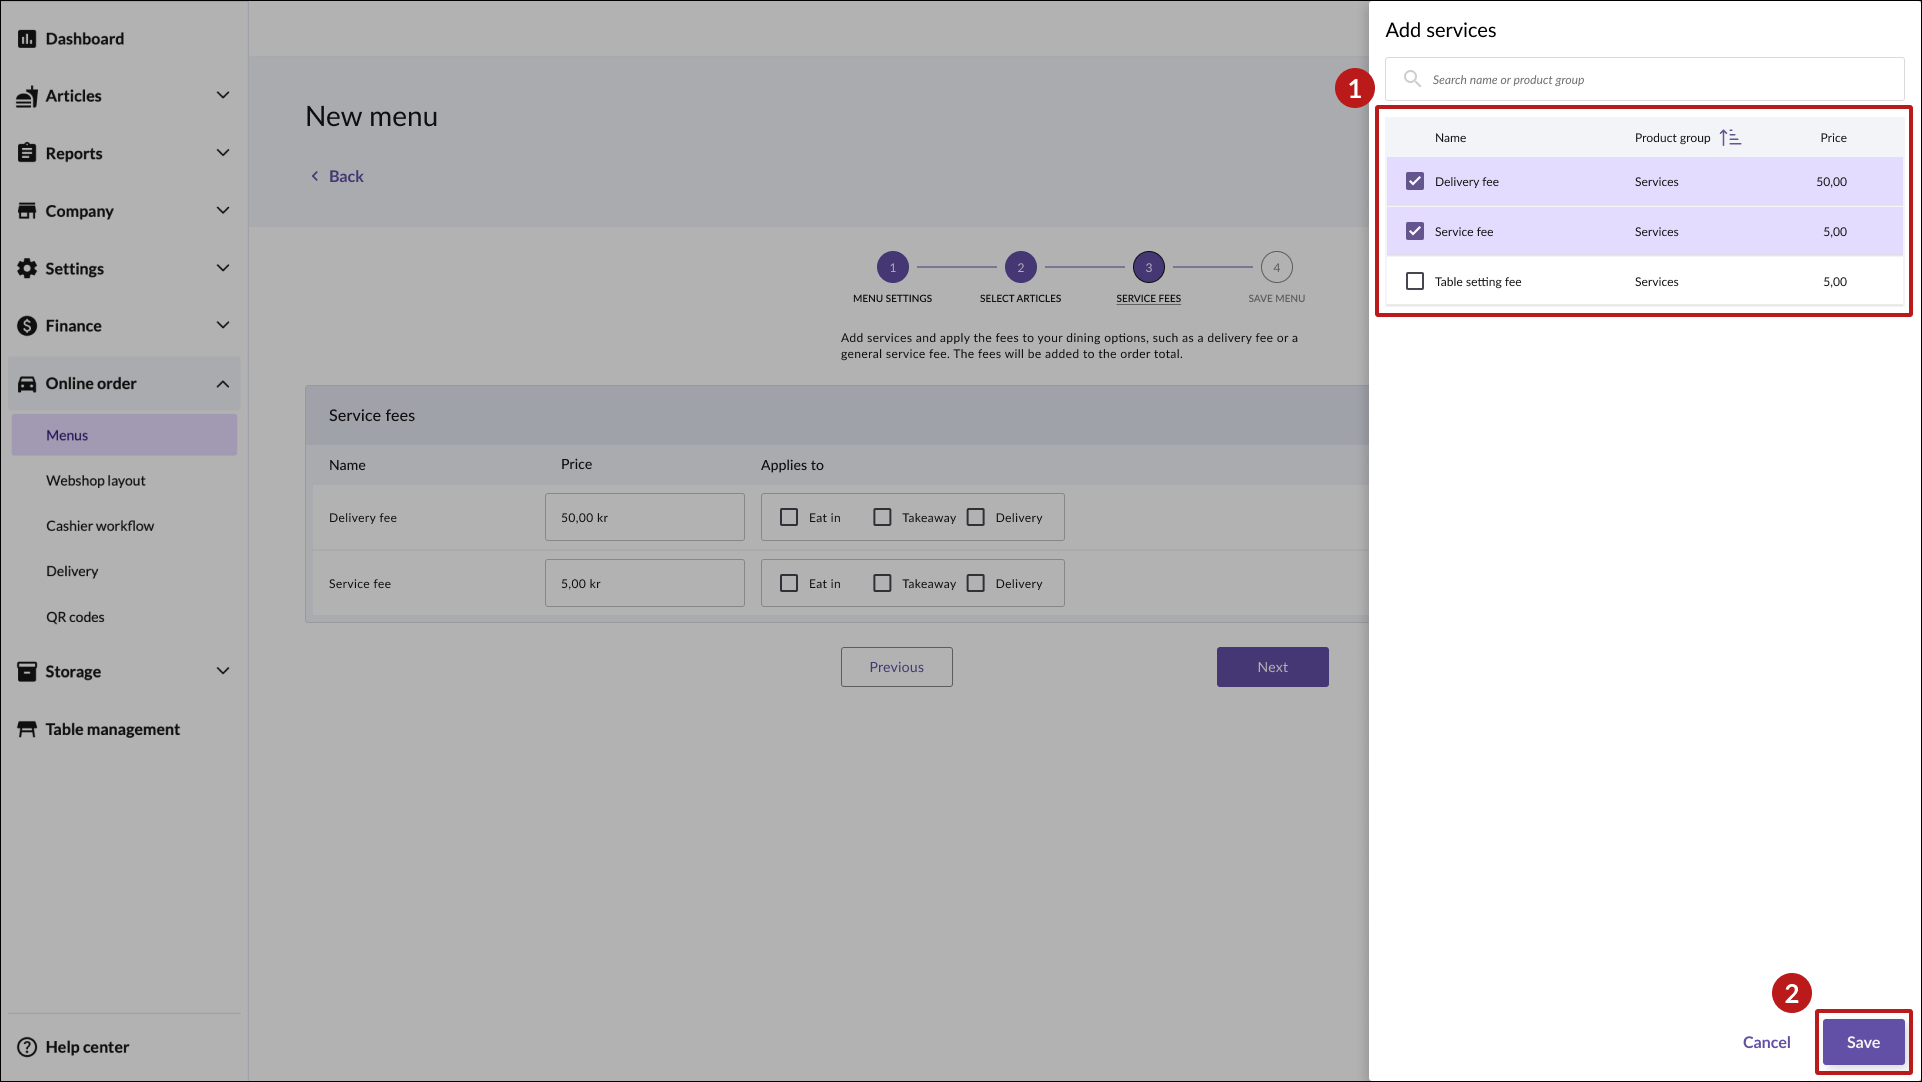
- Choose which dining options each service fee should apply to.
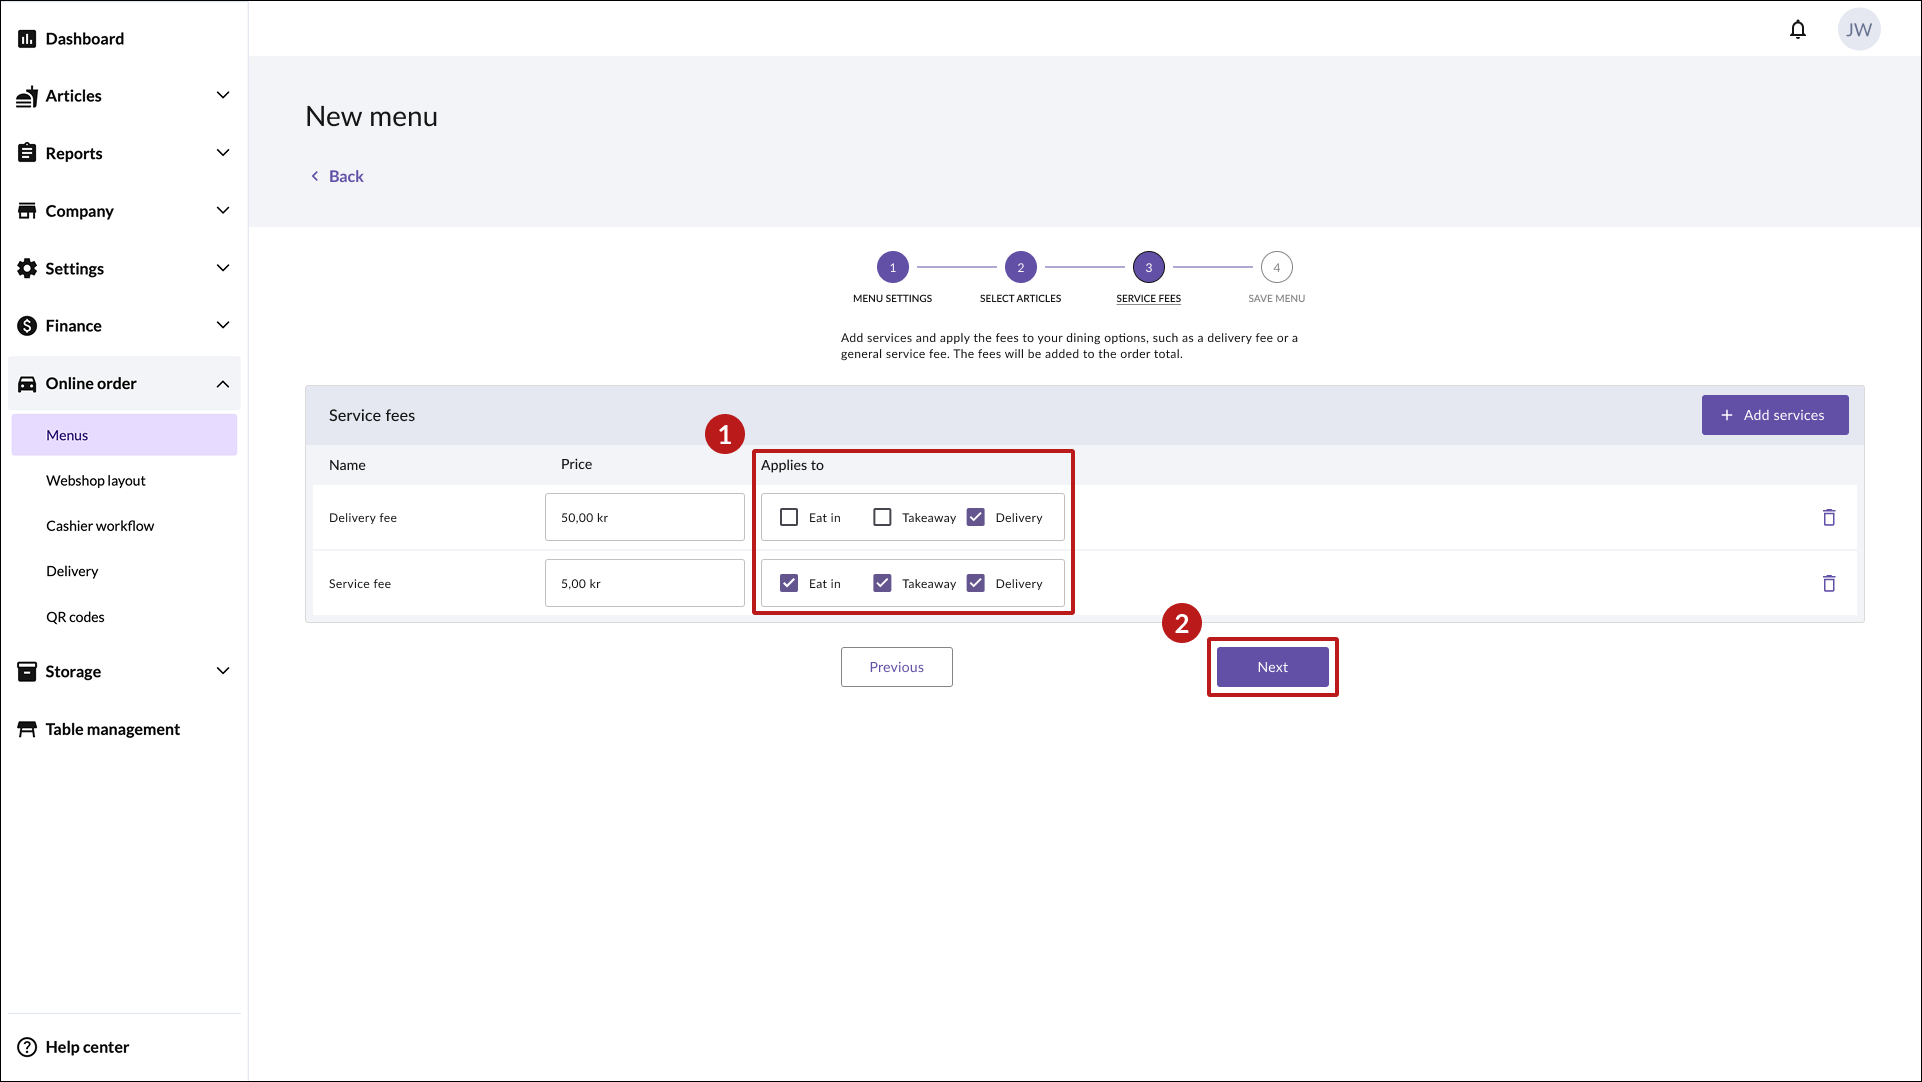
- Press Next to continue.


Step 5: Save menu
Once you’re done setting up your menu, click Save.

Your menu will now be listed as a row in the overview table.
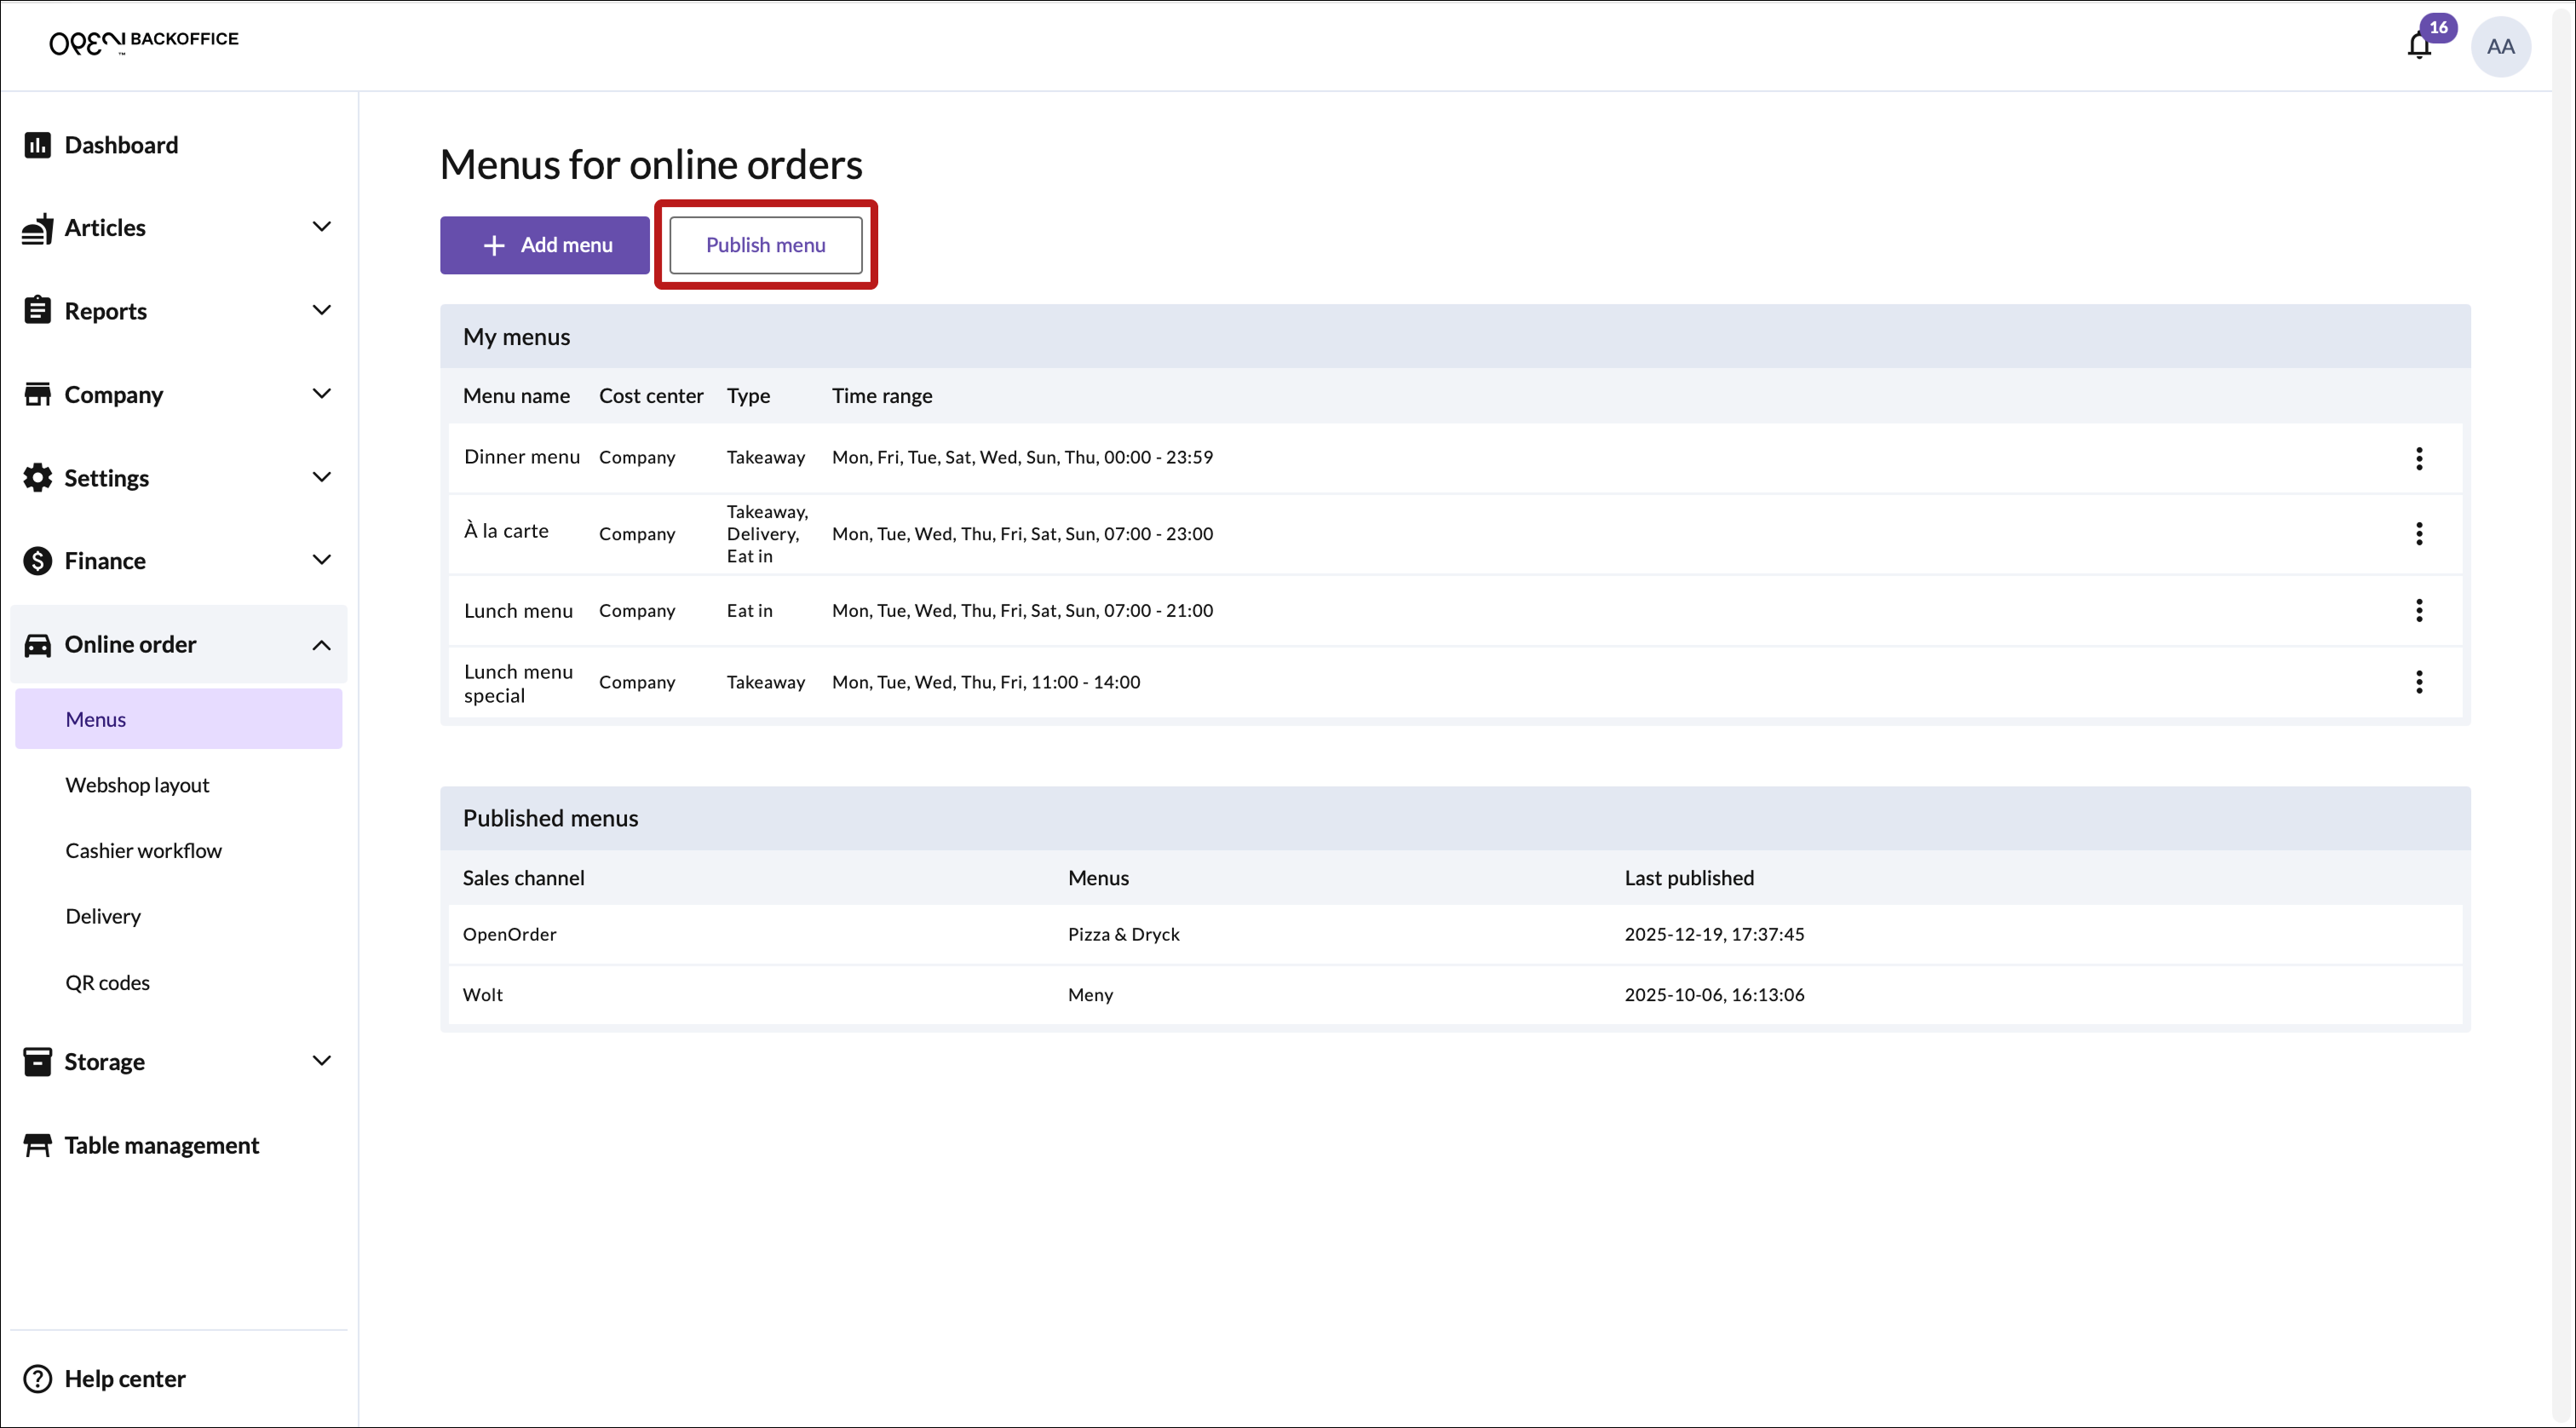
Step 6: Publish menu
Once your menu is ready, you need to make it visible to customers by publishing it.
Follow these steps:
Go to Online orders in the left-hand menu, then click on Menus.
Click the Publish menu button.

- In the popup window that opens, choose OpenOrder as sales channel.

- Choose which menu(s) to publish.

- Click Publish at the bottom of the pop-up. The window will close, and the published menus will appear in a table under Published menus.

Access your restaurant
Once your website is live, you will find your restaurant here: https://order.openpos.cloud
Updating active menus
Click Publish menu button again and update by:
- Check the boxes for the menus you want to display.
- Click "Save" to apply the changes to your active menus.