Accounting via Fiken
Fiken is a powerful accounting software designed specifically for Norwegian businesses, and with thier POS integration feature, you can seamlessly sync all of your sales data with just a few clicks.
With Fiken's POS integration, you'll be able to save time and eliminate errors by automatically transferring sales data from your point of sale system directly into your accounting software, after each end of day.
Preparations
When you activate the integration, you will need to create a chart of accounts by choosing bookkeeping accounts for your payment methods and product groups, among other things. This is necessary for the sales data, i.e., your transactions, to be exported to Fiken and properly recorded. If you are unsure about which bookkeeping accounts to use, you should consult your accountant.
Activate the integration
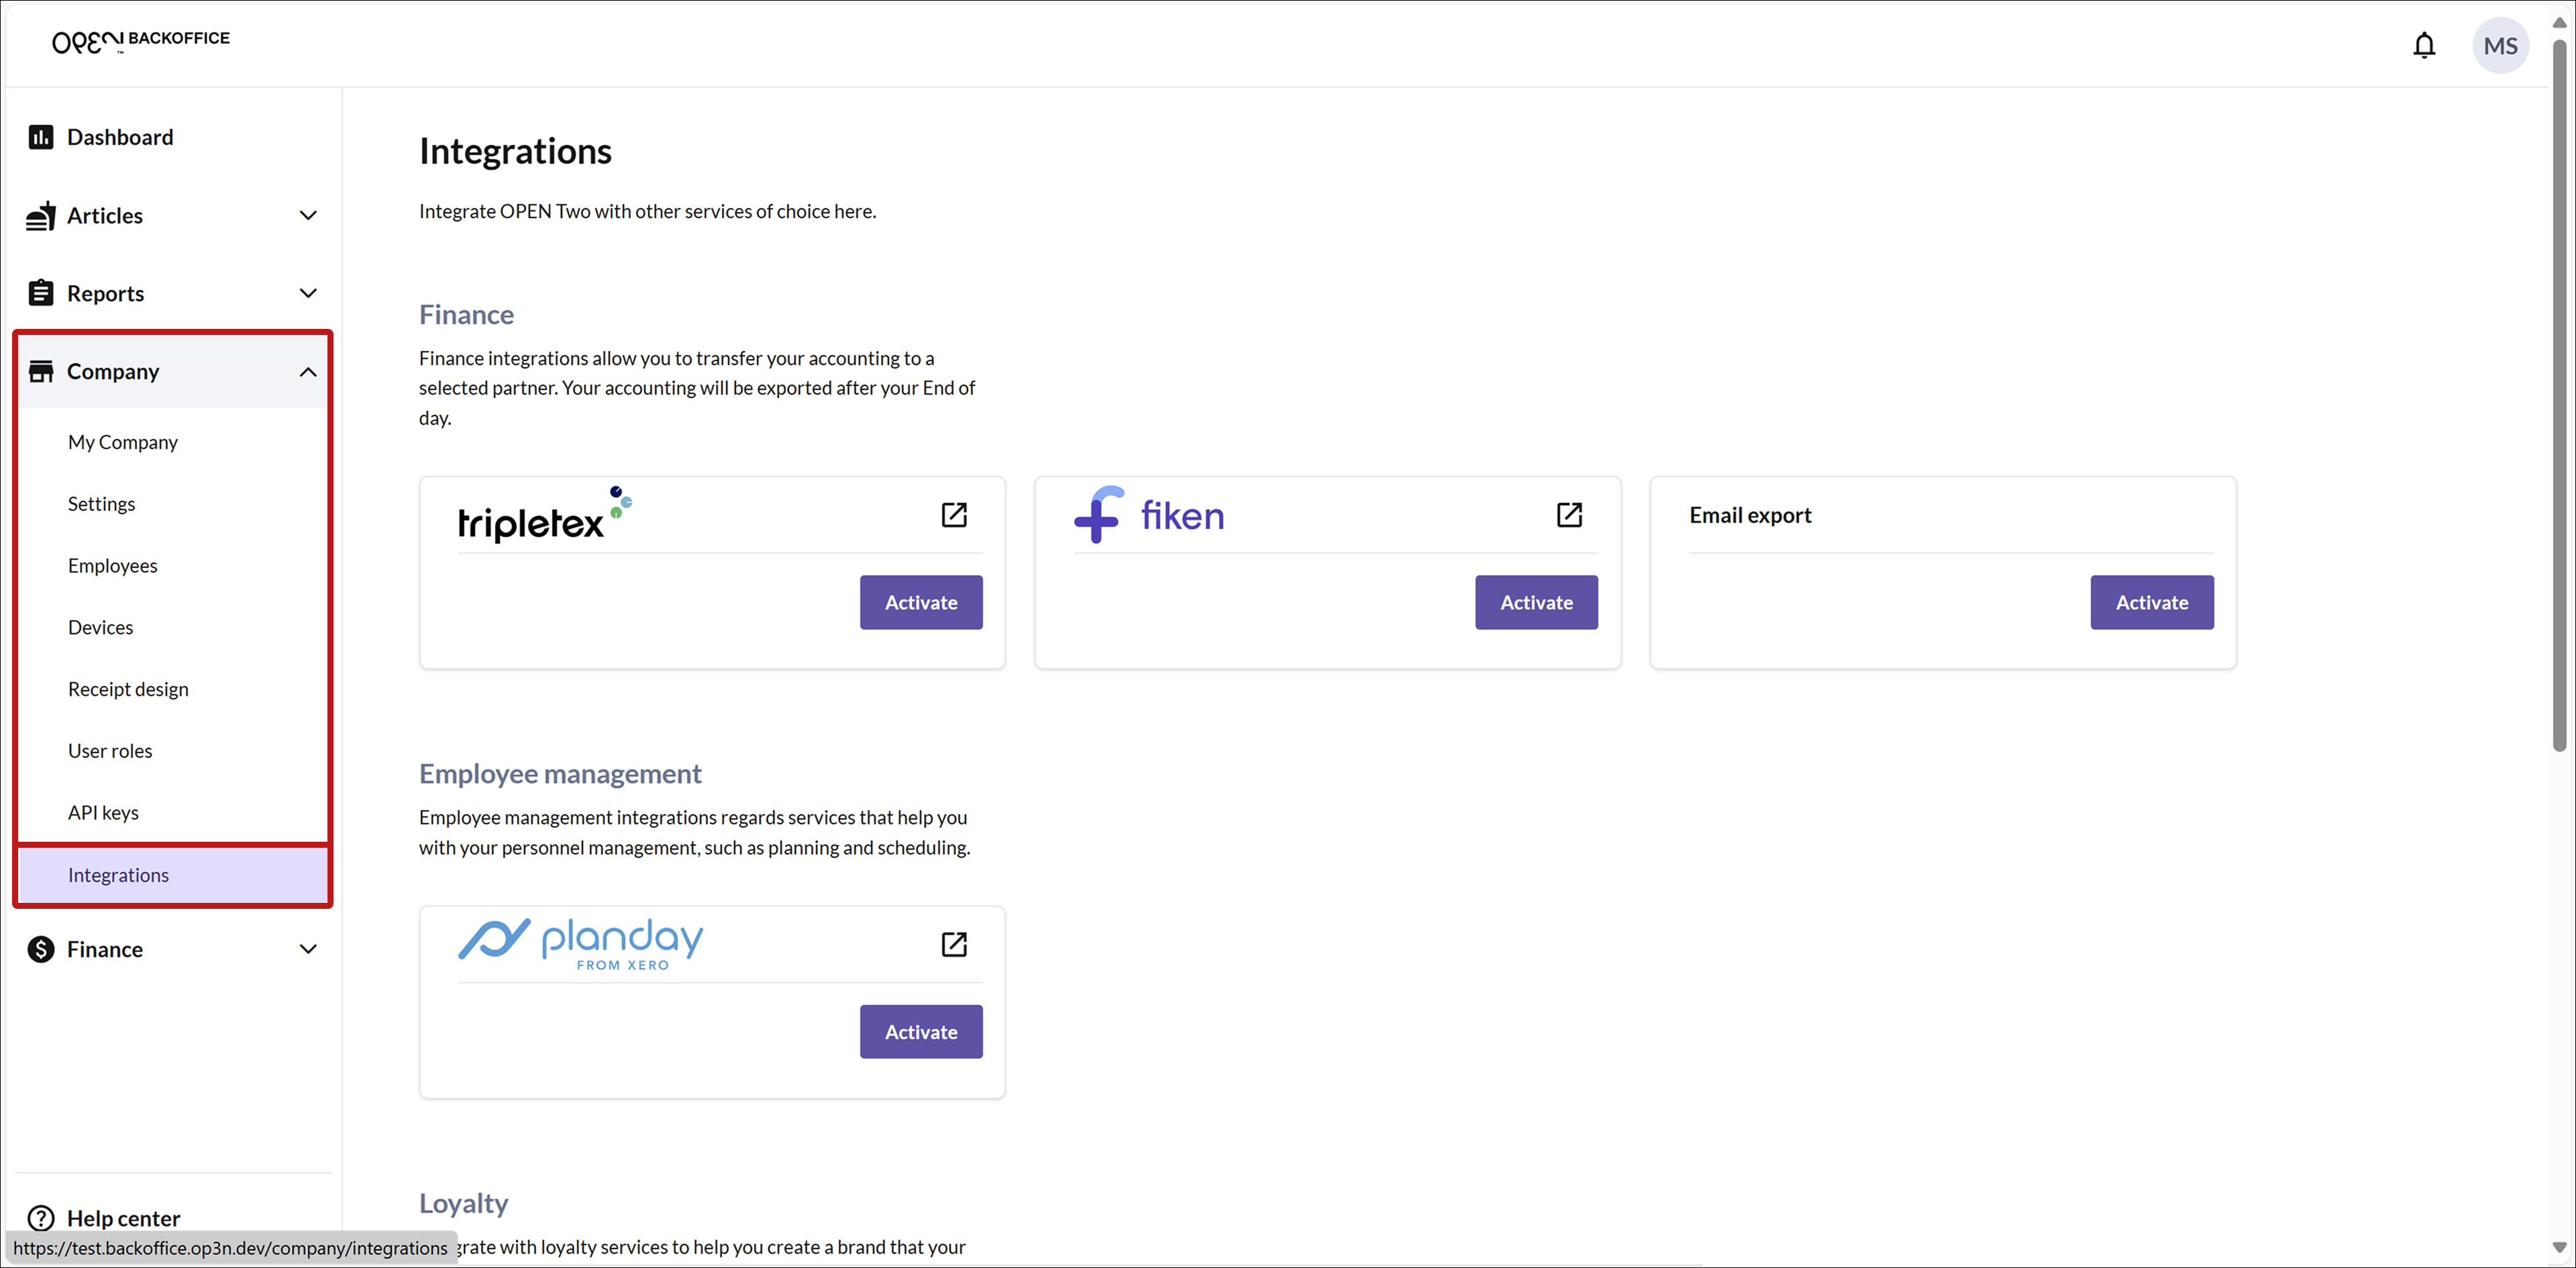
1. Navigate to the Integrations Page
In BackOffice, go to the Company menu.
Select Integrations.

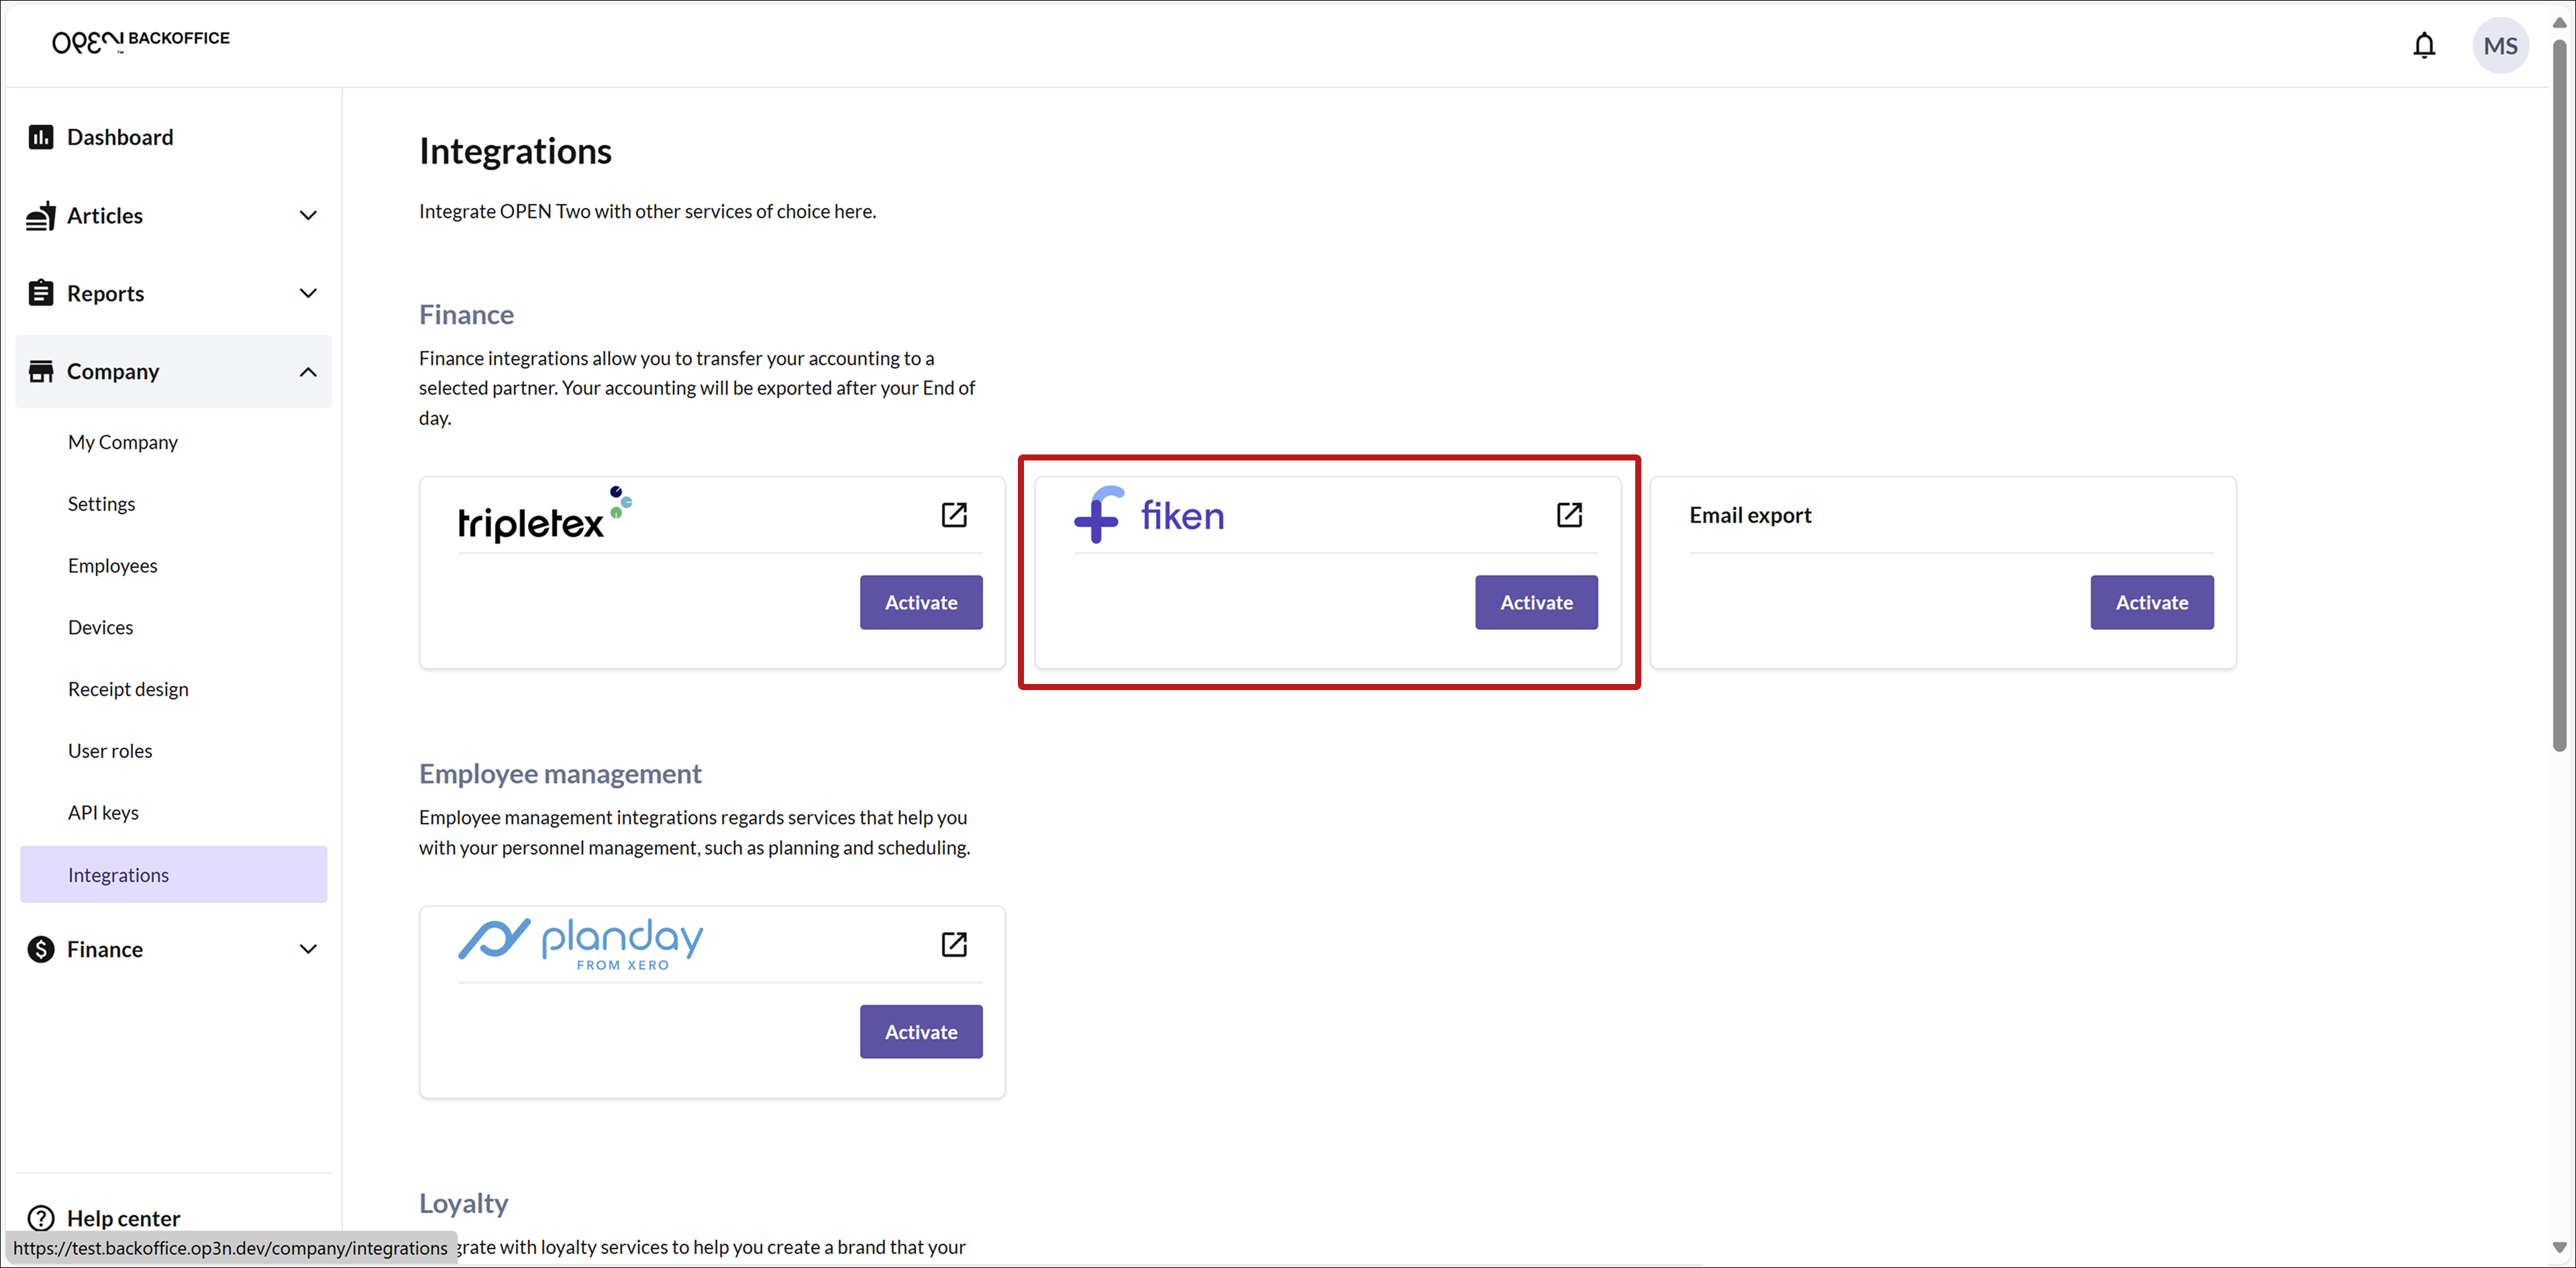
2. Activate Fiken
Locate the Fiken card.
Press ACTIVATE.

- In the dialog that appears, click Let's get started.

3. Grant Access
To integrate OPEN Two with your Fiken account, you need to grant access to required data.
- Click Continue to be redirected to Fiken.

Sign in to your Fiken account.
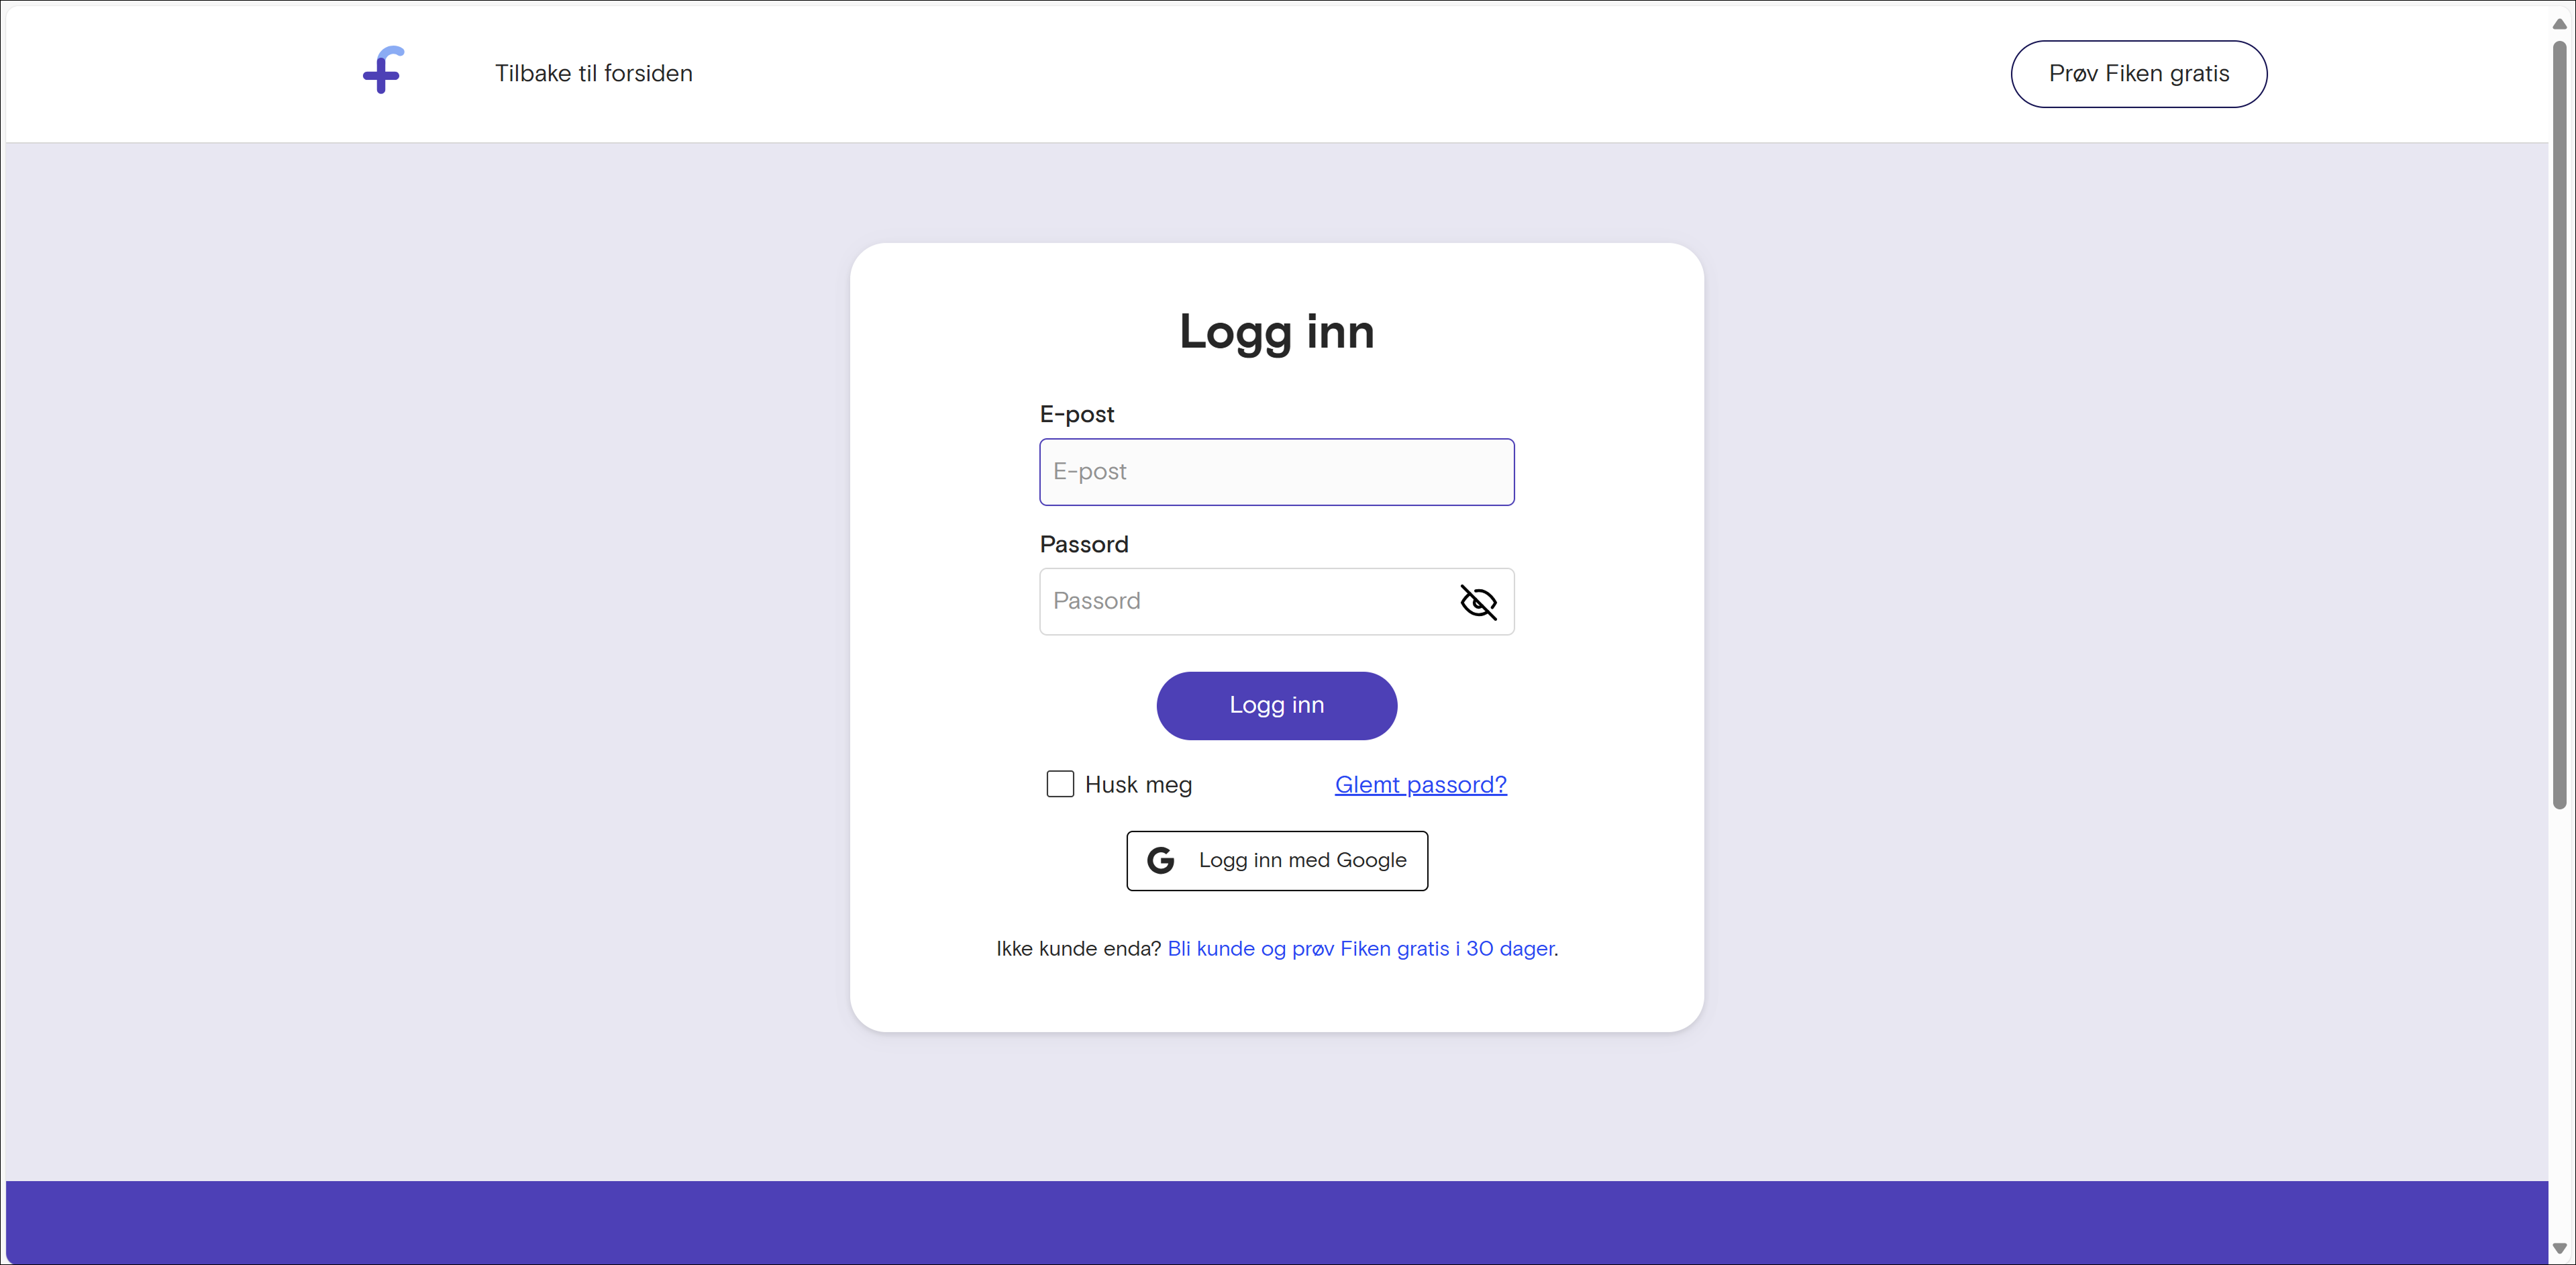

- Once signed in, you'll be redirected back to BackOffice.
- Click Next to proceed.

4. Select Your Company
- Choose your company from the dropdown list.
- Click Next.

5. Set Your Accounting Start Date
- Enter the date from which sales data should be exported to Fiken.
- Click NEXT to continue.

6. Configure Bookkeeping Accounts
To ensure sales data is correctly recorded in Fiken, you need to assign bookkeeping accounts. If you are unsure of which accounts to use, please consult your accountant.
Assign Accounts for Payment Methods
- Select bookkeeping accounts for each payment method.
- Click NEXT.

Assign Accounts for Product Groups
- Select bookkeeping accounts for your product groups.
- Click NEXT.

Assign Accounts for Takeaway Product Groups
- Select bookkeeping accounts for takeaway product groups.
- Click NEXT.

Assign Accounts for Other Events
- Select bookkeeping accounts for other financial events, such as tip registration.
- Click NEXT.

The integration is now activated
Once you have selected all bookkeeping accounts, the Fiken integration is activated. Press OK to close the dialog.
