User roles
Adapt your employees' access to the cash register and BackOffice by linking their user account to a role. You can define the roles yourself based on your business needs. This ensures that the right person can do the right thing.
Brief about roles
Define the roles you need in your business based on the access they should have to the cash register and BackOffice. This might involve setting up restrictions on what information they can access, such as reports, granting the authority to give discounts and process returns at the cash register, or the ability to create or change settings for both the cash register and BackOffice.
When you, as the owner, create your BackOffice account, you are provided with the following roles:
Basic
This role has no extra permissions in the cash register or BackOffice. That said, a user with this role can log in to the cash register and process payments, but cannot, for example, give discounts, park an order, or even clear the cart from items.
You can edit this role if you want to add permissions, change the name, or delete the role if it is not needed for your business.
Standard
This role has full access to the cash register but no permissions in BackOffice. You can edit this role if you want to add permissions, change the name, or delete the role if it is not needed for your business.
Administrator (cannot be edited or deleted)
This role has full access in both the cash register and BackOffice. This role can be useful when the owner has an employee responsible for a restaurant or store.
This is the only role (besides the owner) that cannot be edited or deleted.
Owner (cannot be edited or deleted)
This role has full access in both the cash register and BackOffice. This role cannot be edited or deleted because the owner, naturally, should have all permissions and access to the cash register and BackOffice environment.
You can also create custom roles where you choose which permissions they should have in the cash register and/or BackOffice.
Brief about permissions
Whether you choose to create new roles or edit existing ones, you can decide if they should have permissions only in the cash register, in BackOffice, or both.
If you assign a role with at least one BackOffice permission to an employee, an email address is required for that employee. This is so the employee can log in to BackOffice. They will receive an email with the option to create a BackOffice login. Similarly, an employee who will work at the cash register needs a PIN code to log in to the cash register.
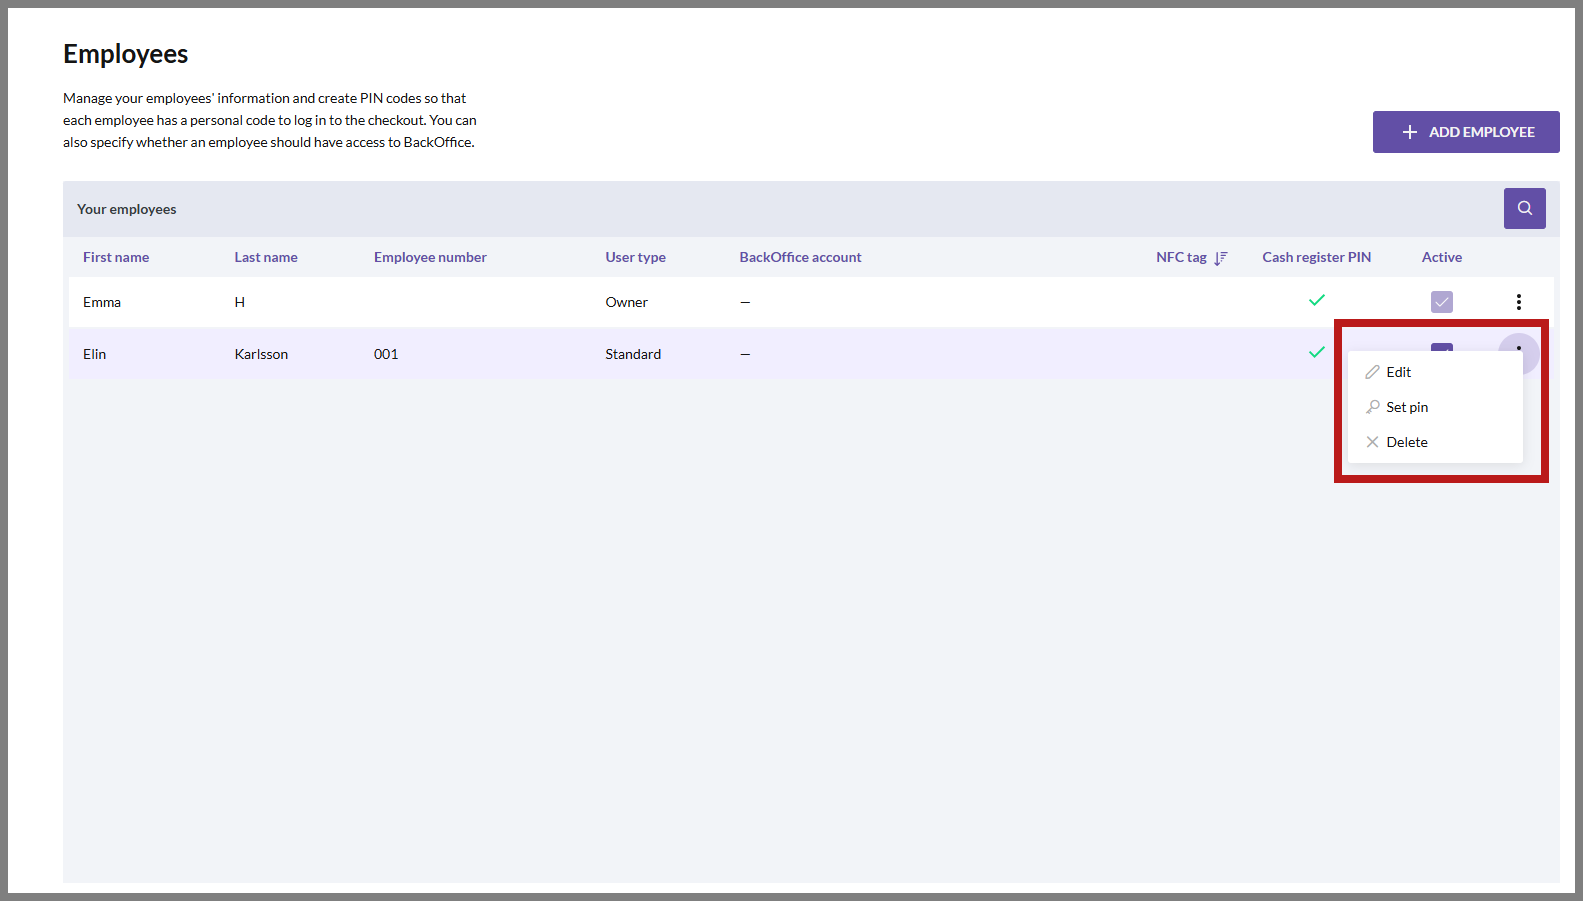
You manage your employees and their assigned roles on the Employees page, located under Company in the BackOffice menu.
Cash regieter permissions
To use the cash register, the employee needs a PIN code.
Even if no permissions are assigned to a specific role (such as the "Basic" role), the user can still use the cash register, albeit with very limited functions.
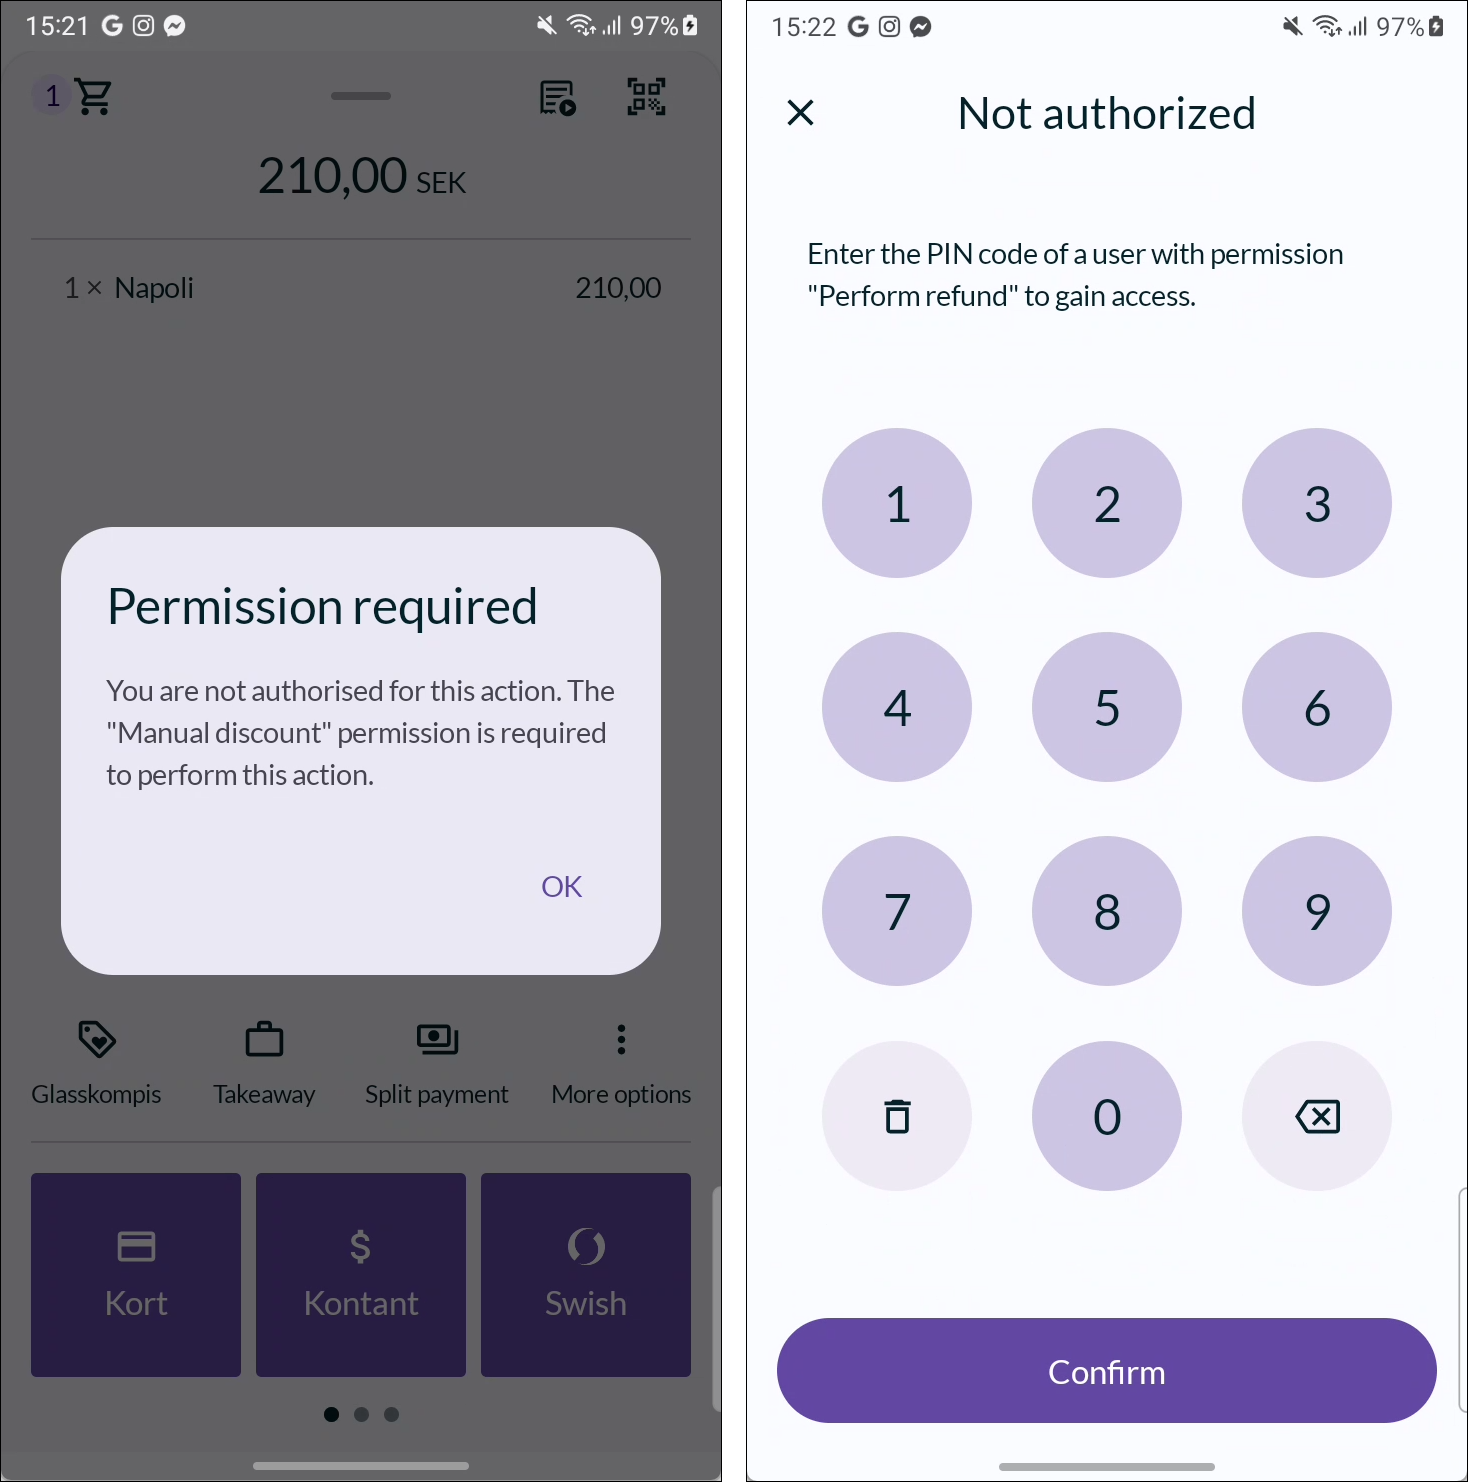
If a specific role has restricted access, information indicating that permission is required will appear in the cash register. Either a dialog box will show that permission is needed, or it will indicate that a PIN code from a user with the required permission is necessary to access that function.
In addition to the basic functions, you can set up extra permissions in the cash register (a total of 23). The permissions are divided into the following groups:
- Sales & refunds
- Reports
- Storage
- Table management
- Other
BackOffice permissions
To use BackOffice, the employee needs an email address to create a BackOffice login.
If no BackOffice permissions are assigned to a role, an employee with that role will not have any access to BackOffice.
A user role with limited access might, for example, be able to view certain screens in BackOffice but not edit them.

You can configure a total of 96 BackOffice permissions. The permissions are divided into the following groups:
- Articles
- Reports
- Company
- Settings
- Storage
- Table management
- External orders
- Other
Create or edit a role
In BackOffice, select COMPANY from the menu and go to the USER ROLES page.
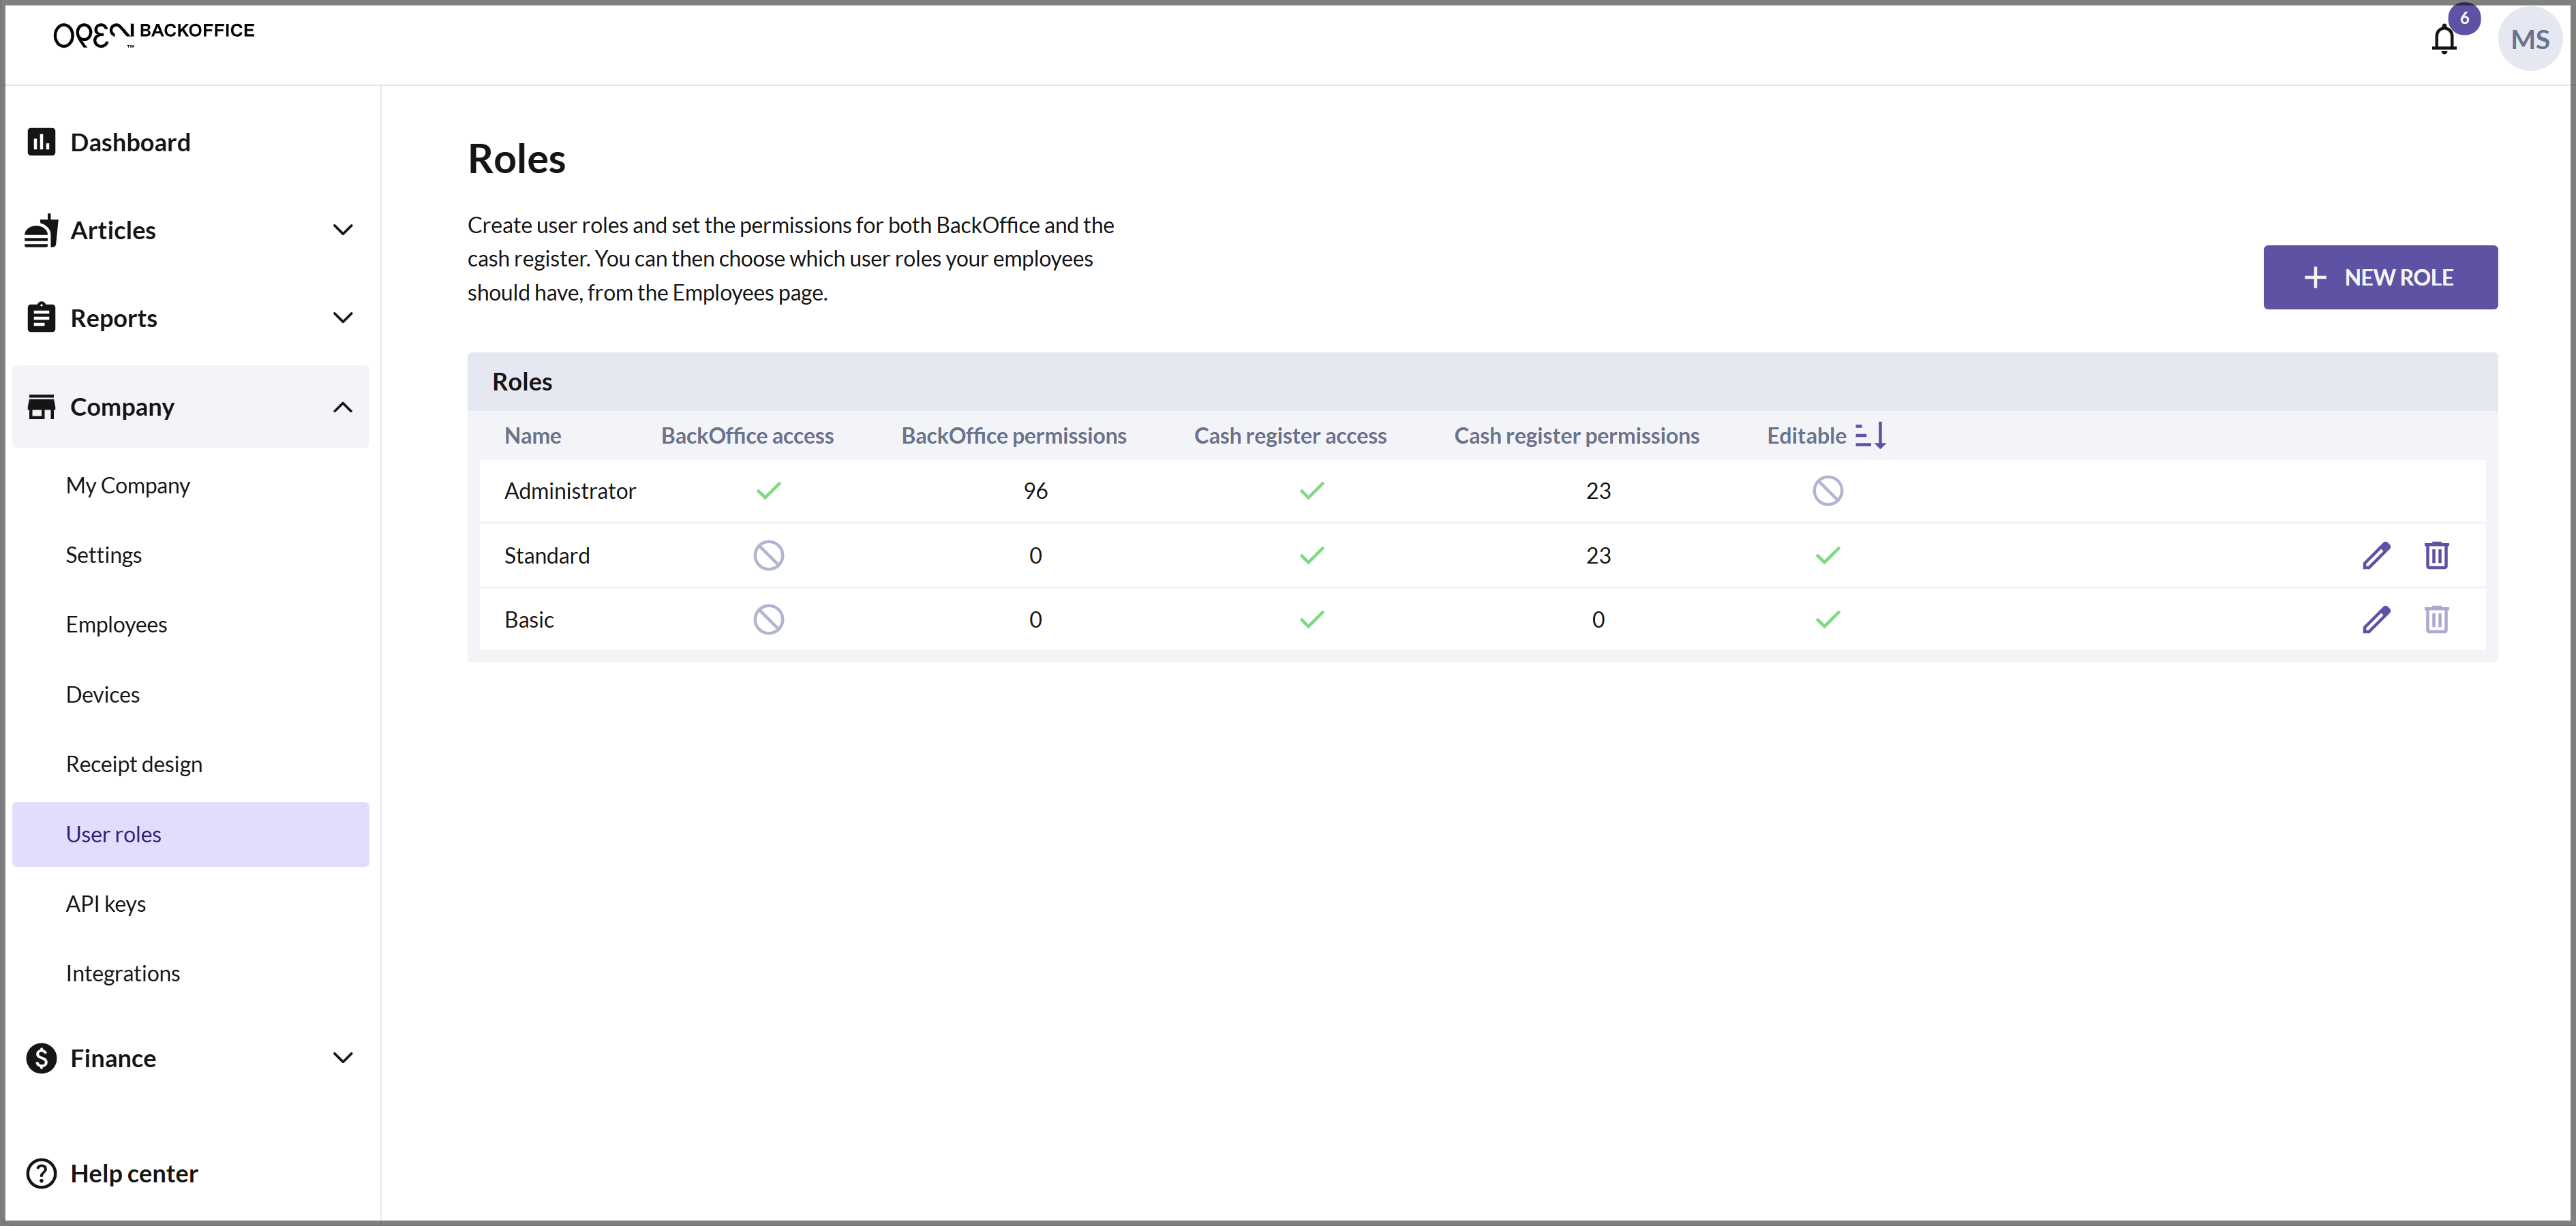
You will now see an overview of your existing roles.
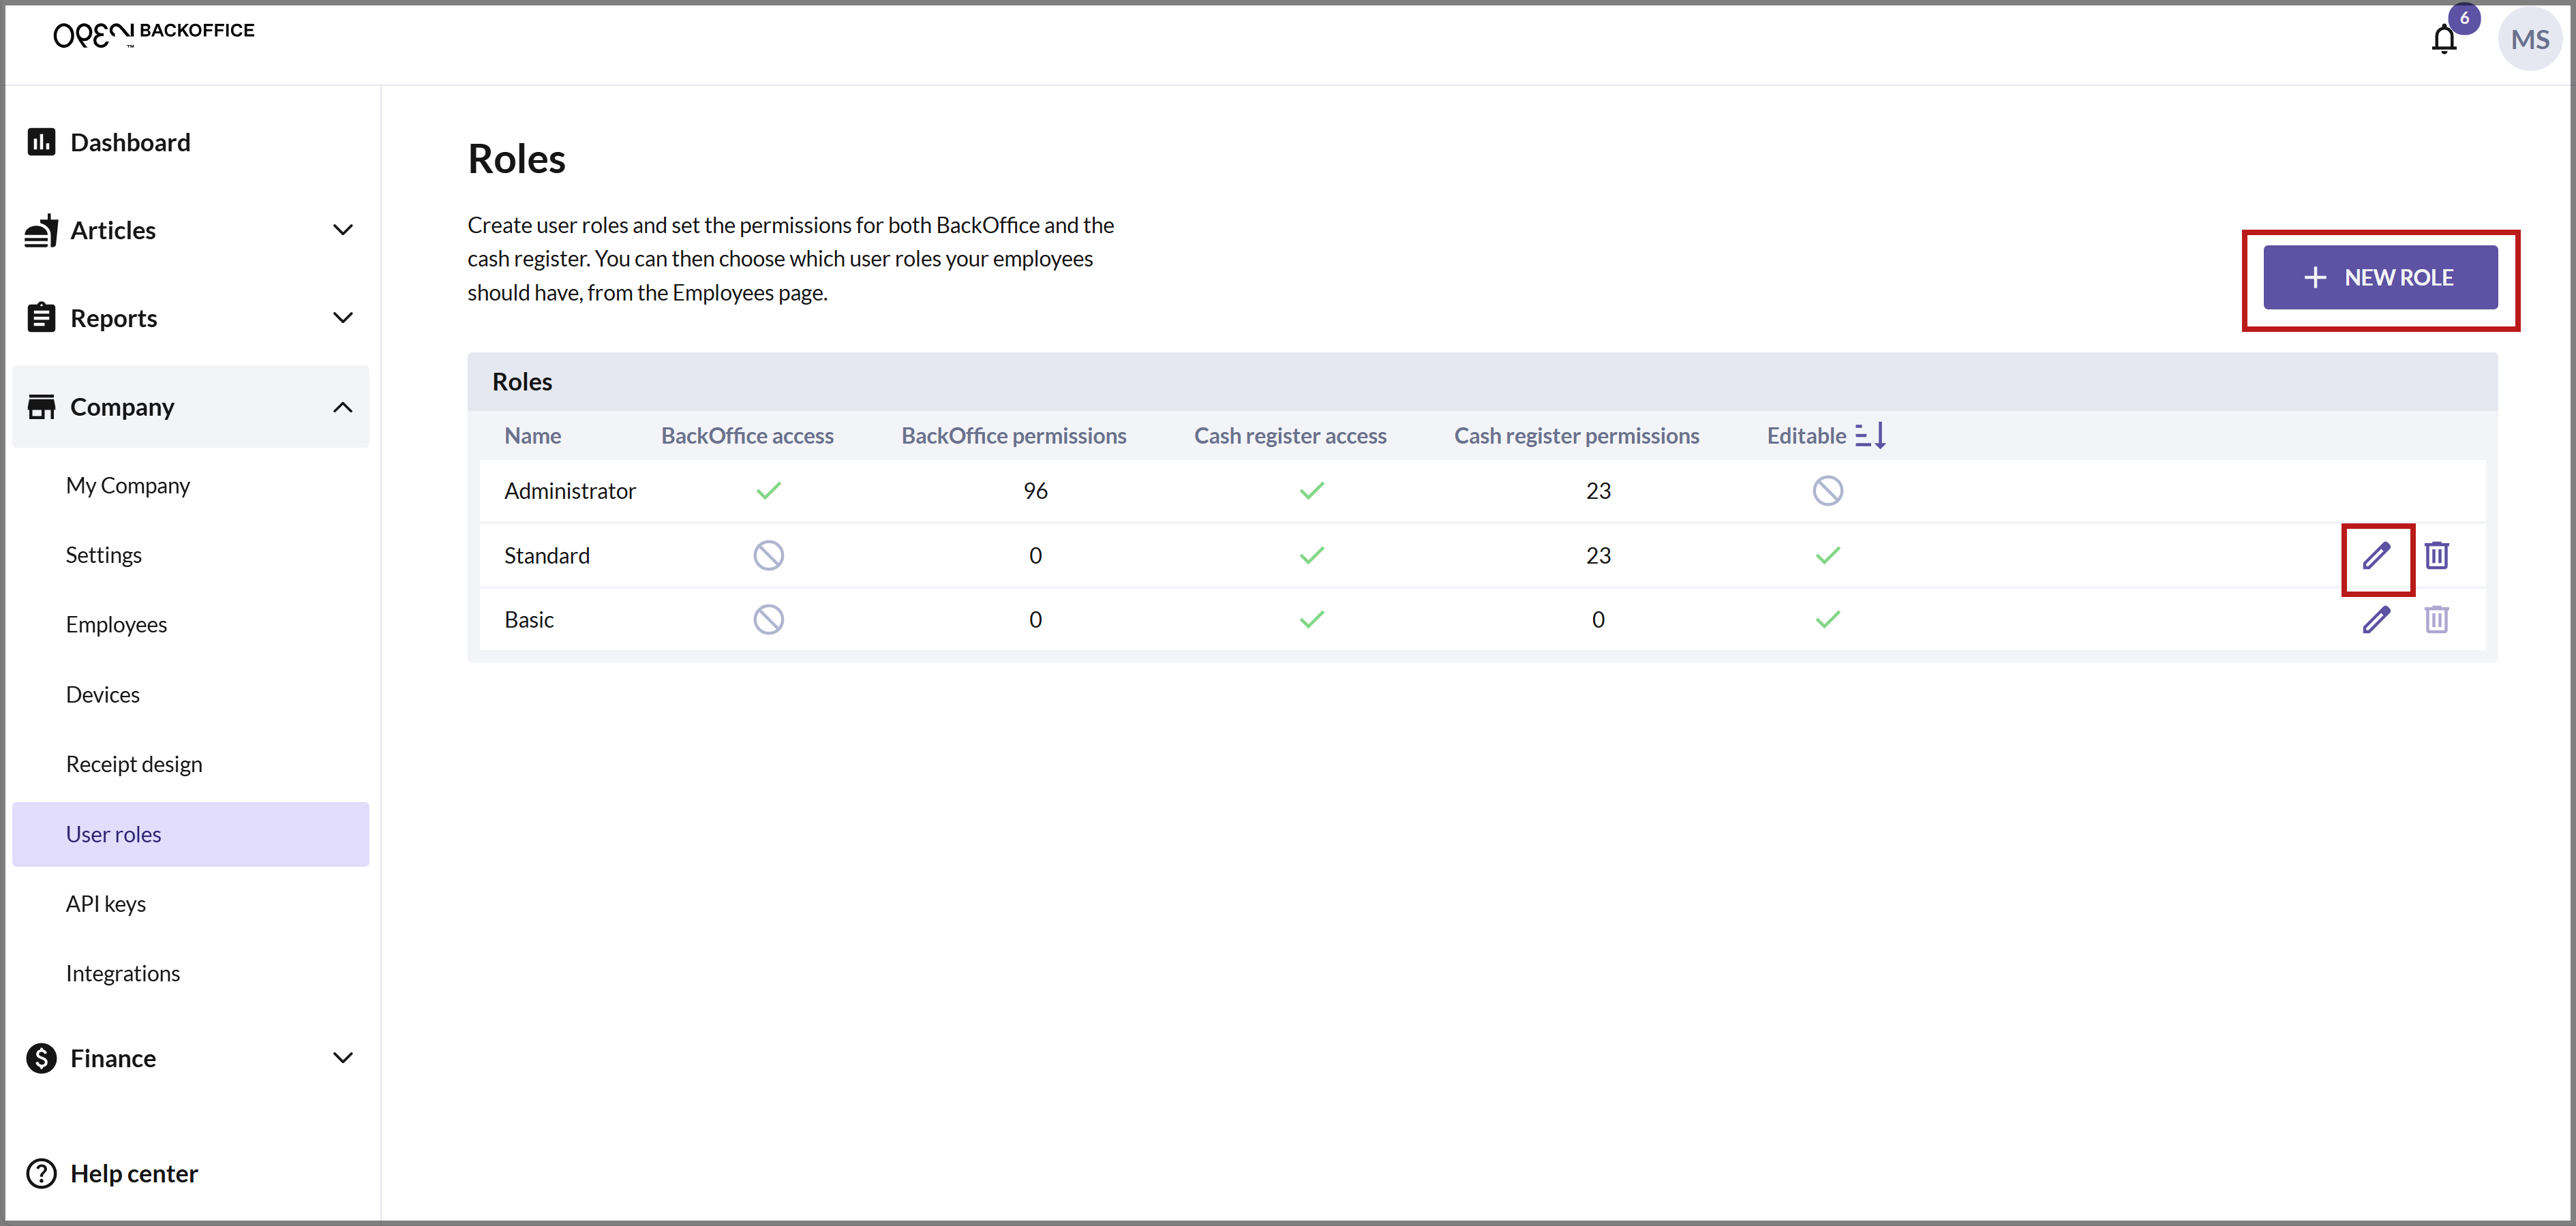
To edit an existing role, click the PEN icon on the far right of the respective role. To create a new role, click the + NEW ROLE button in the upper right corner.
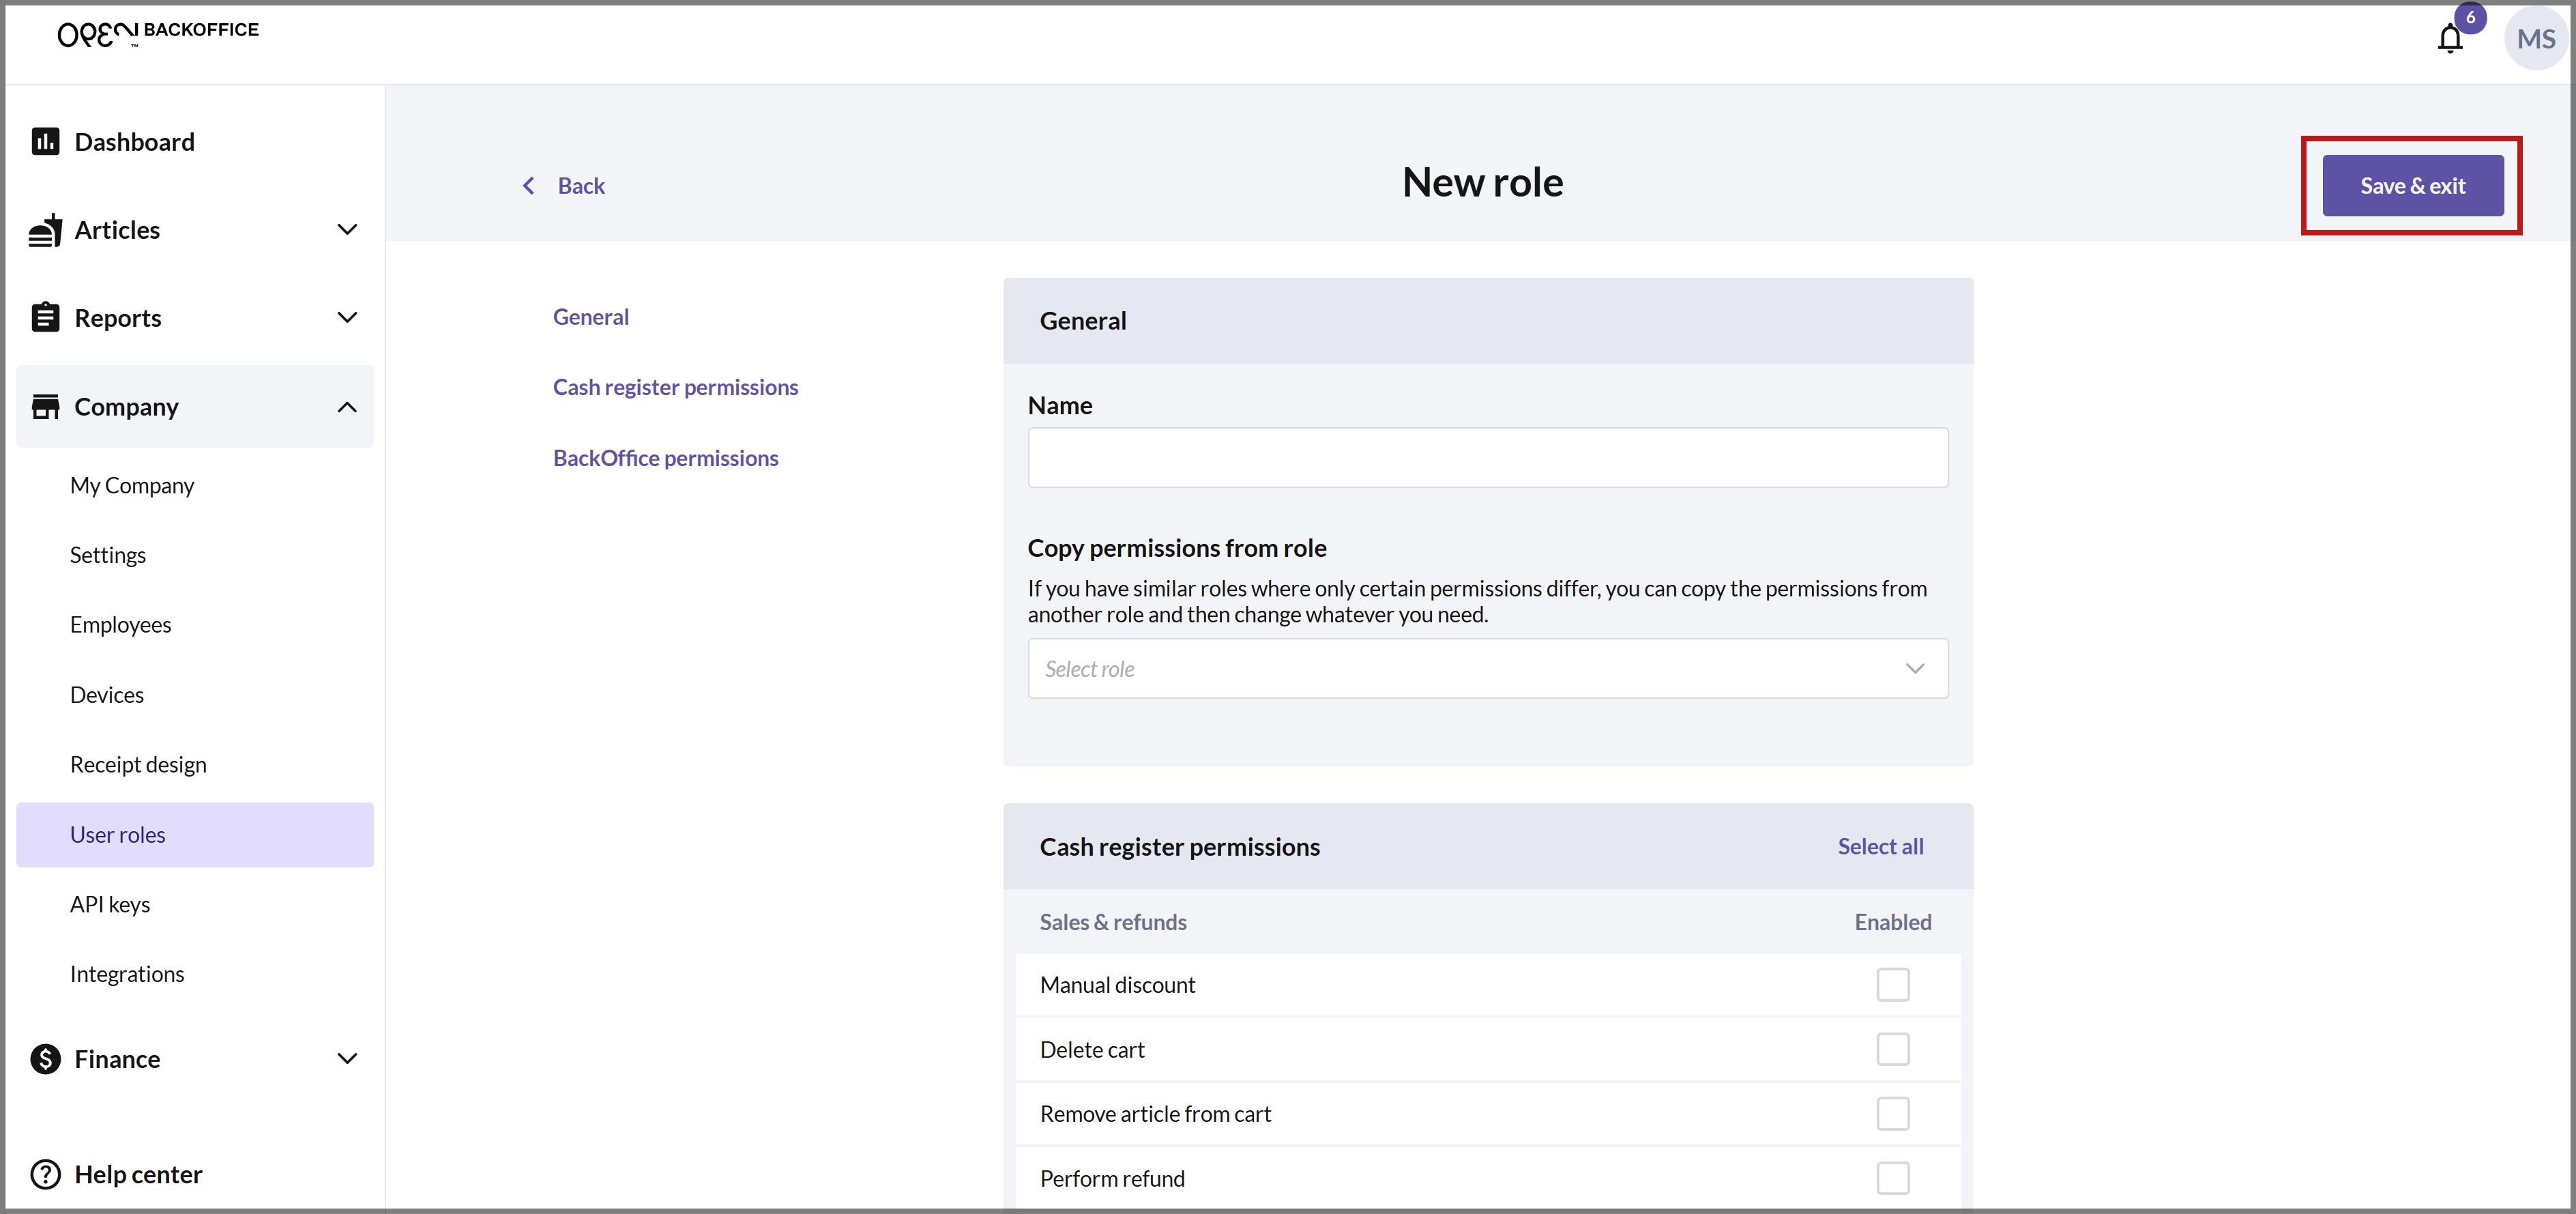
Now you can configure your settings for the role.
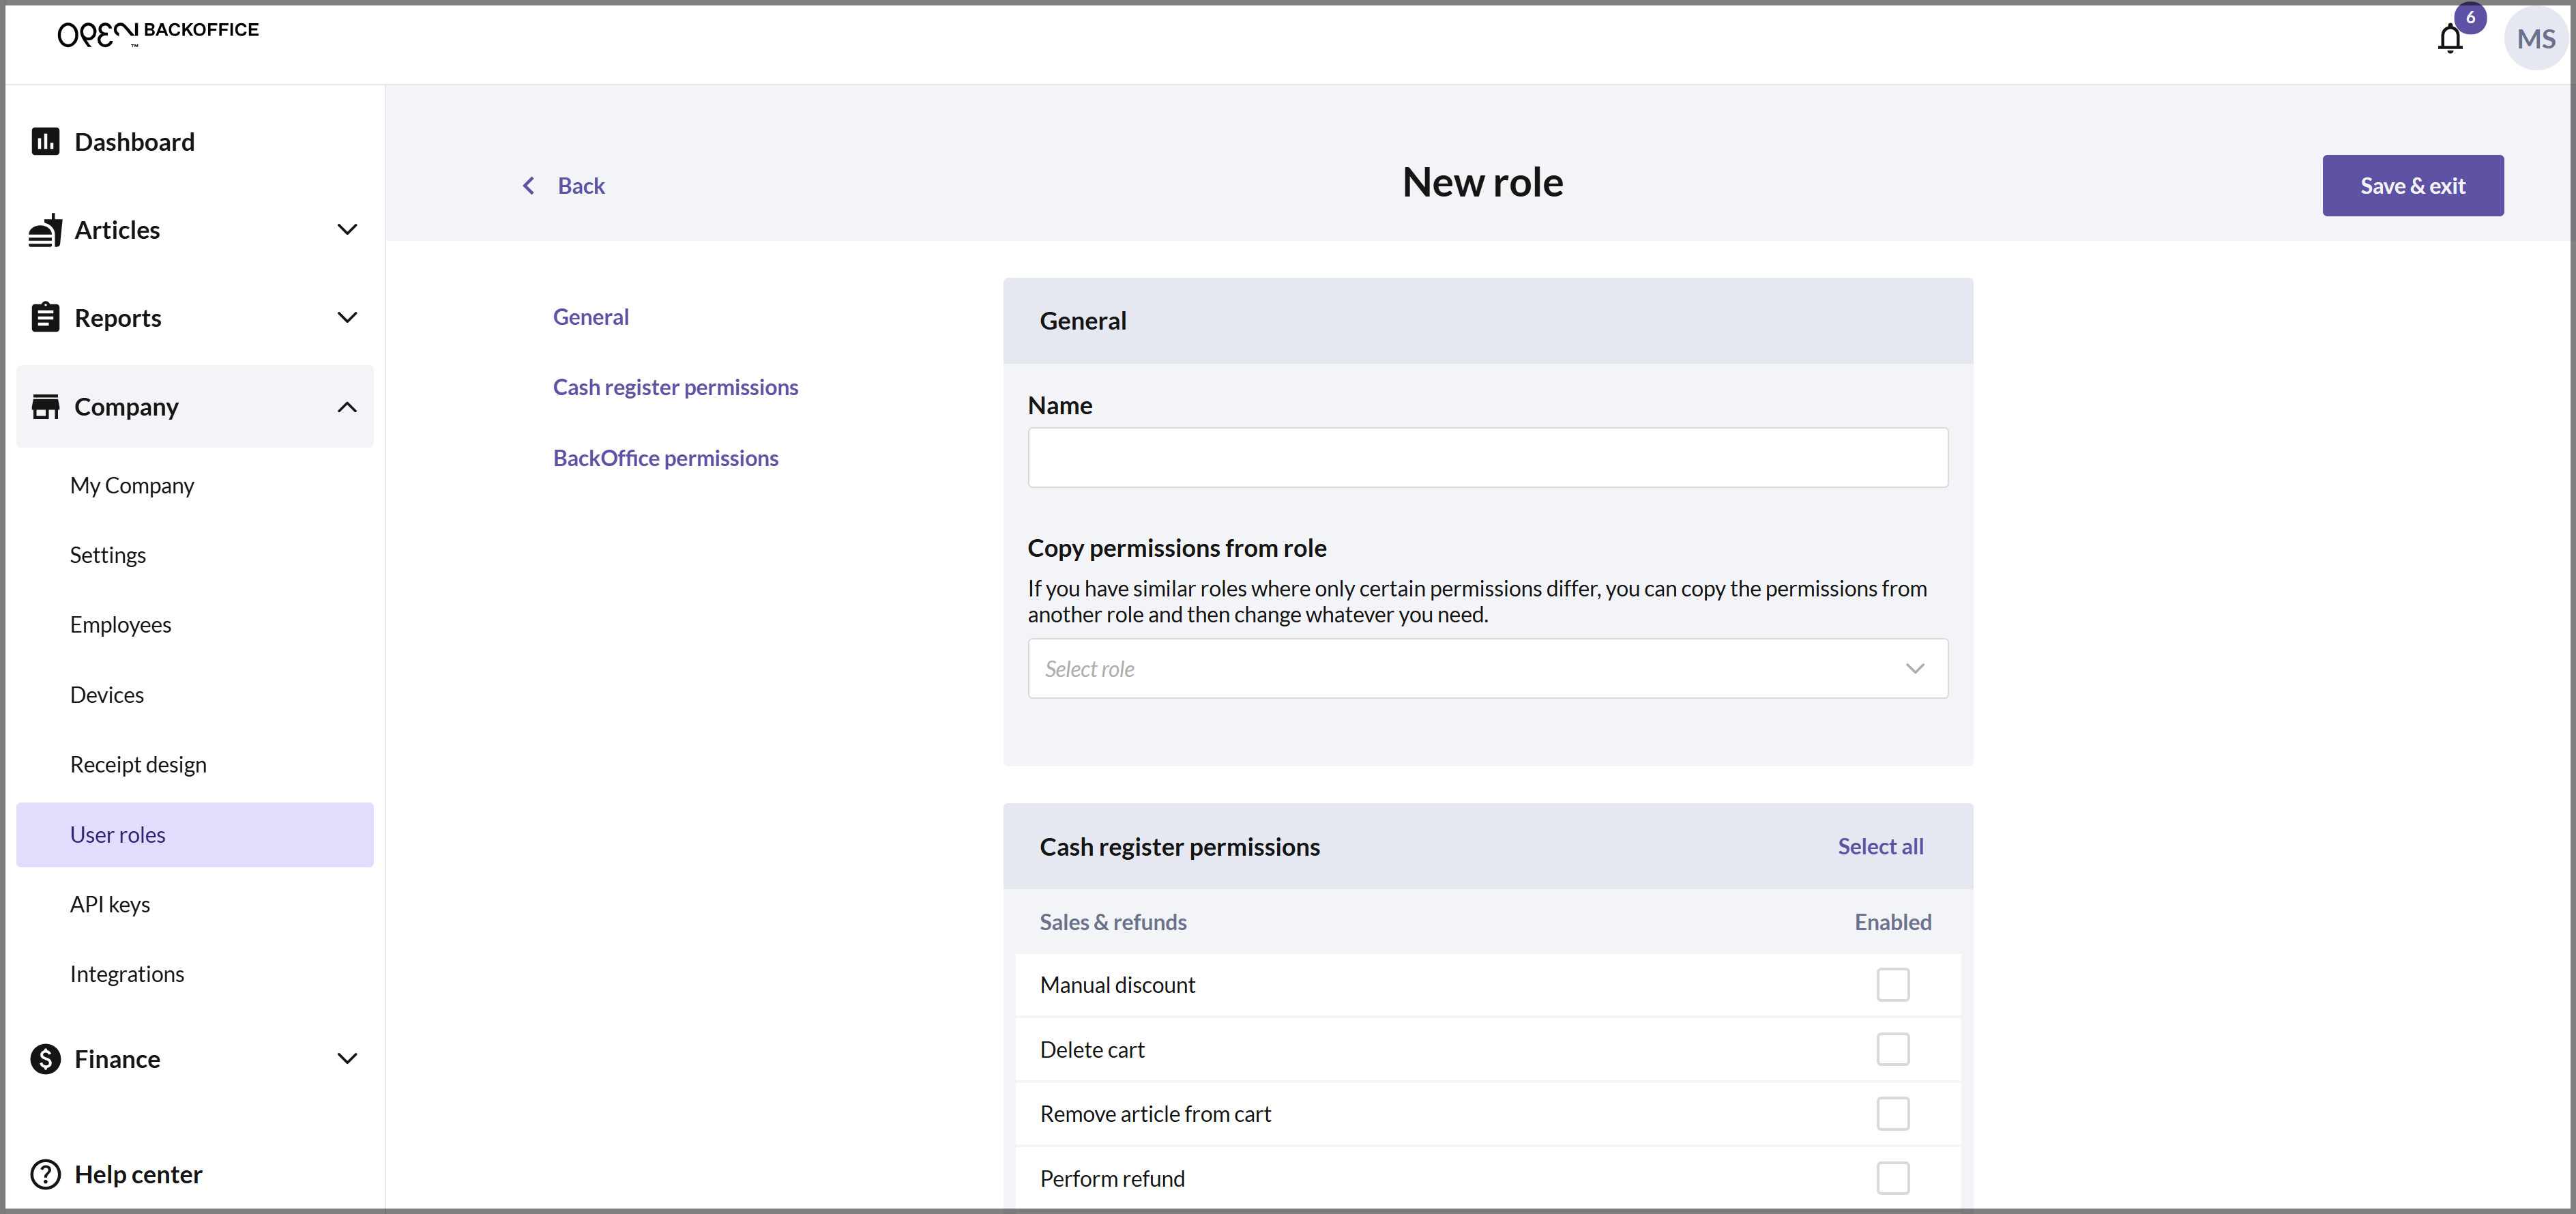
Name
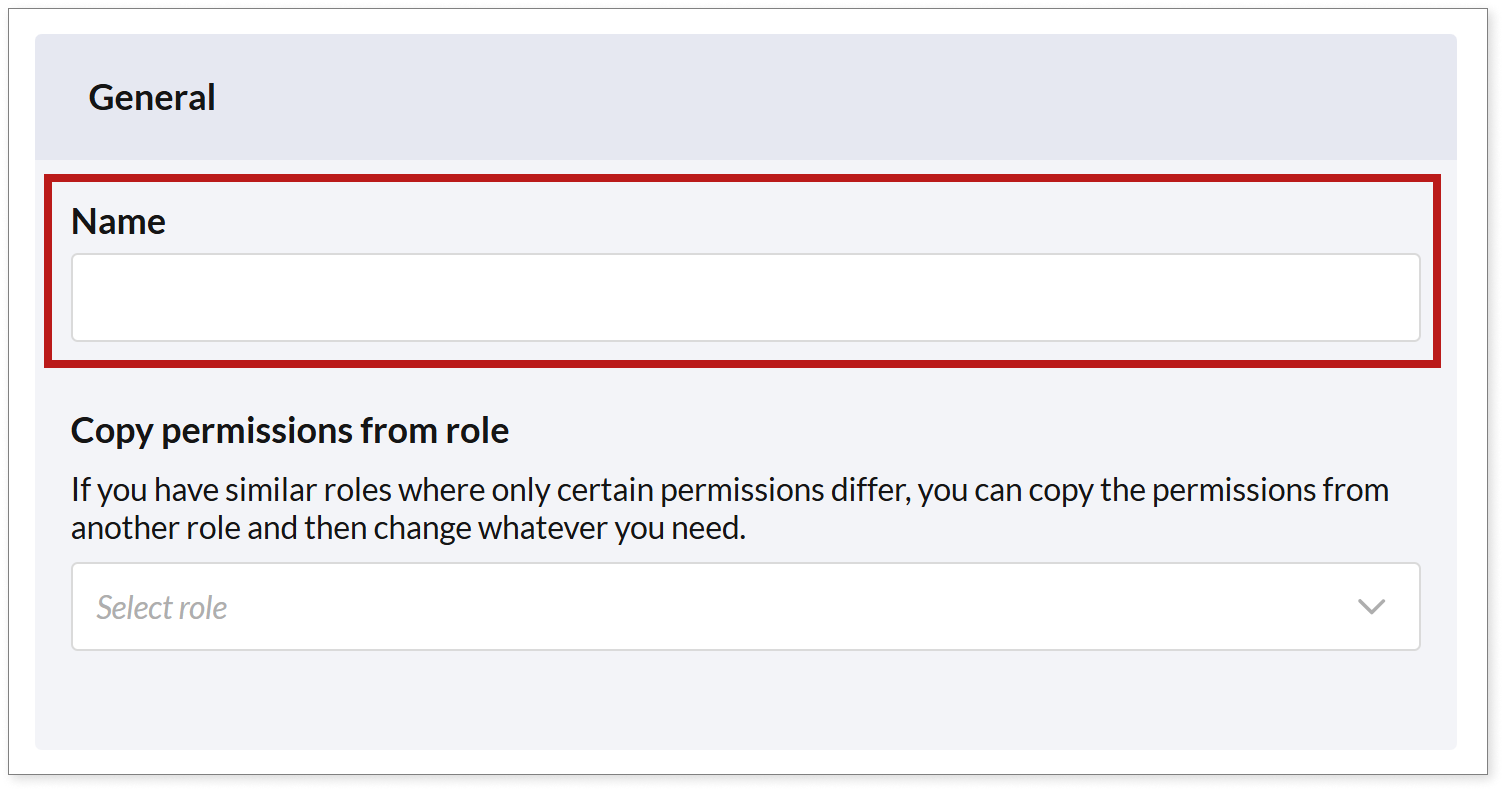
Choose a name for the role. It's helpful to use a descriptive name so you can easily match the right role to your employees. For example, if you run a restaurant, you might want to create different roles for waiters and head waiters. If you manage a store, you could have different roles for store managers and cashiers.
Copy permissions from role
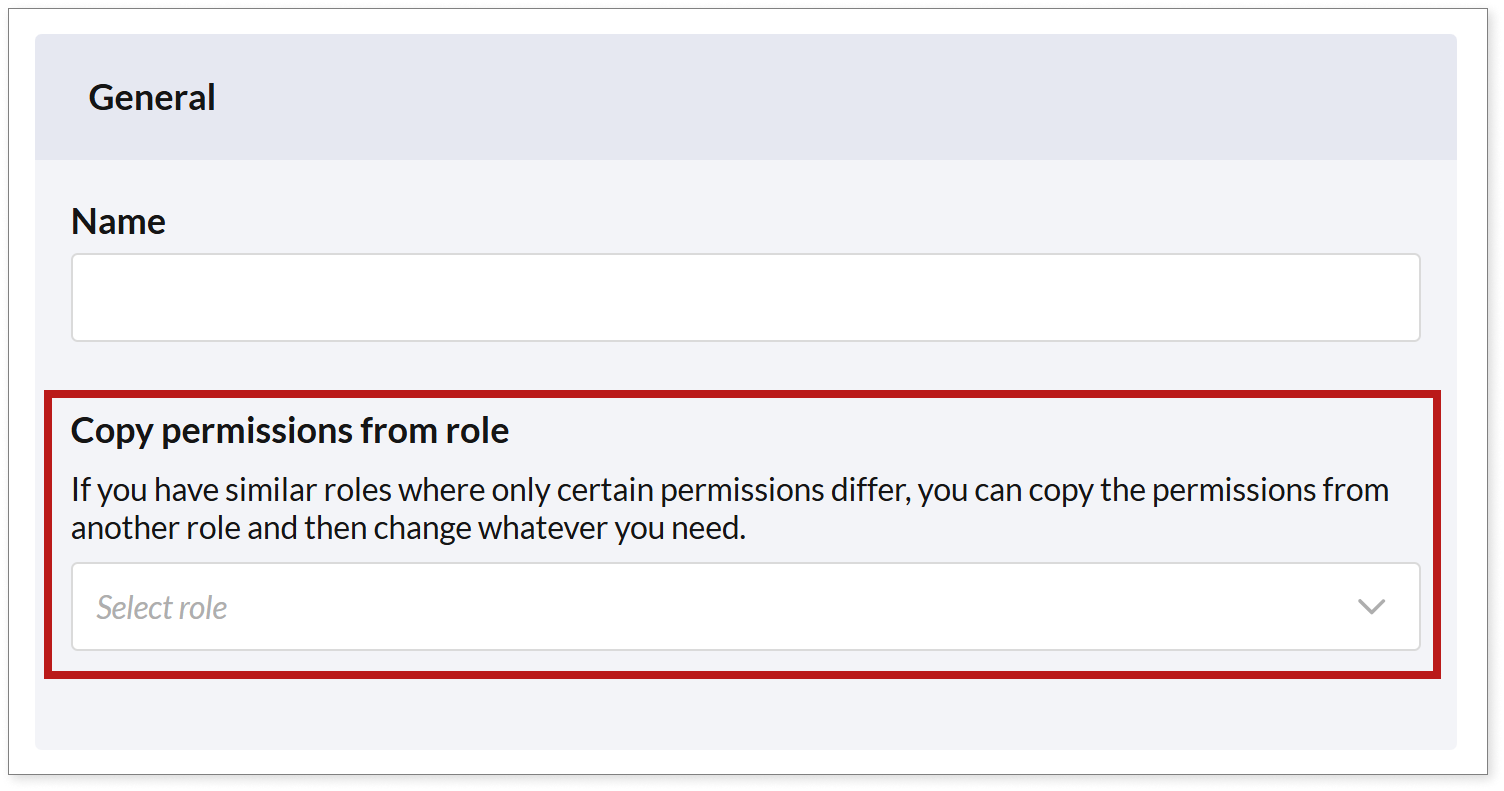
If you have similar roles where only certain permissions differ, you can copy permissions from another role and then modify as needed. In that case, select a role from the list to copy all permissions from that role.
Cash register permissions
To assign permissions in the cash register, check the checkbox next to the desired permission.
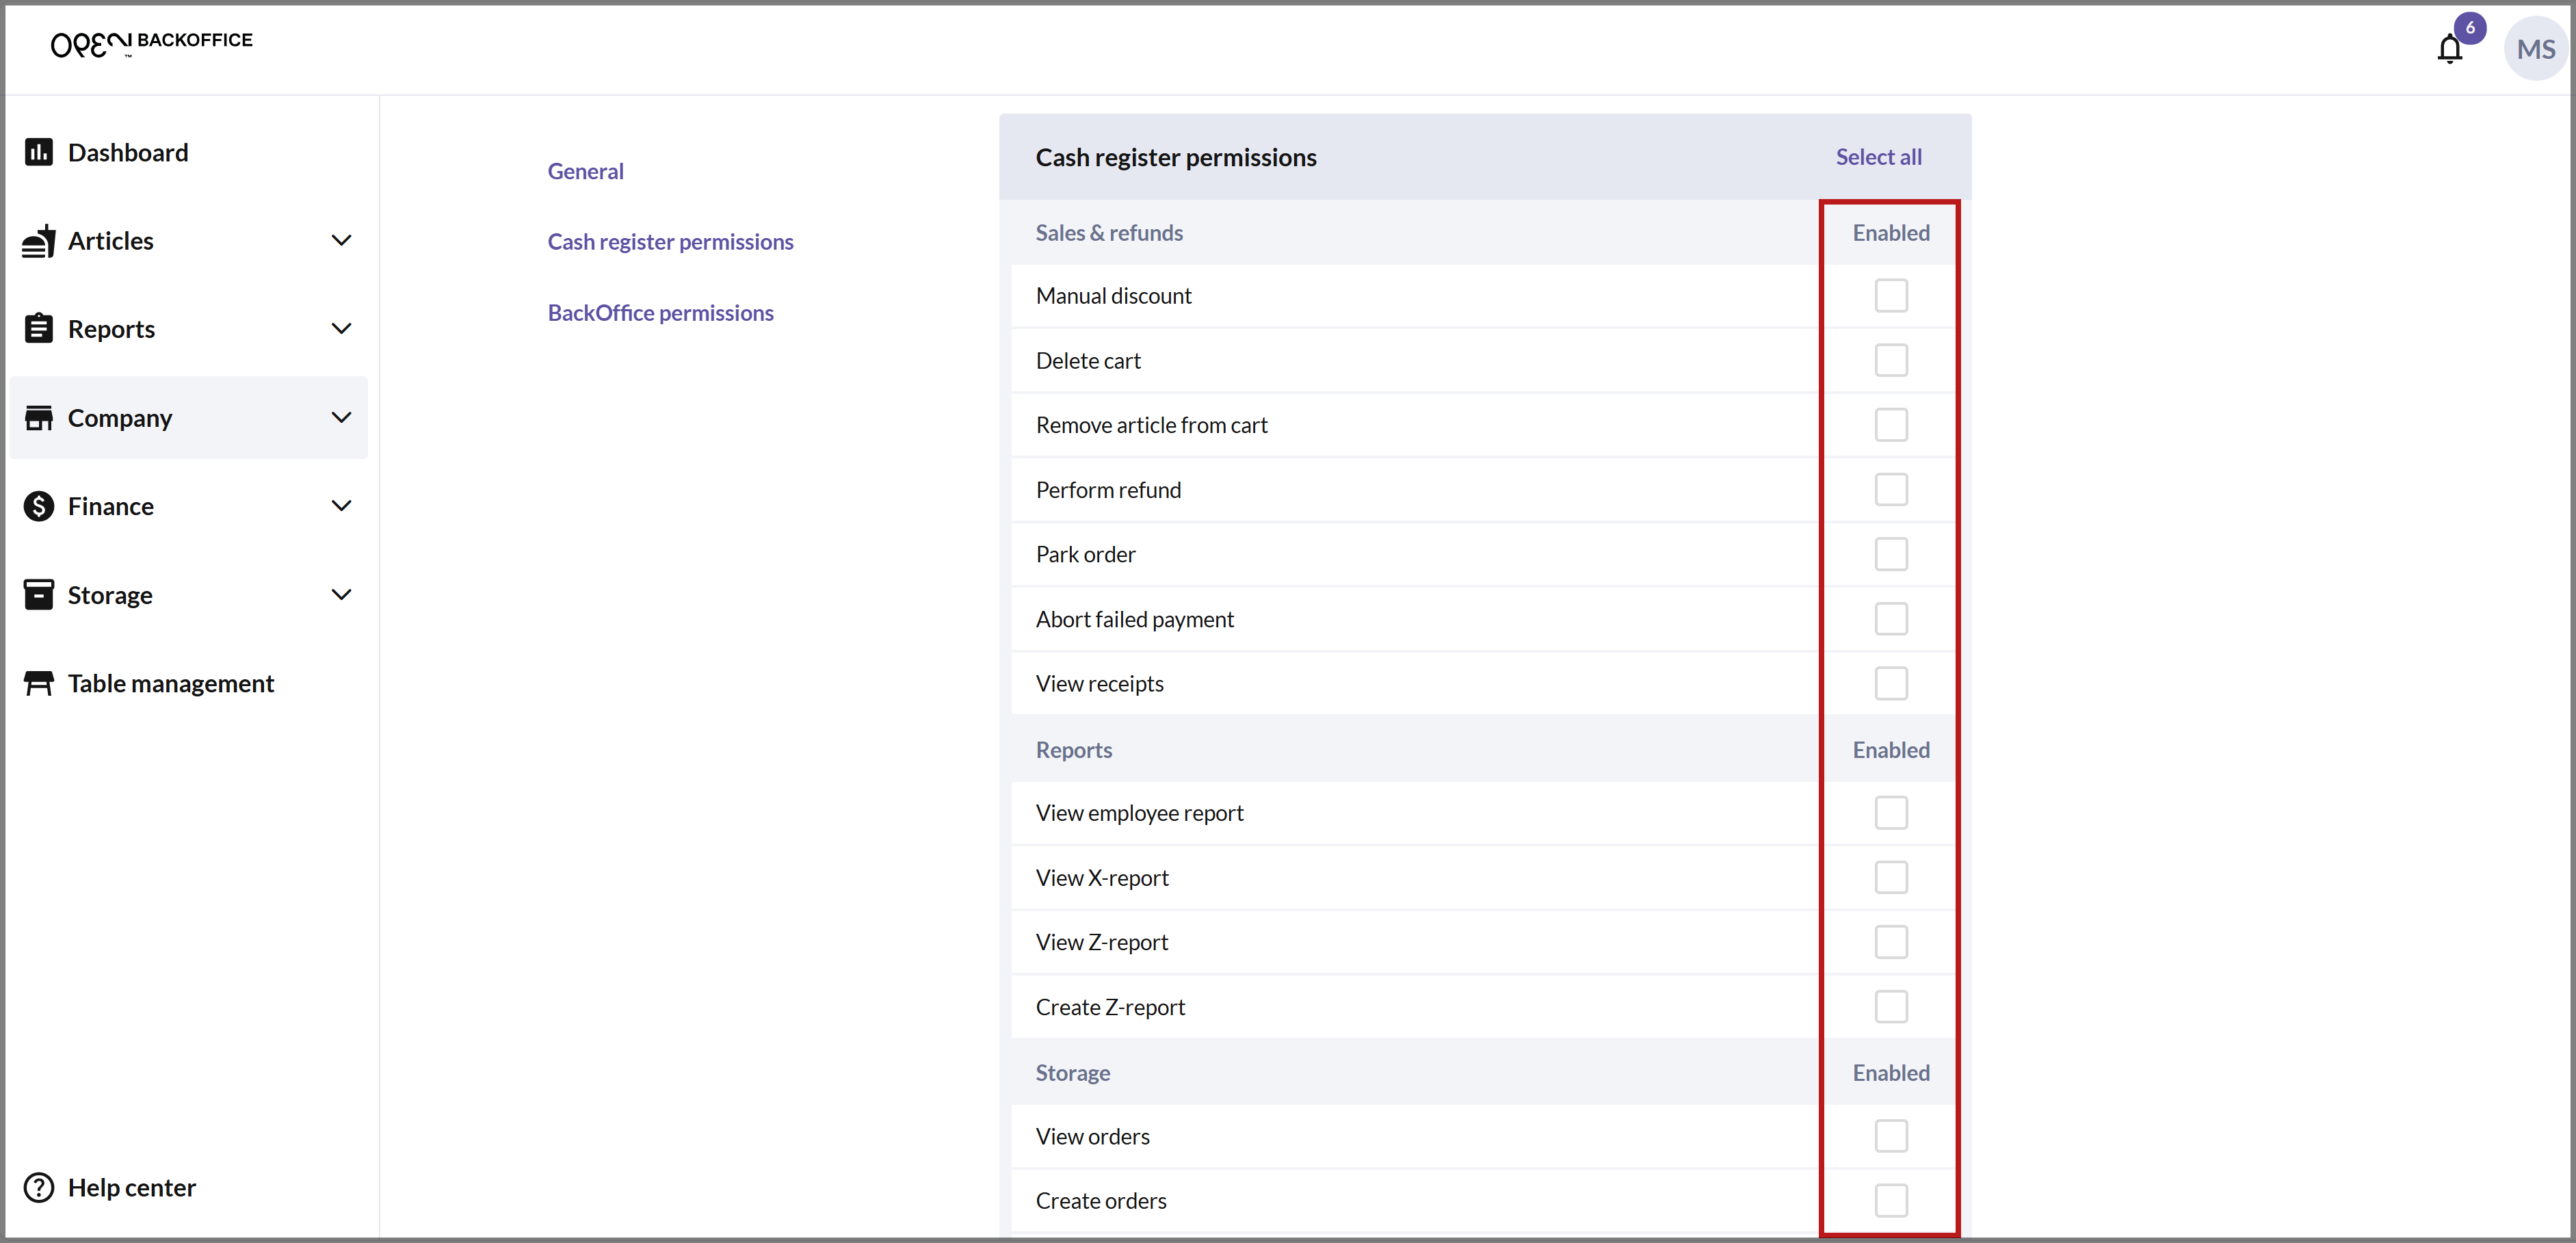
Use the SELECT ALL button if you want the role to have all cash register permissions.
Note that an employee who will be working with the cash register must be assigned a PIN CODE to log in. You can set this in the employee settings on the EMPLOYEES page.
BackOffice permissions
To assign permissions in BackOffice, check the checkbox next to the desired permission.
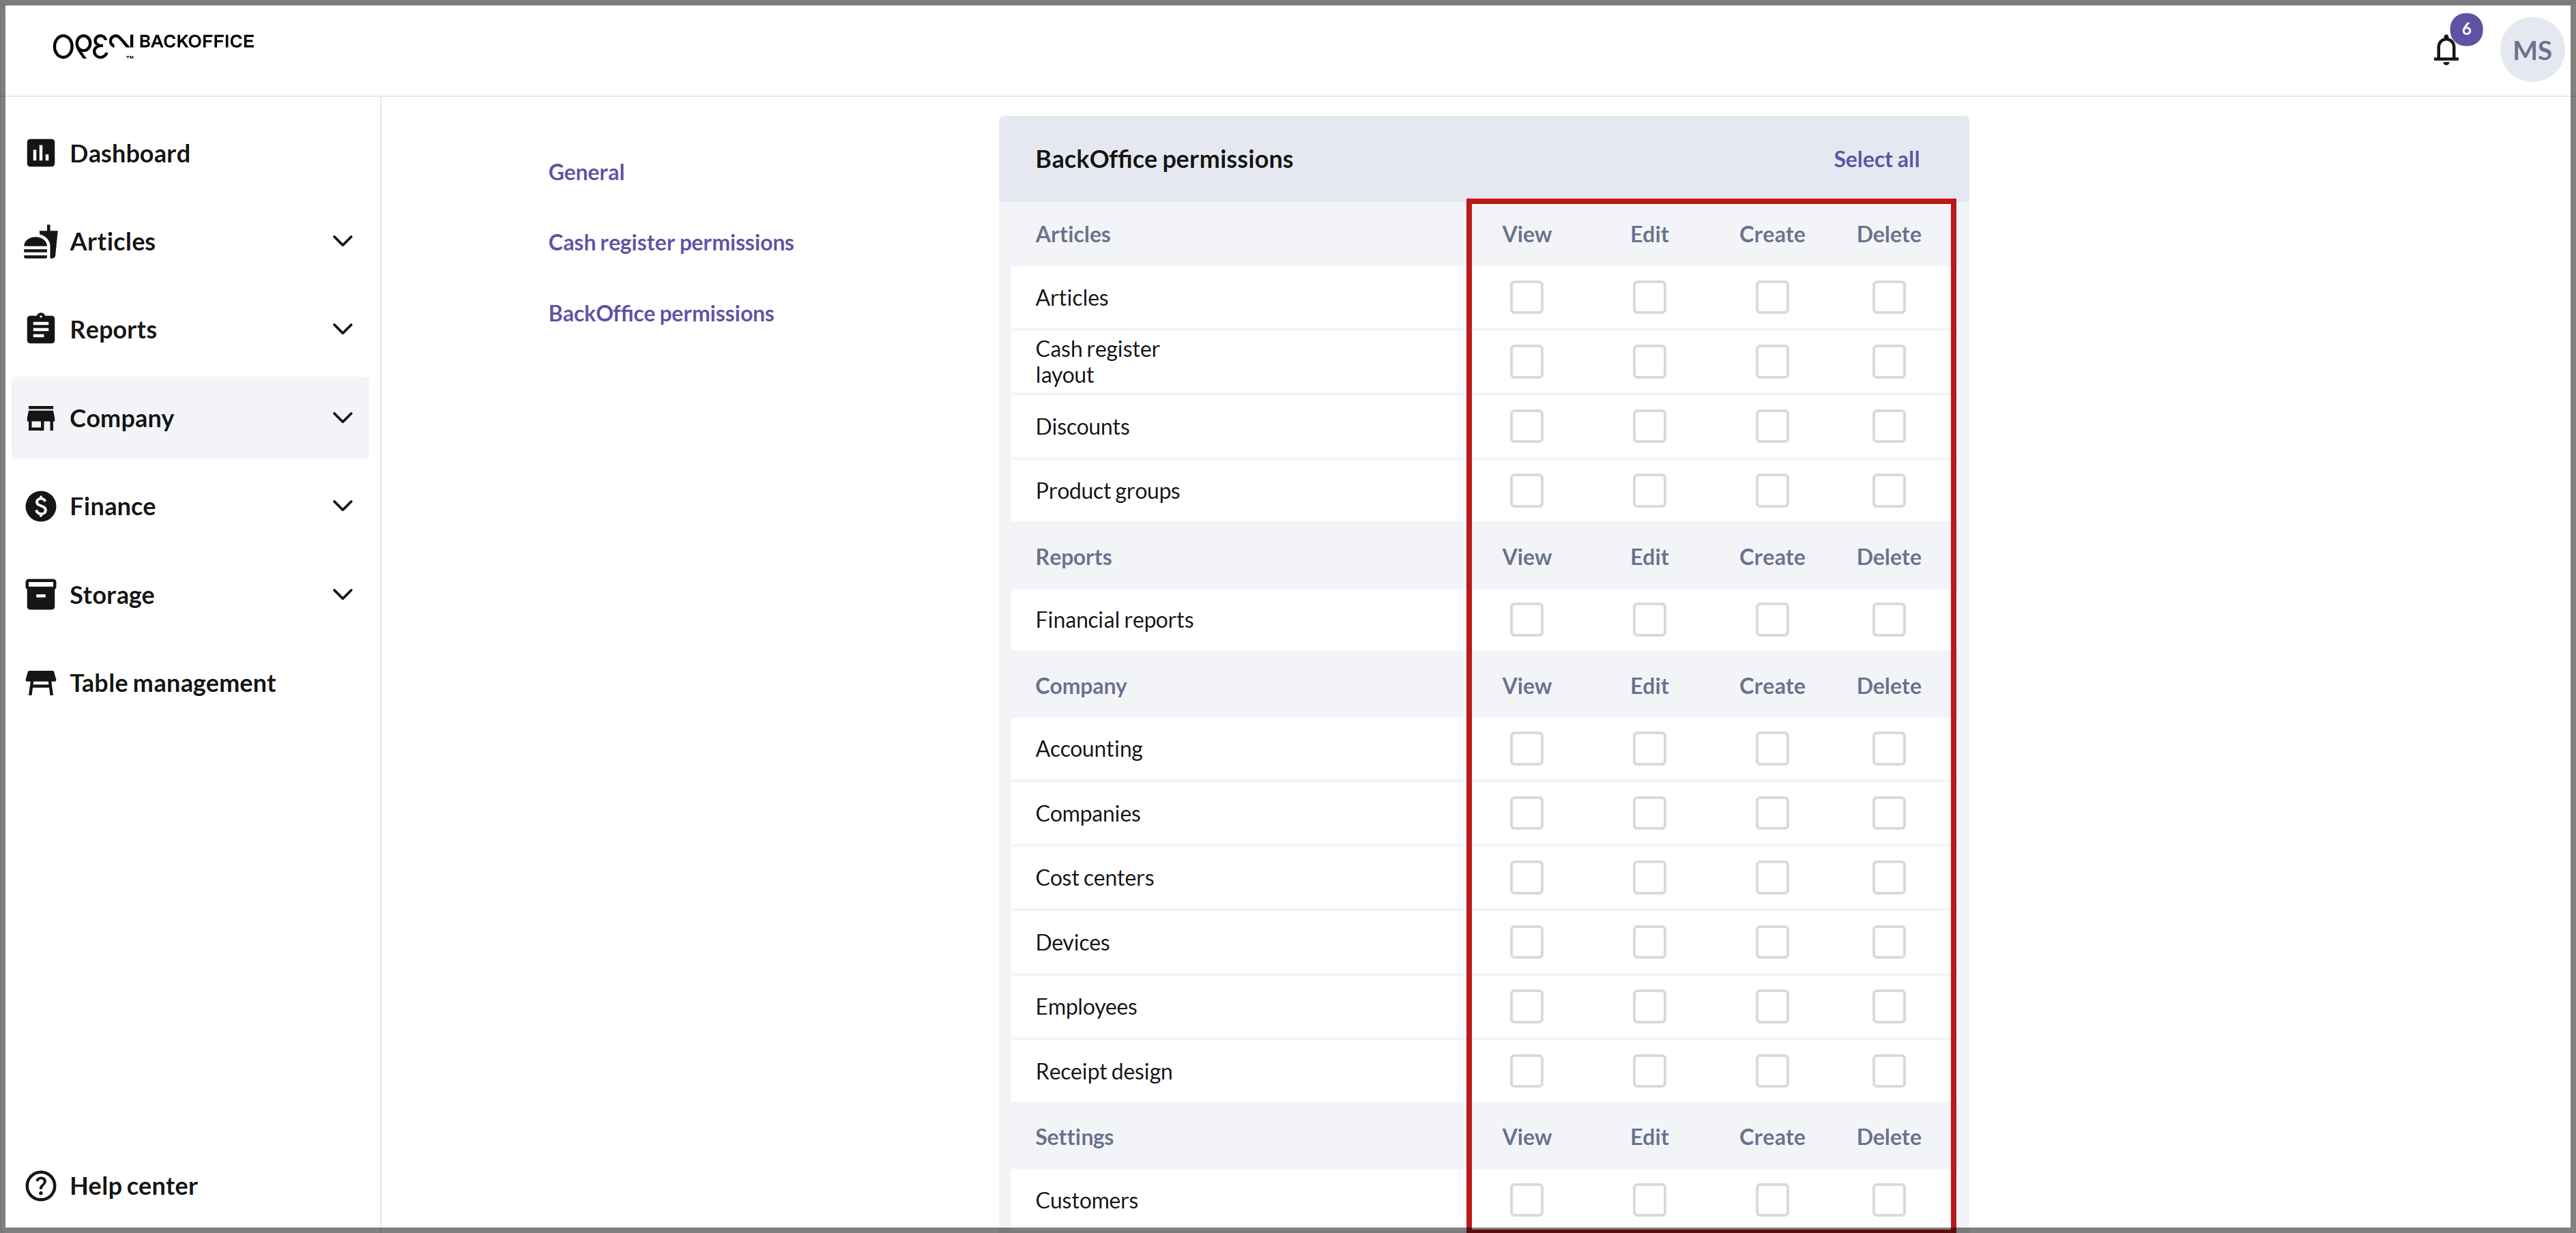
BackOffice permissions are divided into four actions with increasing levels of access: View, Edit, Create, and Delete.
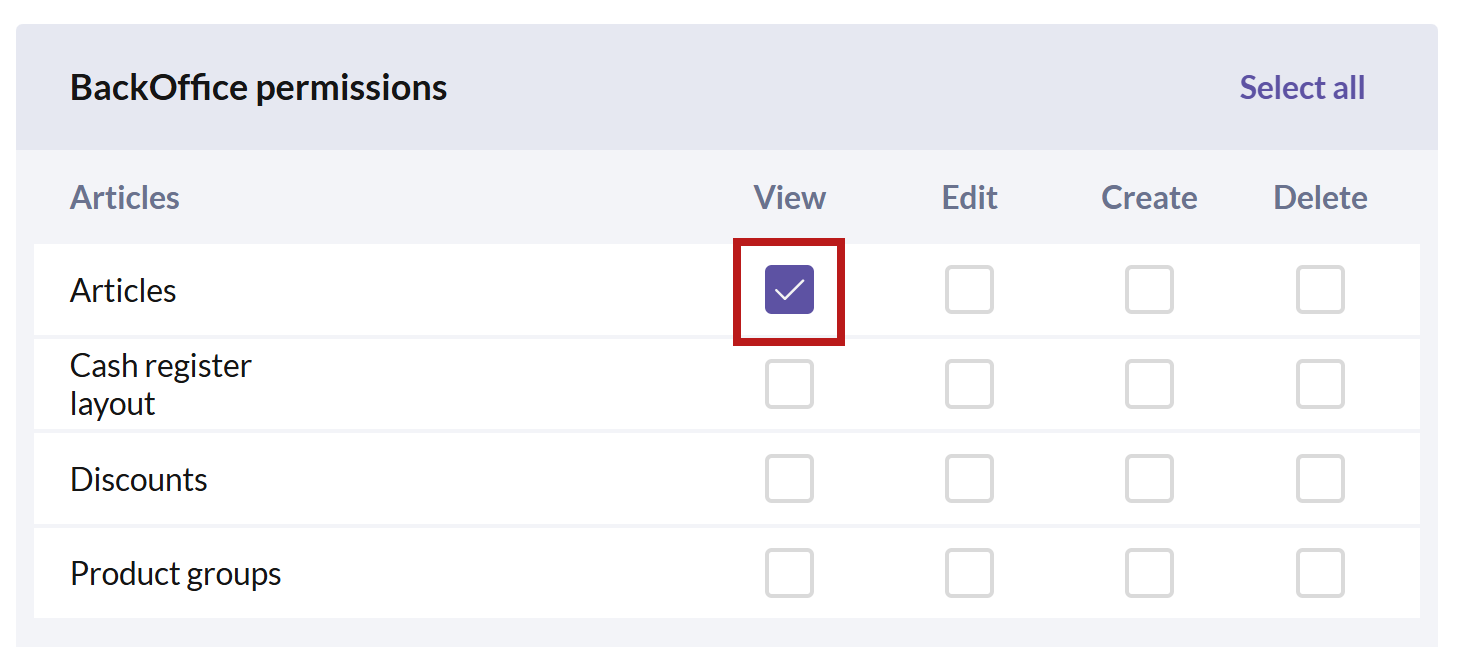
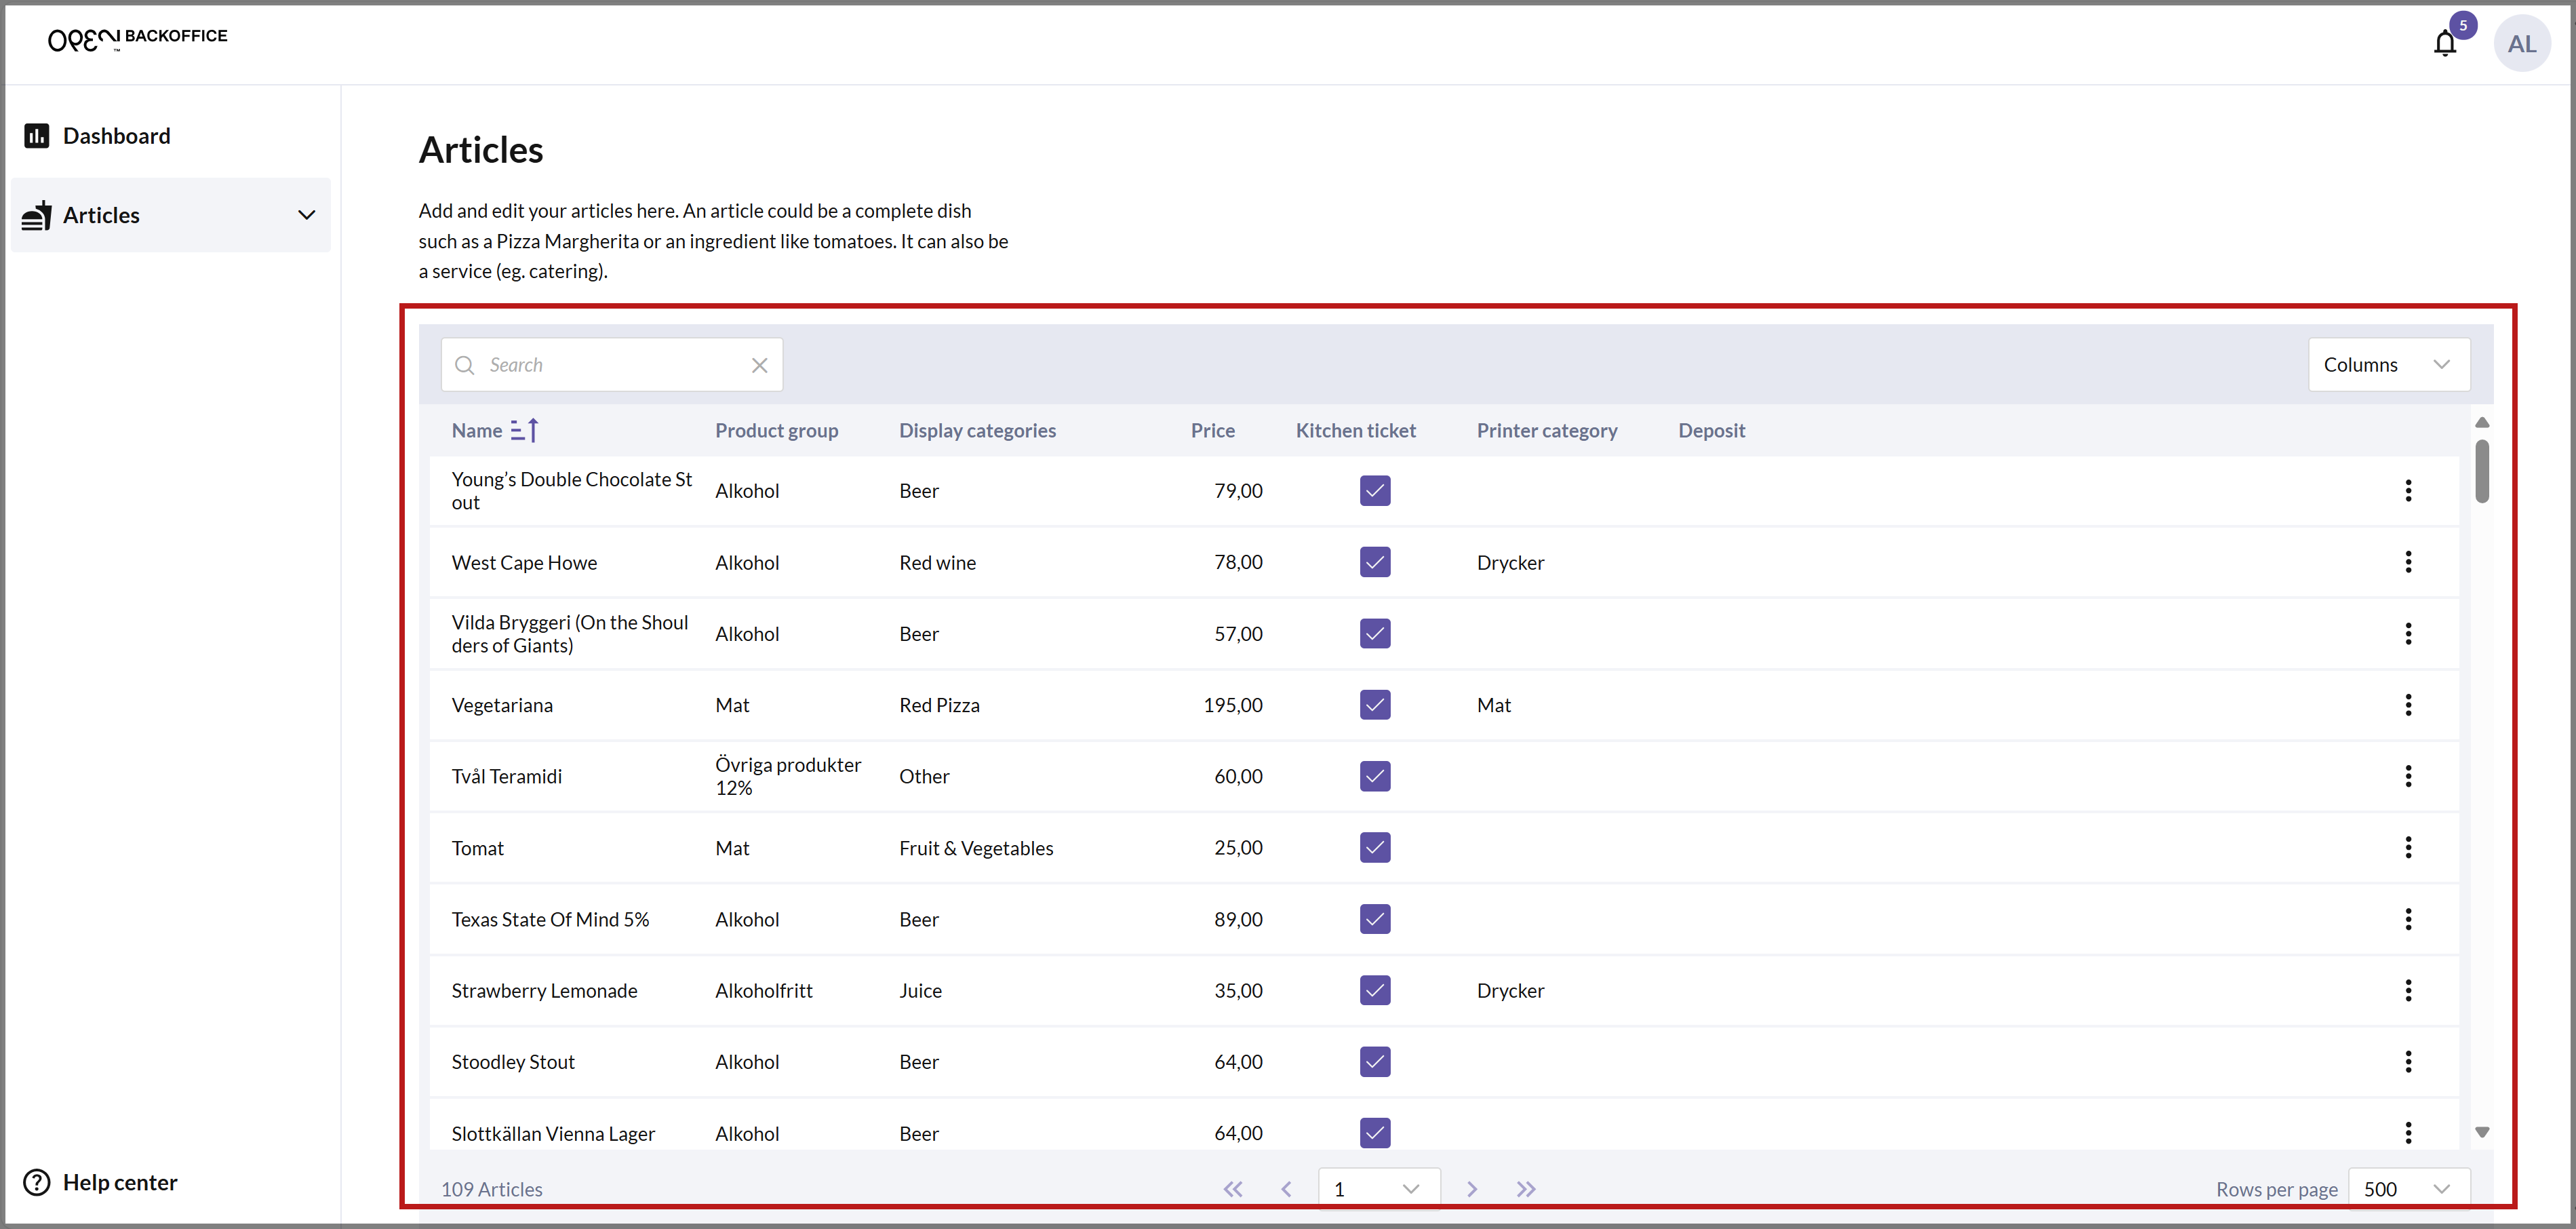
View: The role can view the specific view/page but cannot make any changes. For example, if you check "View" for the Articles permission, the role can view the Articles page in BackOffice but cannot make any edits.


Edit: The role can both view and edit the content on the specific view/page. For example, if you check "Edit" for the Articles permission, the role can edit articles as well as view them.
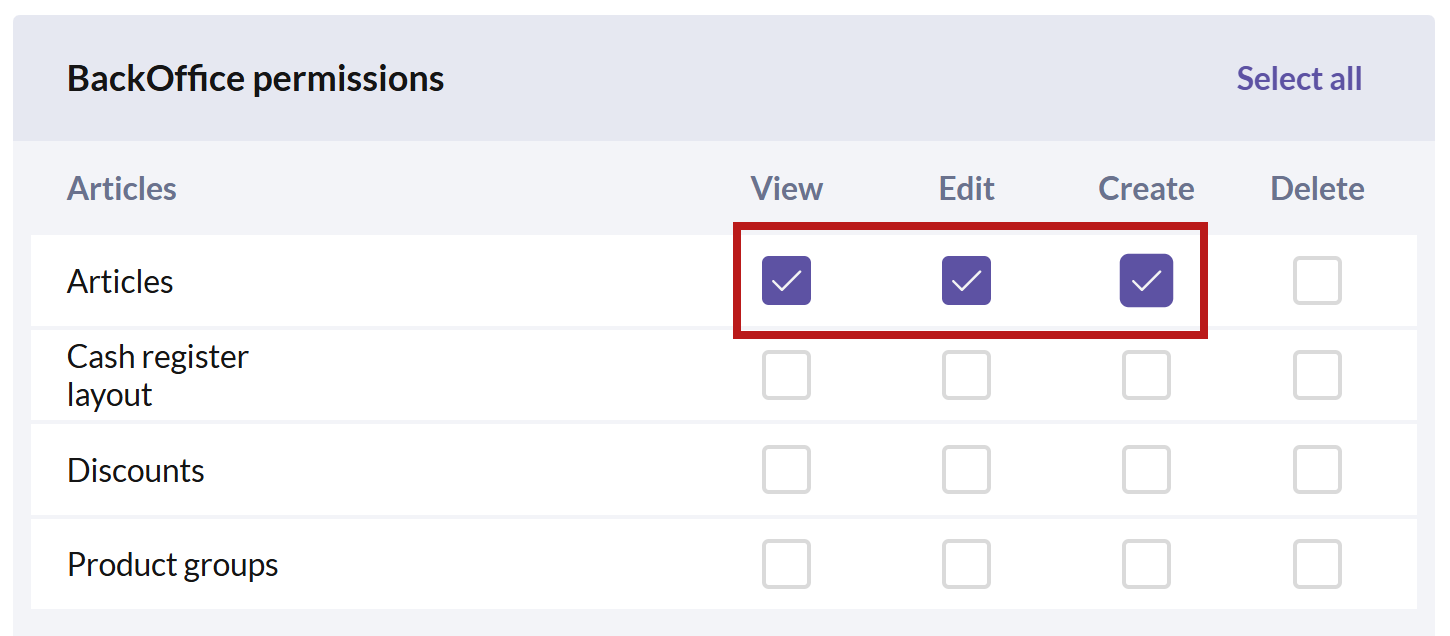
Create: The role can view, edit, and create new content on the specific view/page. For example, if you check "Create" for the Articles permission, the role can create new articles in addition to viewing and editing existing ones.
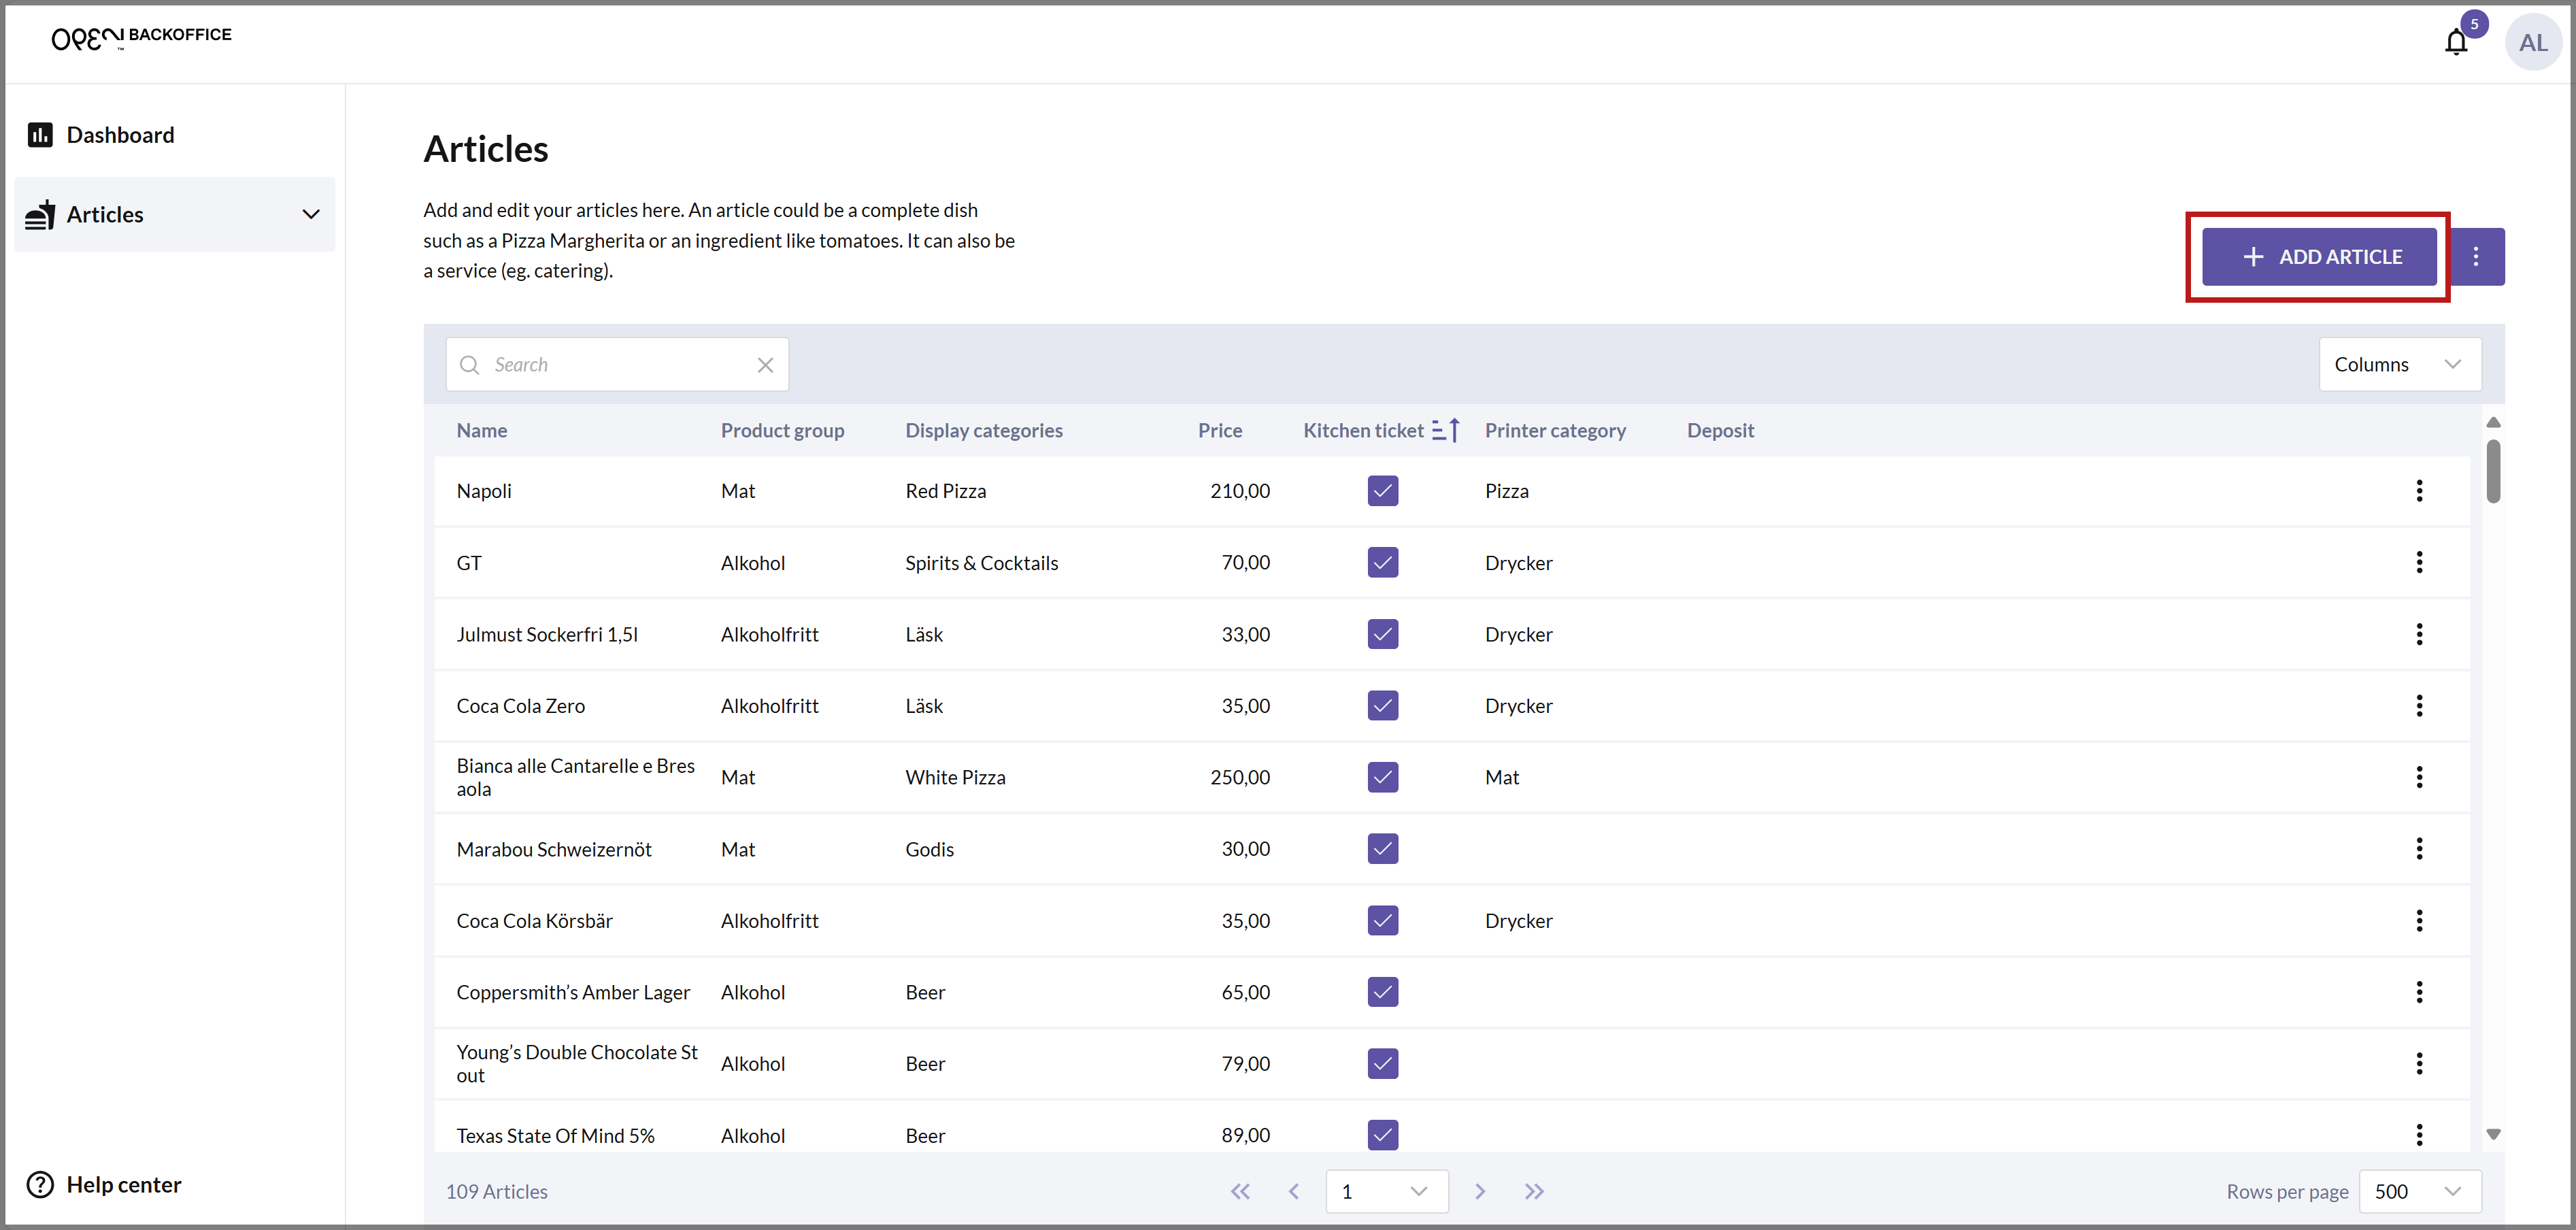
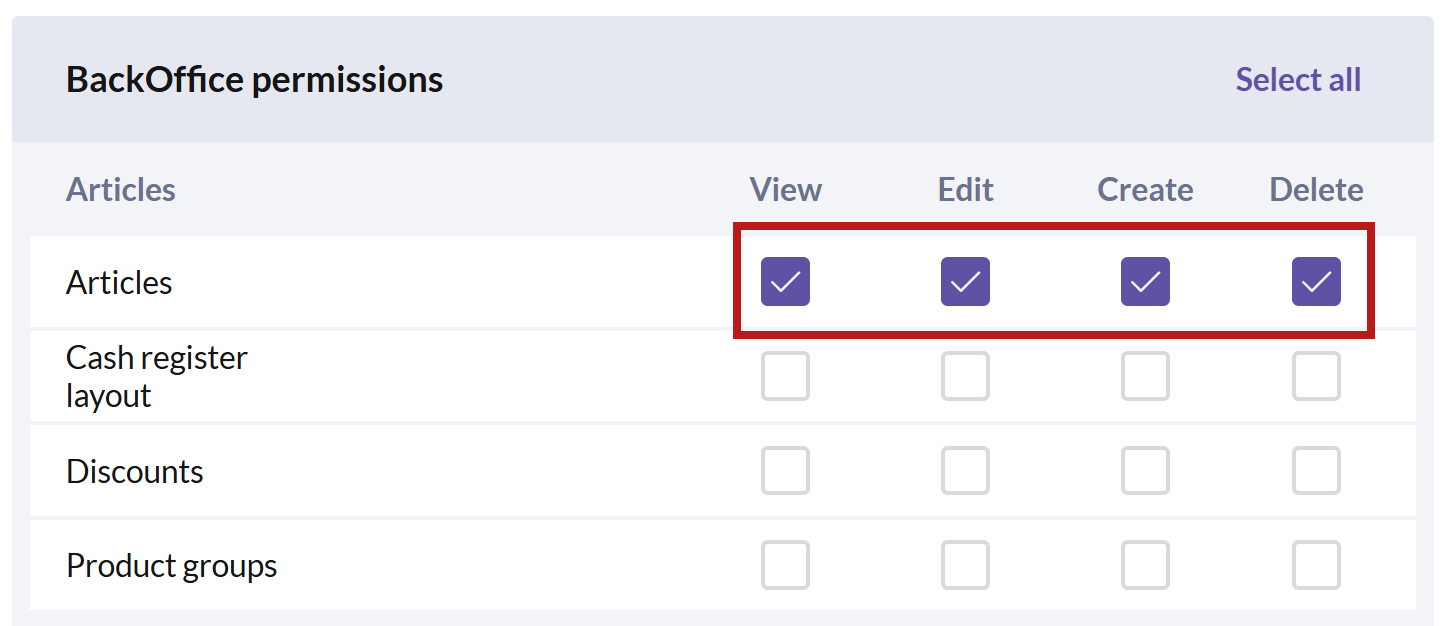
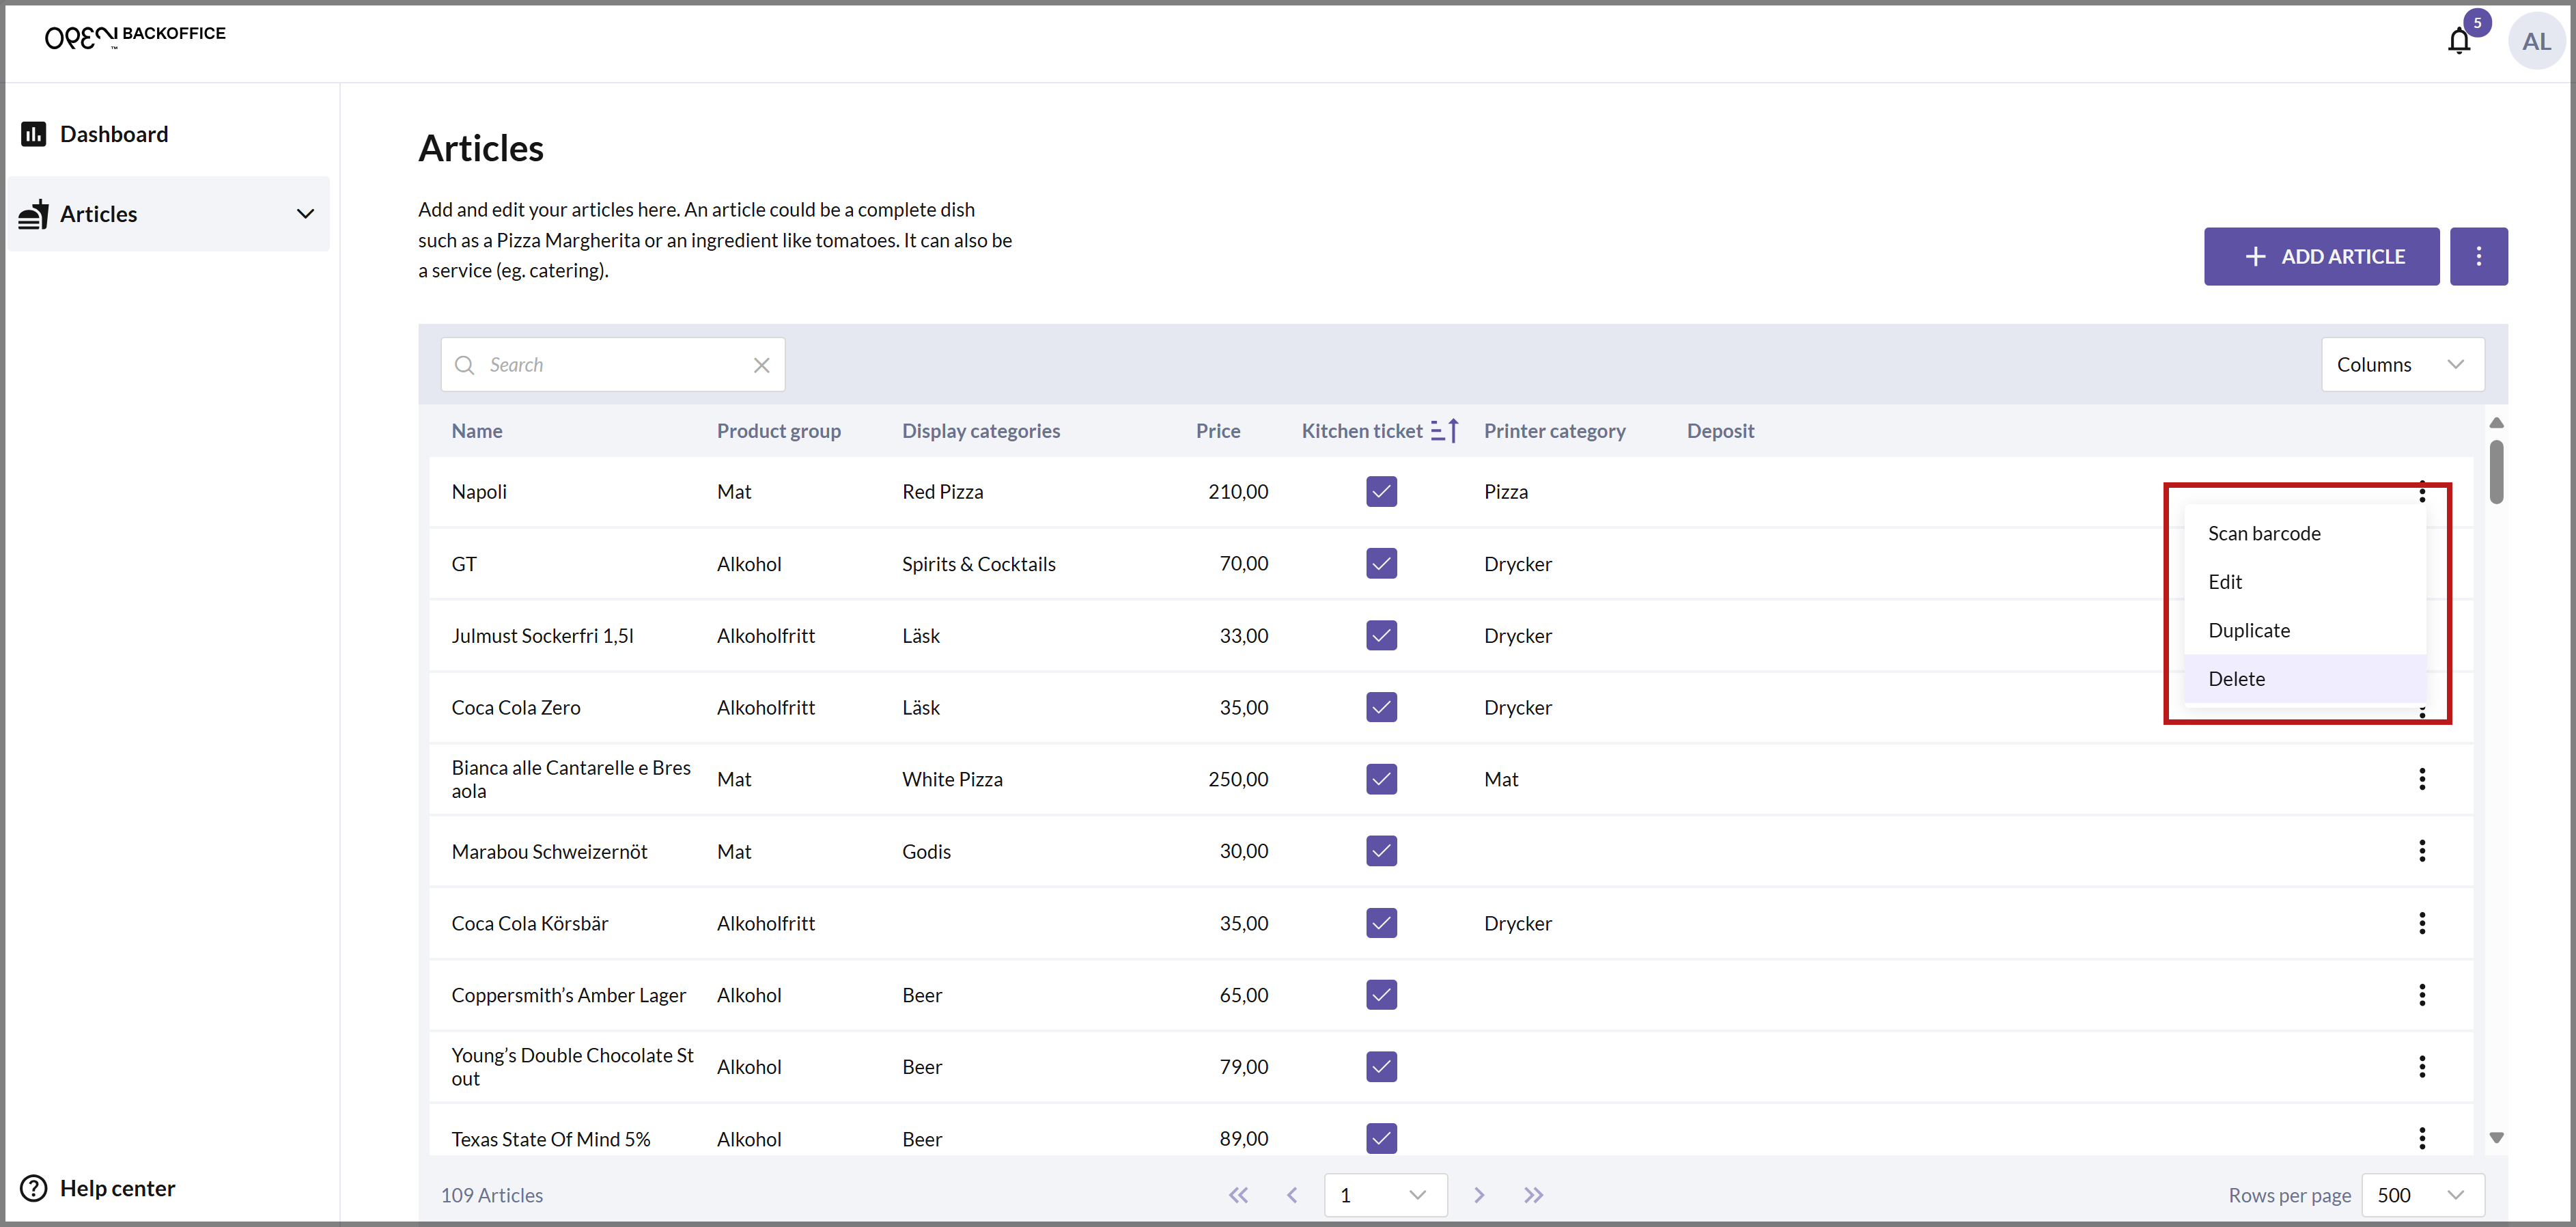
Delete: The role can view, edit, create, and delete content on the specific view/page. For example, if you check "Delete" for the Articles permission, the role can delete articles as well as view, edit, and create them.
Use the SELECT ALL button if you want the role to have all permissions in BackOffice.
Note that an employee who will work in BackOffice must have an assigned email address to log in. You can set this in the settings for the employee on the EMPLOYEES page.
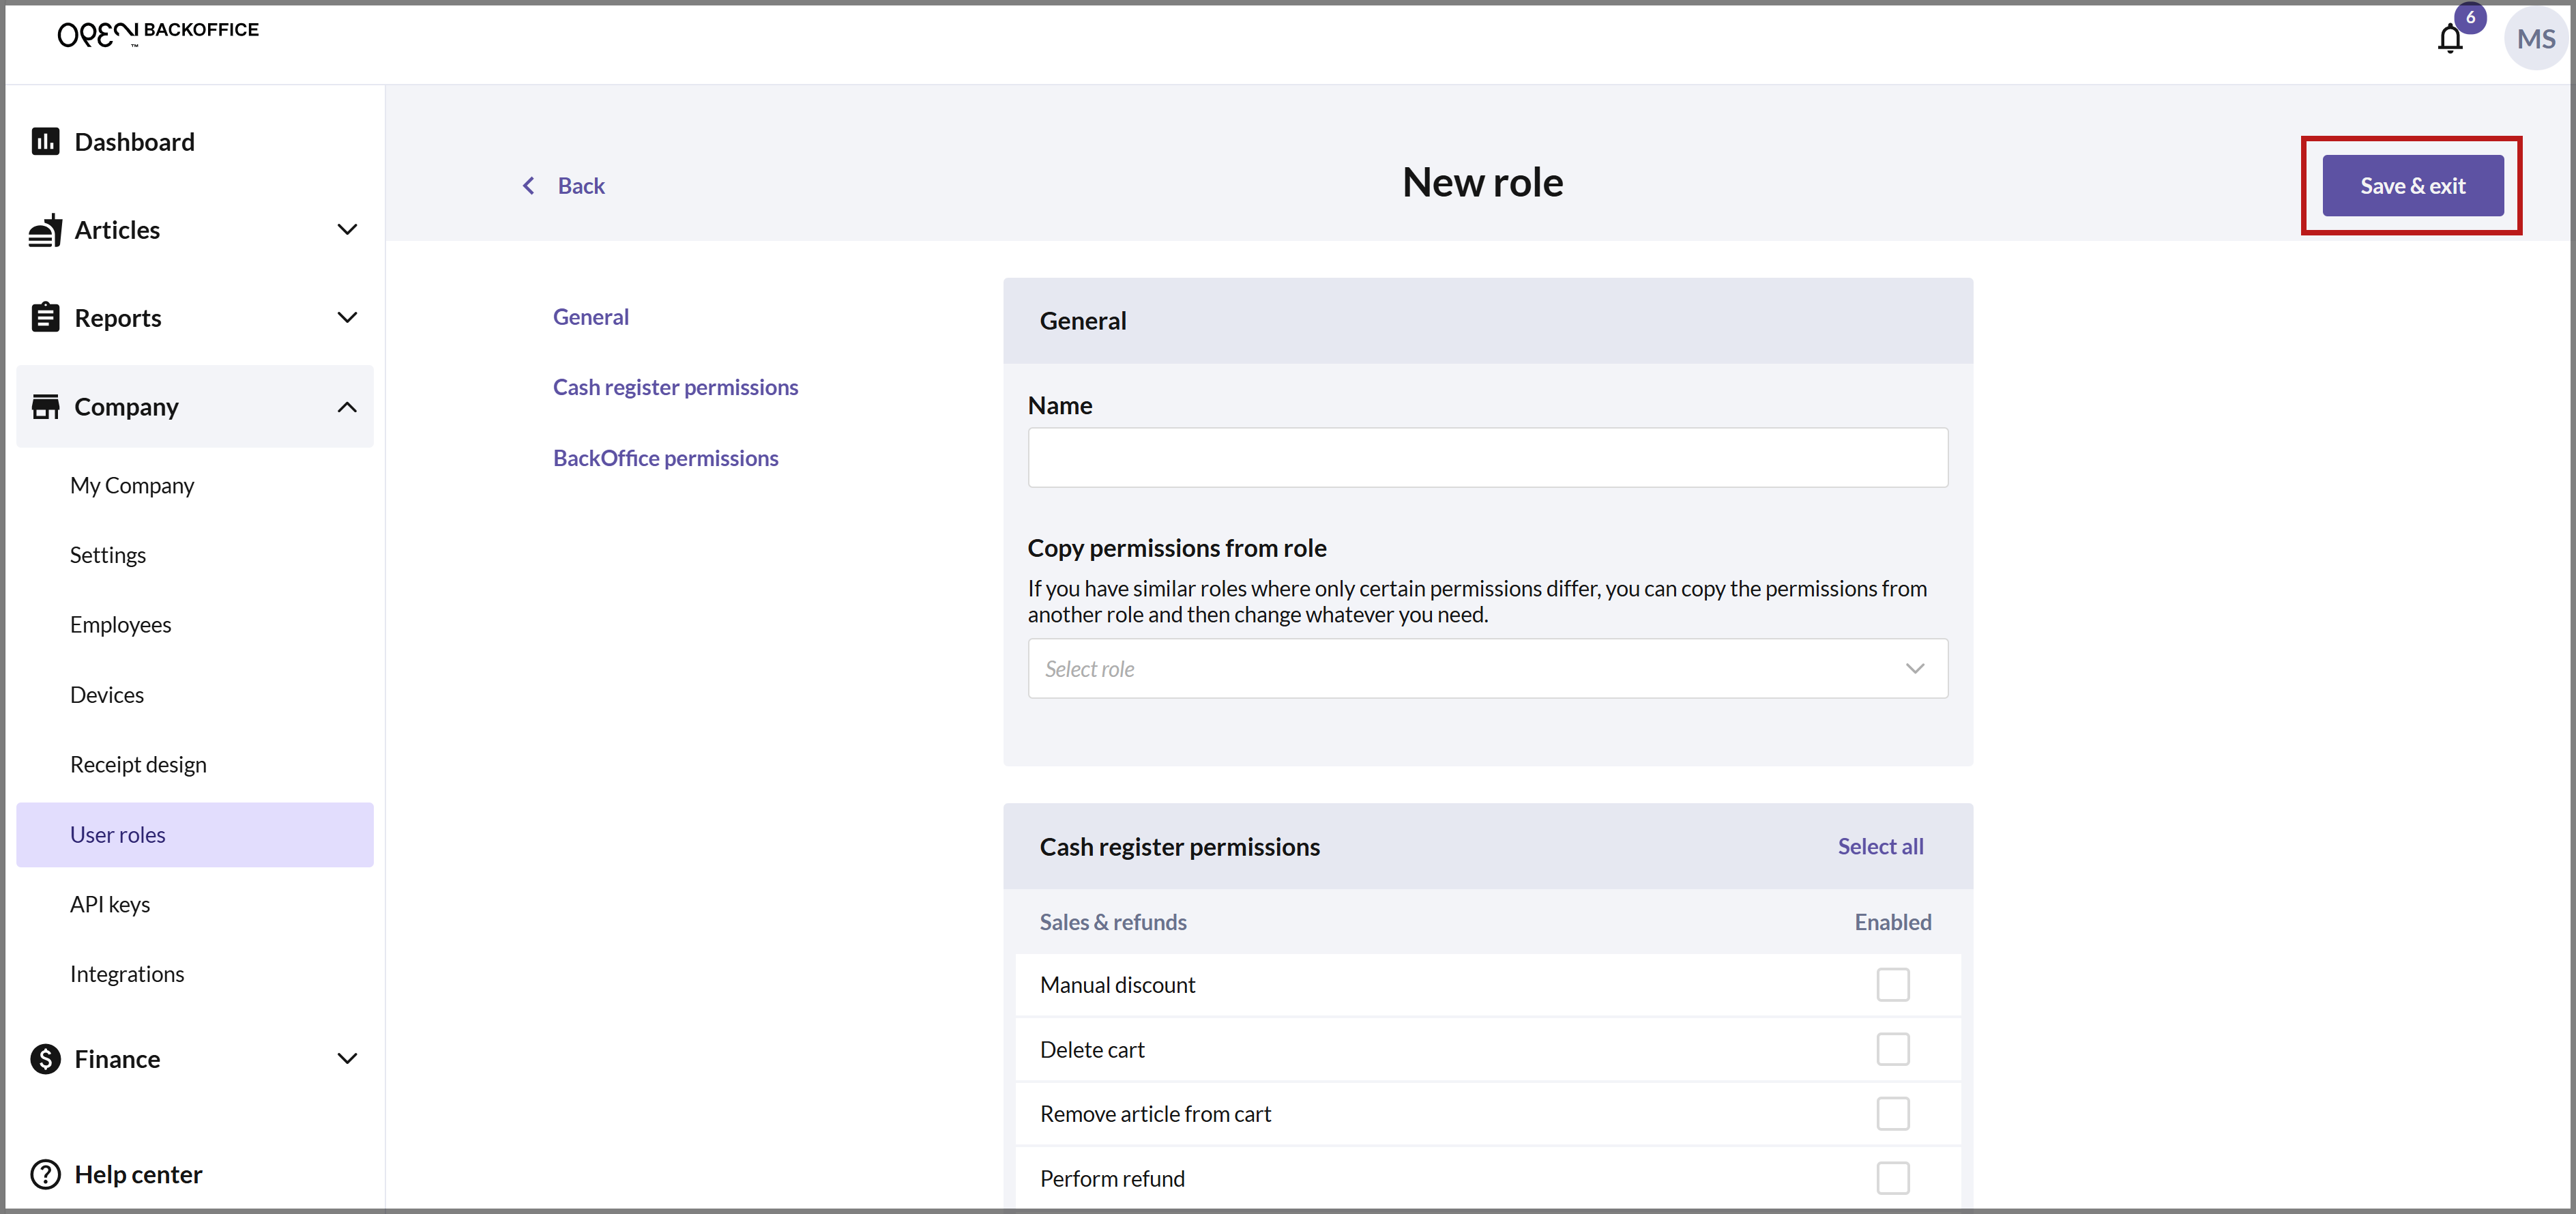
Once you are satisfied with your role, click on SAVE & EXIT, and you will be taken back to the overview of your roles.
You can cancel at any time by clicking the BACK button in the top left corner. You will then see a dialog asking you to confirm that you want to leave the page, so your recent changes will not be saved.
Delete a role
You can only delete roles that are not associated with any employee. The Administrator role cannot be deleted because it is needed to potentially transfer ownership to an employee with full permissions.
In BackOffice, select COMPANY from the menu and go to the USER ROLES page.
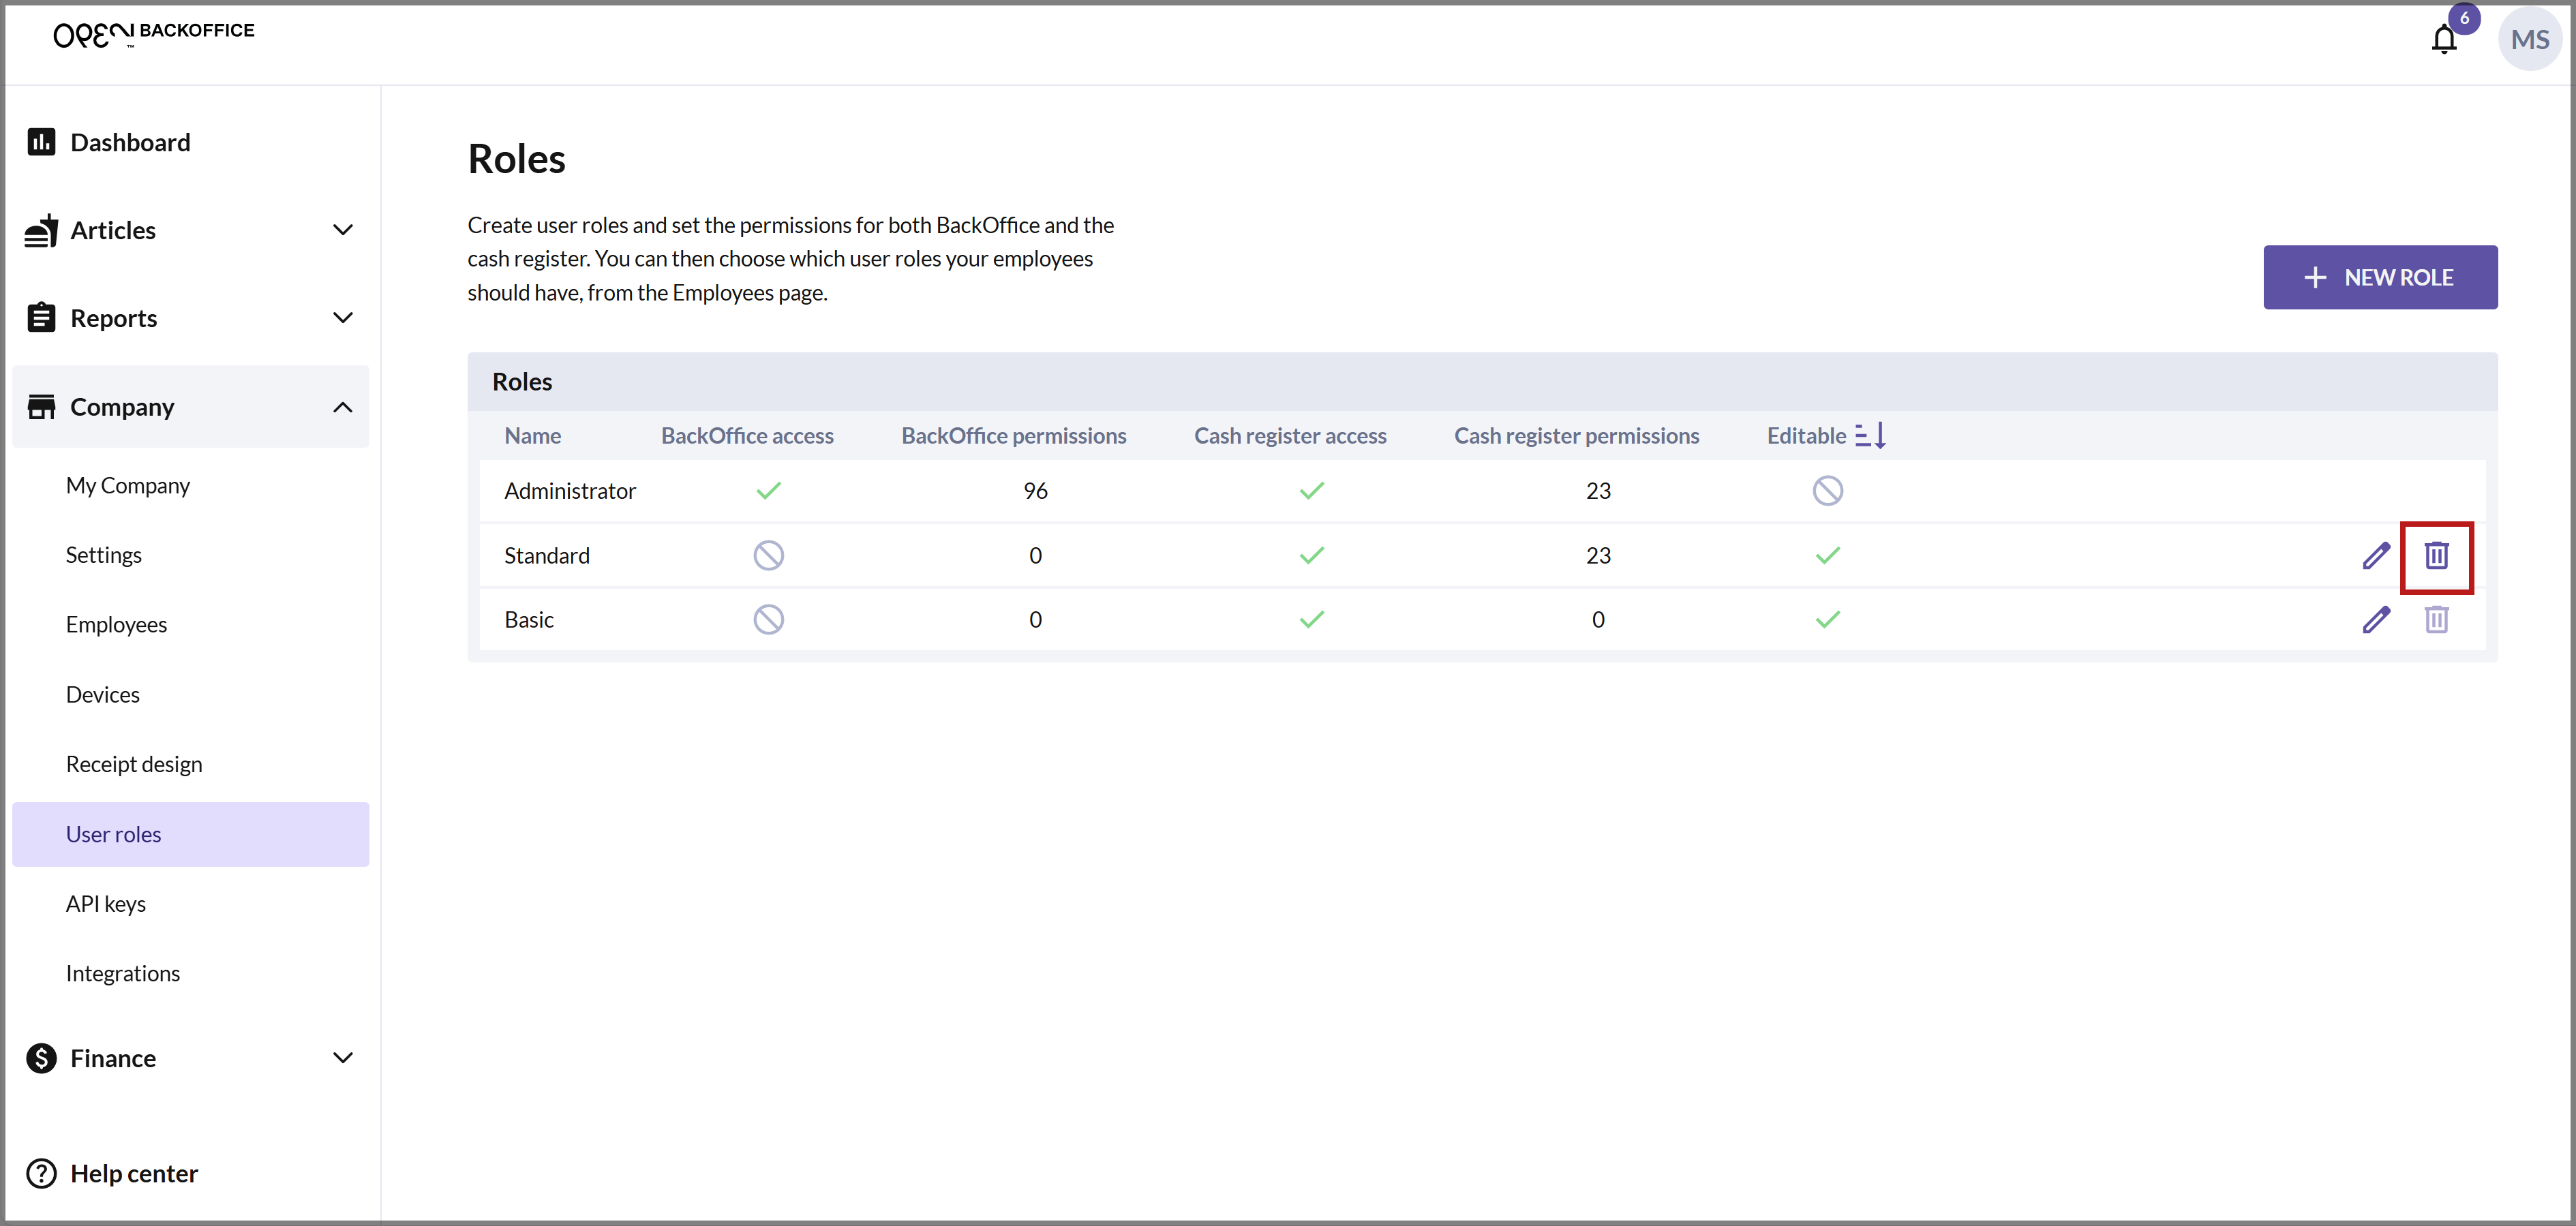
You will now see an overview of your existing roles.
To delete a role, click on the TRASH CAN icon on the far right of the respective role.
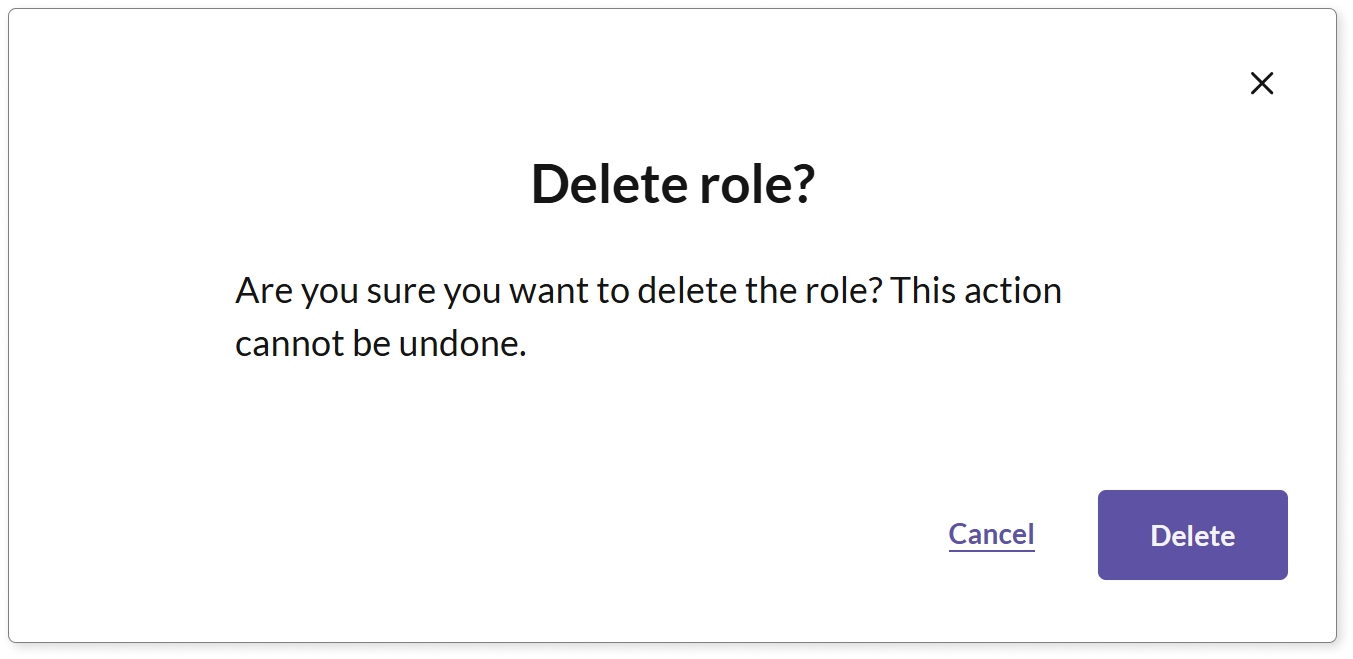
- A dialog box will appear asking you to confirm that you want to delete the role.
Selecting roles for your employees
Once user roles are created with defined permissions for both BackOffice and the cash register, you can then choose which user roles your employees should have from the Employees page.
Manage information related to your employees and create PIN codes so that each employee who will work with the cash register has a personal code to log in. For an employee who will work in BackOffice, it will be necessary to enter their email address.
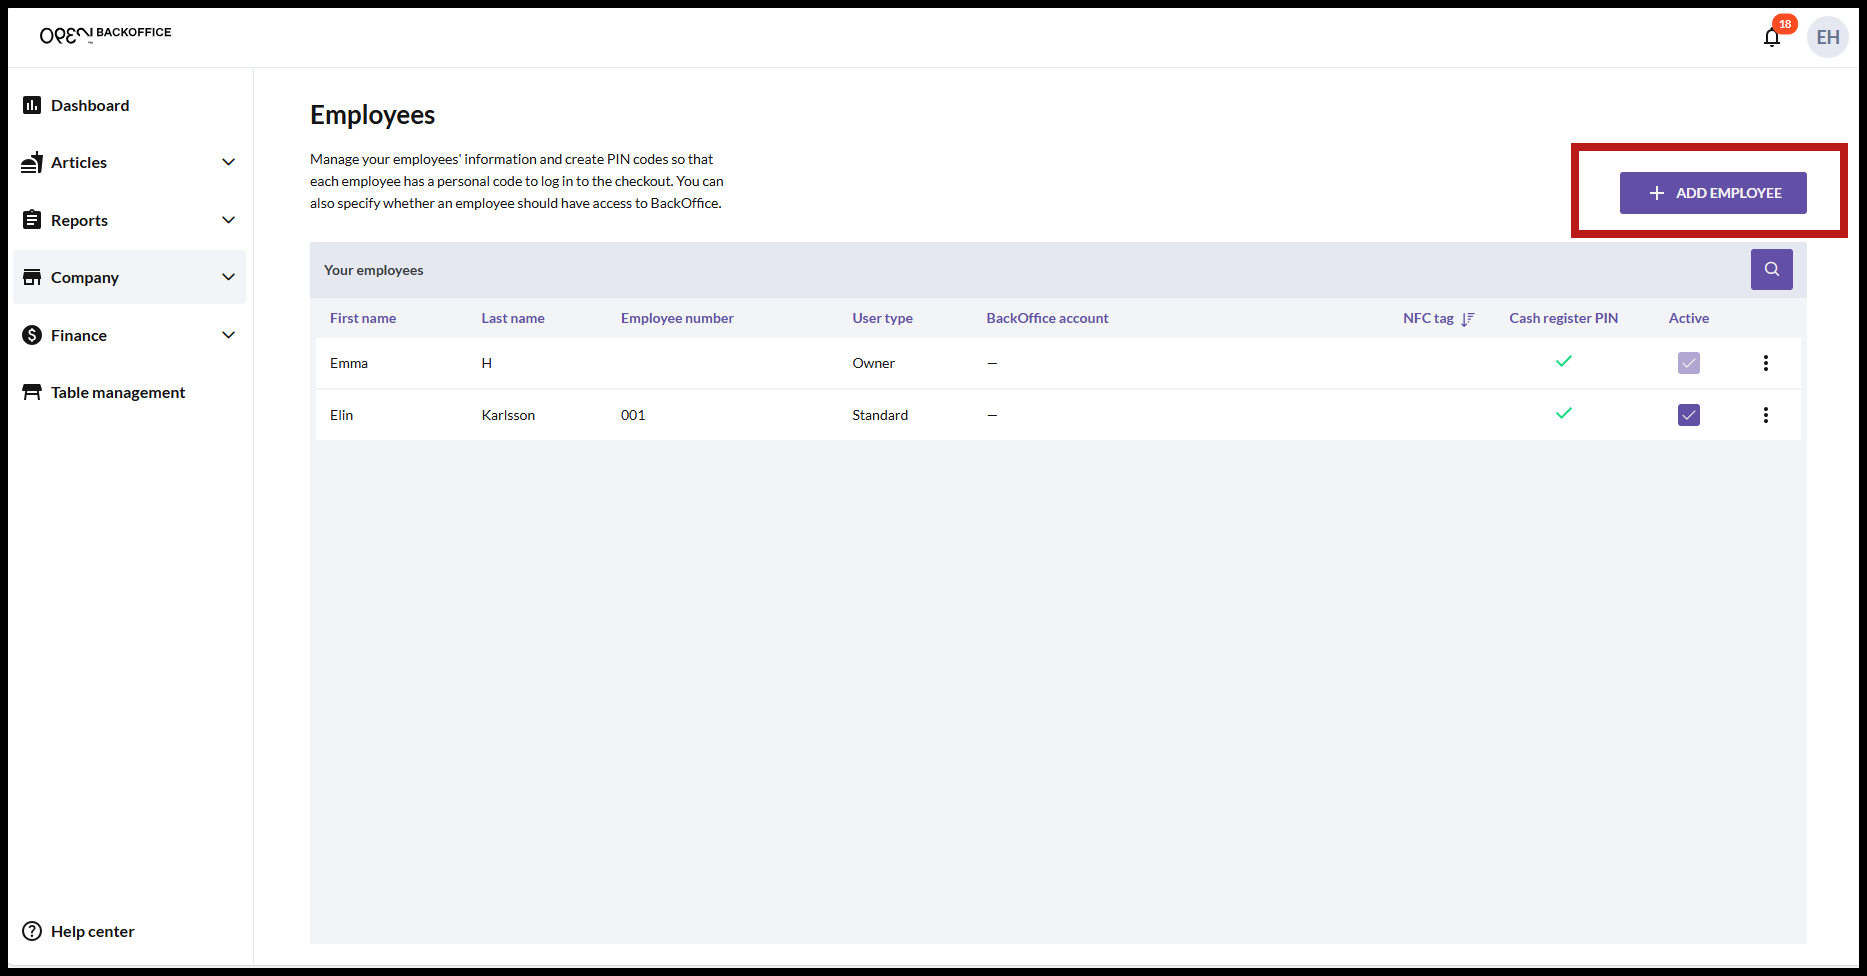
In BackOffice, select COMPANY from the menu and go to the EMPLOYEES page.
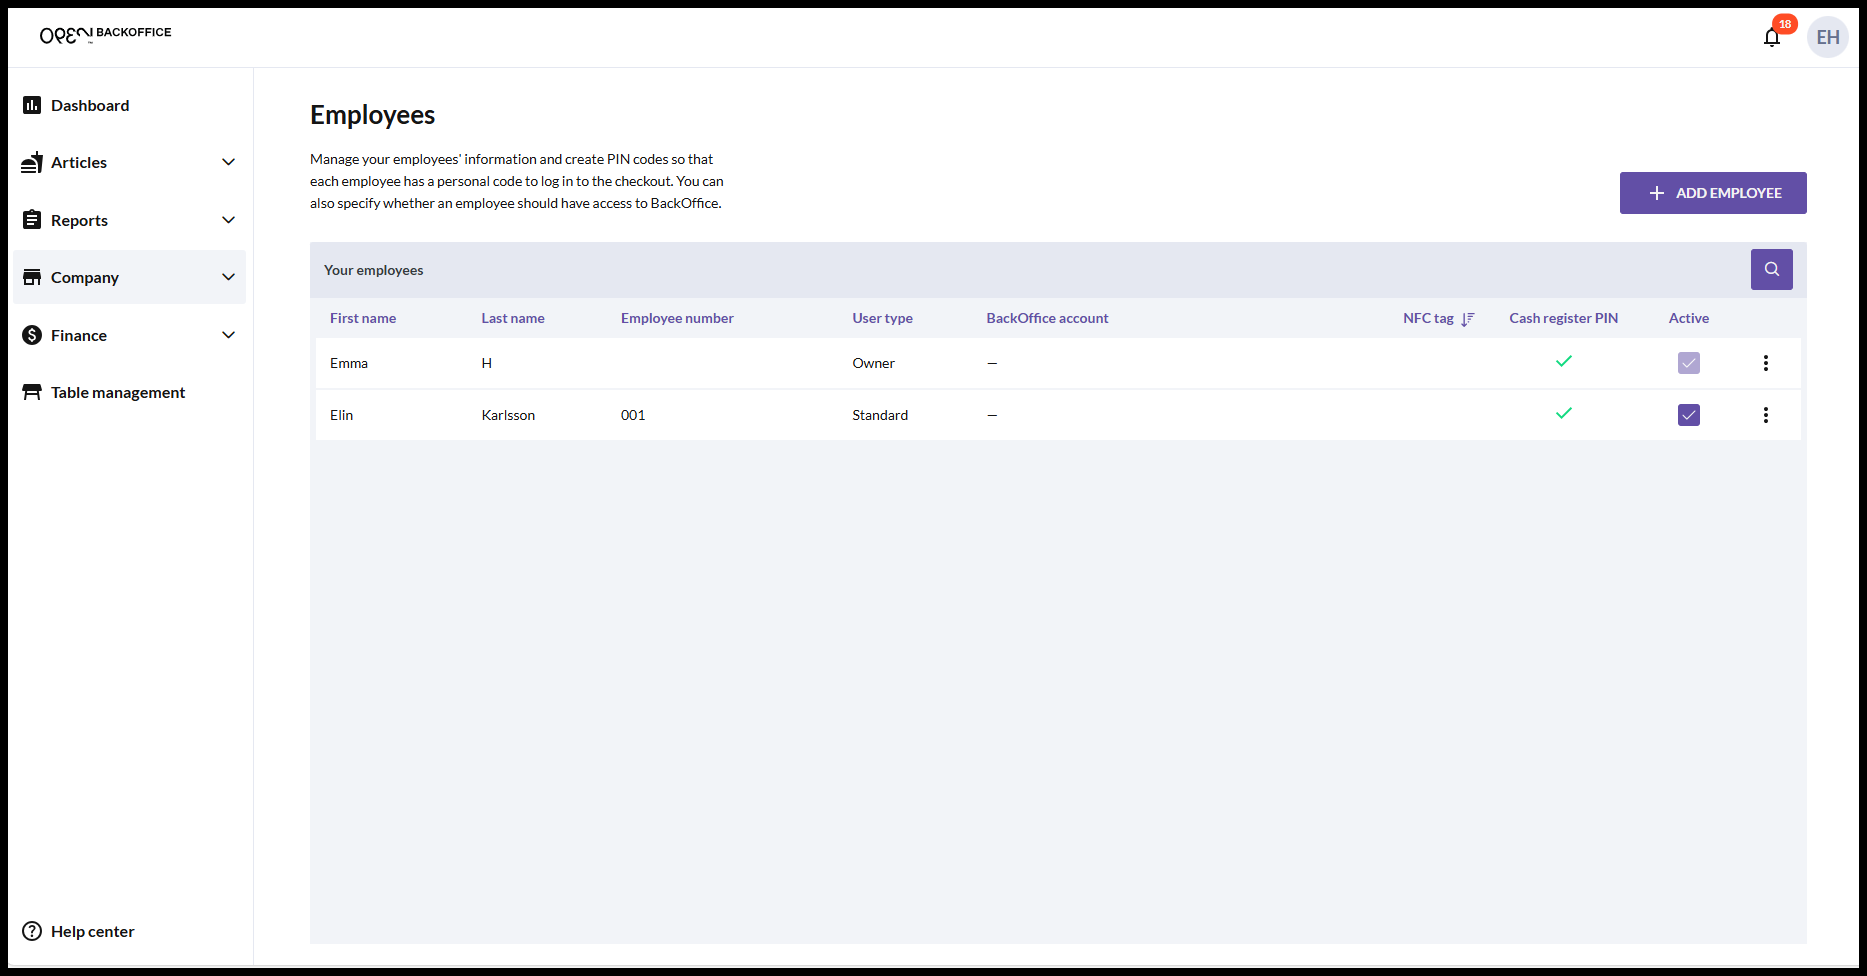
You will now see an overview. Initially, there will be only one row displayed, which is the owner, and this row can only be edited to a limited extent and cannot be deleted.
To add an employee, click on the + ADD EMPLOYEE button.
In the dialog box that opens, fill in the Name and select the type of User role the employee should have.
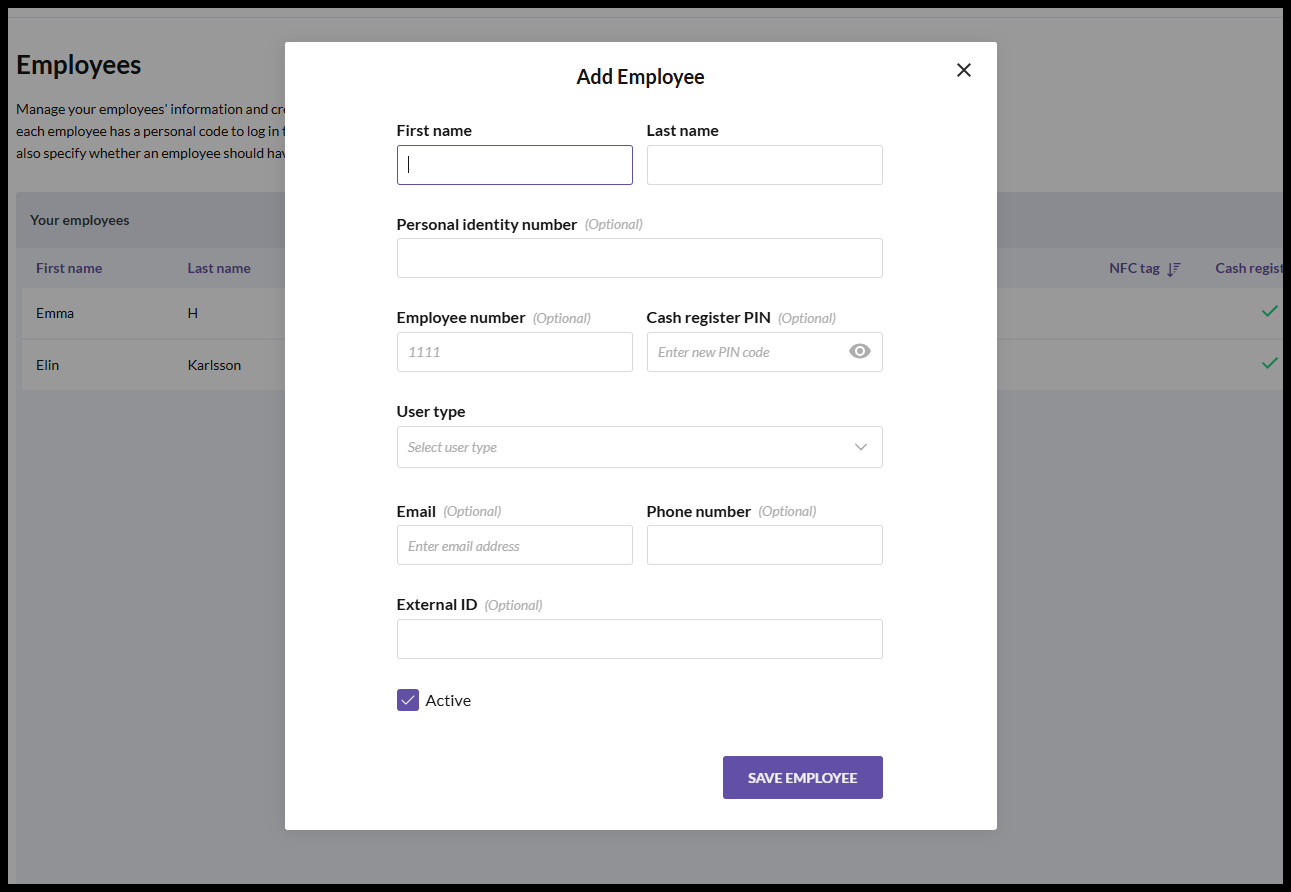
Personal identity number, employee number, cash register PIN code, and contact information can be added here, but they are optional.
Note that the PIN code is necessary if the employee will work with the cash register. Similarly, if the person will work in BackOffice, it is necessary to add an email address.
The checkbox for Active status should be checked if the employee is active. Simply uncheck it if you do not want the employee to be active anymore.
Click SAVE EMPLOYEE when all desired information is filled out to close the dialog box.
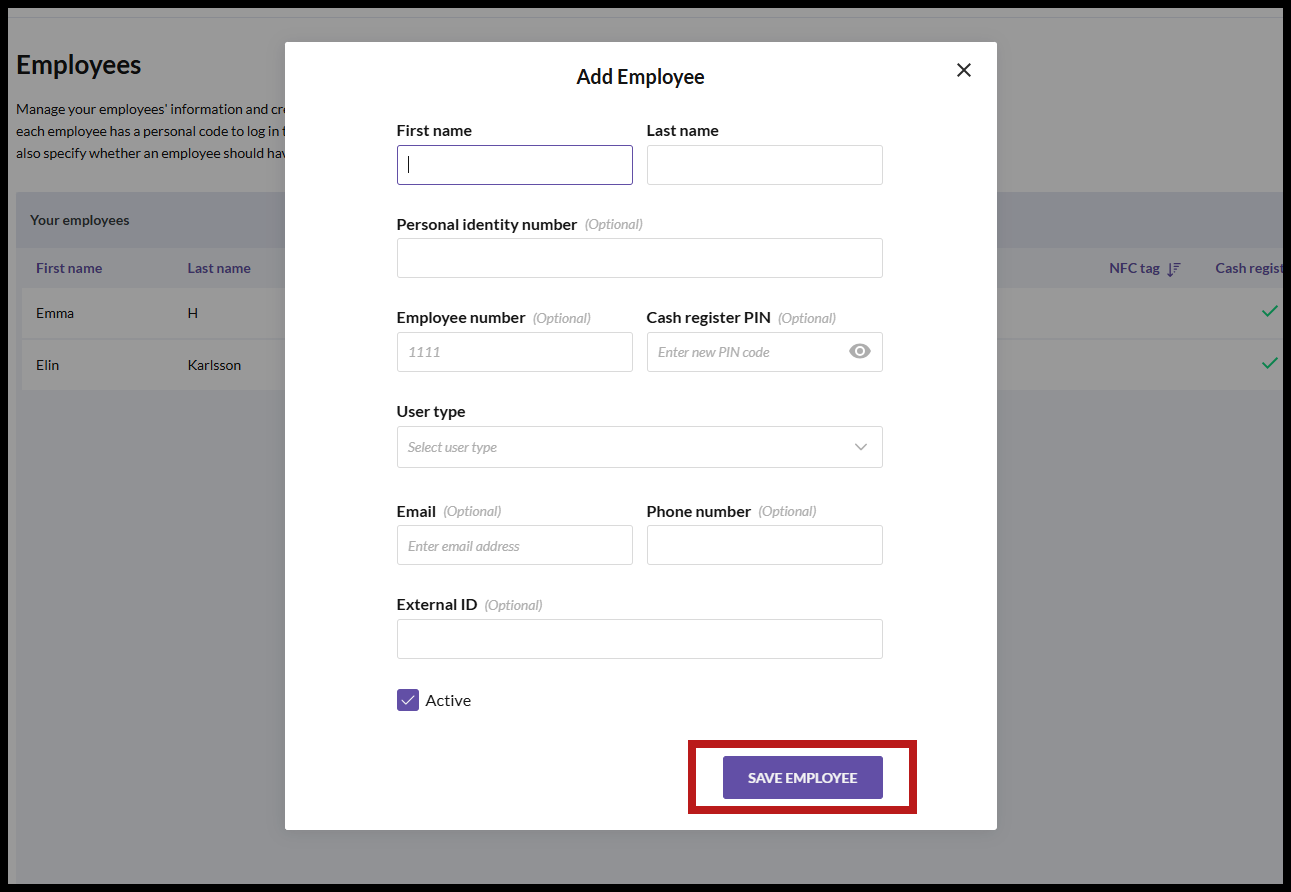
The list will now display the employee's information in a row: name, optionally employee number and user role. You can also see if the user has a BackOffice account, a linked NFC tag, if a PIN code is registered, and if the employee is active or not.
To edit or delete an employee, click on the row of the respective employee or the three dots on the far right of the row.
