Accounting via Visma eEkonomi
Visma eEkonomi is a comprehensive program for accounting and financial management that simplifies and streamlines the economic operations for companies.
To simplify the accounting, you can integrate OPEN Two with Visma eEkonomi. Then your sales data is automatically transferred to Visma eEkonomi after each end of day.
This guide helps you activate integration and manage any errors that may occur.
Preparations
Please note that in order to integrate Visma eEkonomi with OPEN Two, you must have the optional Visma Integration enabled. Contact Visma if you would like to add this to your account.
When you activate the integration, you will need to create a chart of accounts by selecting bookkeeping accounts for your payment methods and product groups, among other things. This is necessary for the sales data, i.e., your transactions, to be exported to Visma eEkonomi and accounted for correctly. If you are unsure which bookkeeping accounts to use, you should seek assistance from your accountant.
Activate the integration
In BackOffice, select Company from the menu and go to the Integrations page.
In the card for Visma eEkonomi, press the ACTIVATE button.
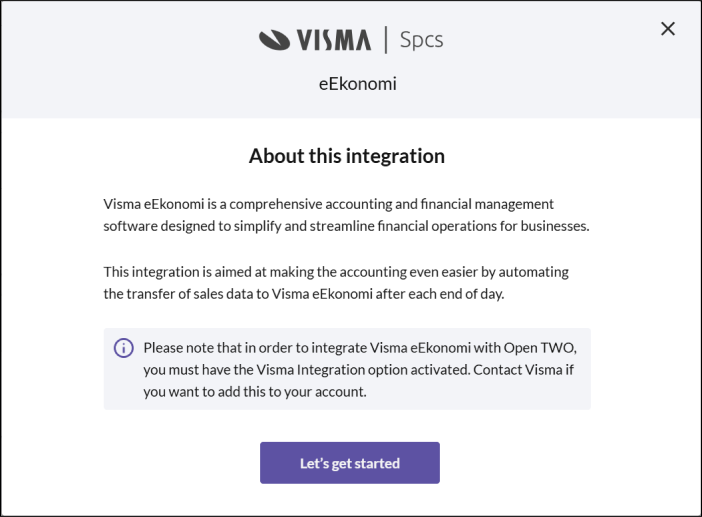
- In the dialog that opens, press LET´S GET STARTED.
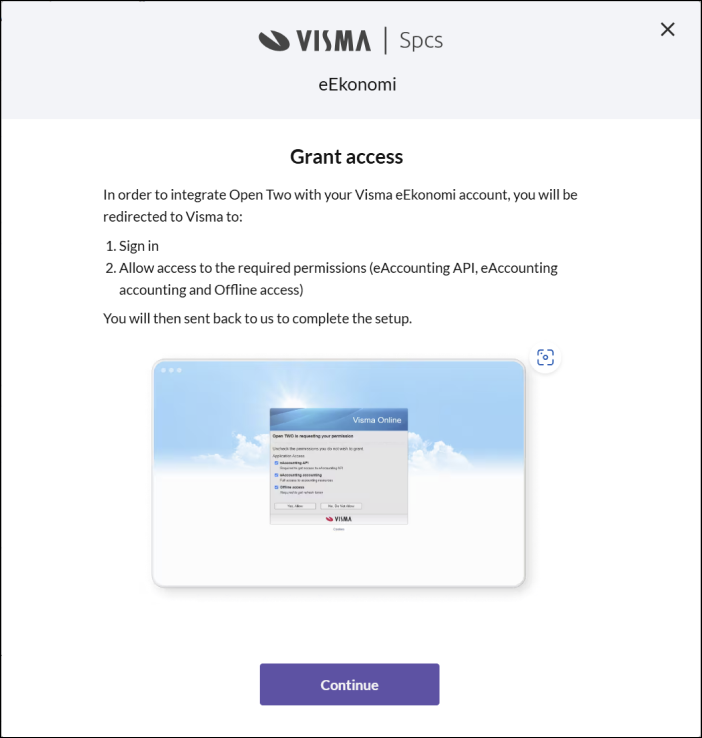
Grant access to Visma
In order to integrate OPEN Two with Visma eEkonomi, you will be redirected to Visma to log in and grant access to the required permissions. You are then sent back to BackOffice to continue the activation. Press CONTINUE.
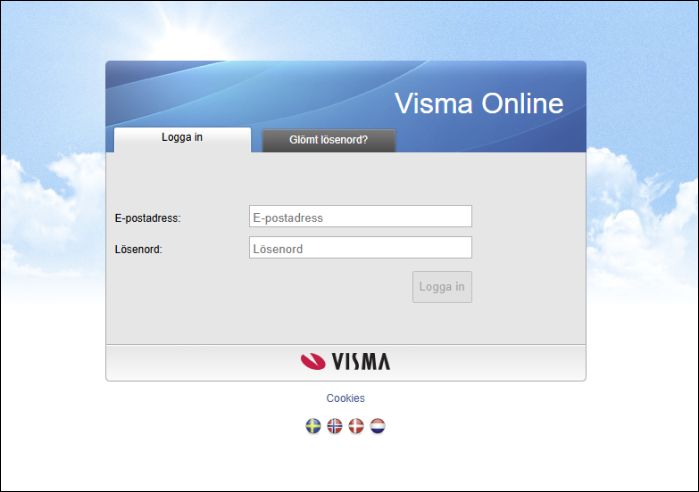
- Log in to Visma Online with your login details.
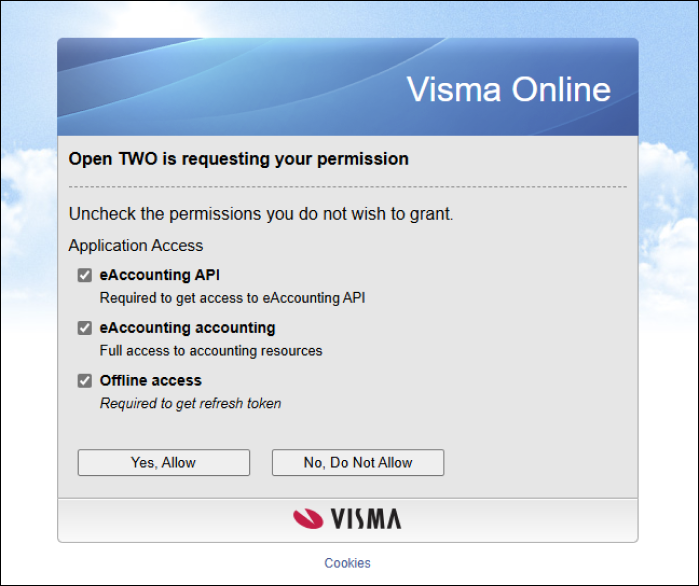
- Make sure the checkboxes for eAccounting API, eAccounting accounting and Offline Access are checked. Then press YES, Allow.
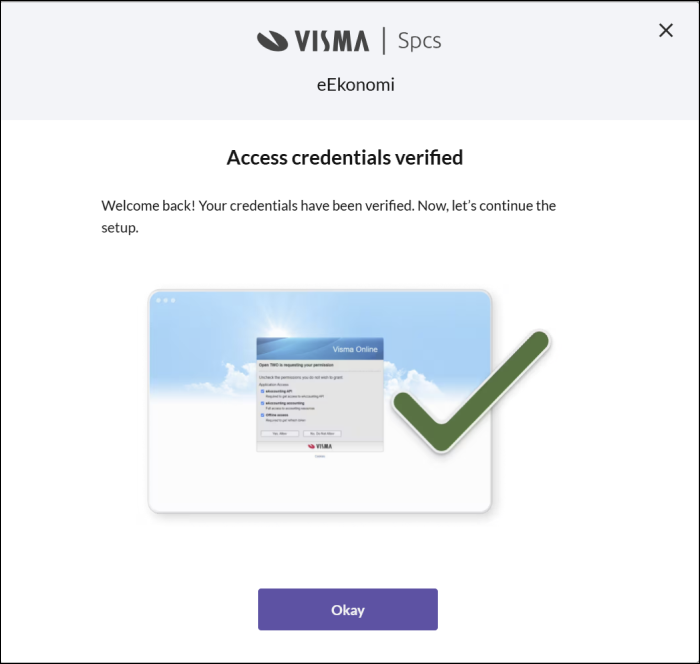
- Once back in BackOffice, press OK.
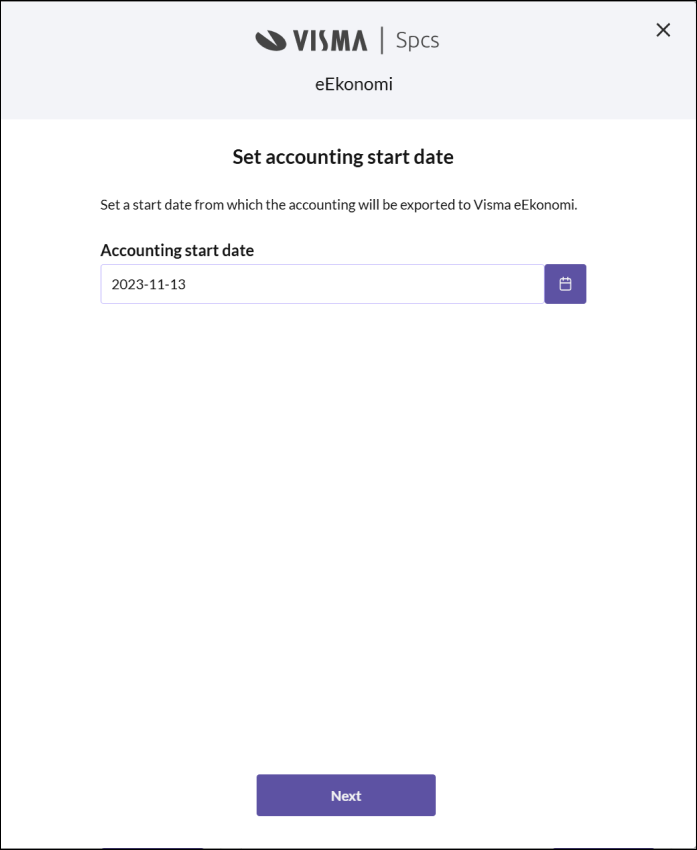
- Enter from which date the sales data is to be exported to Visma eEkonomi for accounting purposes.
Select bookkeeping accounts
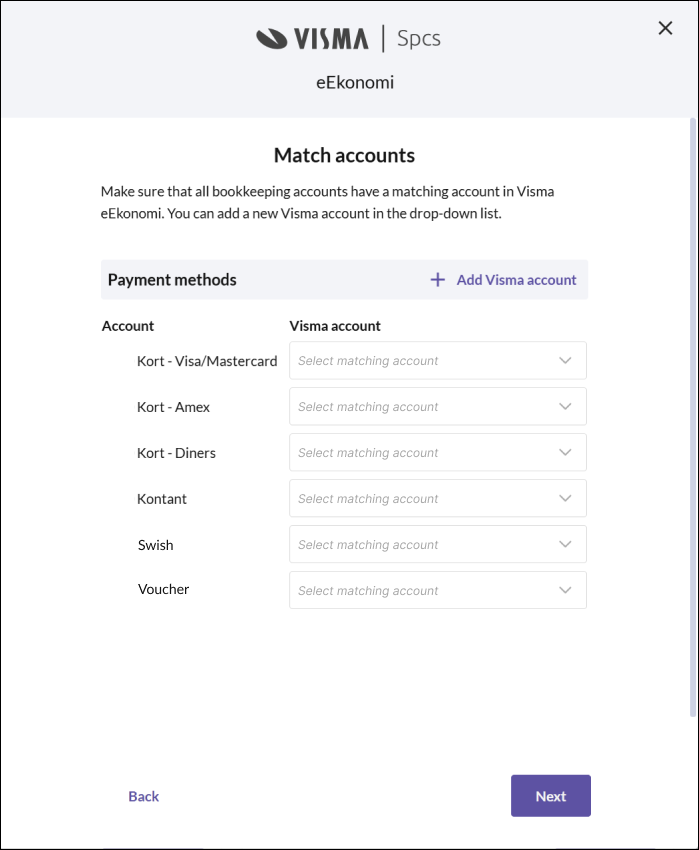
- Select bookkeeping accounts for payment methods Choose which bookkeeping accounts to use in Visma eEkonomi for your various payment methods. You can also add a new account from the list. Then press NEXT.
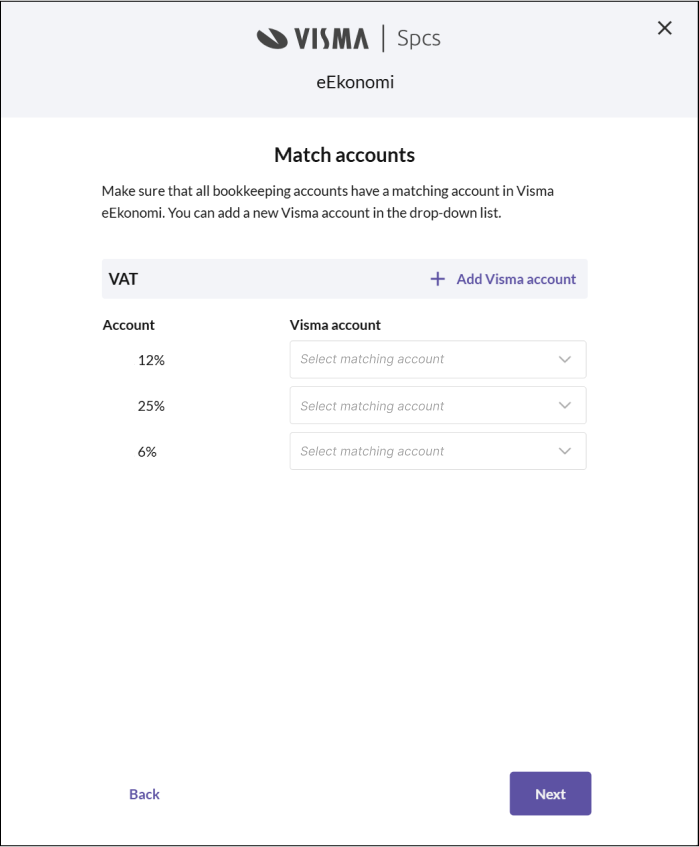
Select bookkeeping accounts for VAT-rates
Choose which bookkeeping accounts to use in Visma eEkonomi for your various VAT-rates. You can also add a new account from the list. Then press NEXT.
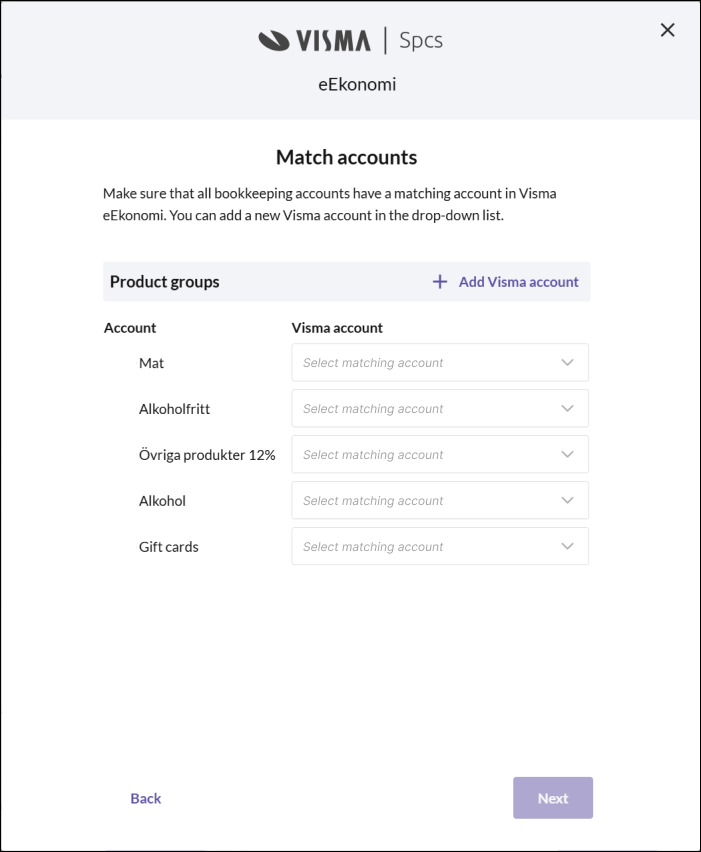
Select bookkeeping accounts for product groups
Choose which bookkeeping accounts to be used in Visma eEkonomi for your various product groups. You can also add a new account from the list. Then press NEXT.
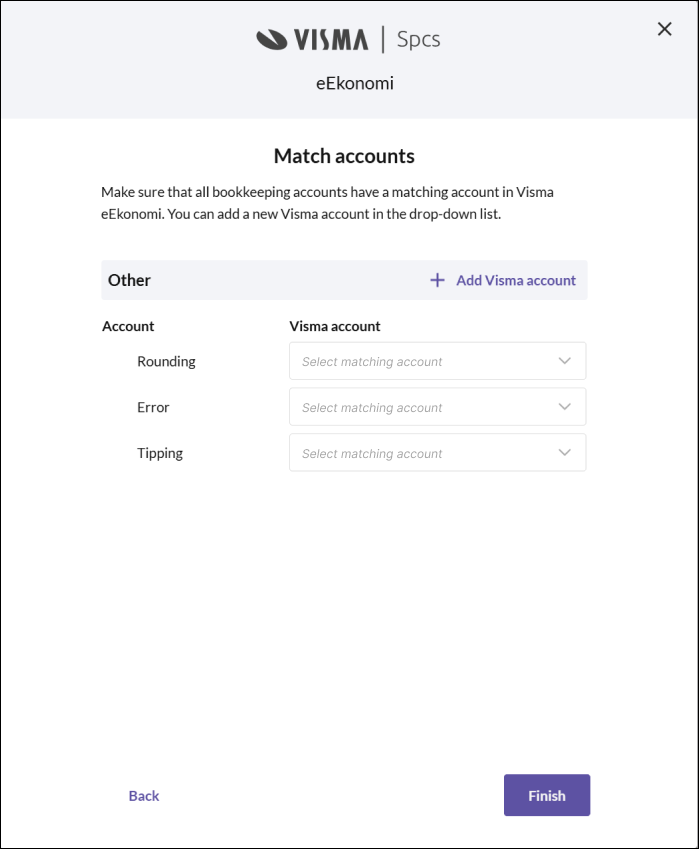
Select bookkeeping accounts for other events
Choose the bookkeeping accounts to be used in Visma eEkonomi for your other events, e.g. registering tips. You can also add a new account from the list. Then press NEXT.
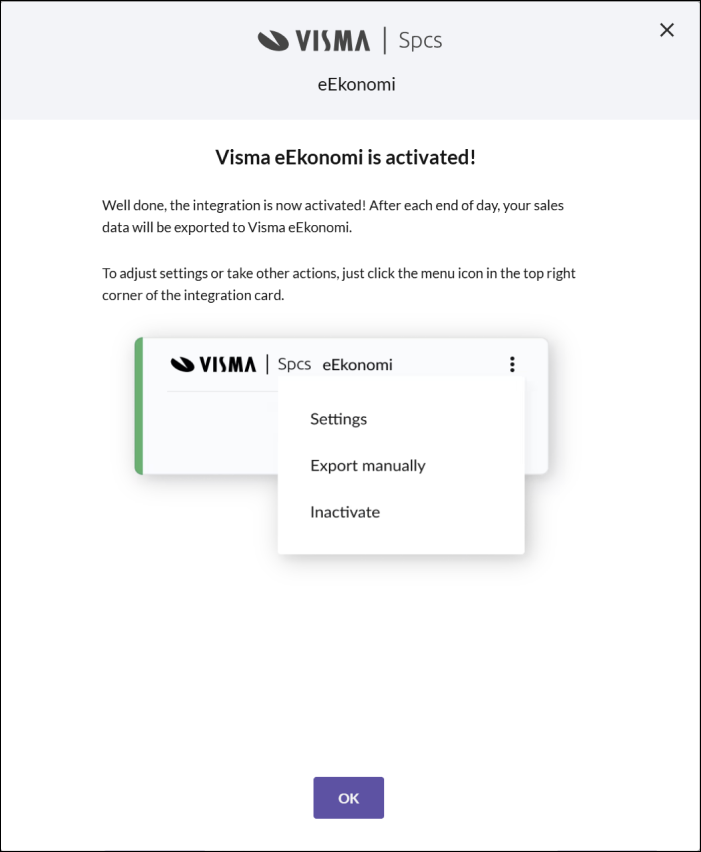
- Once you have chosen all bookkeeping accounts, the Visma eEkonomi integration is activated. Press OK to close the dialog.
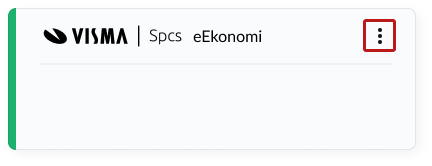
If you ever need to manage the integration settings, press the 3-dot menu on the Visma eEkonomi card and select Settings. This applies, for example, if you have added a new payment method, product group or VAT rate. These must be linked to a bookkeeping account for the sales data to be exported to Visma eEkonomi. It is important that all relevant bookkeeping accounts are set up for export to work properly.
Manual export
If for any reason you need to send the sales data to Visma eEkonomi immediately, instead of waiting for the automatic export that occurs at the end of the day, you can perform a manual export.
Click on the 3-dot menu on the Visma eEkonomi card and select Manual Export.
In the dialog that opens, you need to confirm that you want to send the sales data by clicking Confirm.
Note that the sales data will also be exported after the end of the day if there have been any new sales. The integration ensures that only relevant data is exported.
Inactivate the integration
Click on the 3-dot menu on the Visma eEkonomi card and select Inactivate.
In the dialog that opens, confirm that you want to inactivate the integration by clicking Inactivate.