Honeywell label printer (PC42E-T)
Purpose
This guide explains how to:
- Connect the printer to your POS (and find its IP address)
- Print labels
- Ensure the printer has correct label settings
Prerequisites
- A Honeywell label printer (PC42E-T)
- Labels
- A POS connected to the same network as the printer
Connect the printer to the POS
Step 1: Find the printer’s IP address
- Make sure the printer is turned on and connected to the same network as the POS.
- Print the printer’s IP address using the feed button:
- Hold down the feed button for a long time (furthest to the right)
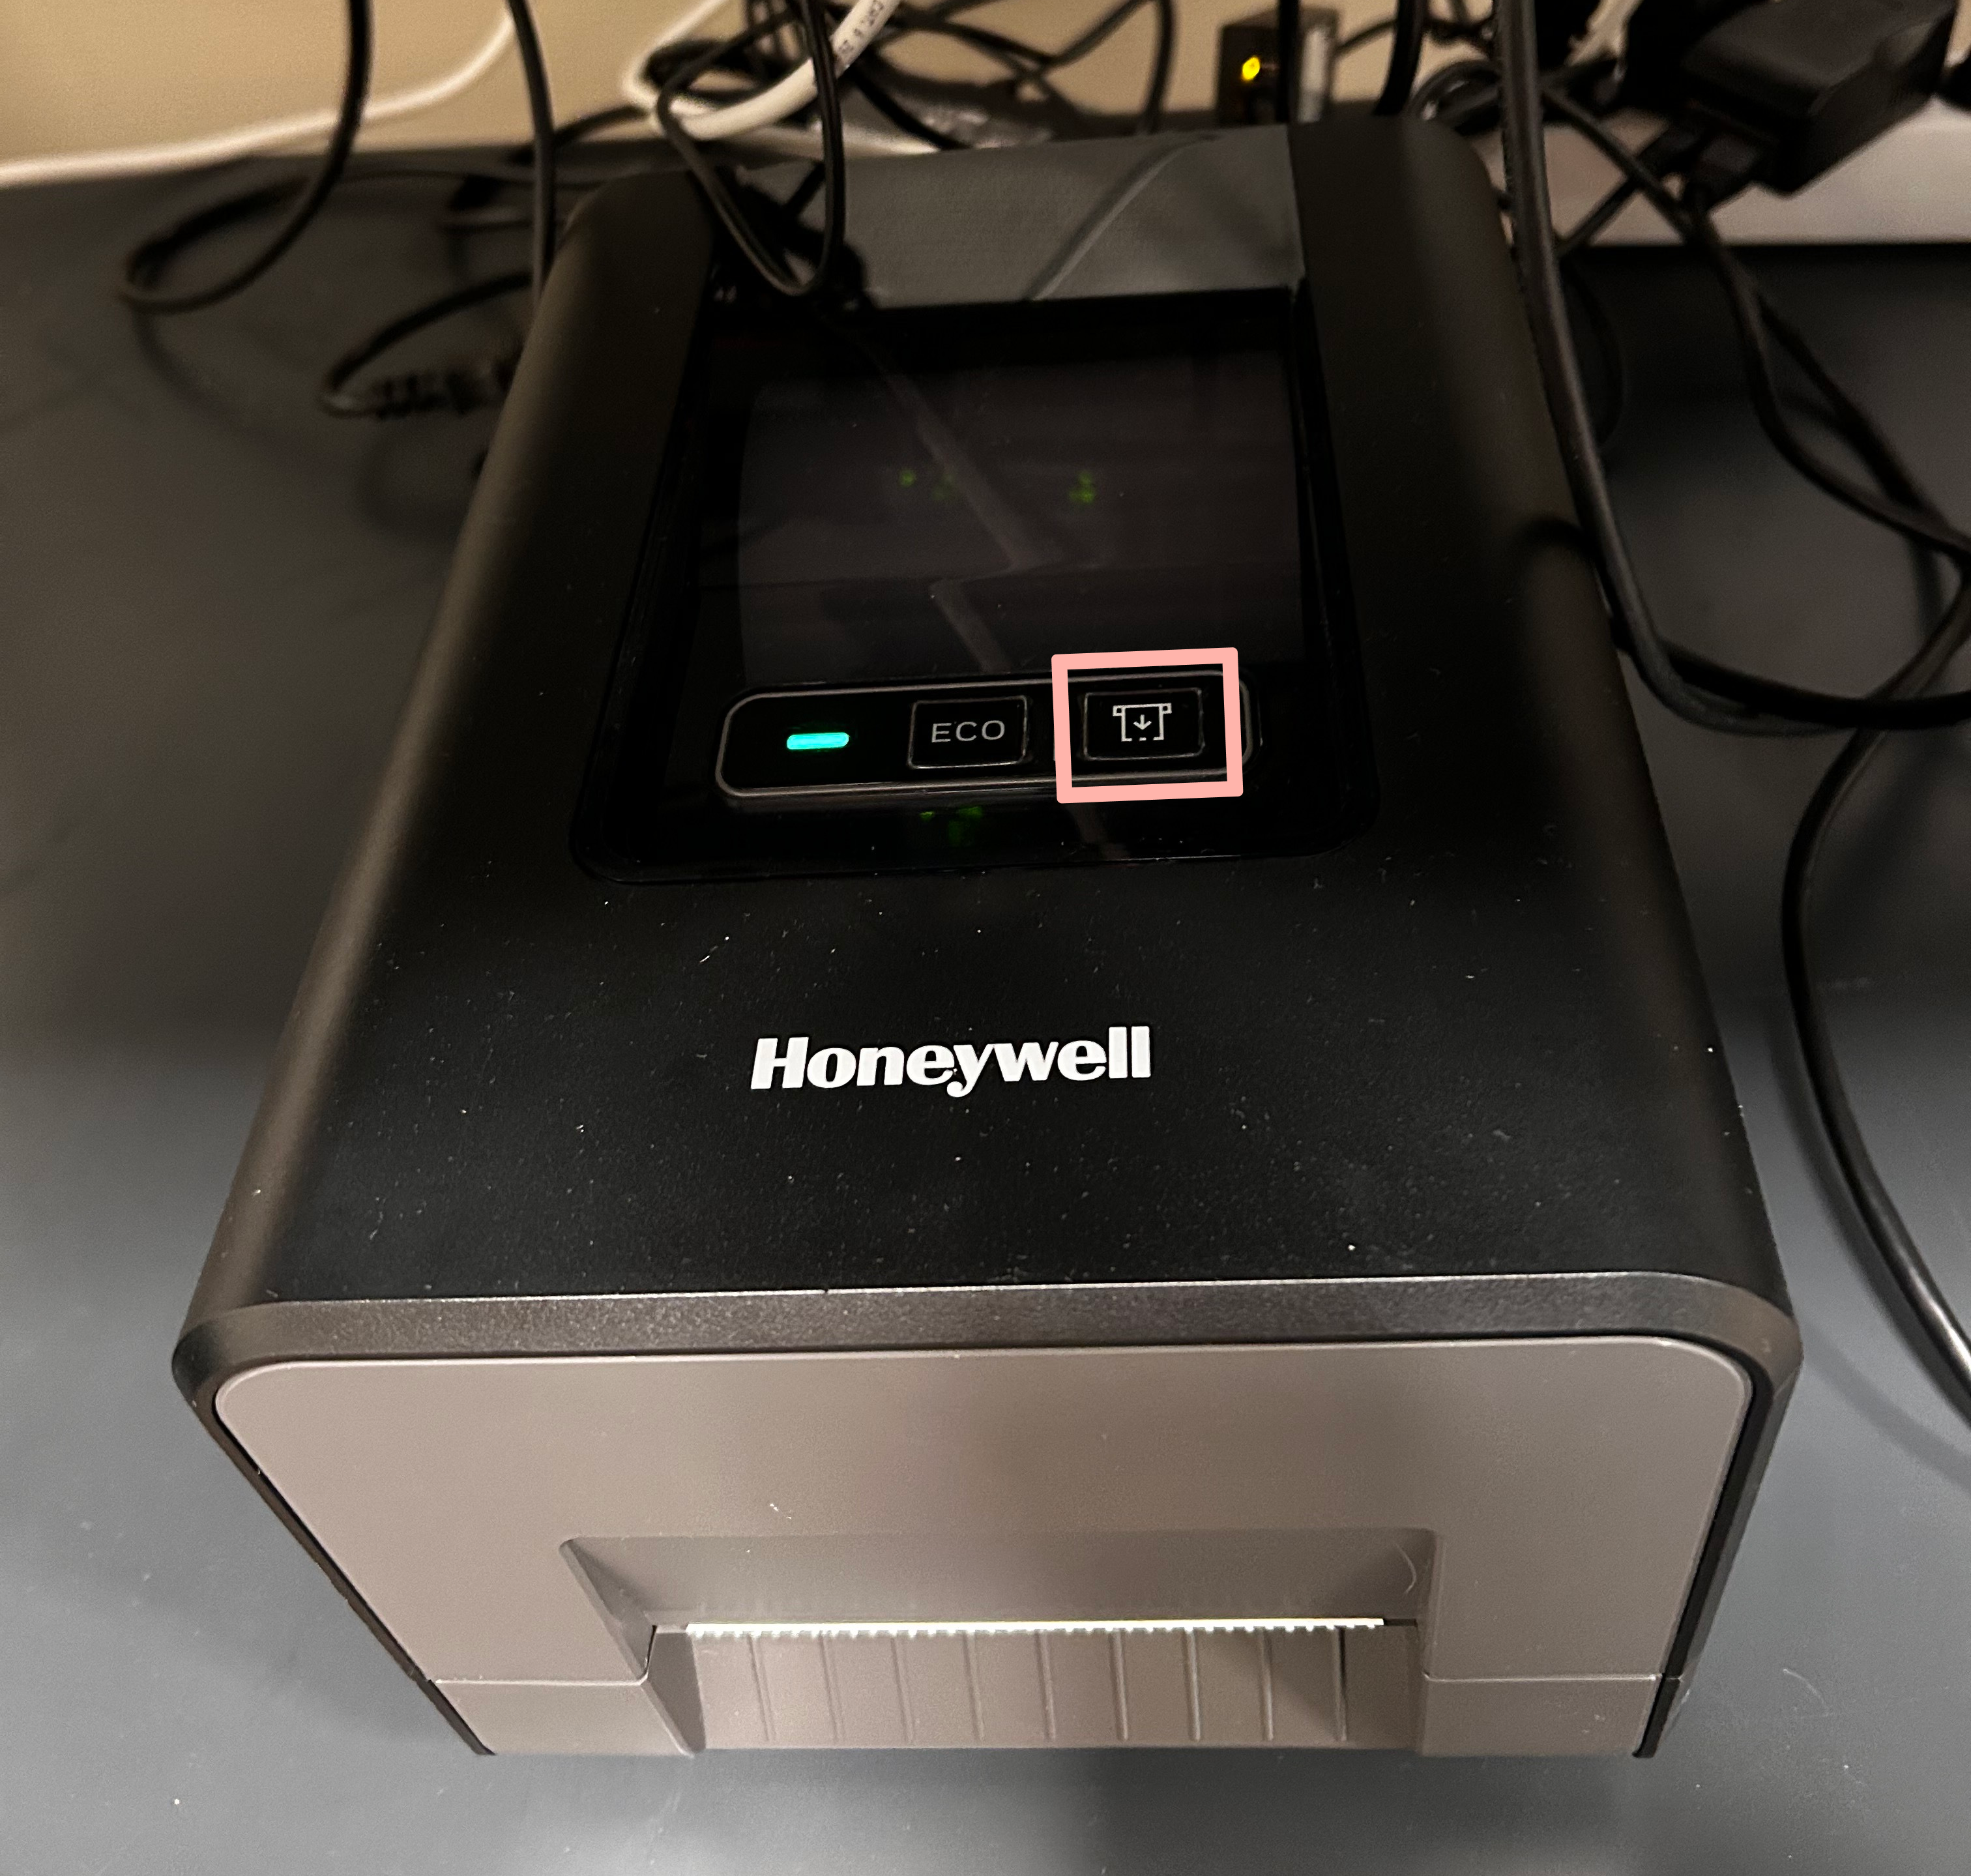
- Blank labels will start printing; keep holding the feed button
- Eventually, the printer’s IP address will be printed
- Hold down the feed button for a long time (furthest to the right)
- Release the feed button.

Tip
Keep the IP address — you’ll need it shortly.
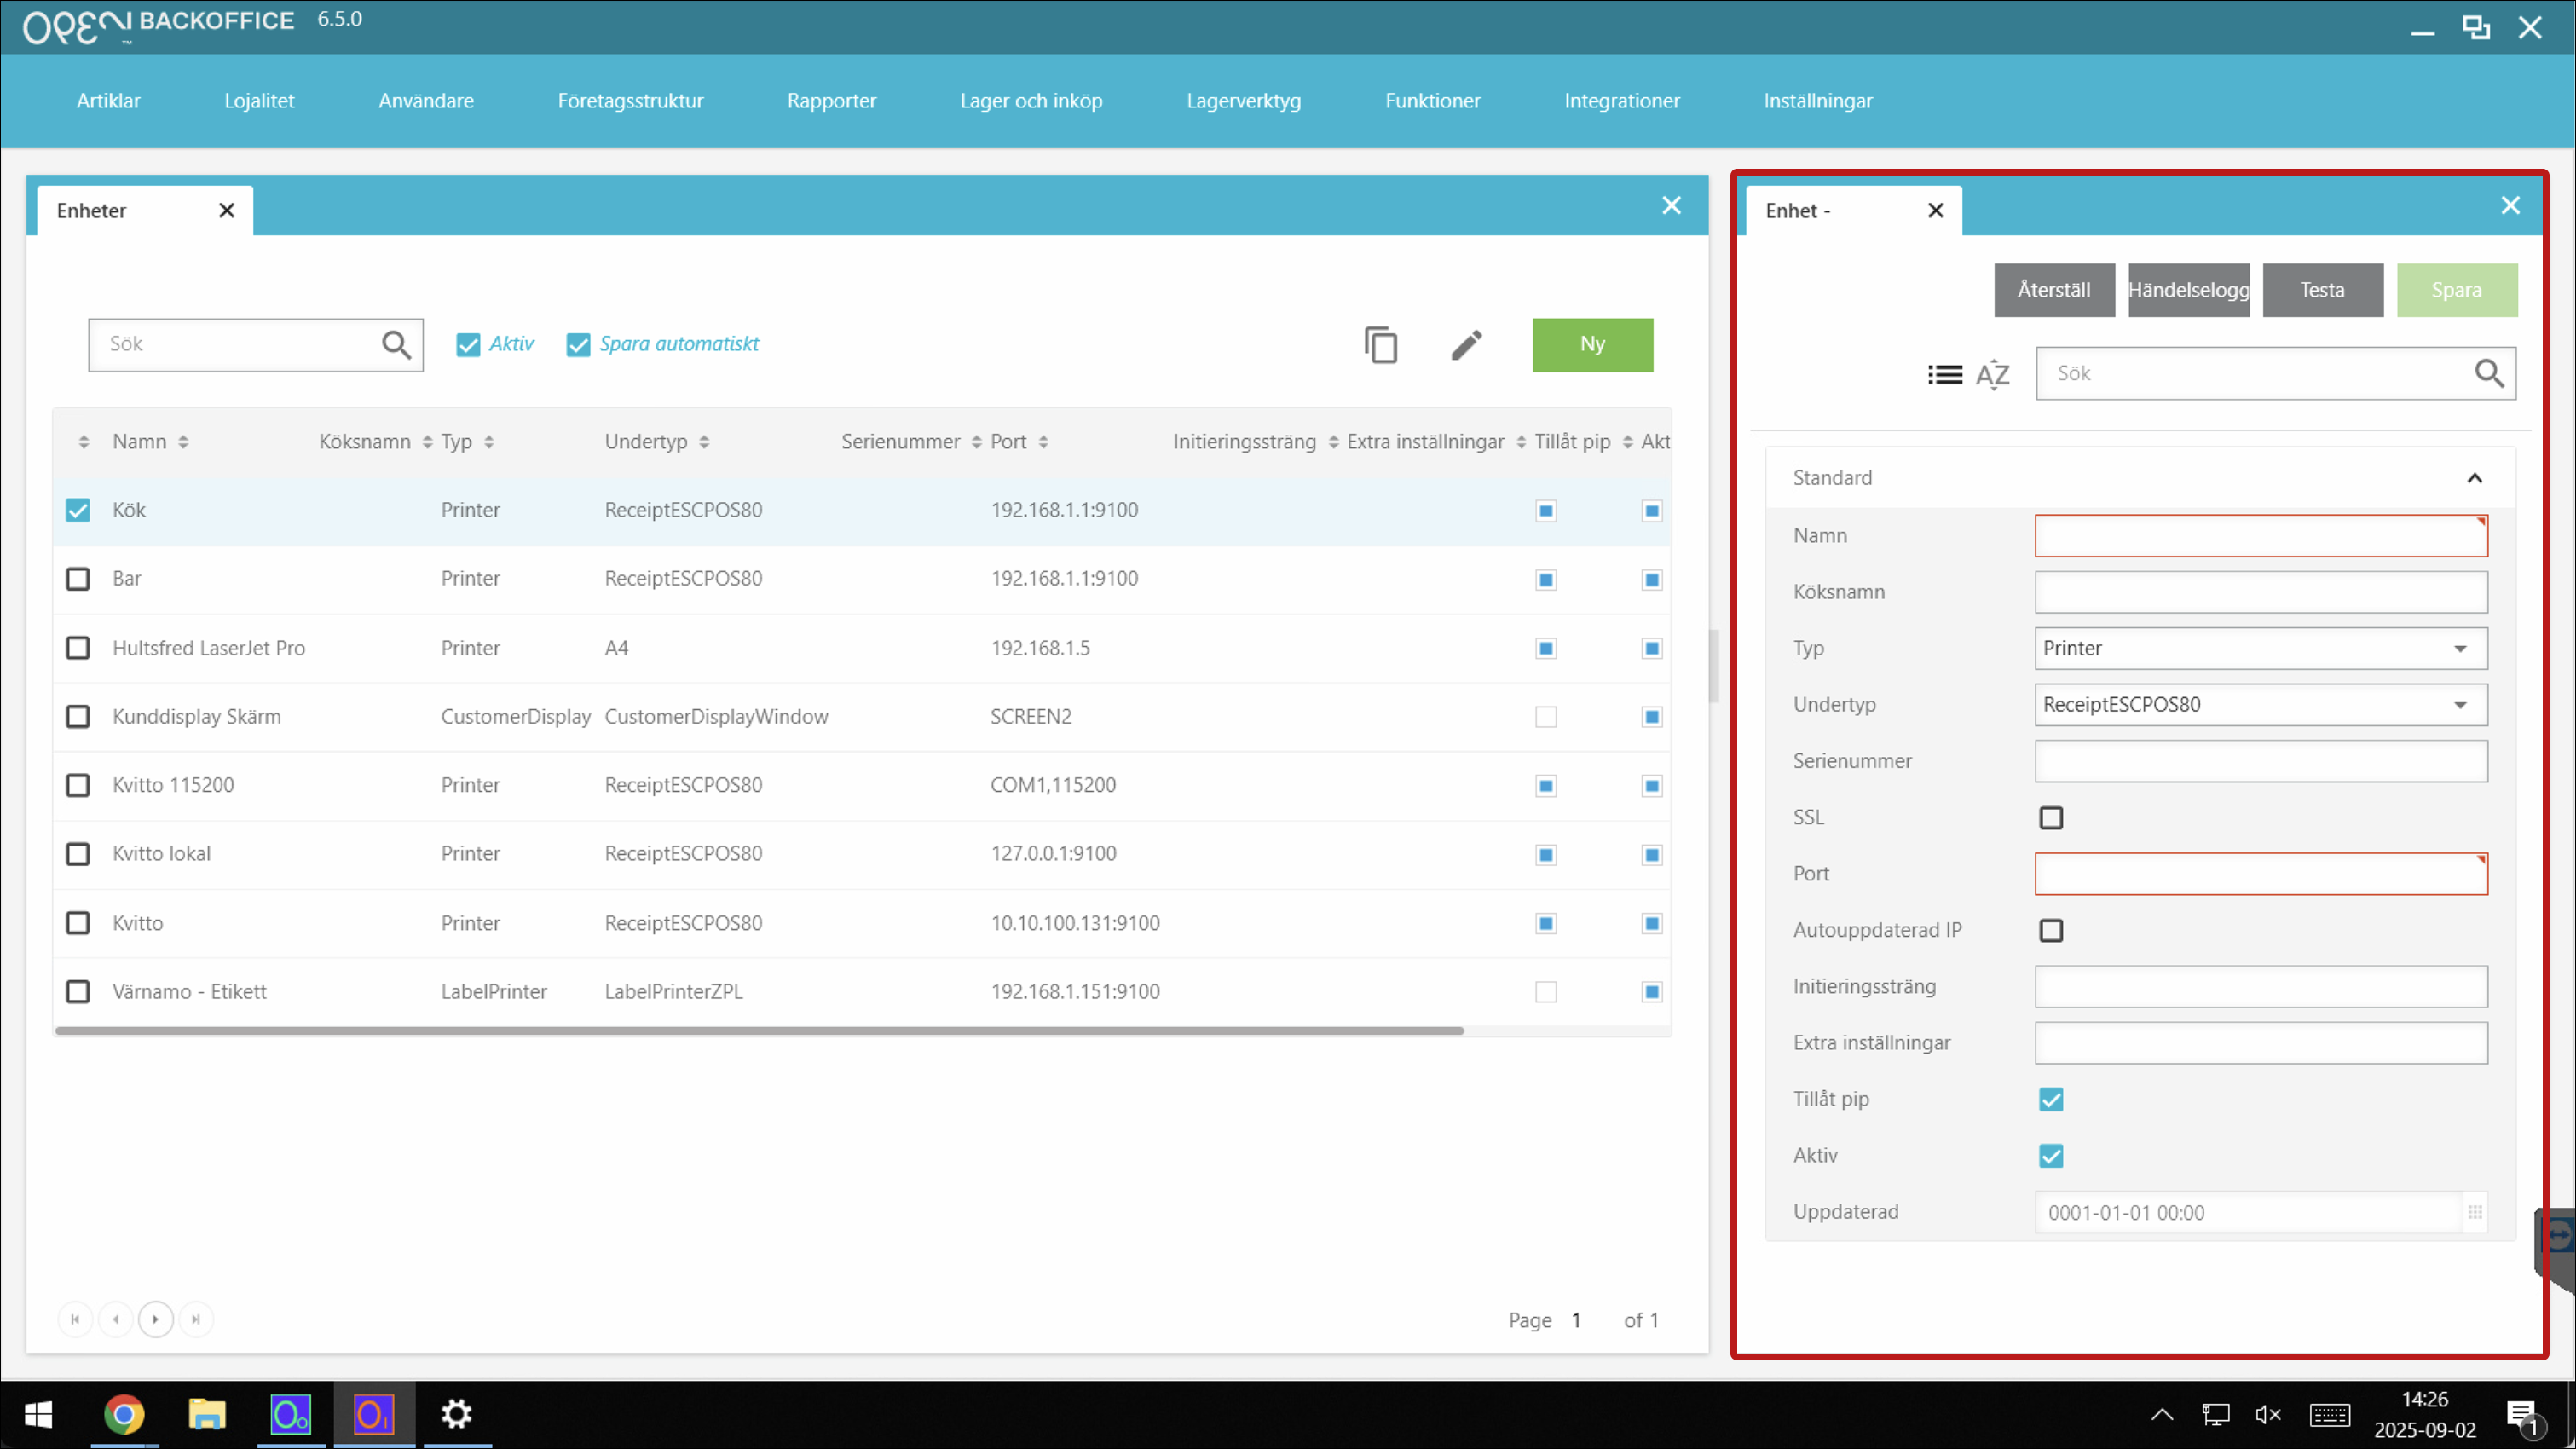
Step 2: Add the printer in BackOffice
Follow these steps to add the printer in BackOffice. If the printer is already added, you can use the same steps to verify its IP address.
- Log in to BackOffice.
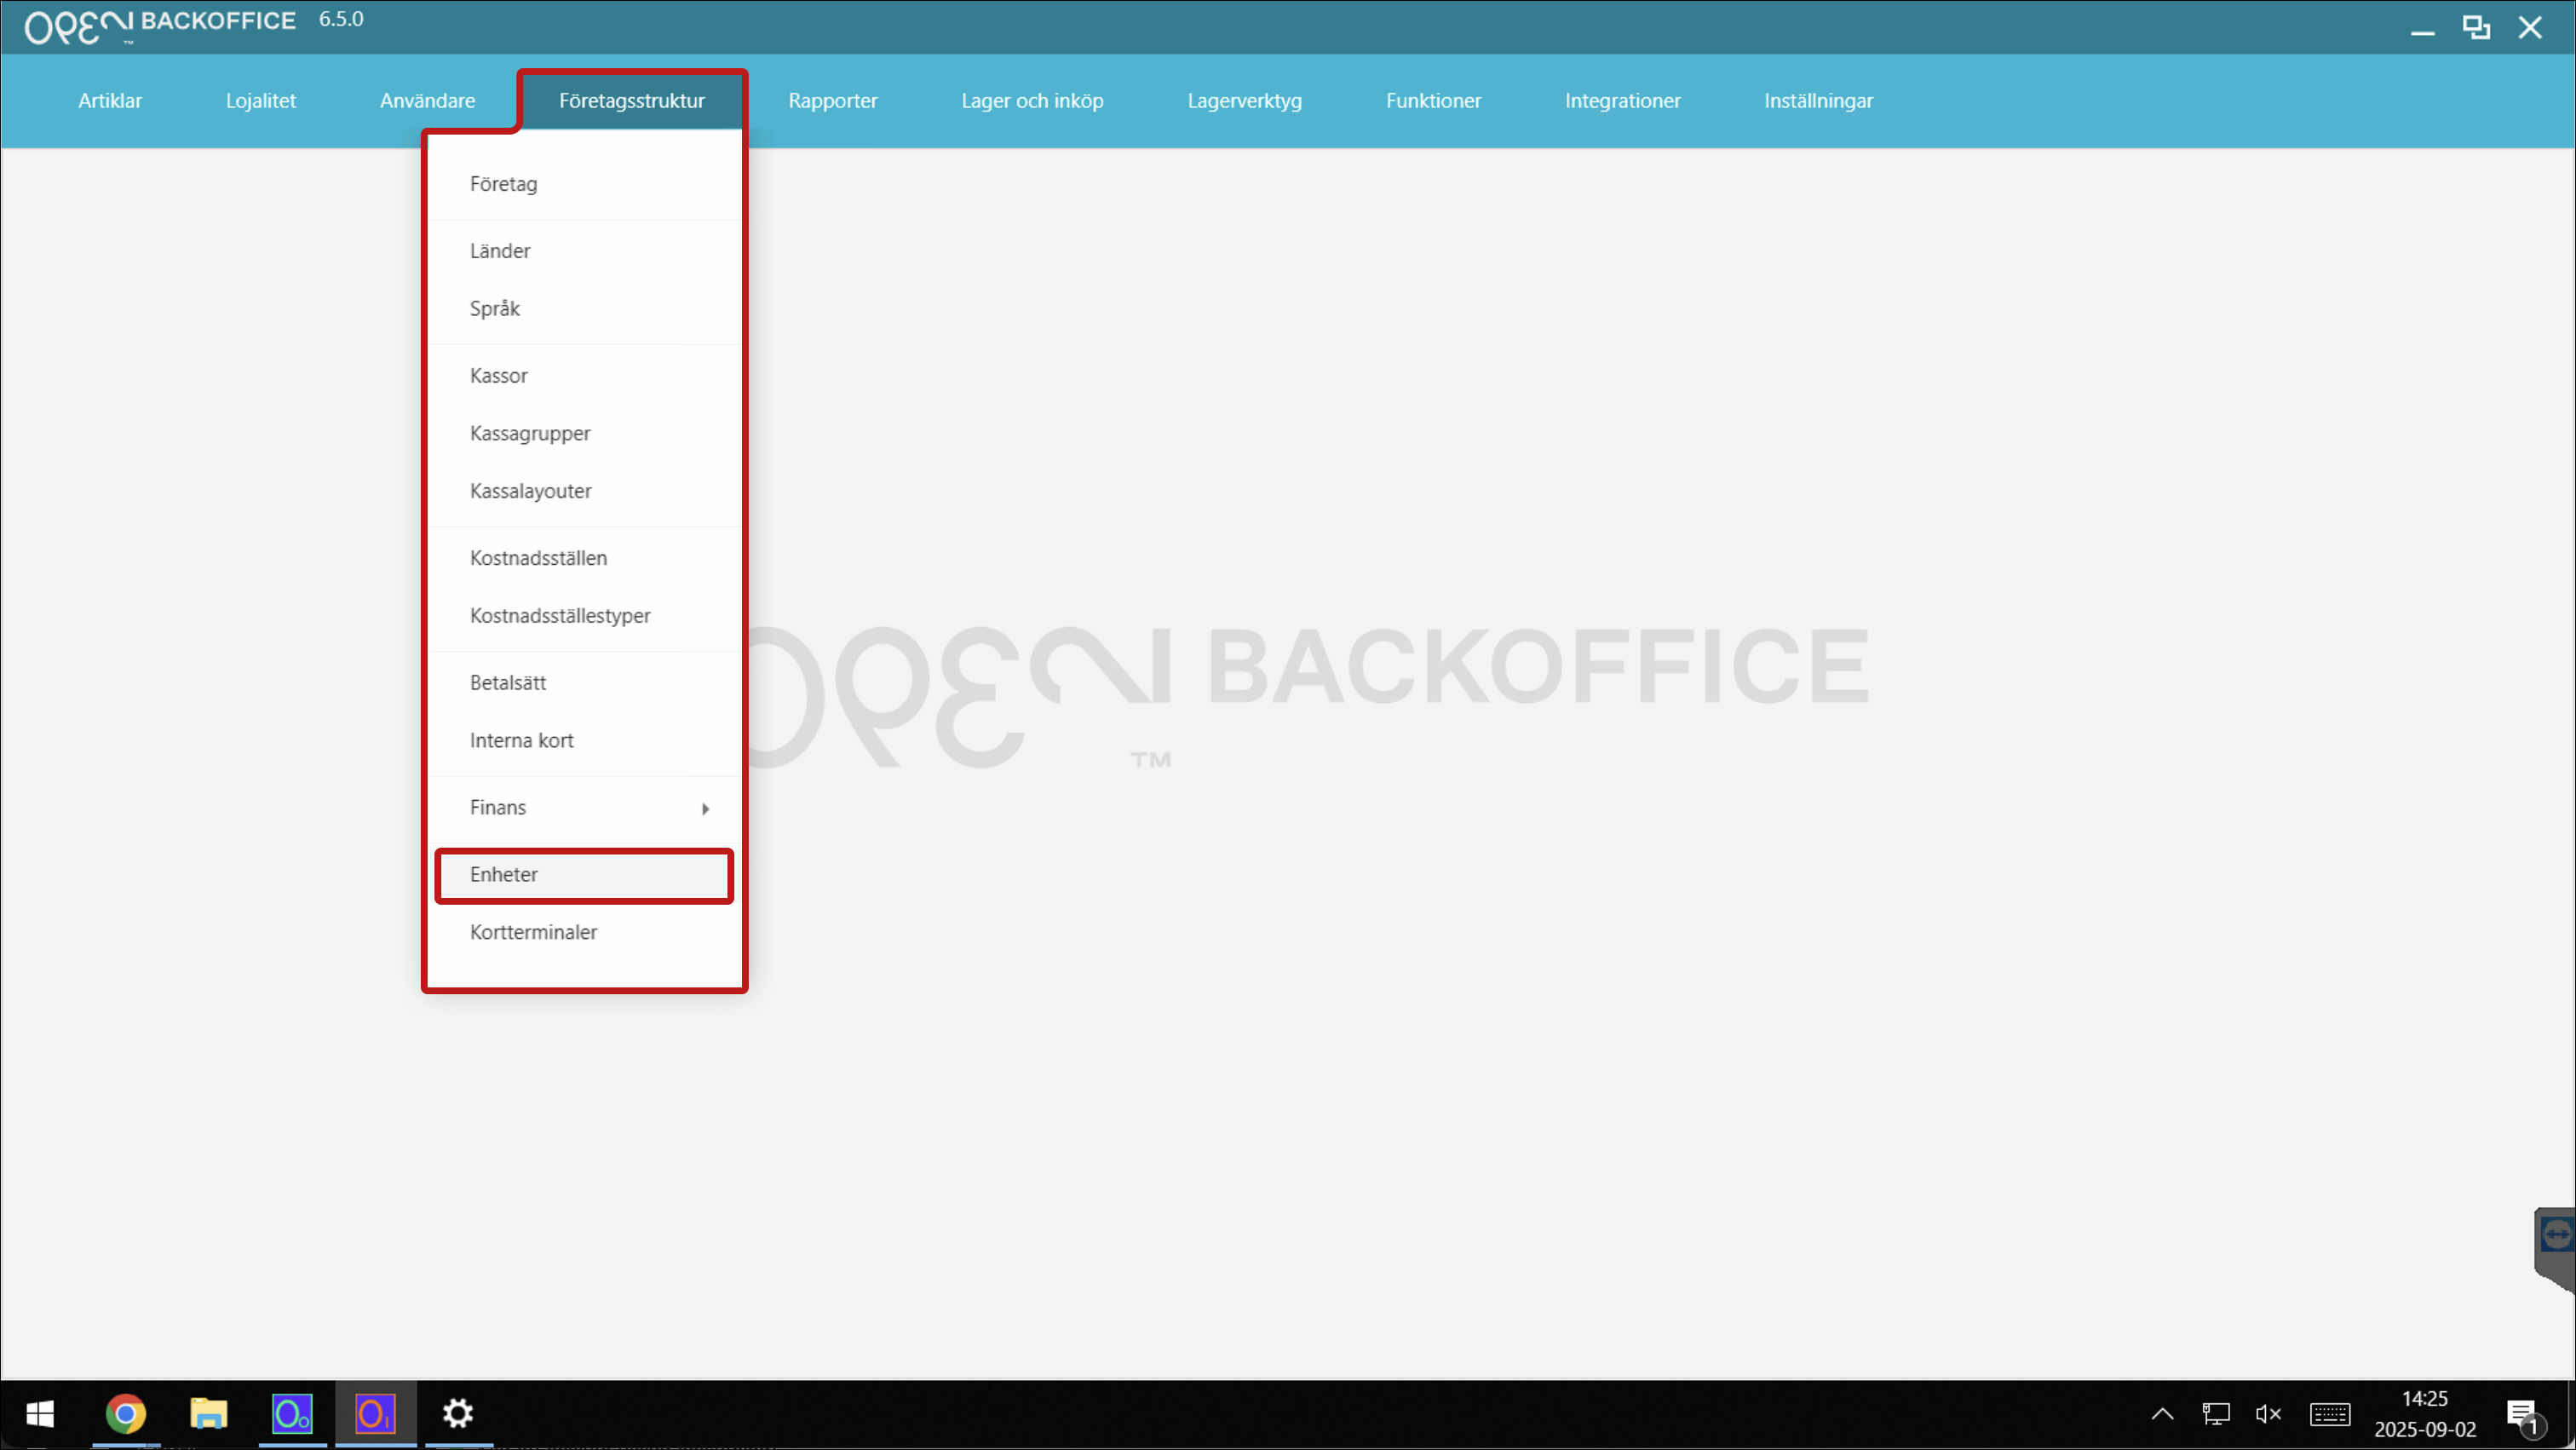
- Go to Company structure > Devices.
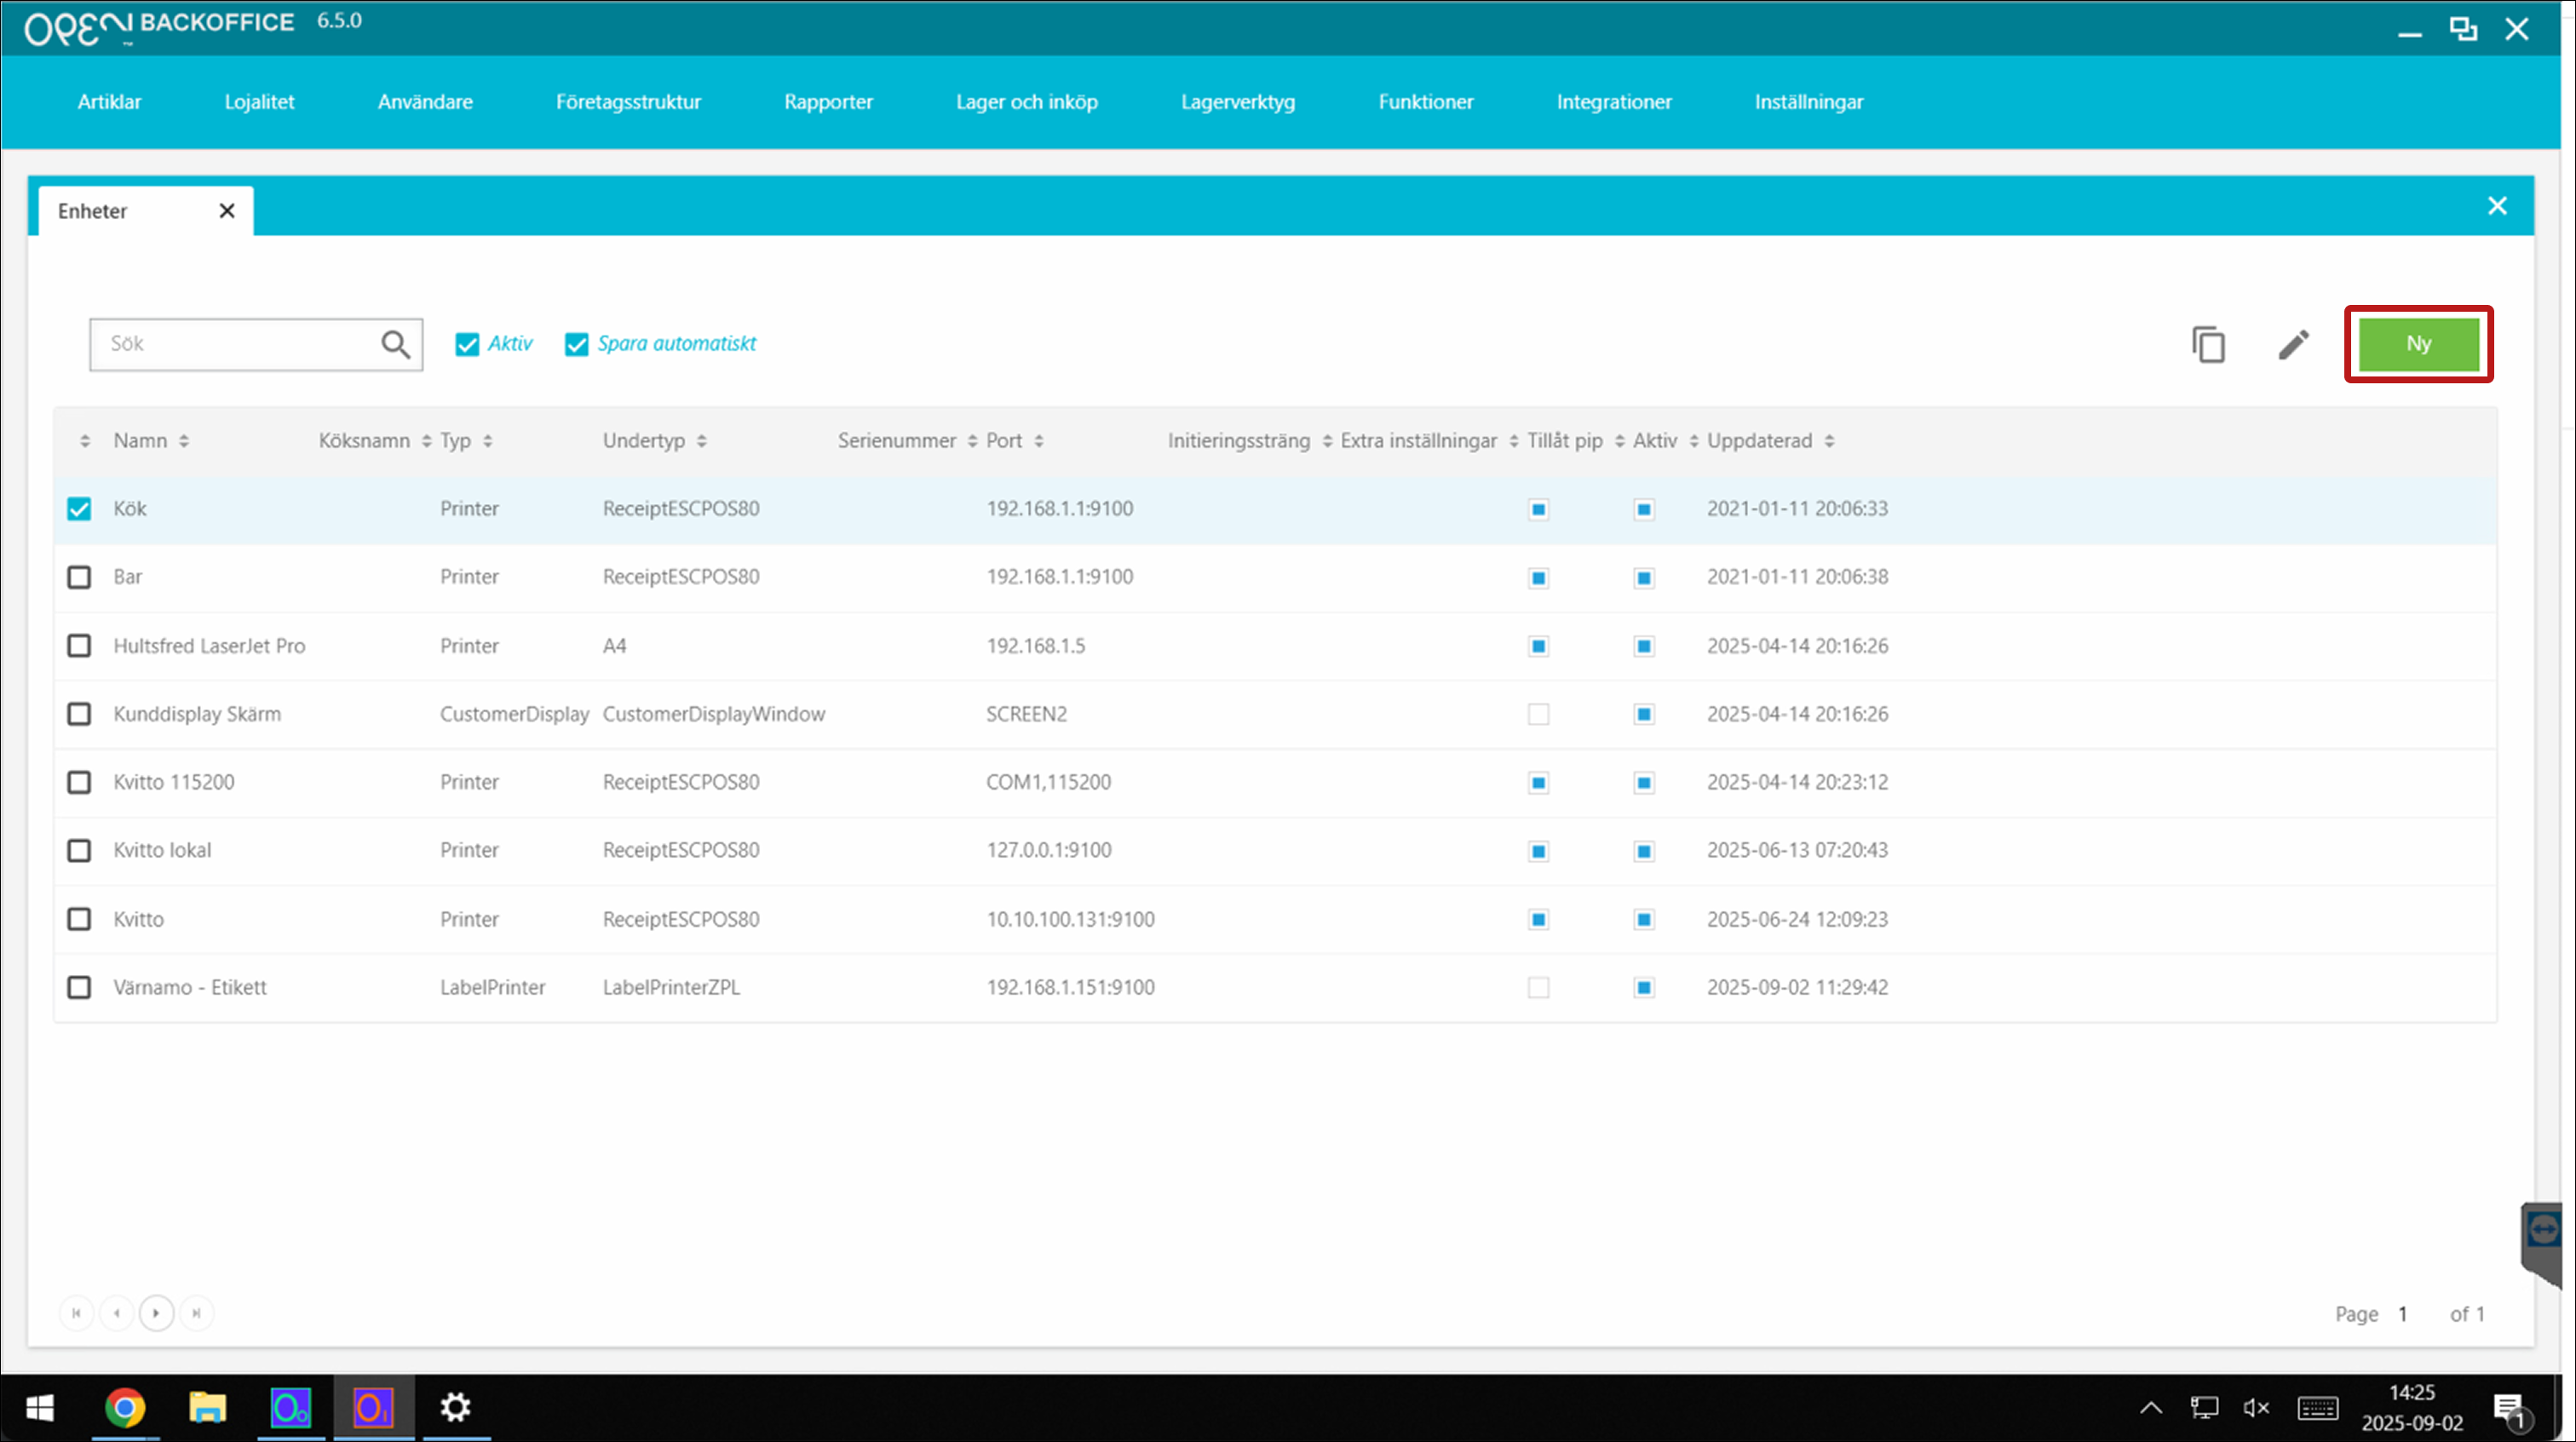
- This page shows your connected devices, including printers.
- To connect a new printer:
- Click New.
- Add the printer by filling in Name and IP address, then click Save.
- Click New.
- To check settings for an existing printer:
- Identify the printer and verify that the IP address is correct.
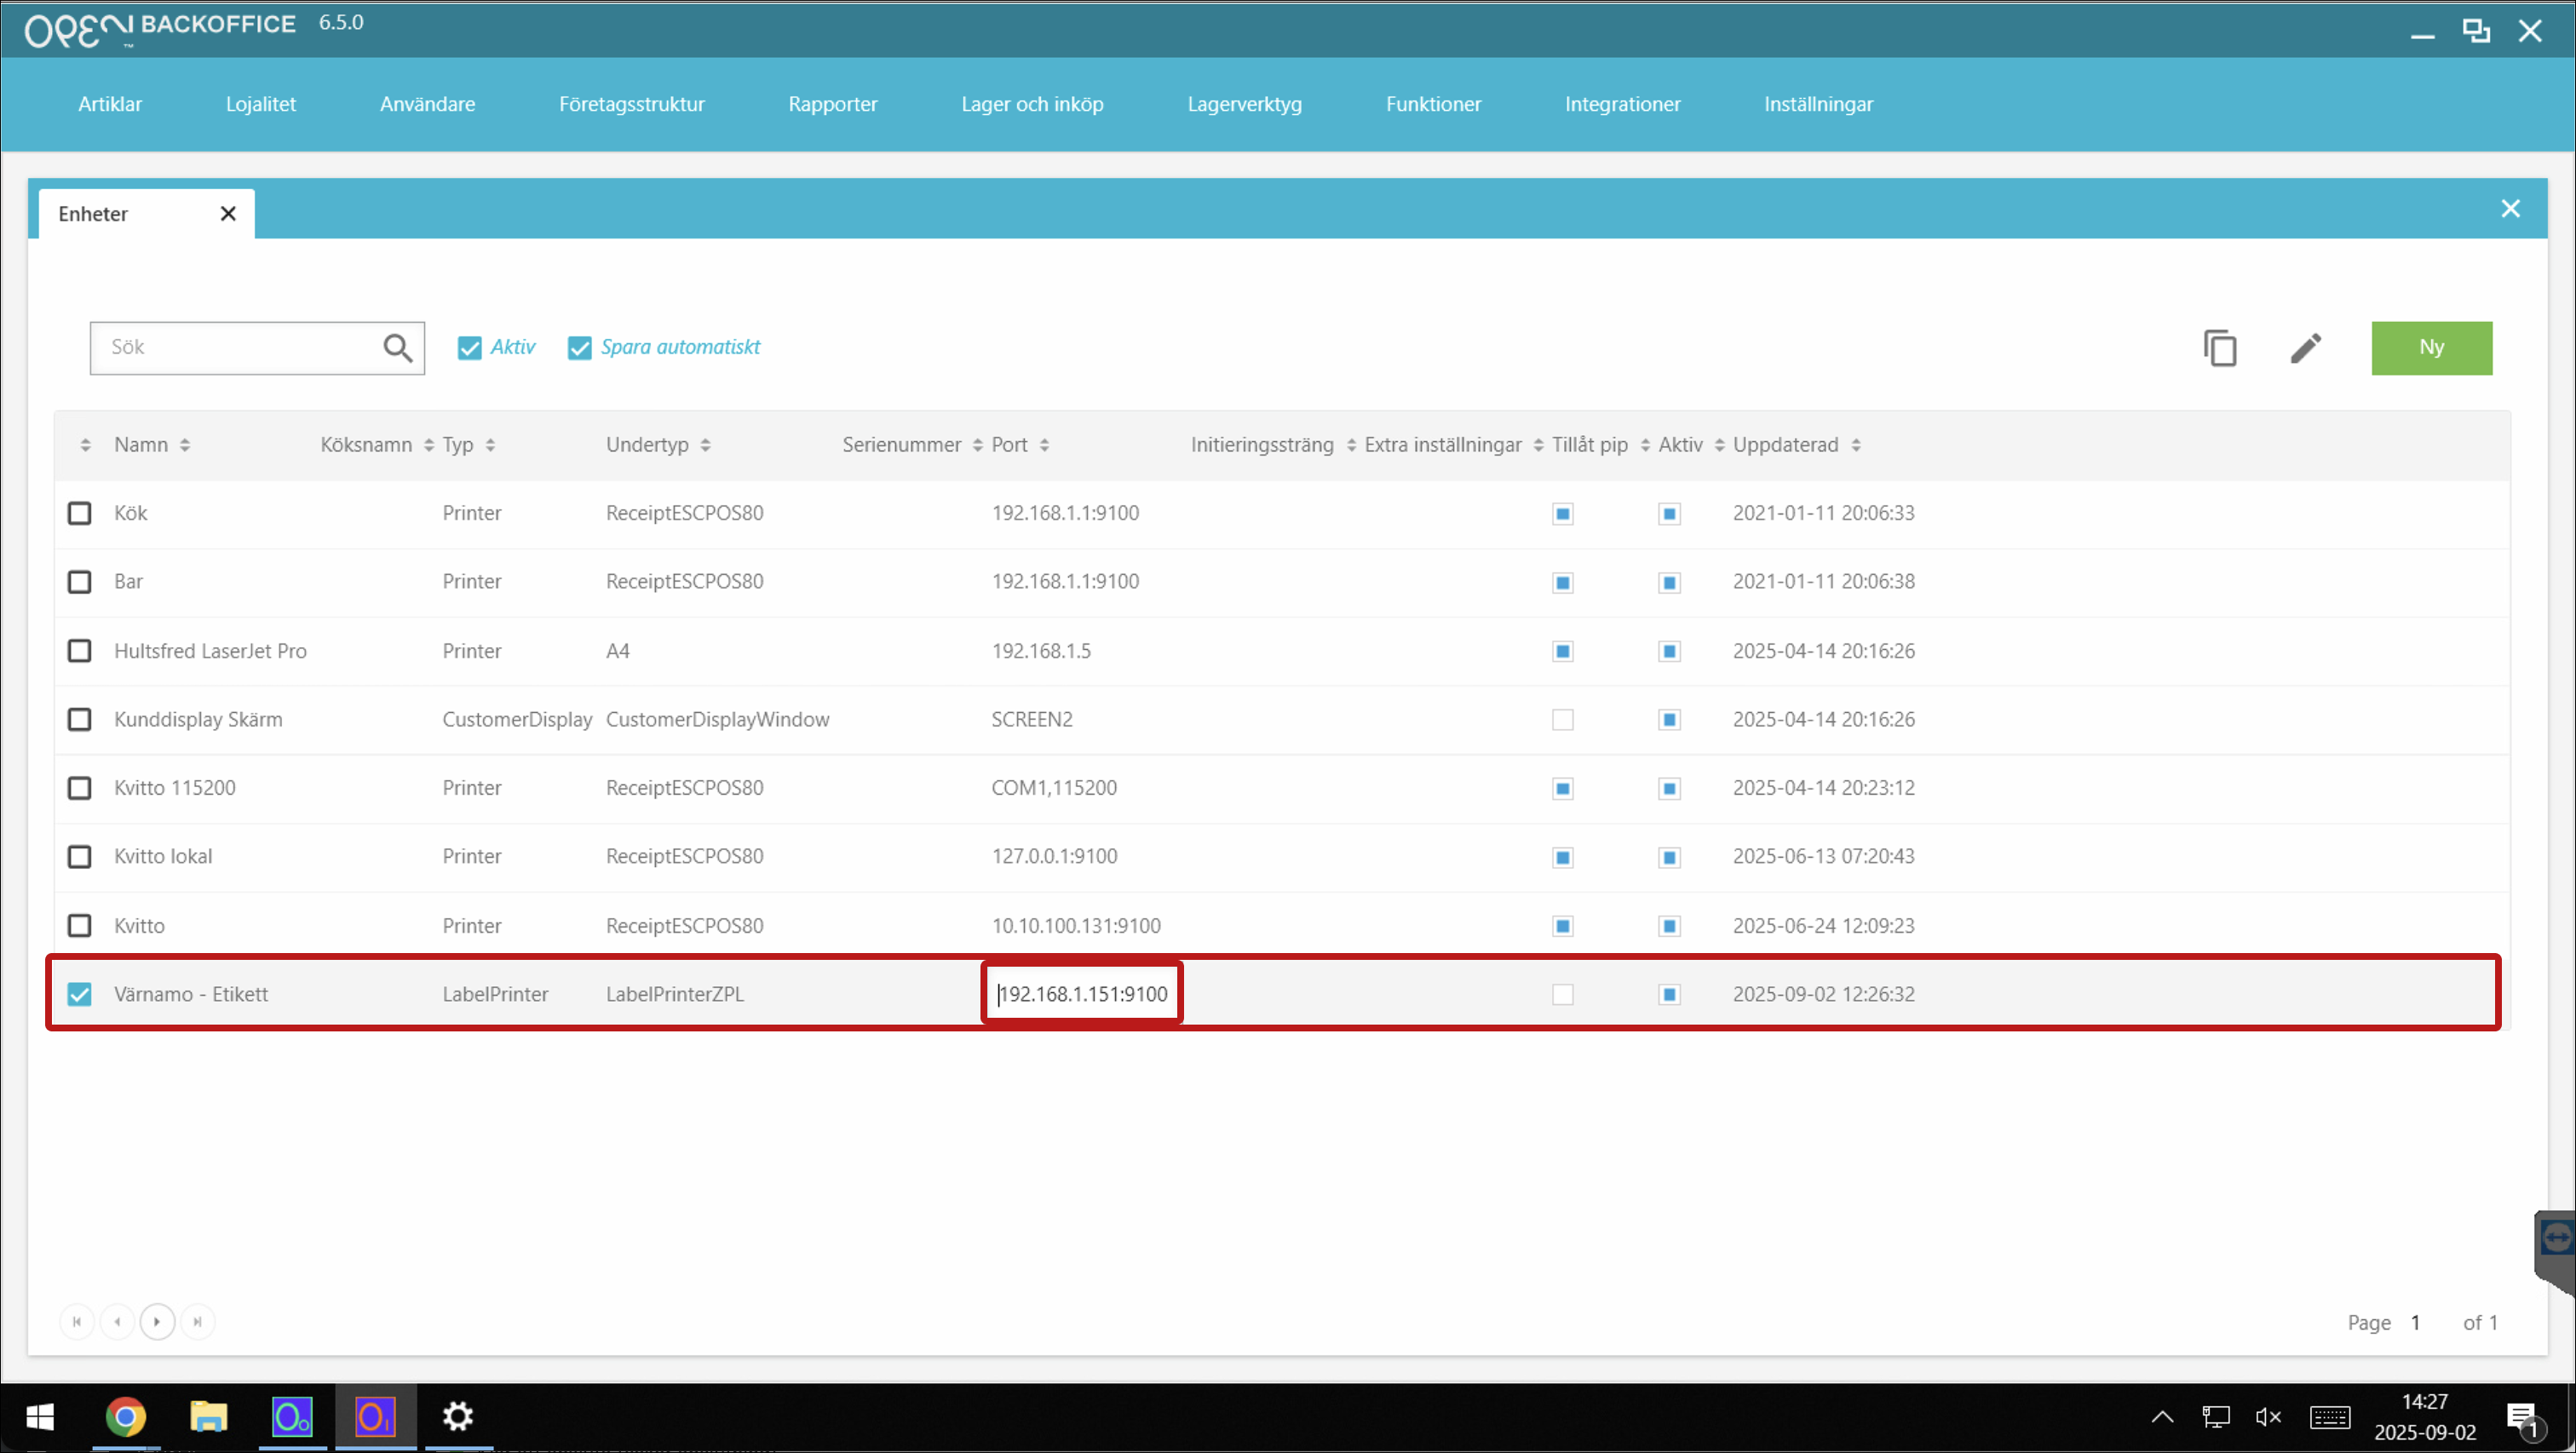
- Identify the printer and verify that the IP address is correct.
- To connect a new printer:


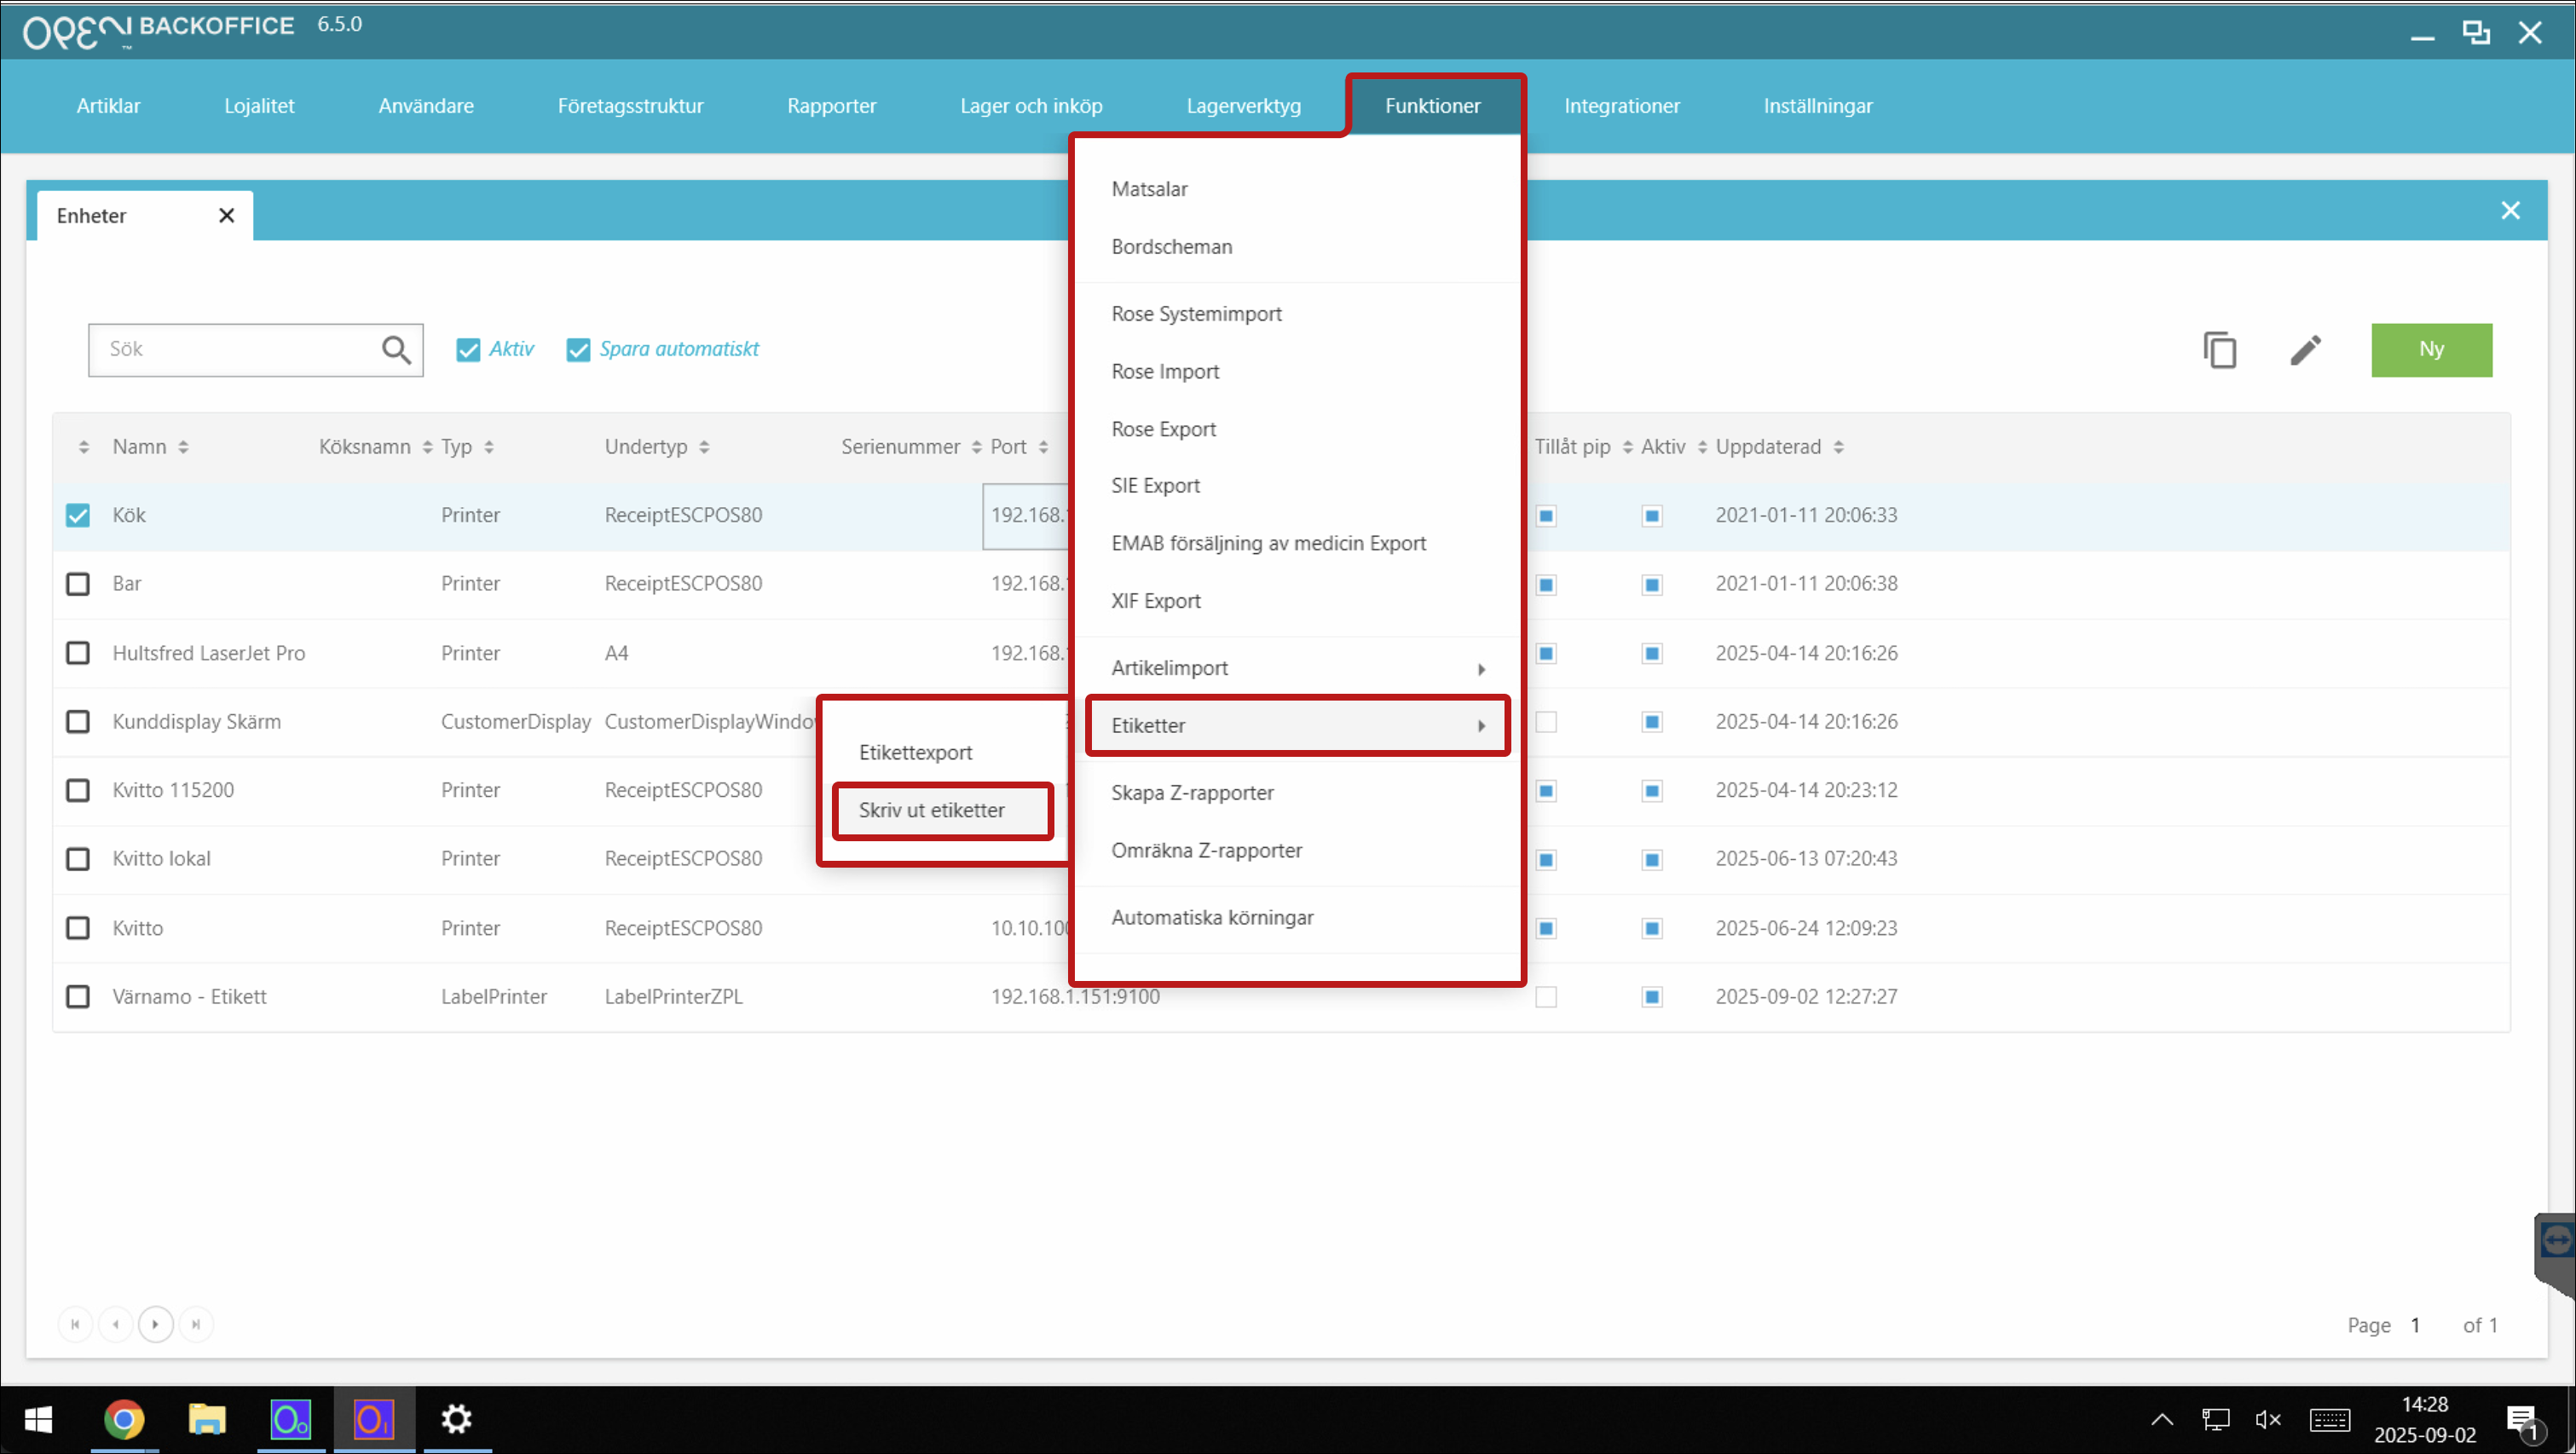
Print labels from BackOffice
- Log in to BackOffice.
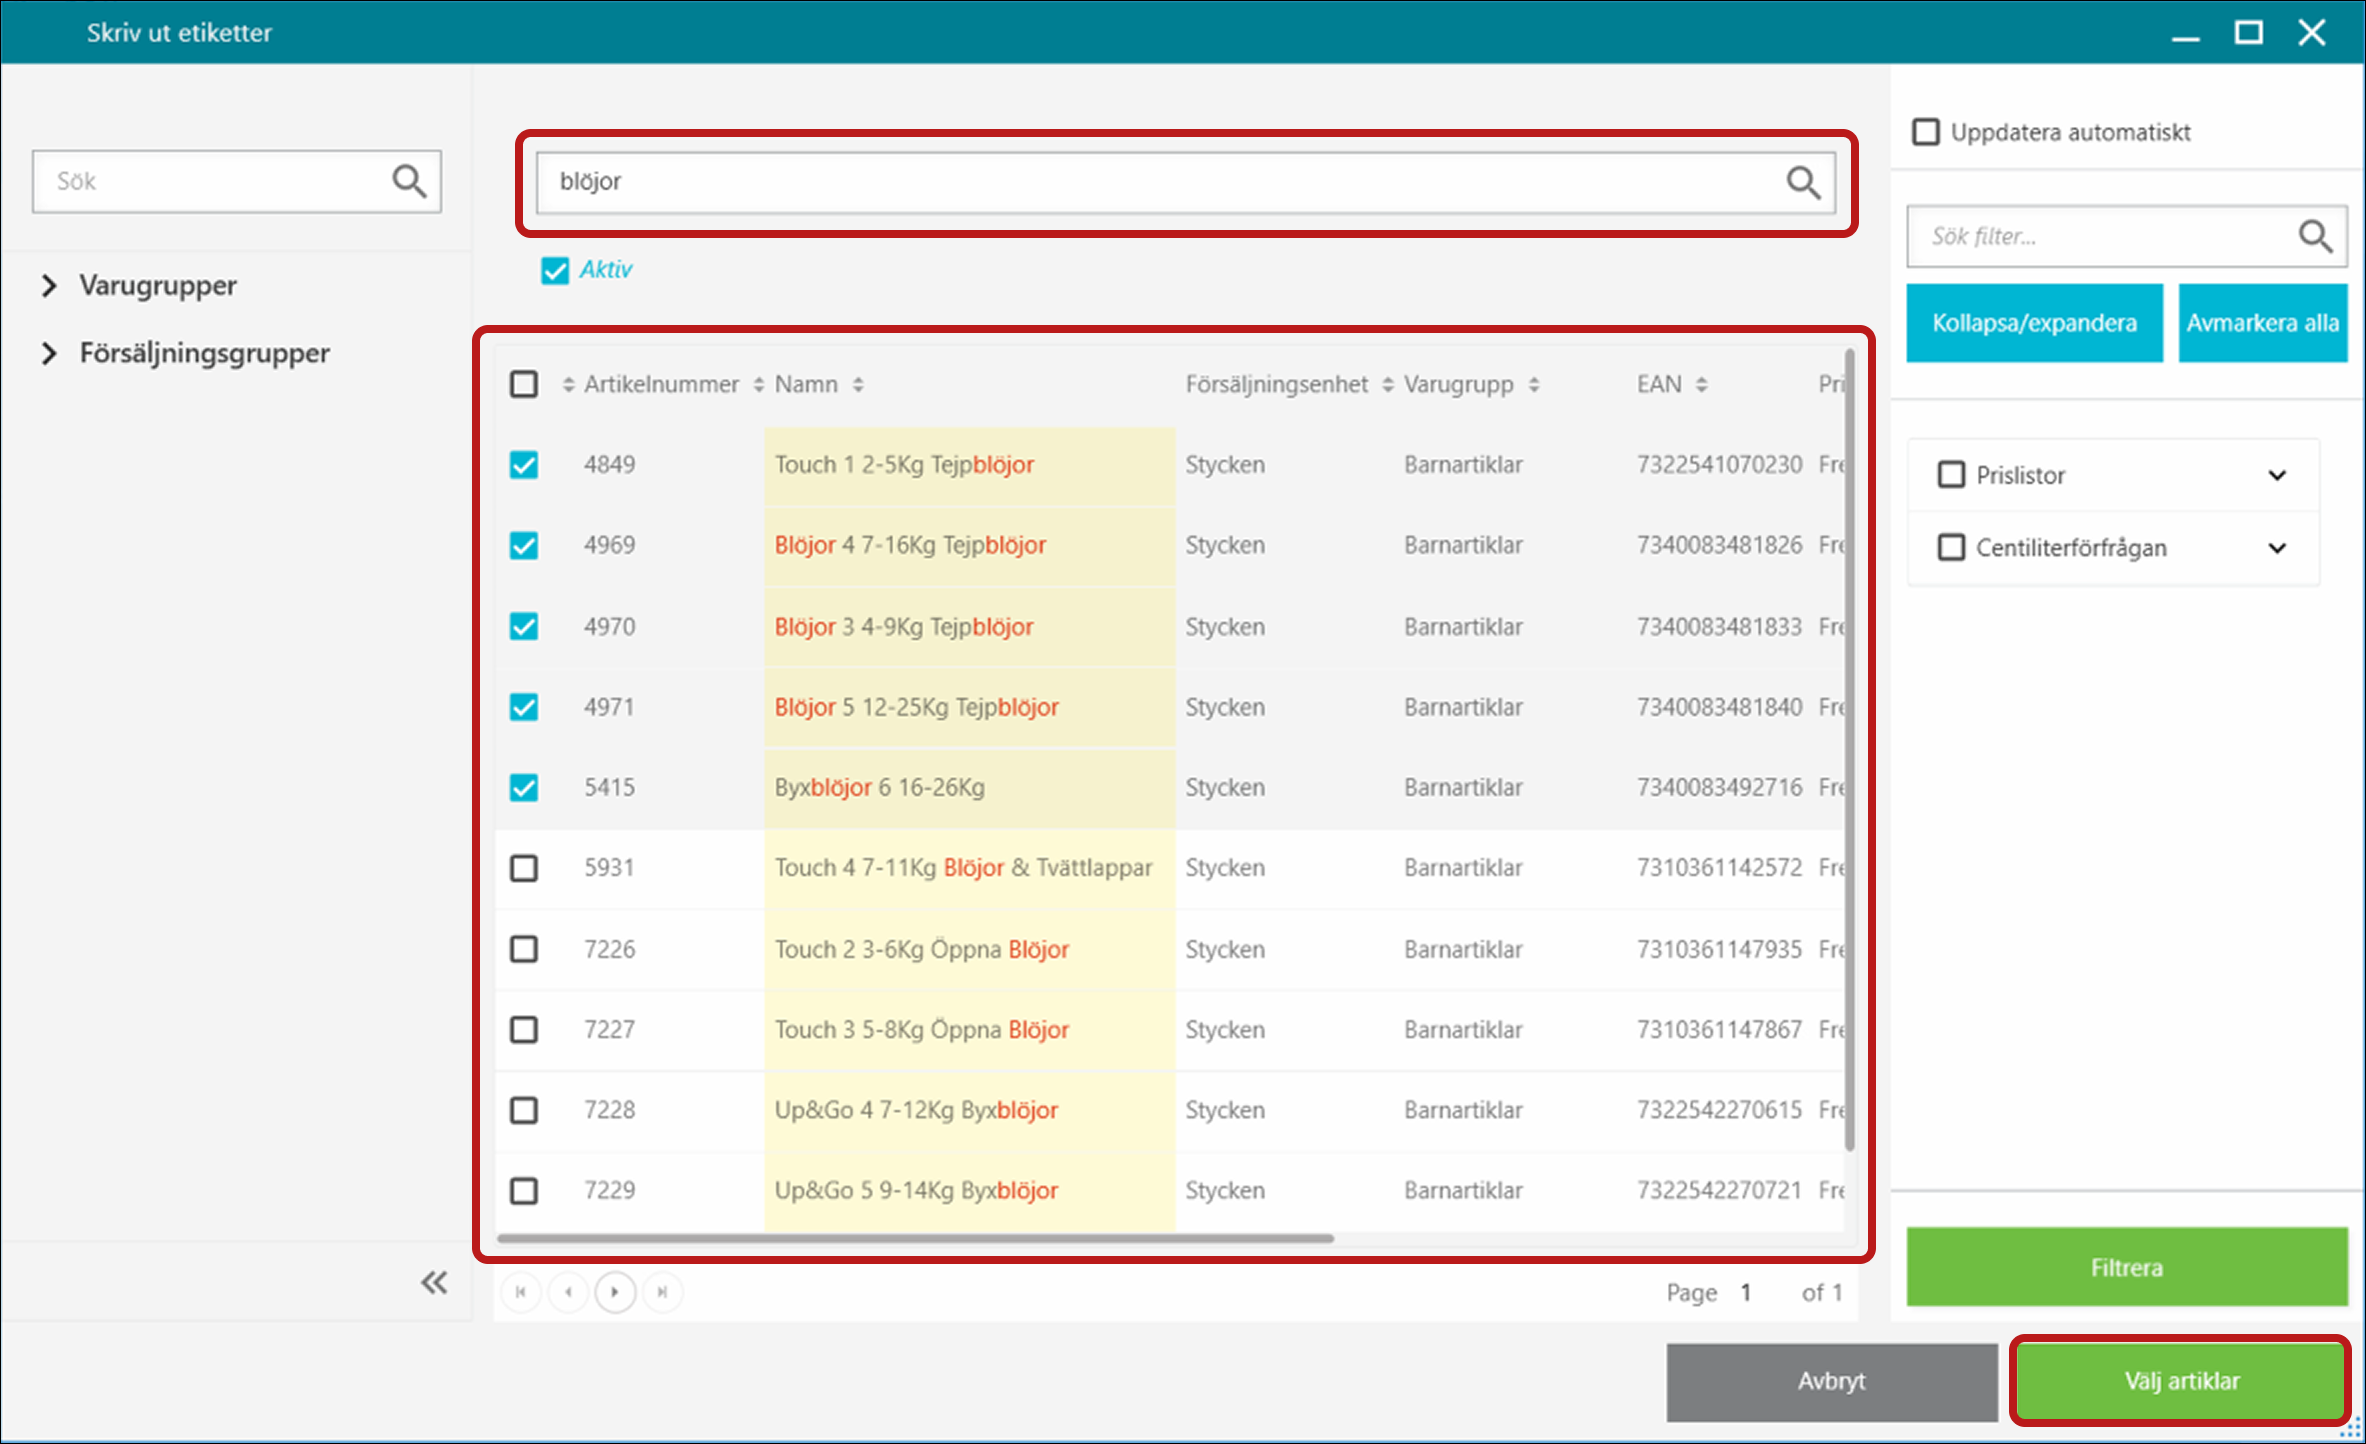
- Go to Functions > Labels > Print labels.
- Click Add.
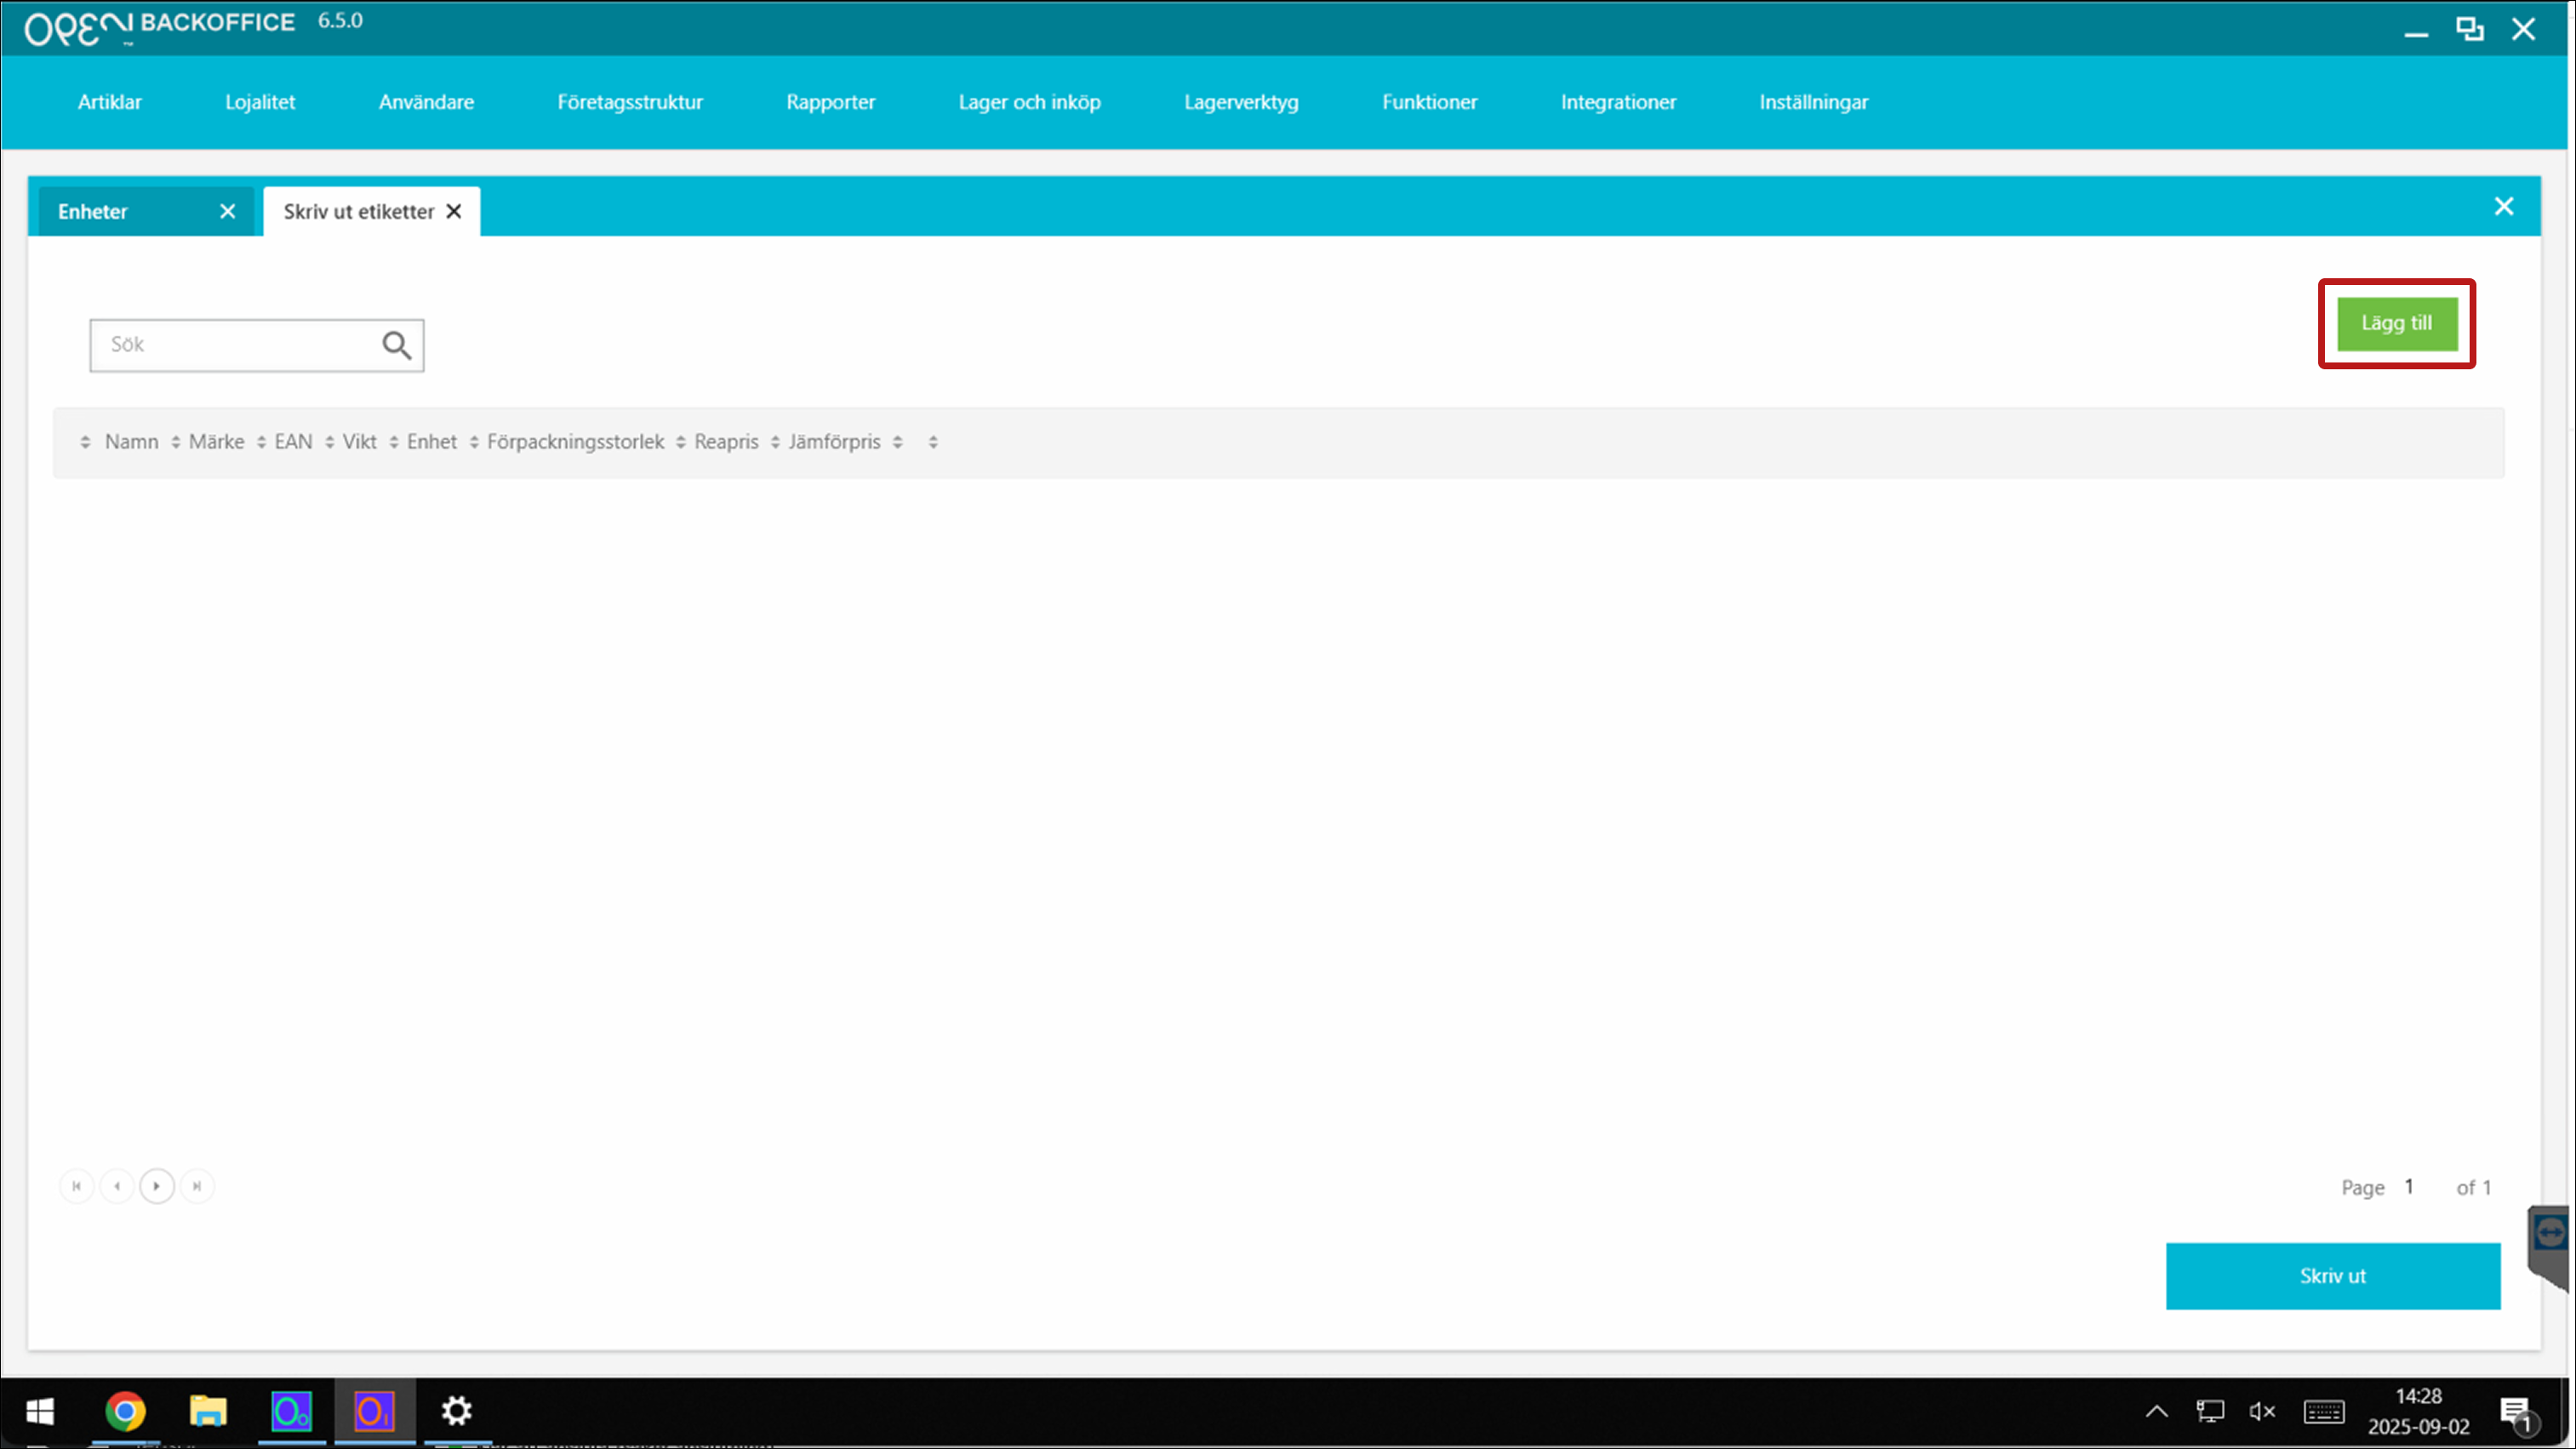
- In the popup that opens:
- Search and select the articles you want to print labels for.
- Click Select articles.
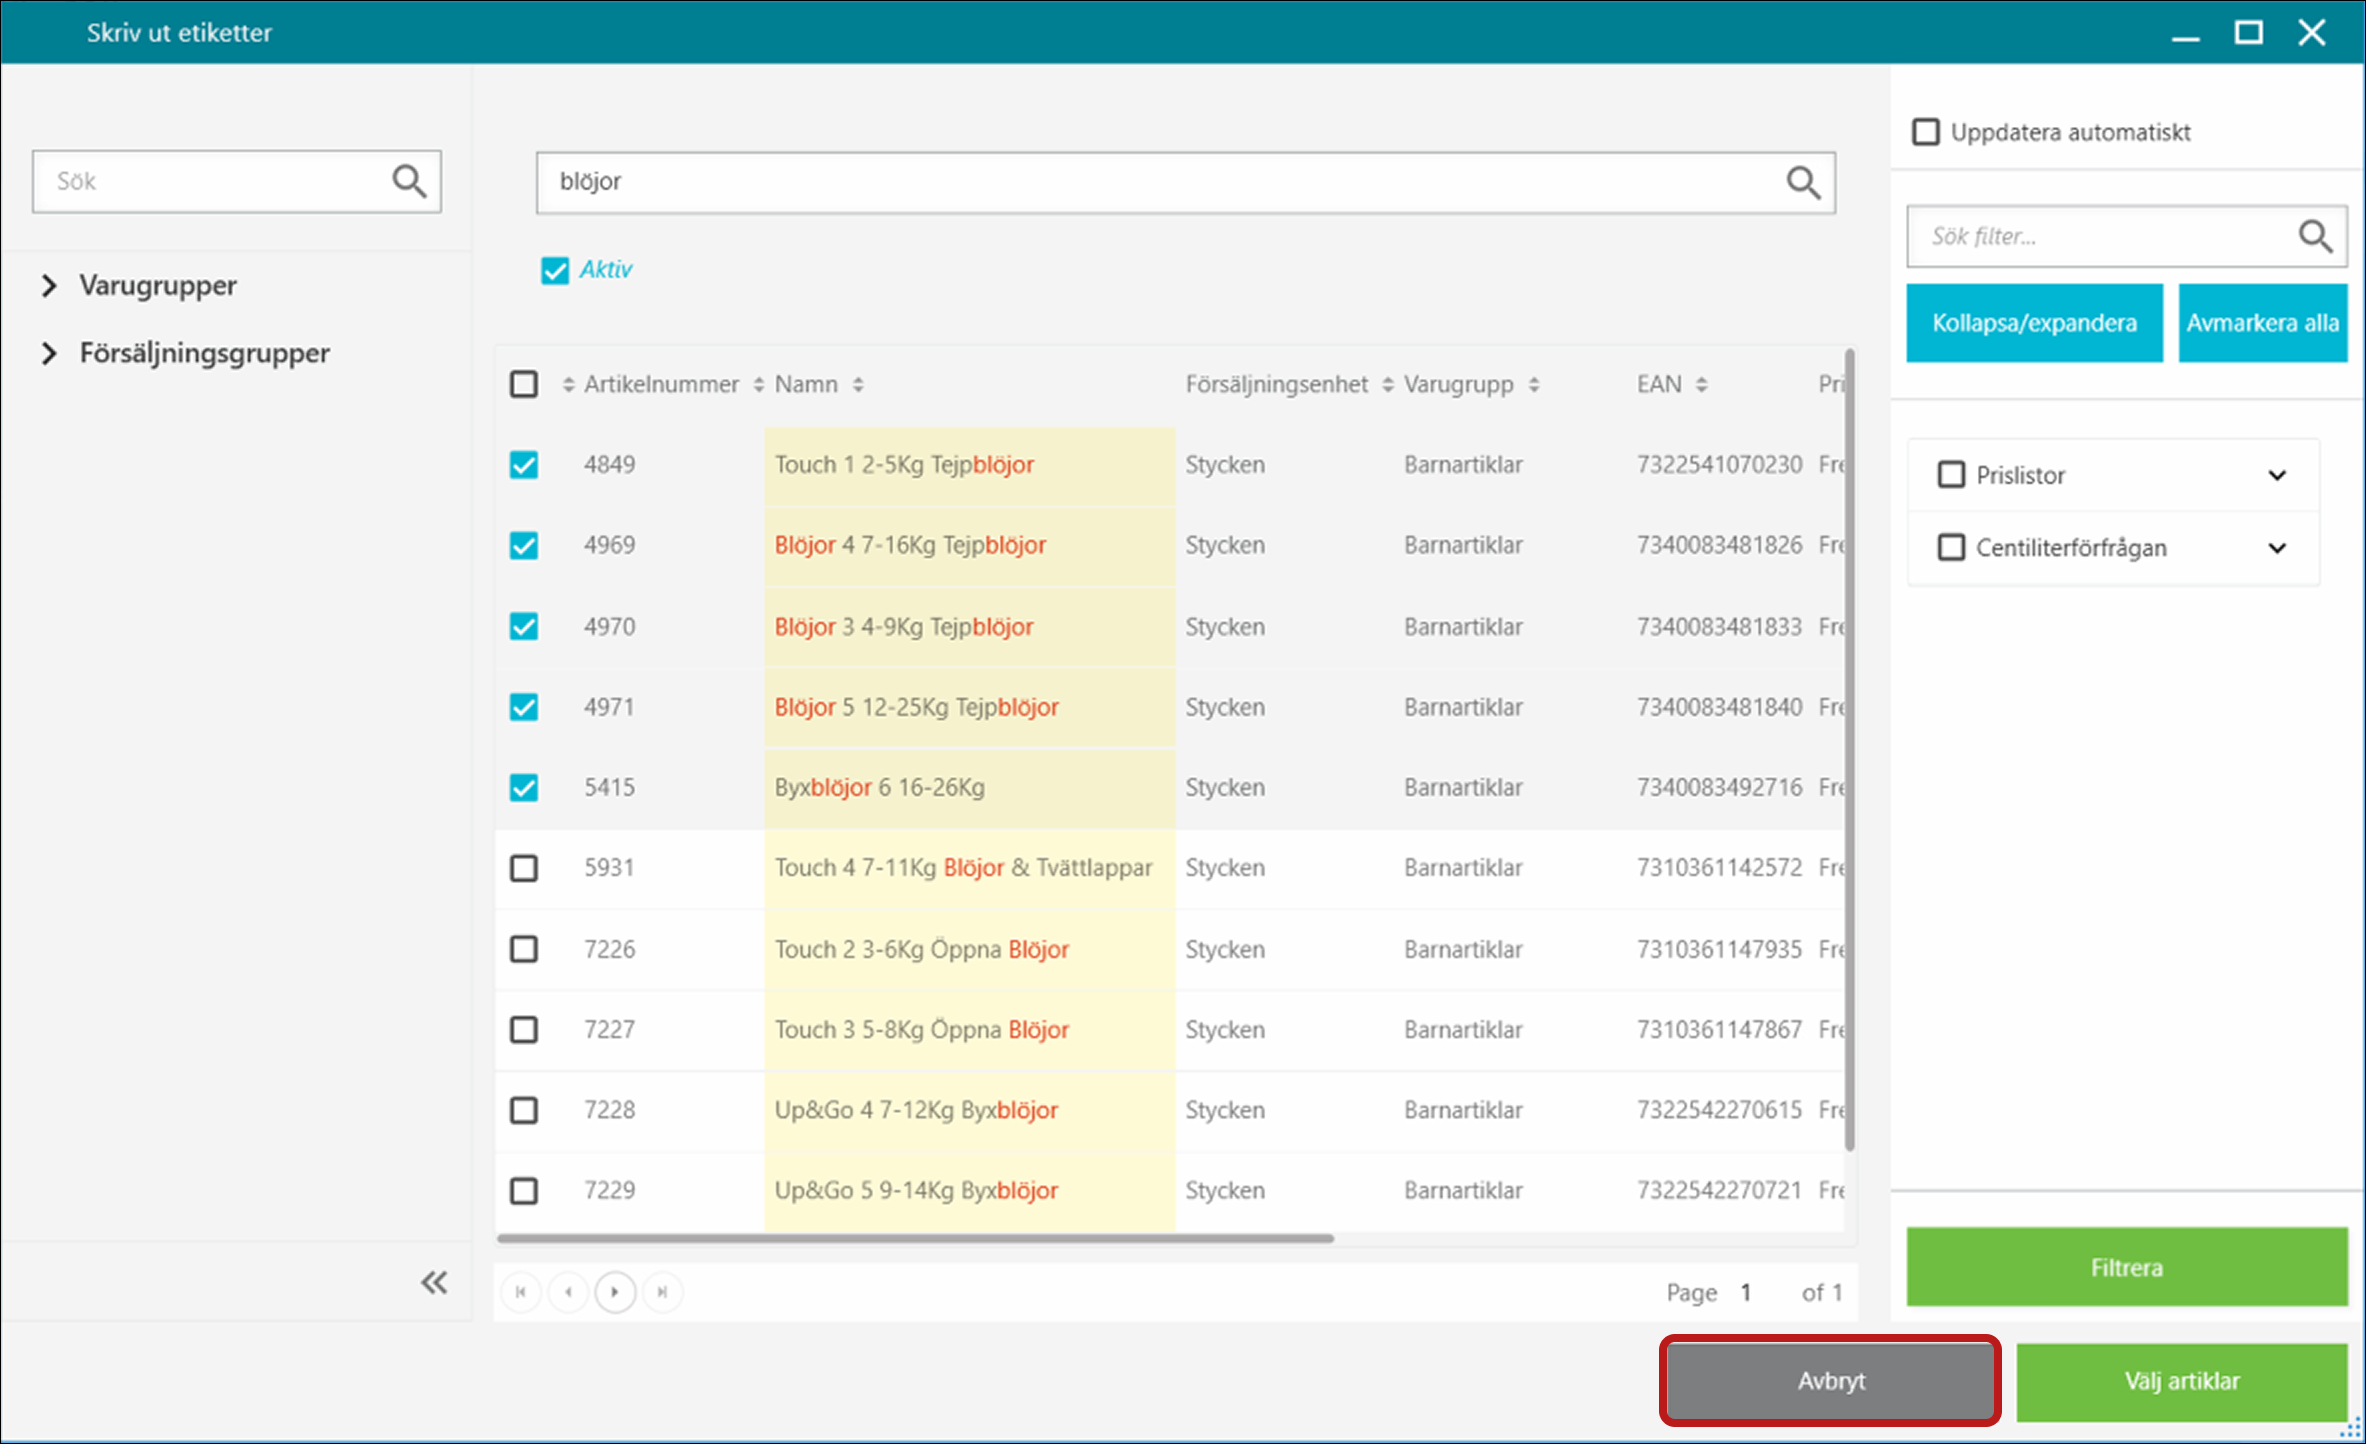
- Click Cancel to close the popup.
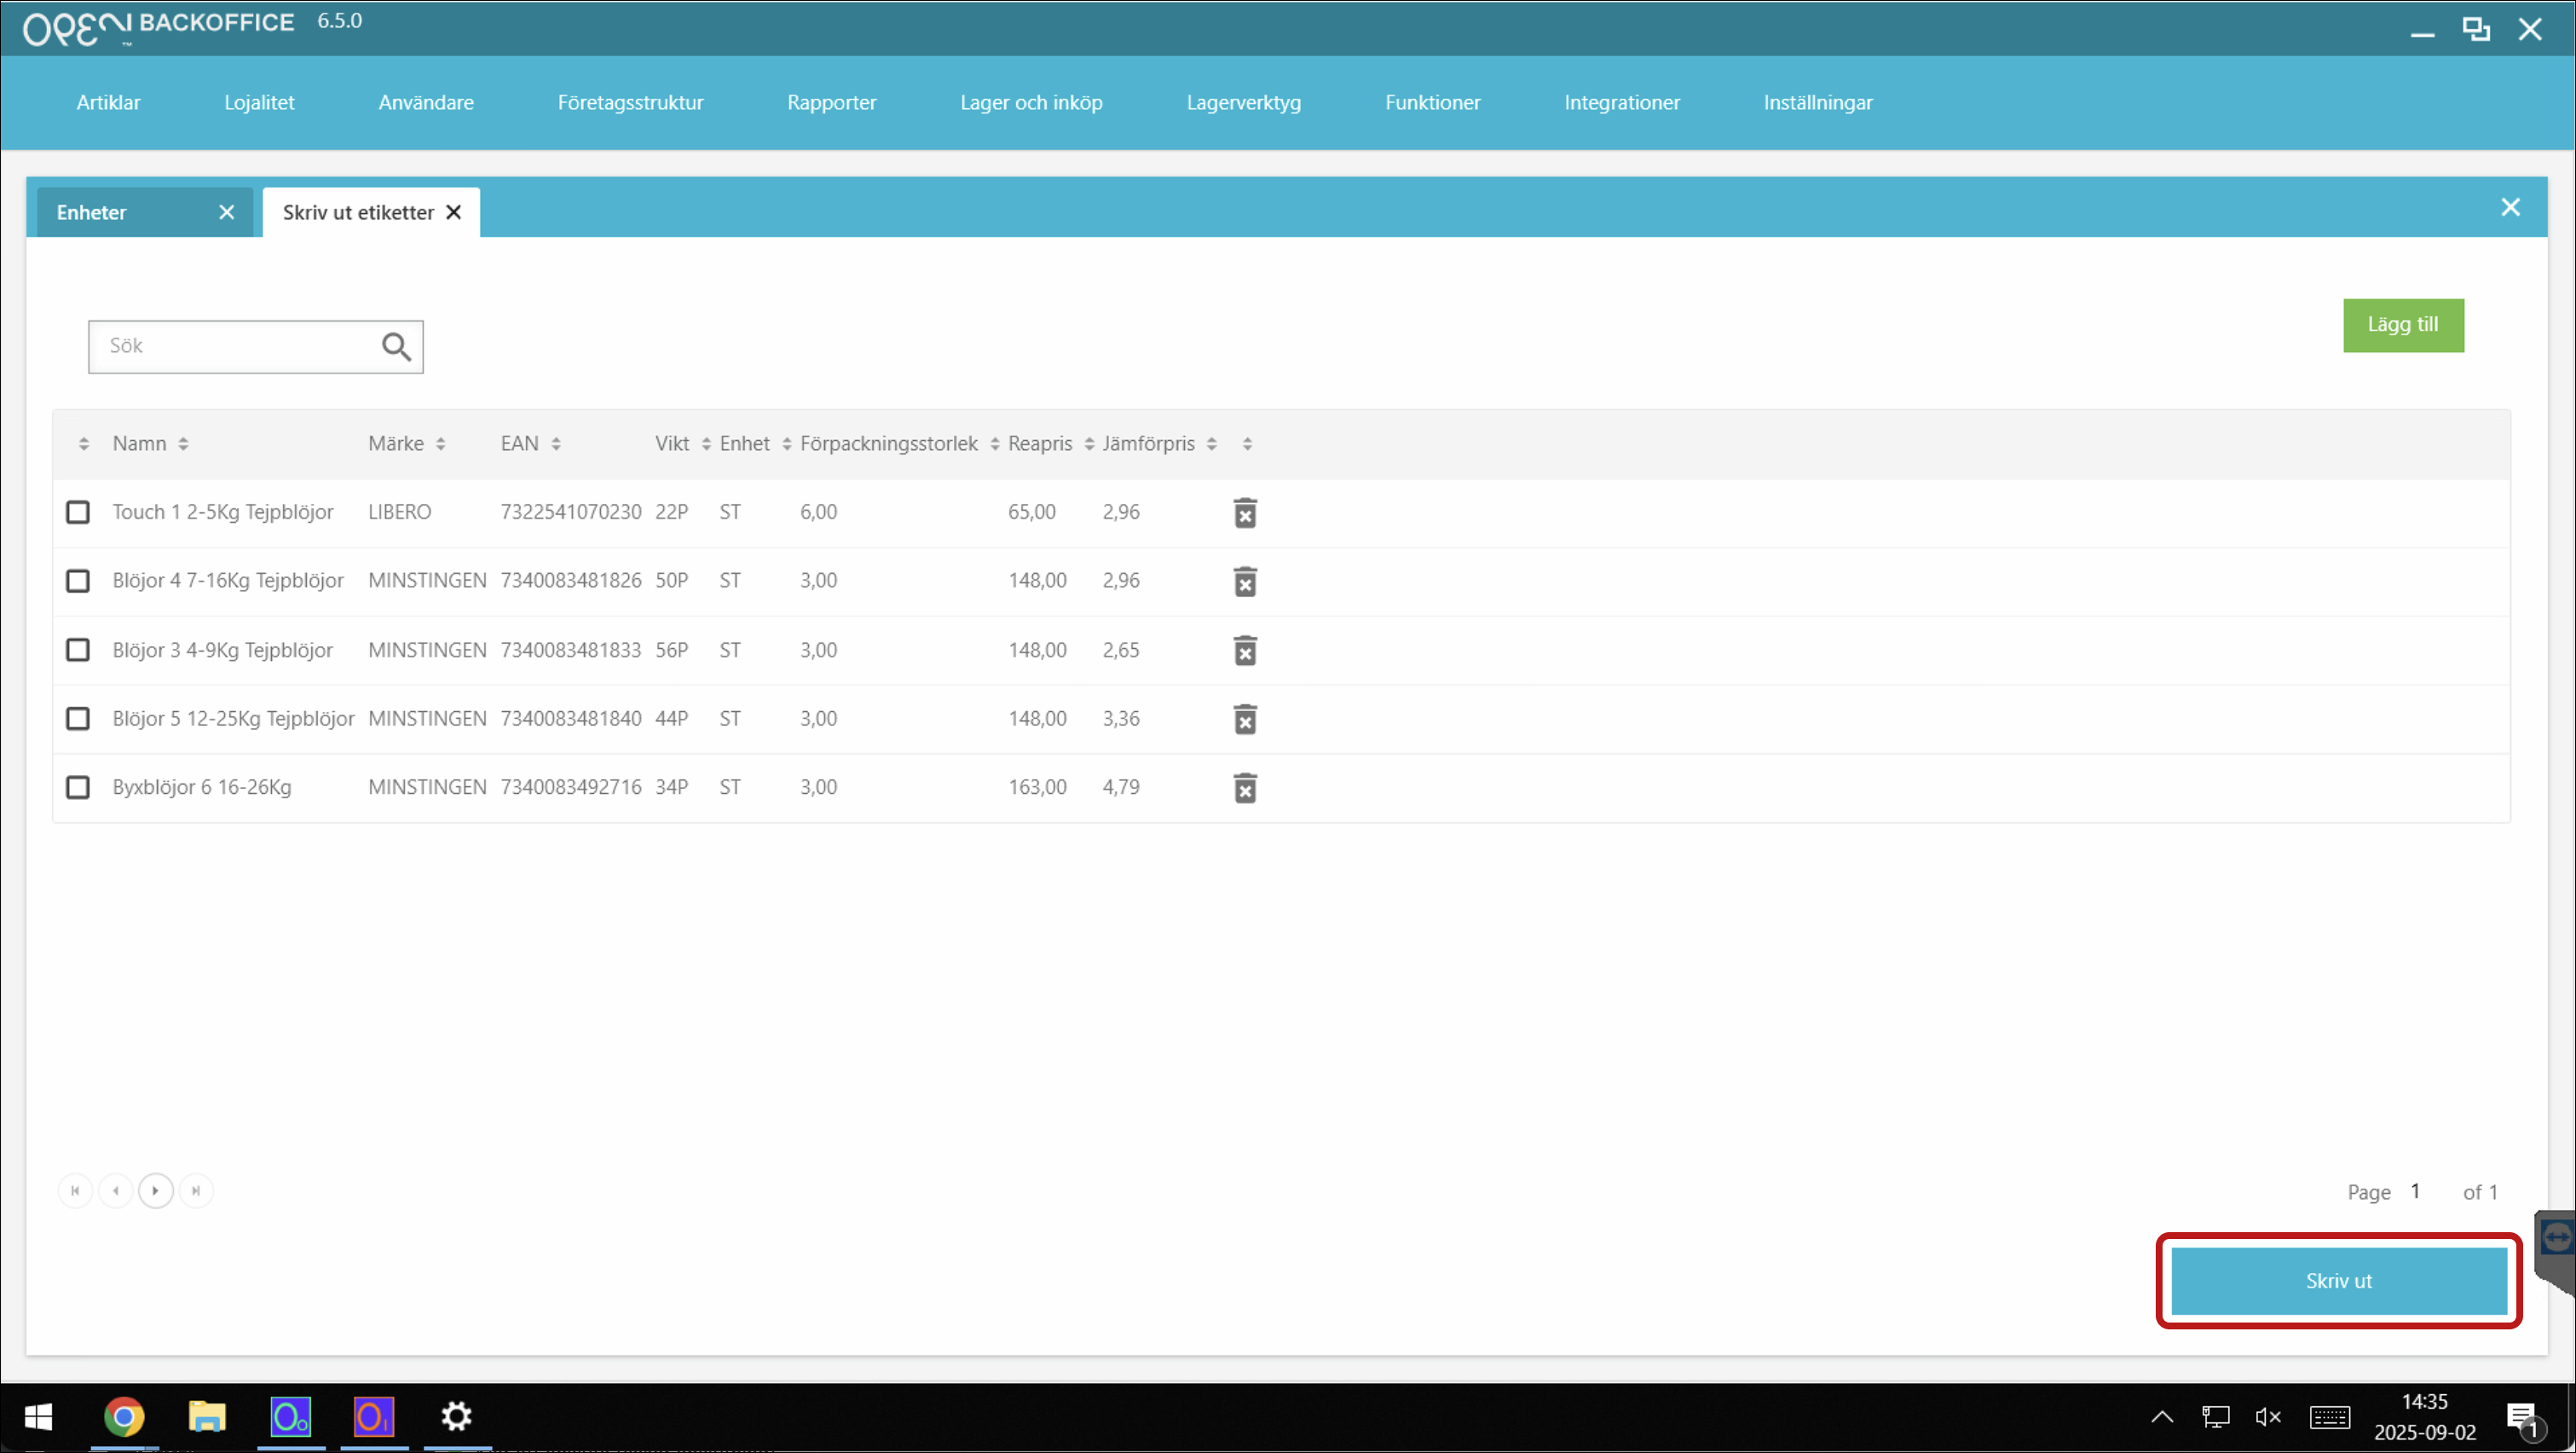
- Click Print.
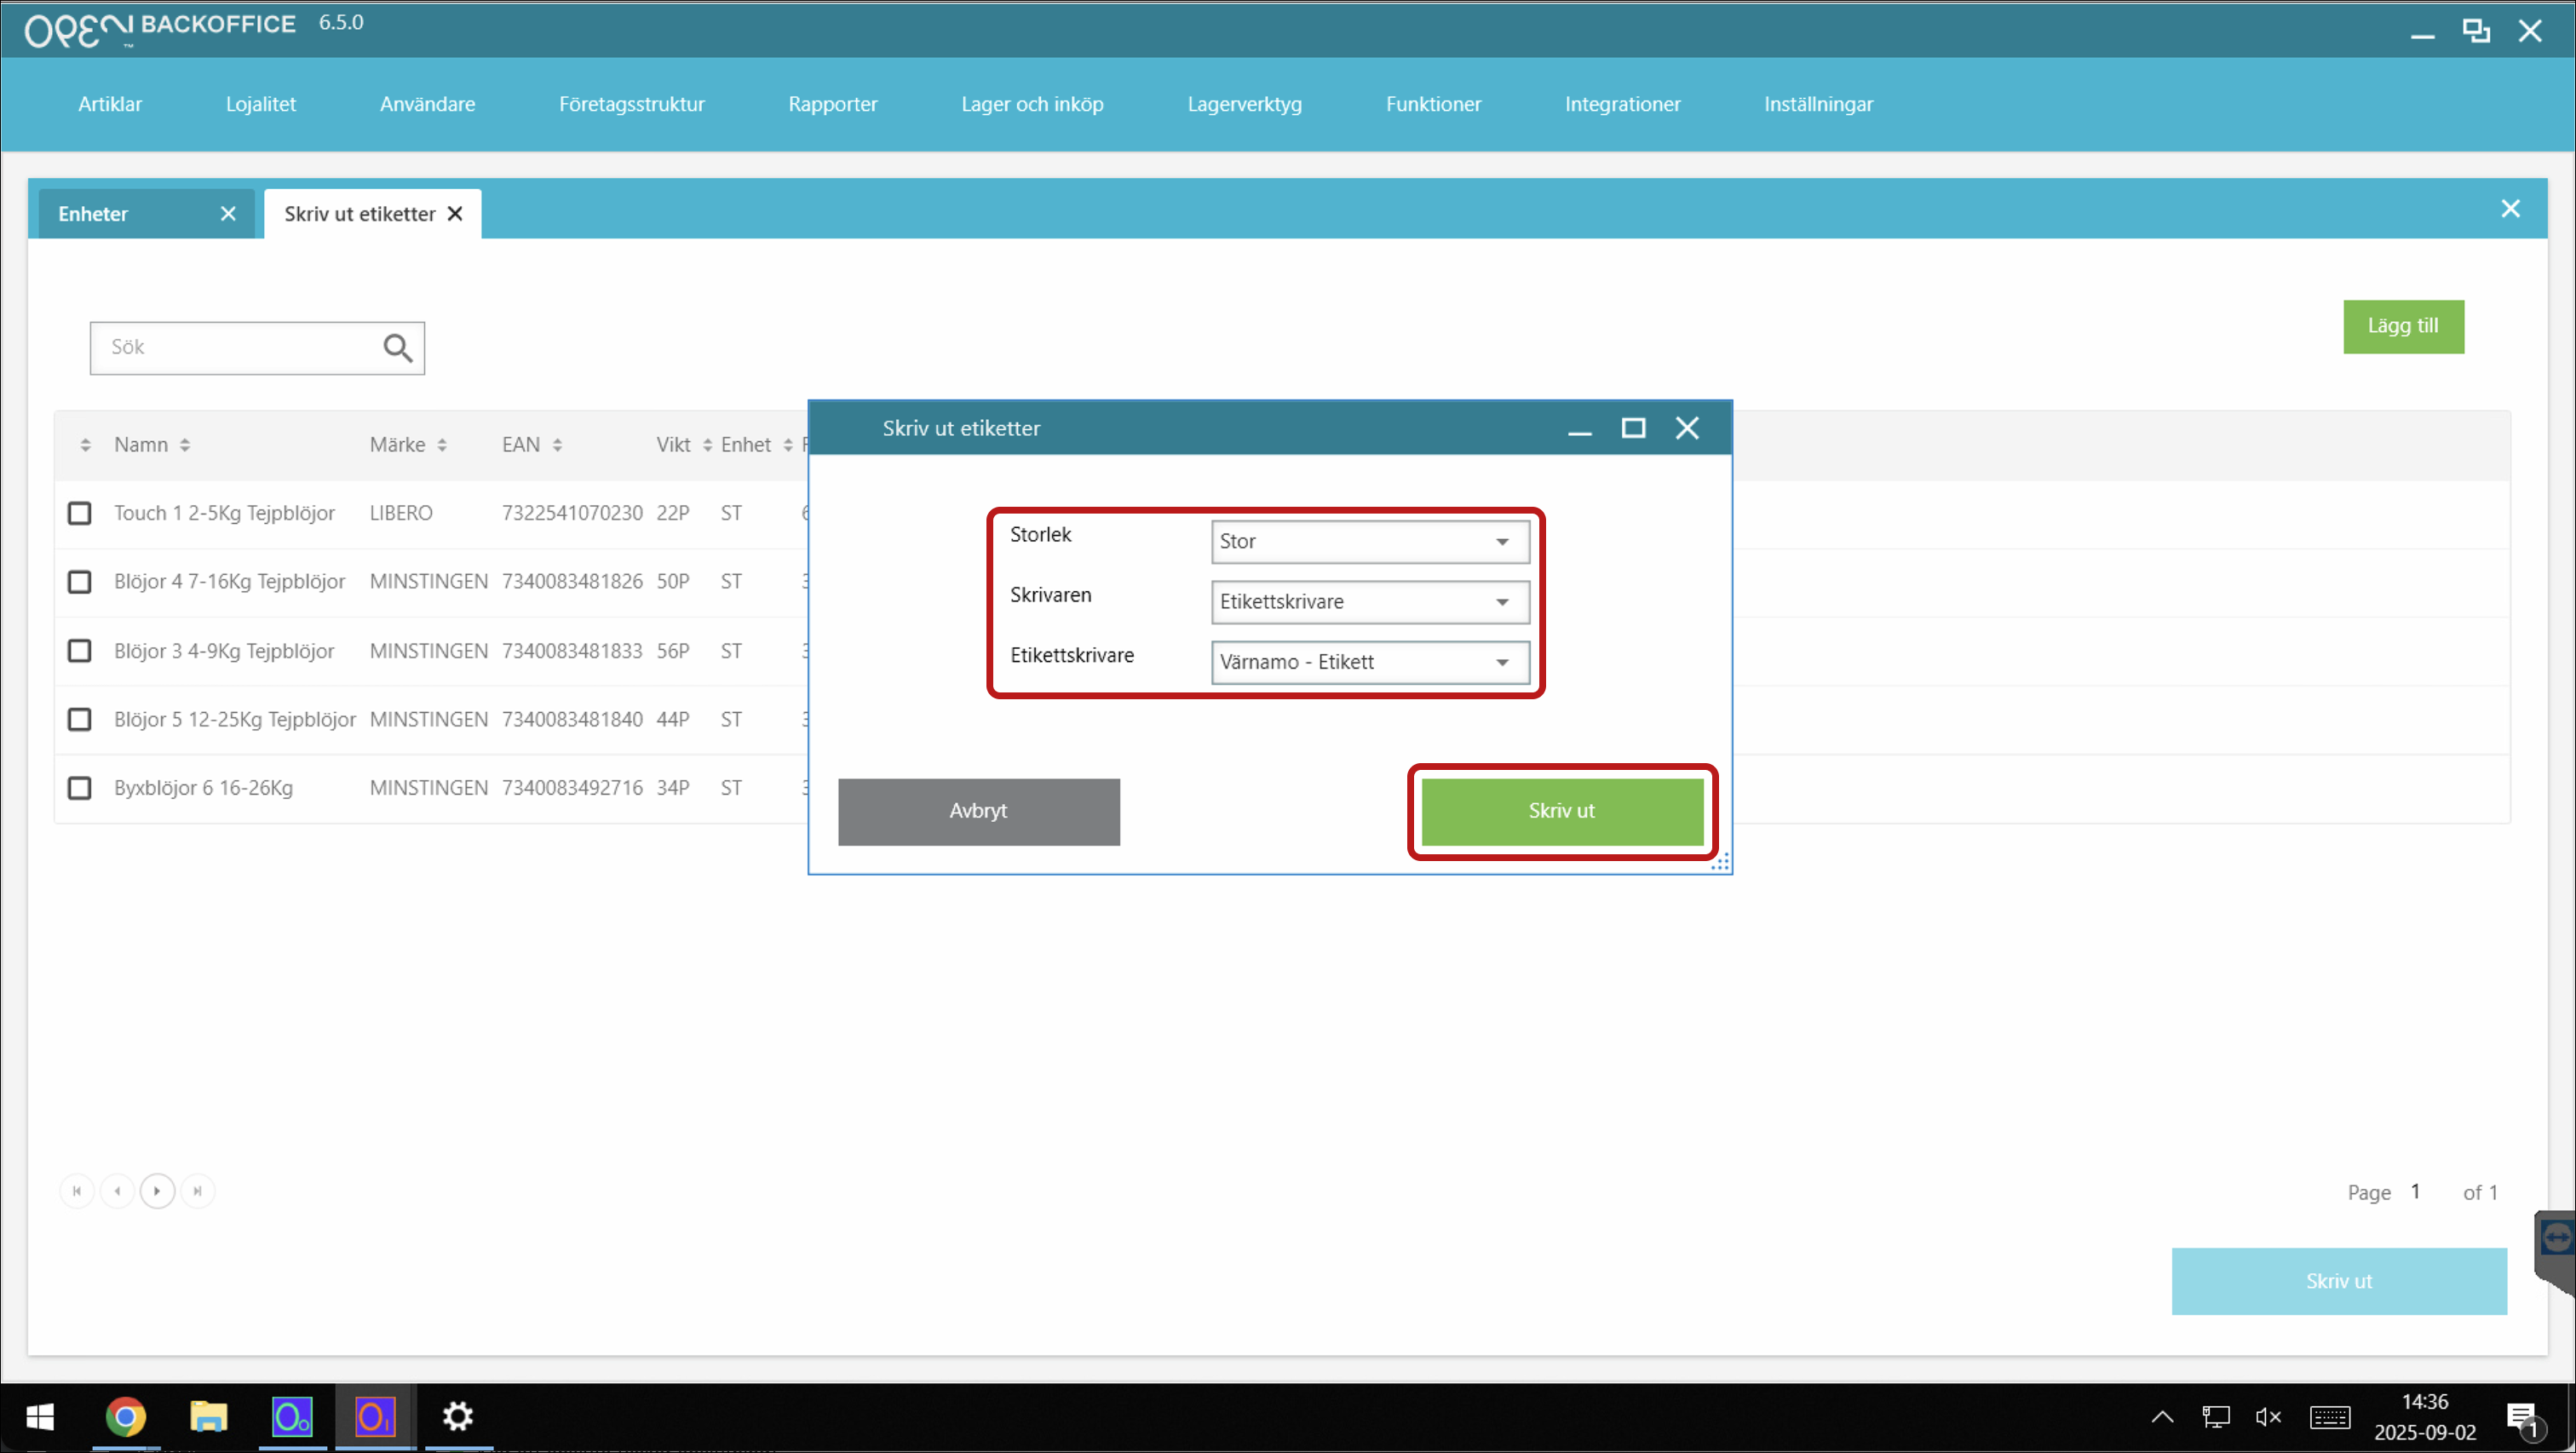
- In the popup that opens:
- Make sure the following settings are selected:
- Size: Stor
- Printer: Etikettskrivare
- Label printer: select your label printer.
- Then click Skriv ut.
- Make sure the following settings are selected:


Troubleshooting label settings
If someone has reset the printer and labels print incorrectly, follow the steps below to verify the label settings.
Step 1: Find the printer’s IP address
- Make sure the printer is turned on and connected to the same network as the POS.
- Print the printer’s IP address using the feed button:
- Hold down the feed button for a long time (furthest to the right)
- Blank labels will start printing; keep holding the feed button
- Eventually, the printer’s IP address will be printed
- Hold down the feed button for a long time (furthest to the right)
- Release the feed button.
Tip
Keep the IP address — you’ll need it shortly.
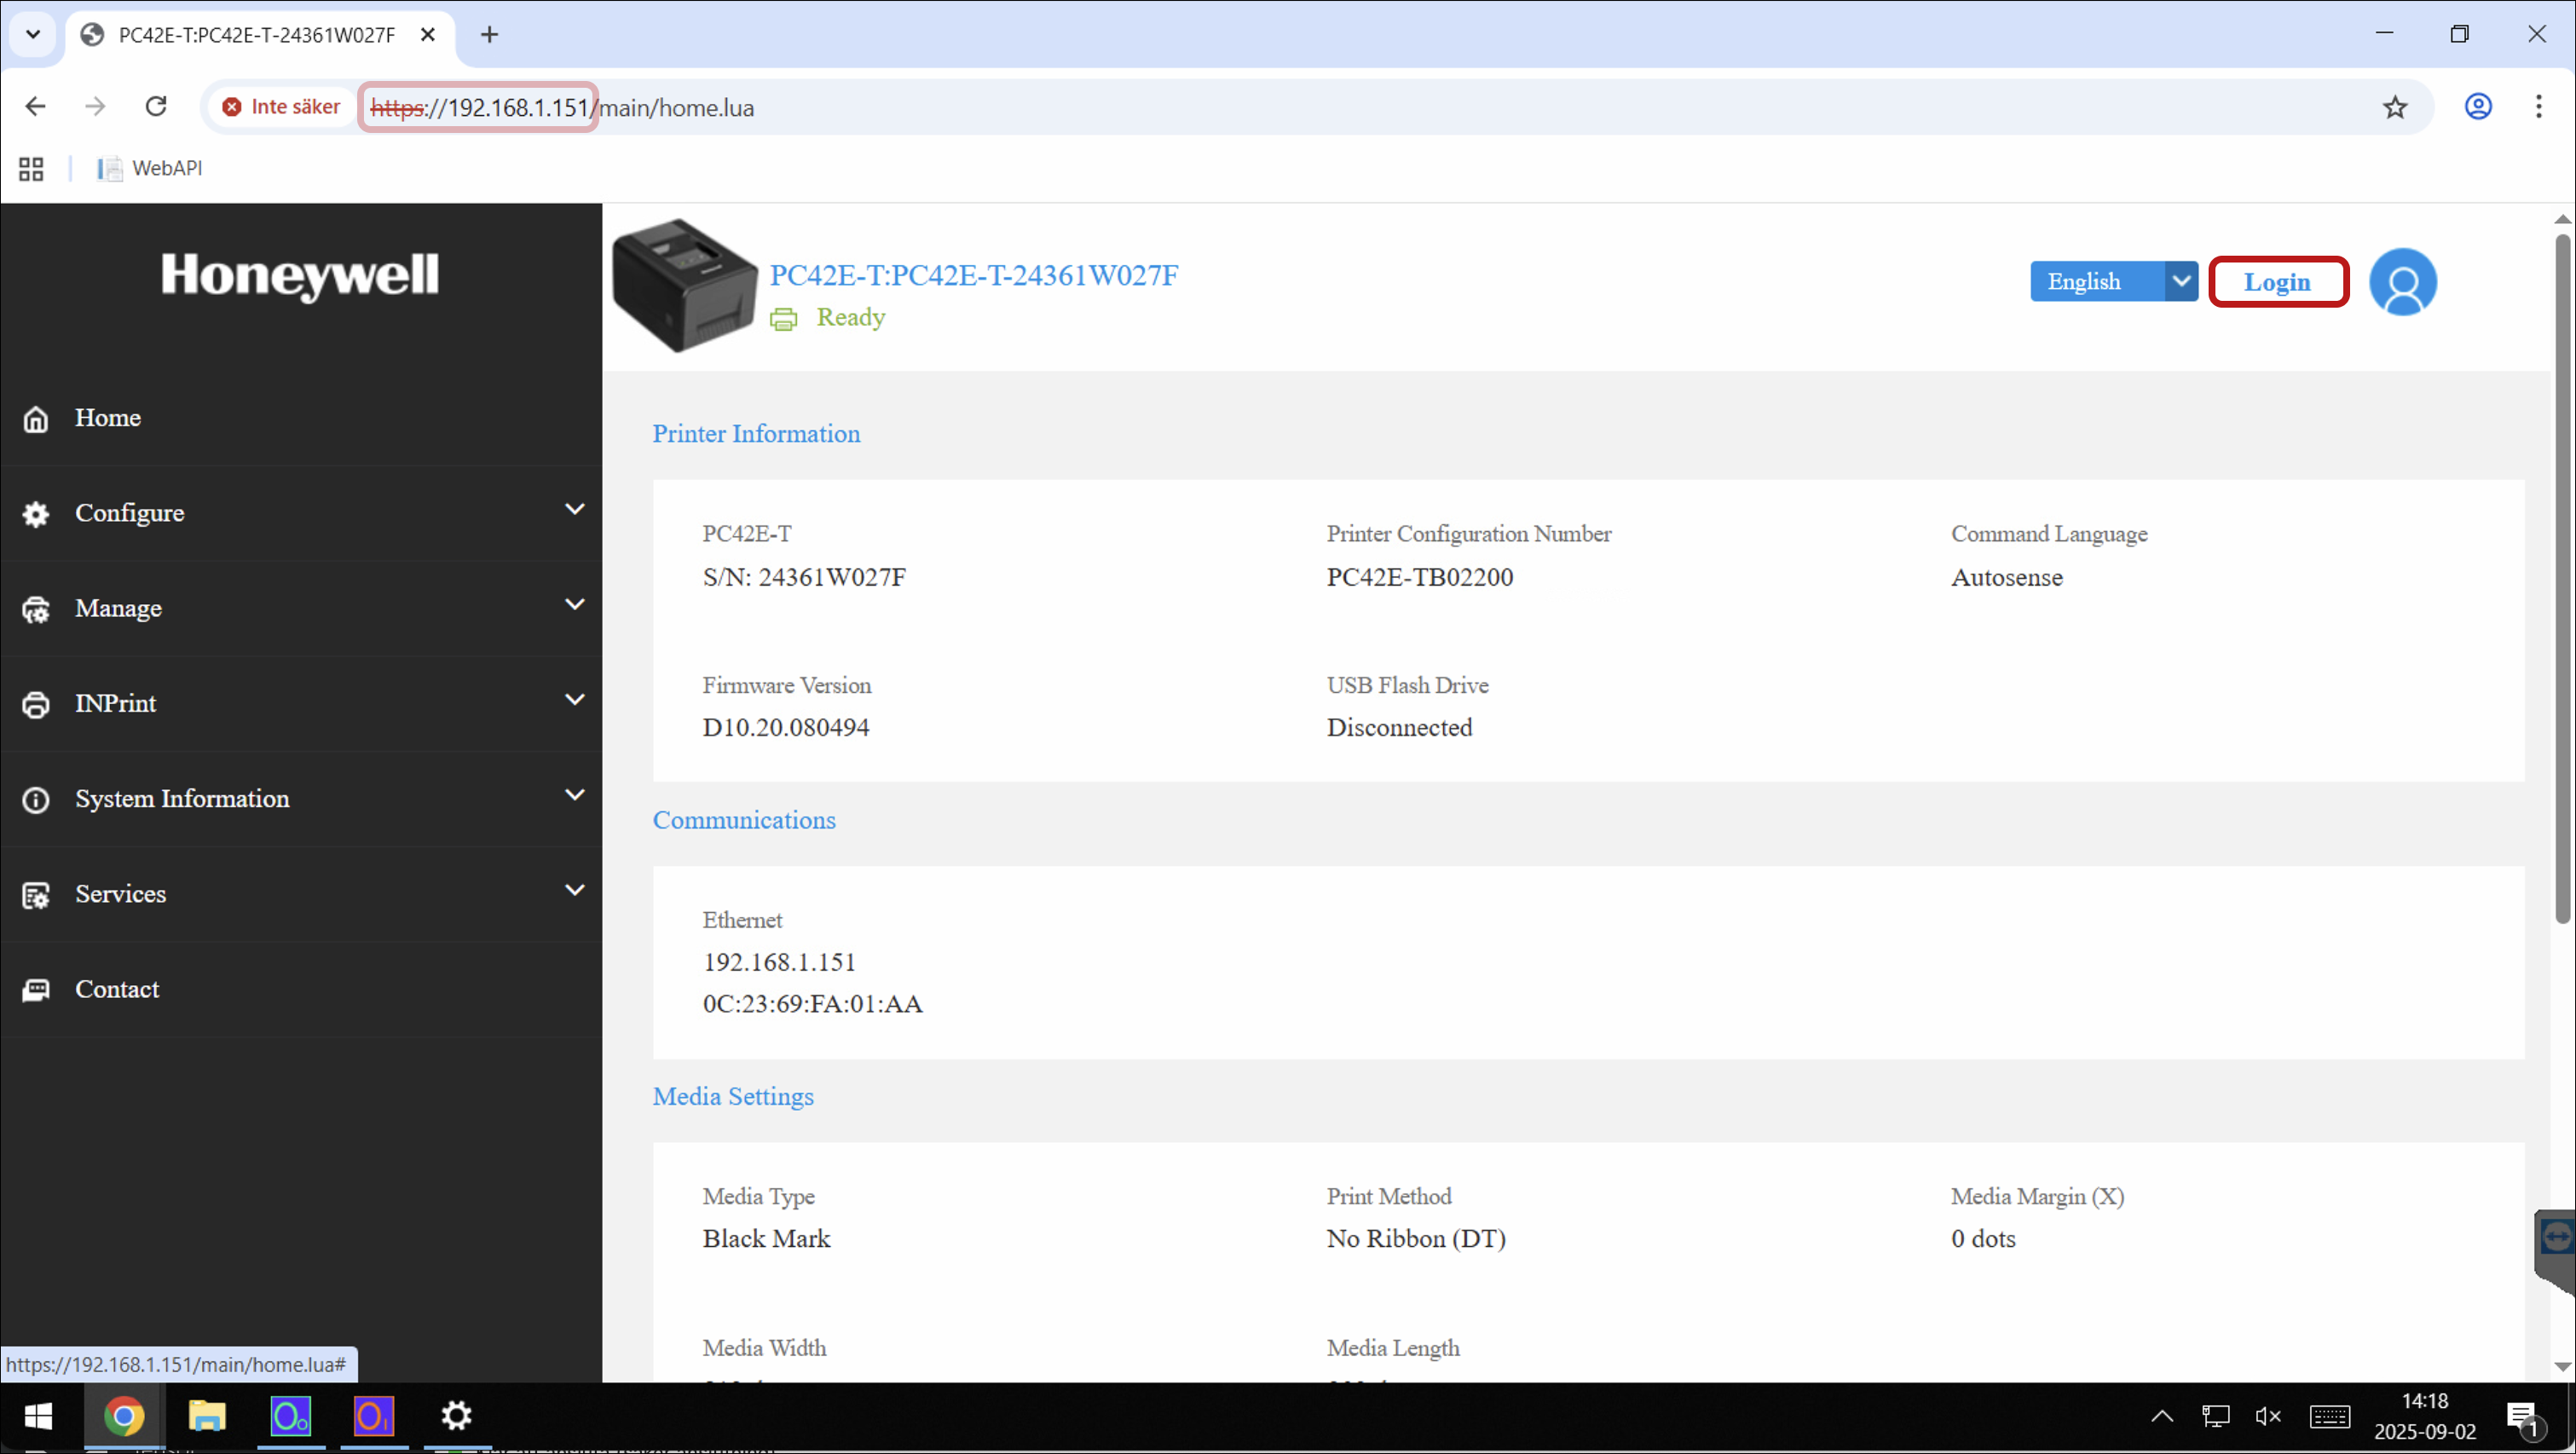
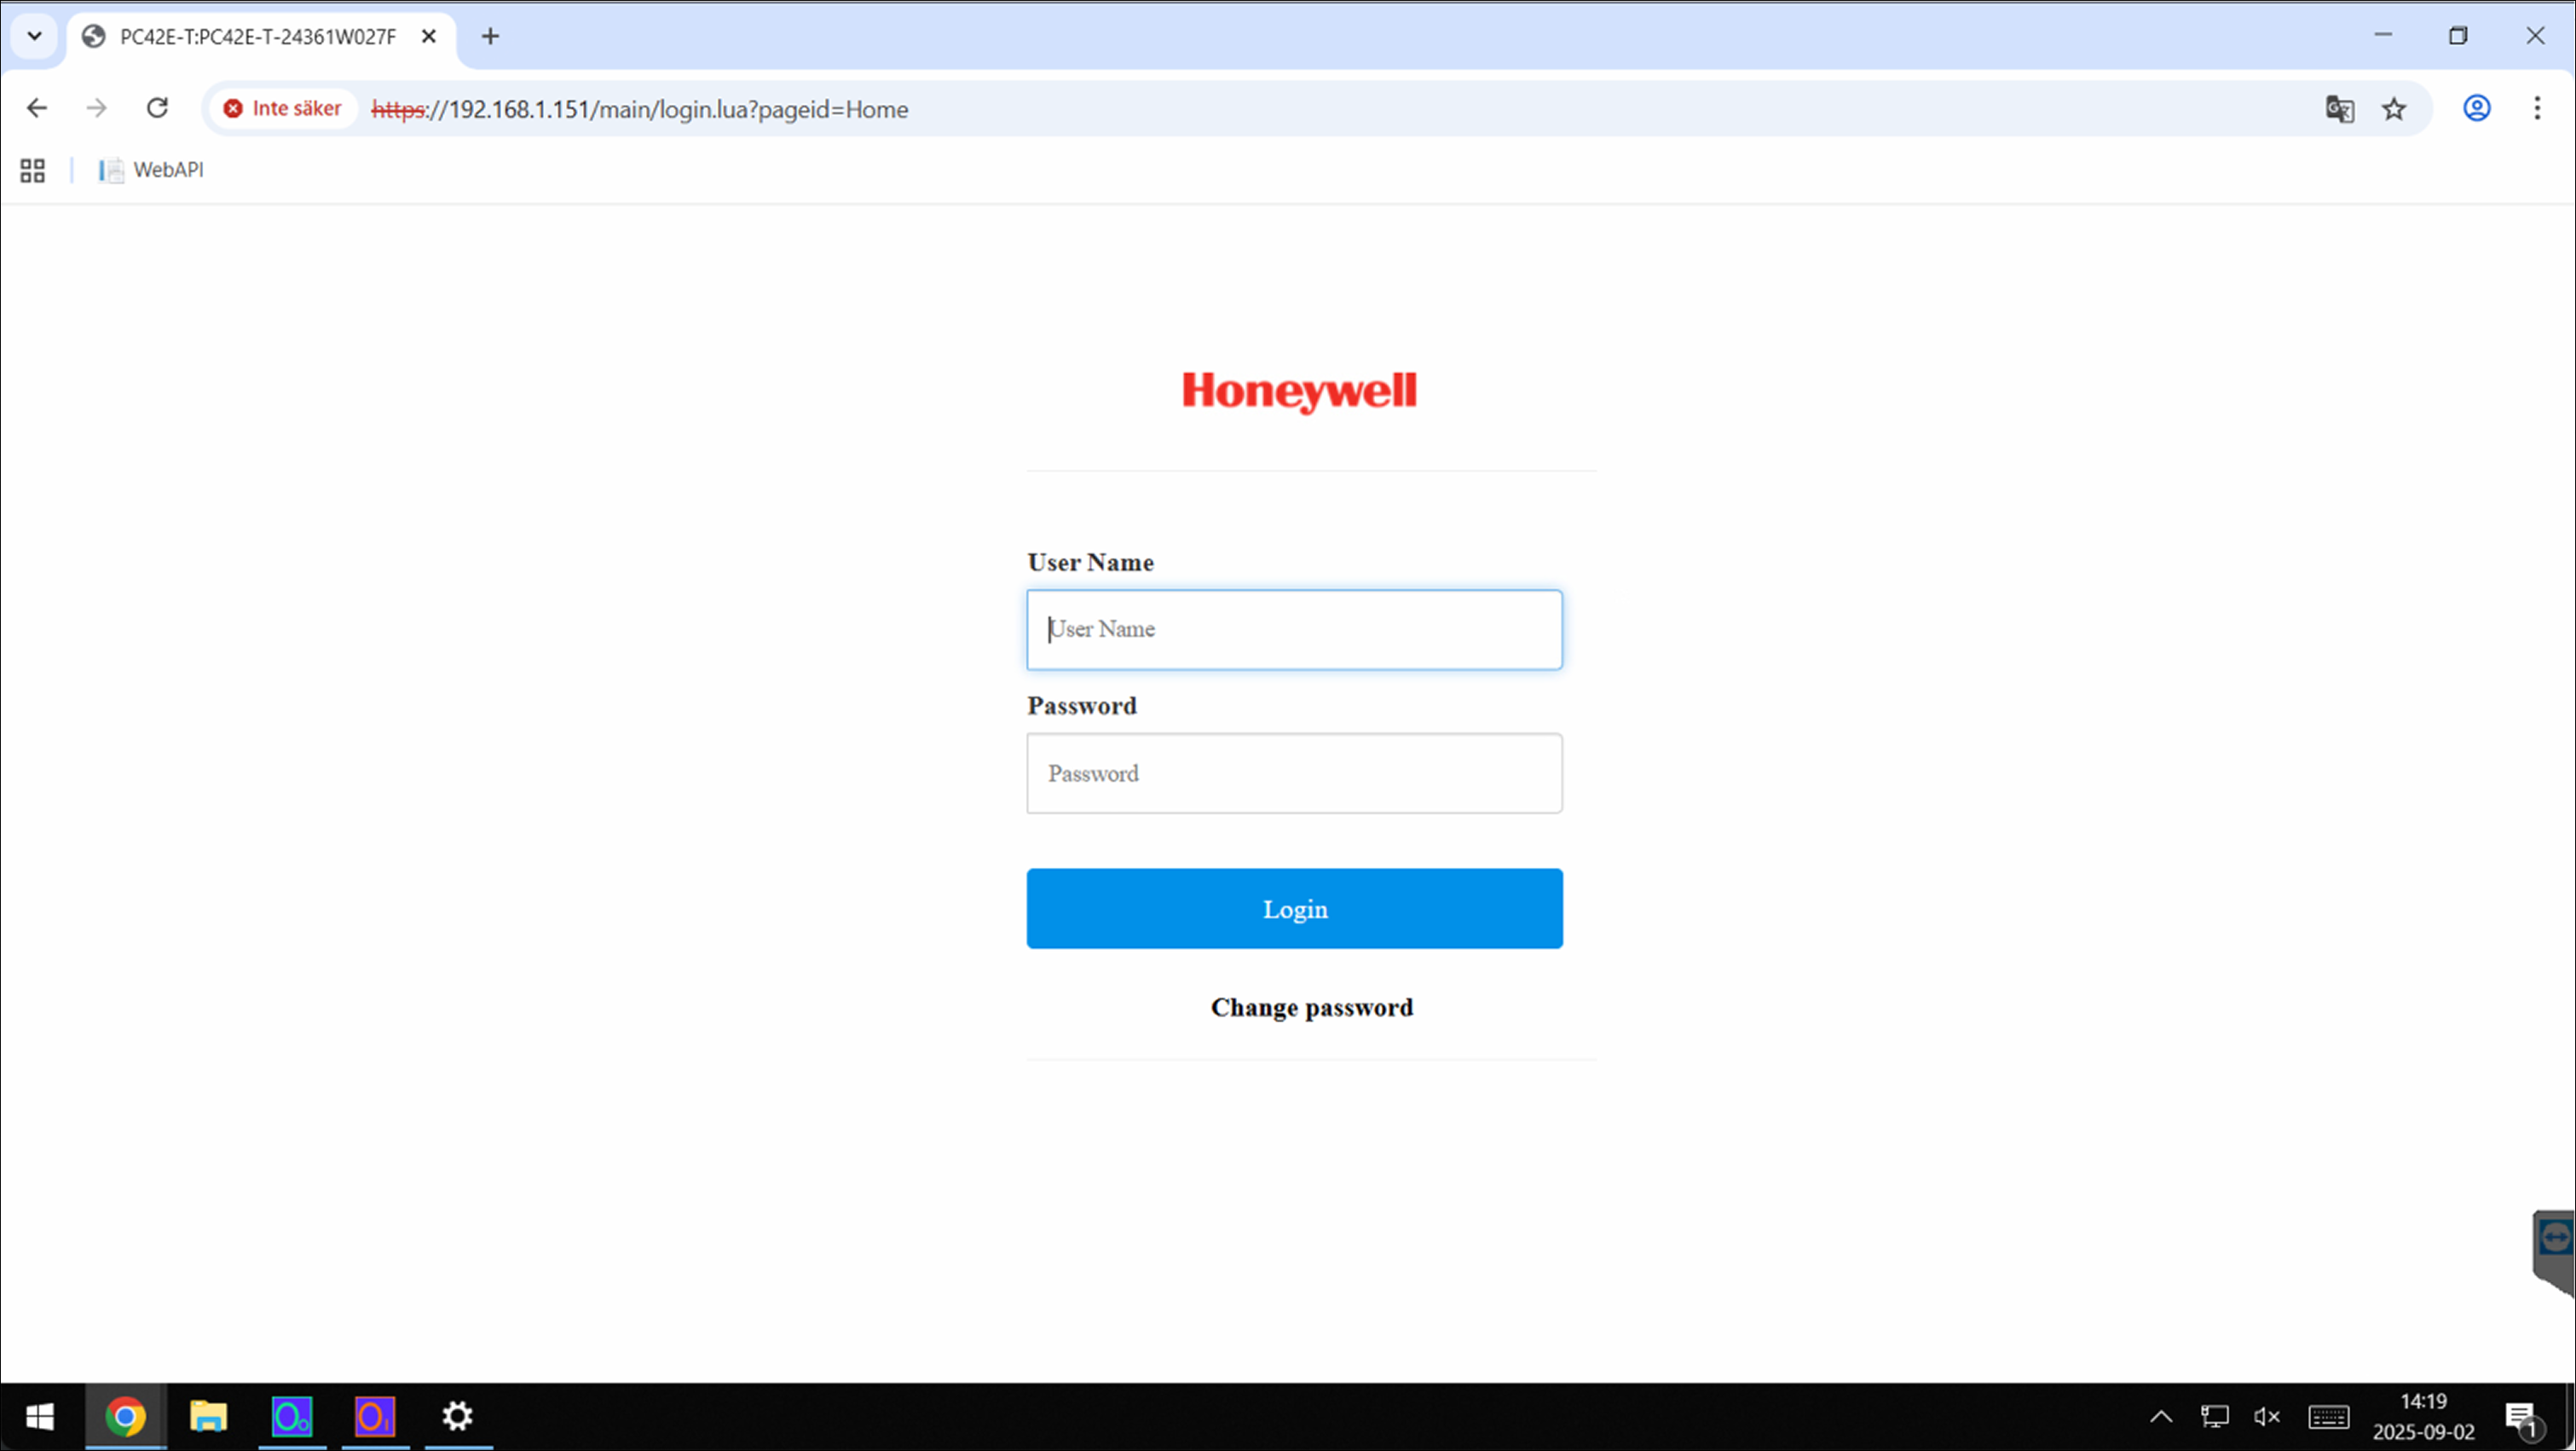
Step 2: Log in to the printer’s web interface
- Open the web browser on the POS.
- Enter the printer’s IP address in the address bar, e.g., https://10.10.100.173, and click Logga in.
- Log in with:
- Username: itadmin
- Password: pass
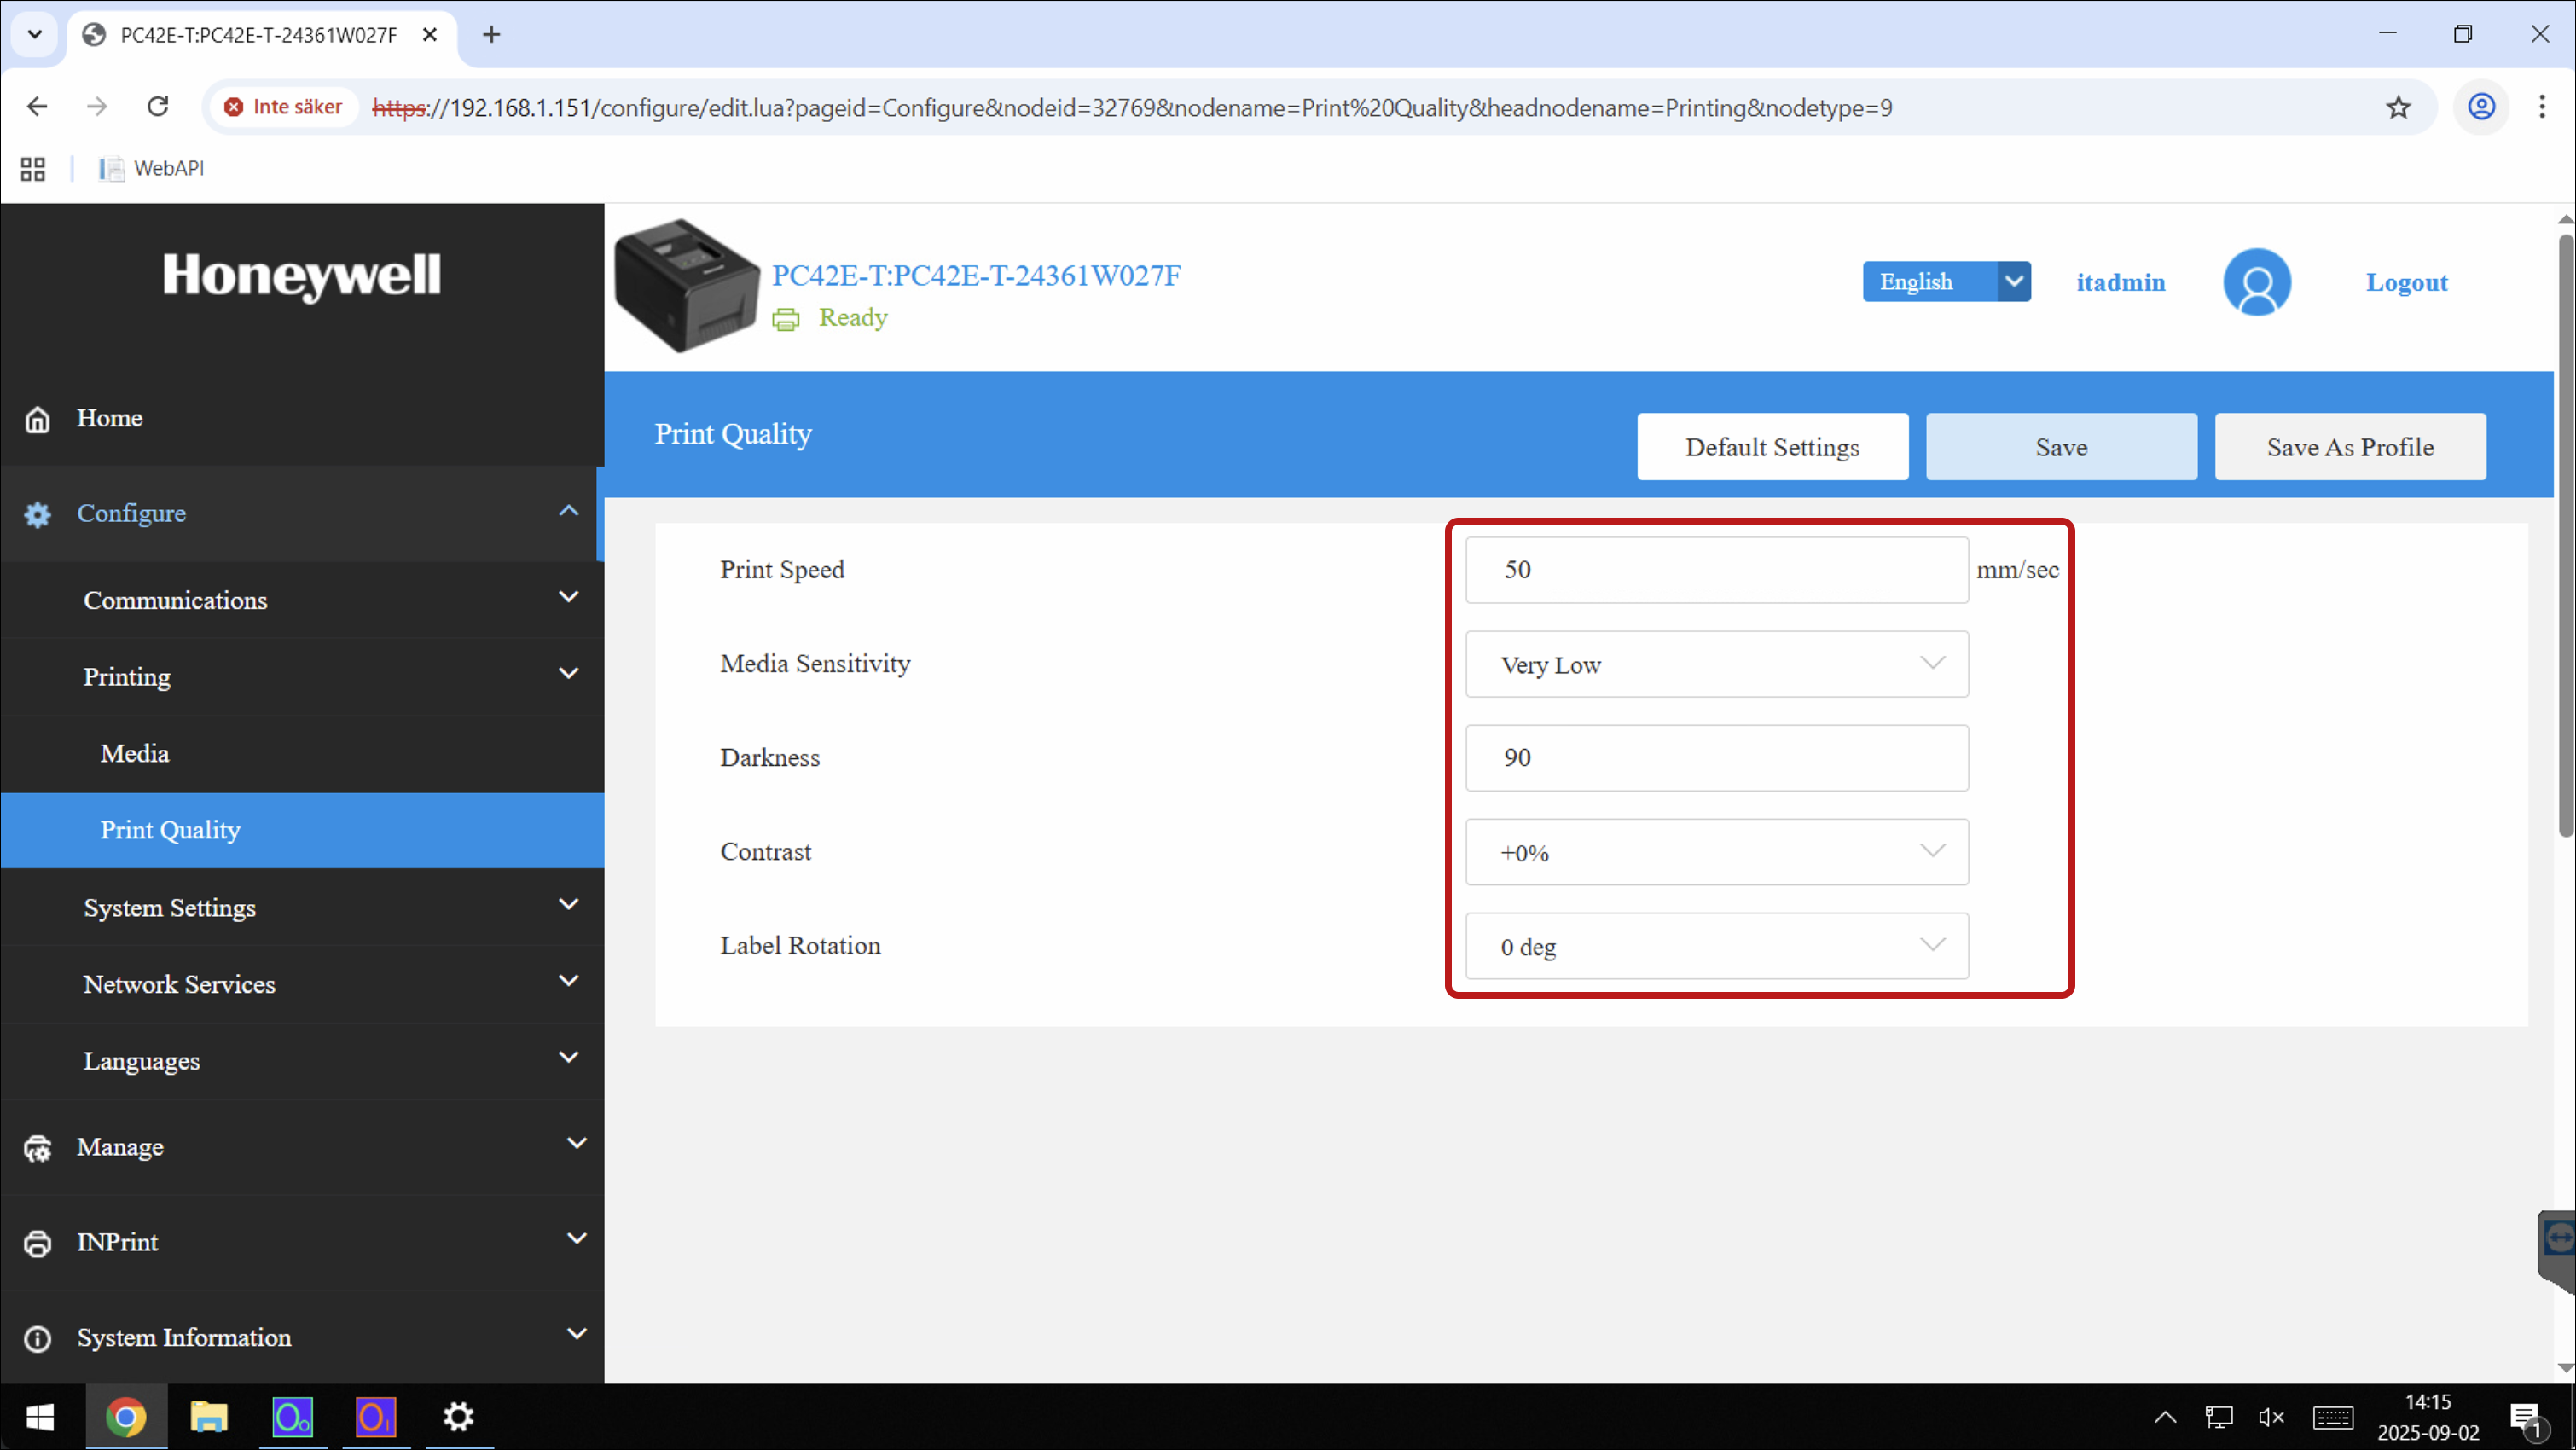
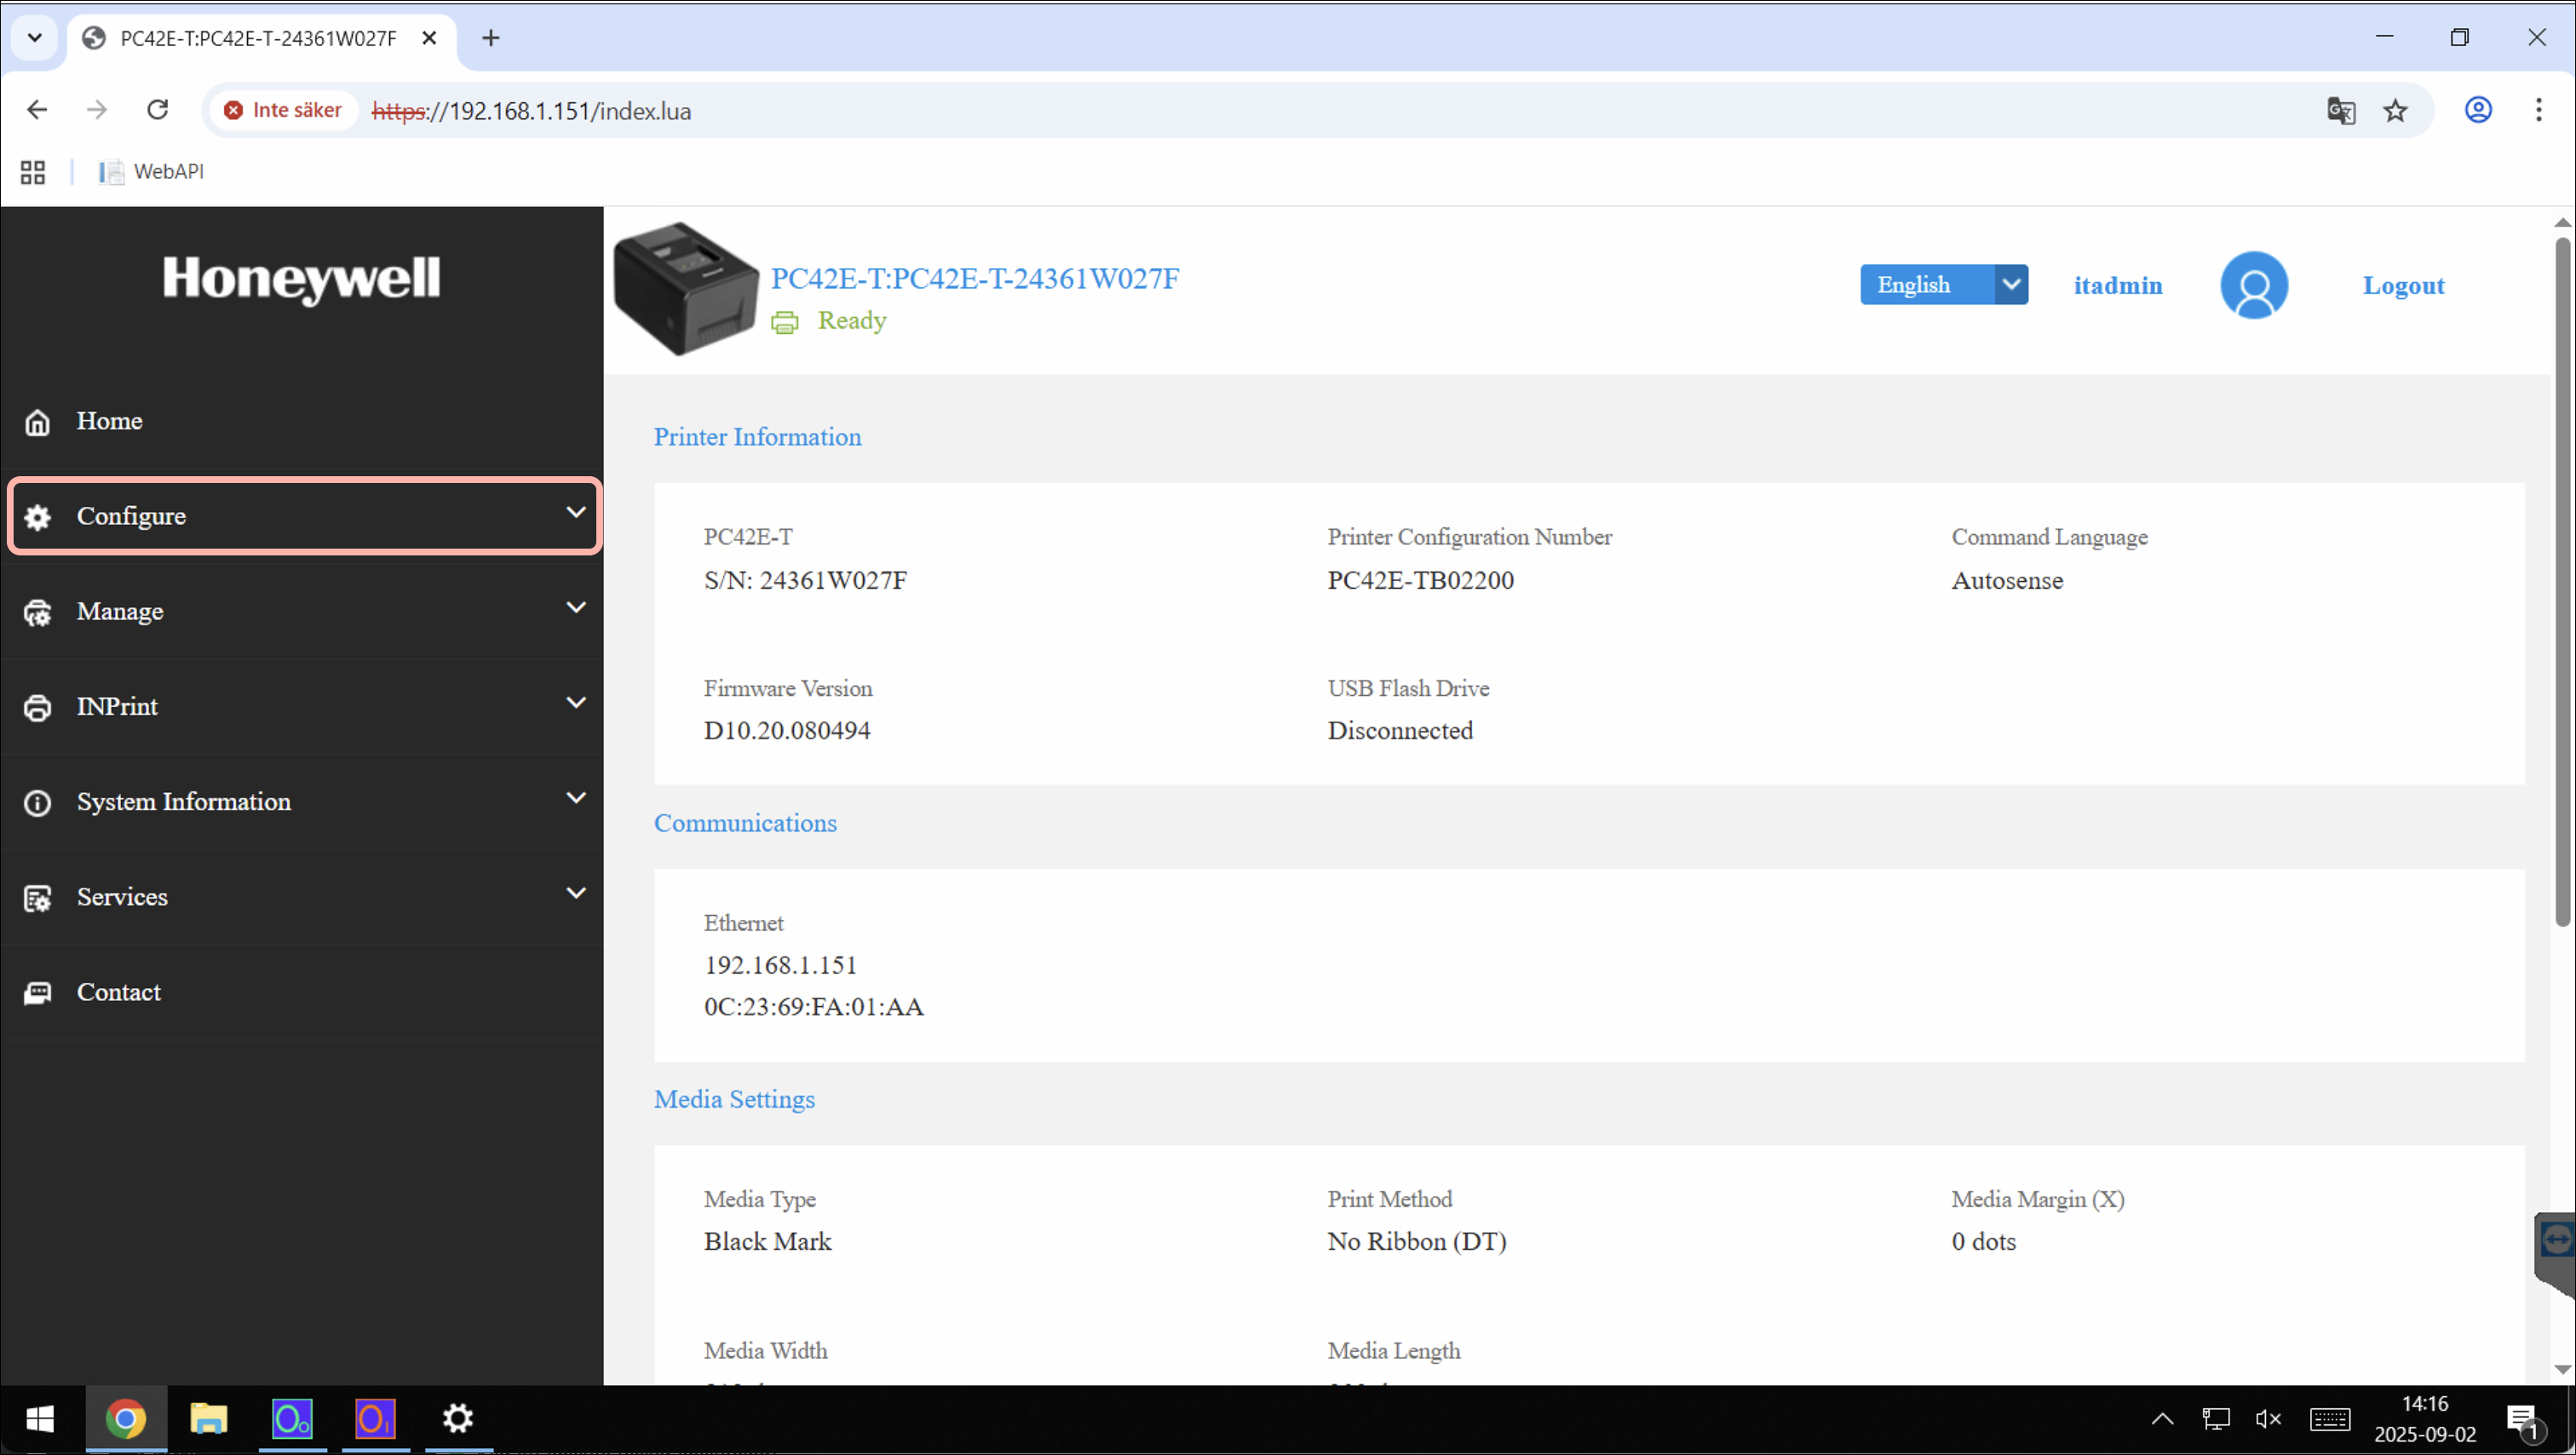
- Click Configure.
- Go to Printing > Print Quality.
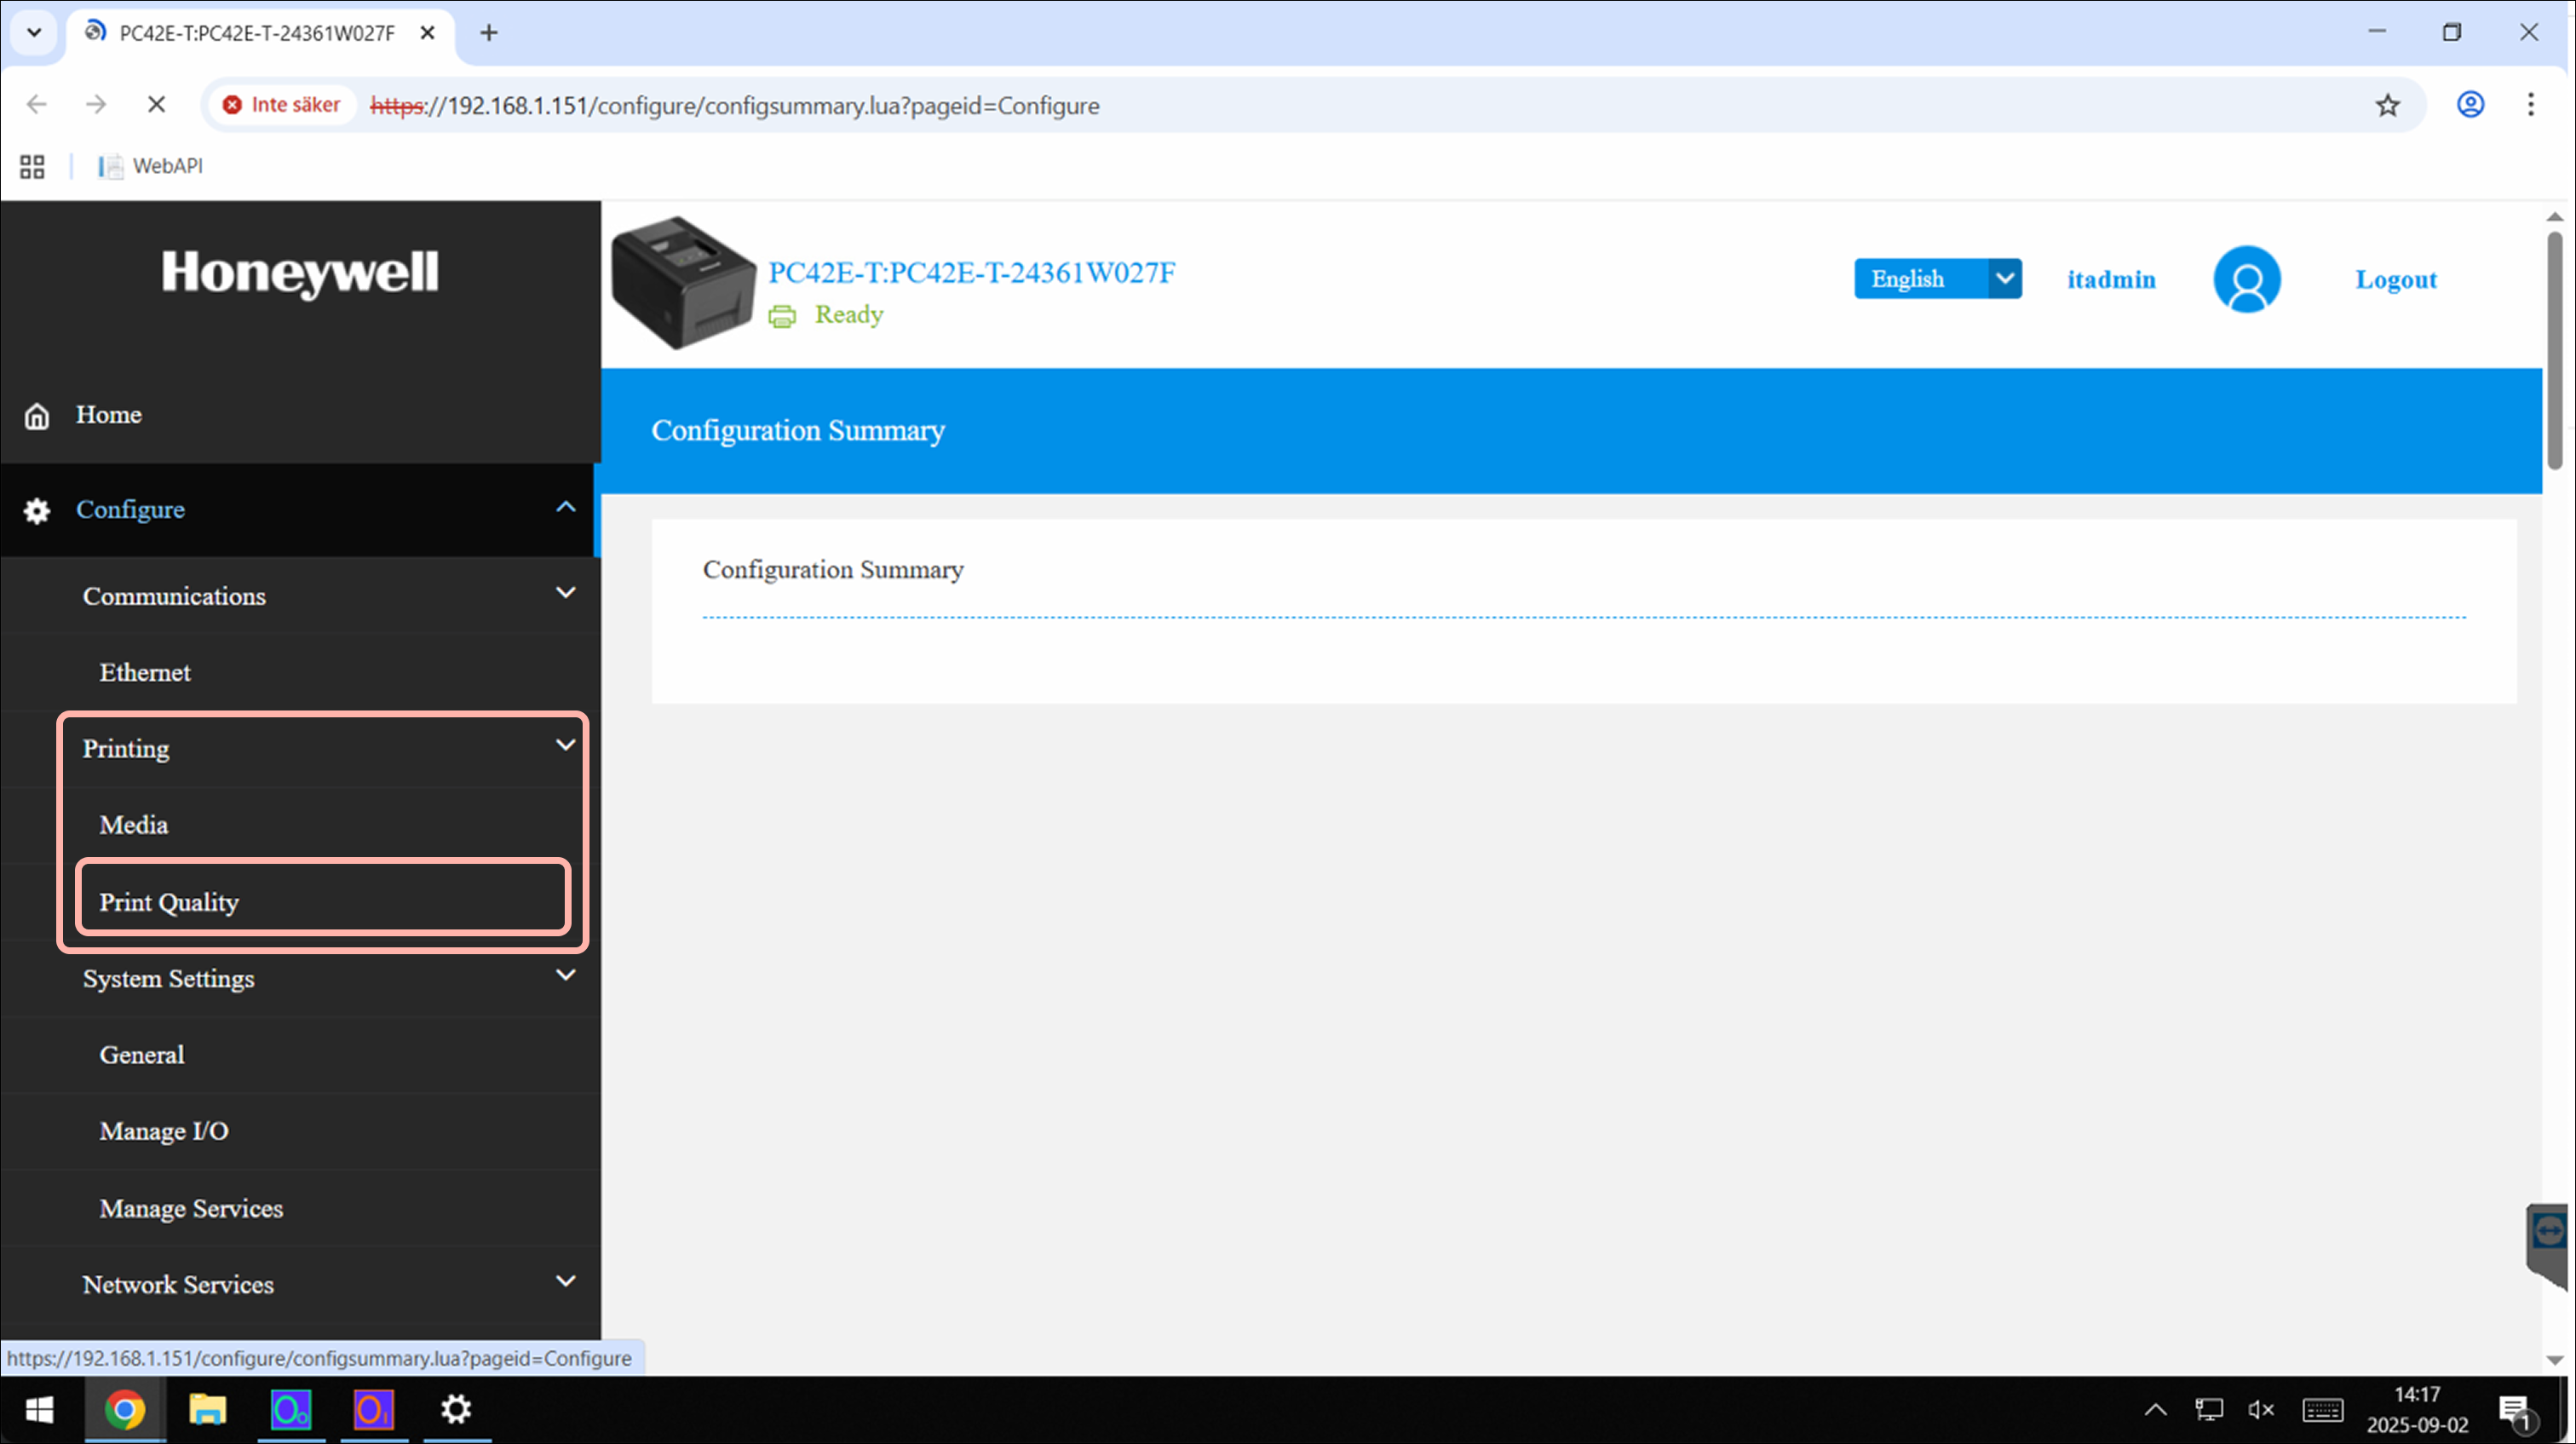
- Ensure the following settings are applied:
- Print speed: 50
- Media Sensitivity: Very Low
- Darkness: 90
- Contrast: +0%
- Label Rotation: 0 deg