Cash register layout
Organize your cash register layout by grouping items into categories and using colors to keep everything clear and easy to navigate.

One or multiple layouts?
You can choose to use:
- One layout for the entire company, or
- Separate layouts for each cost center
Note that the Company layout is a universal template that will be used for all cost centers for which you do not generate a specific layout.
This flexibility allows you to tailor your setup based on your business structure.

Parent categories
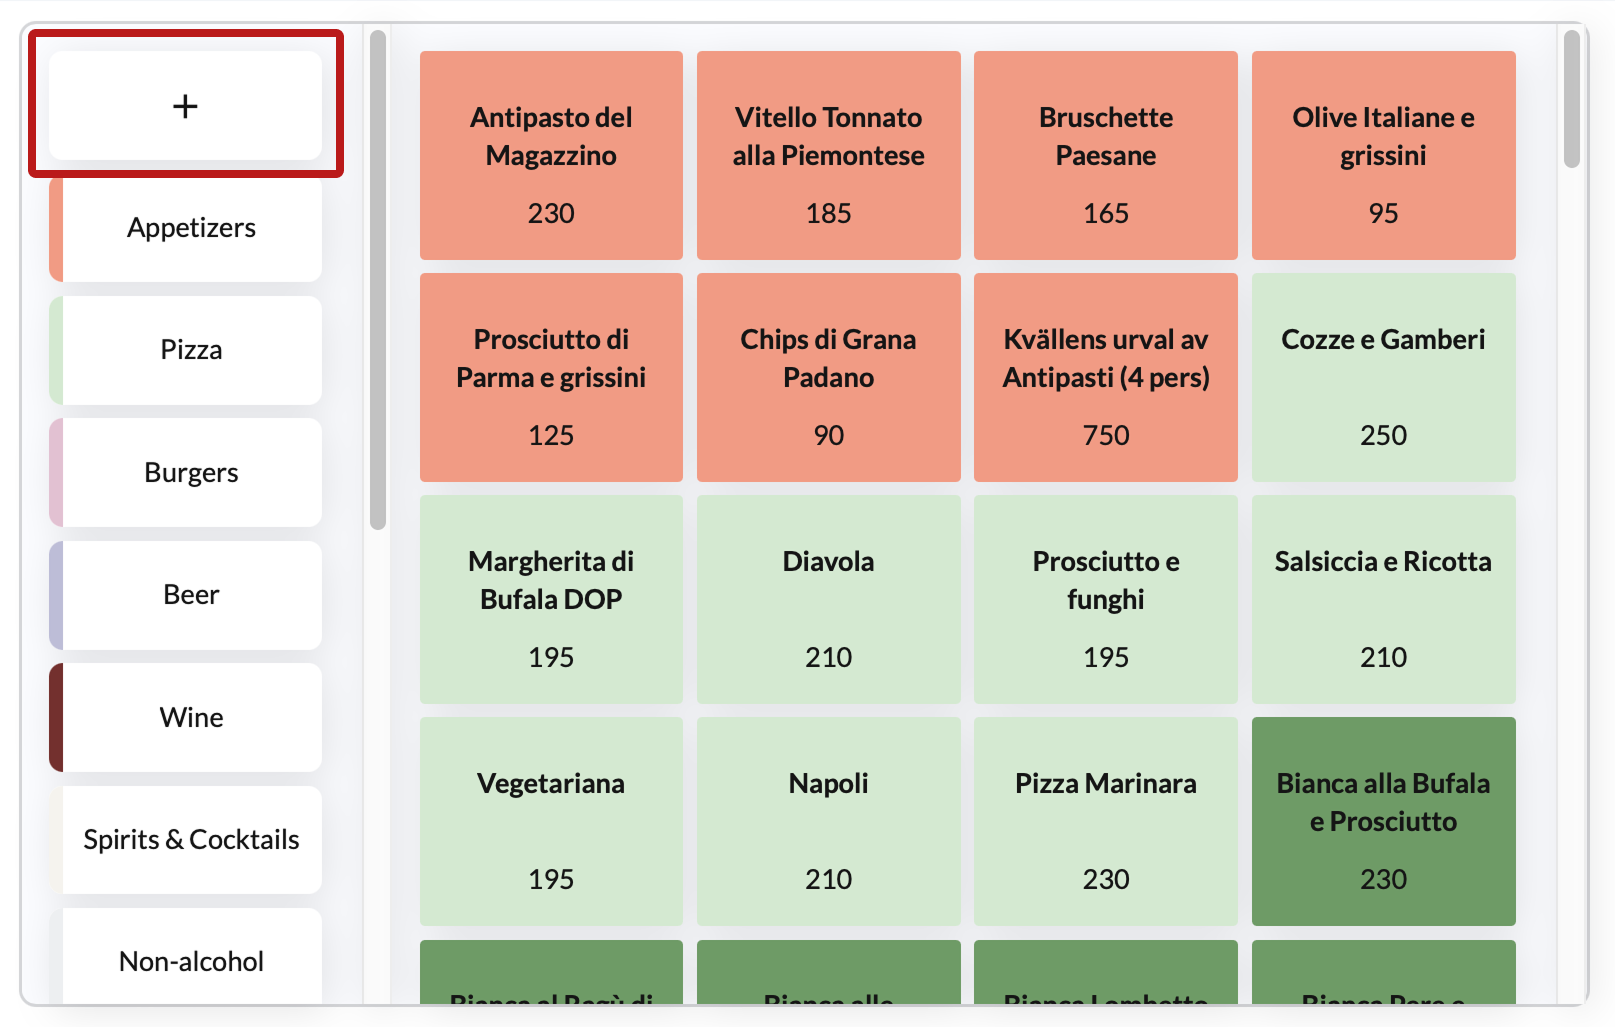
Parent categories are the main sections displayed on the left-hand side of the sales screen. You can:
- Add articles directly under a parent category, or
- Add subcategories to further organize articles
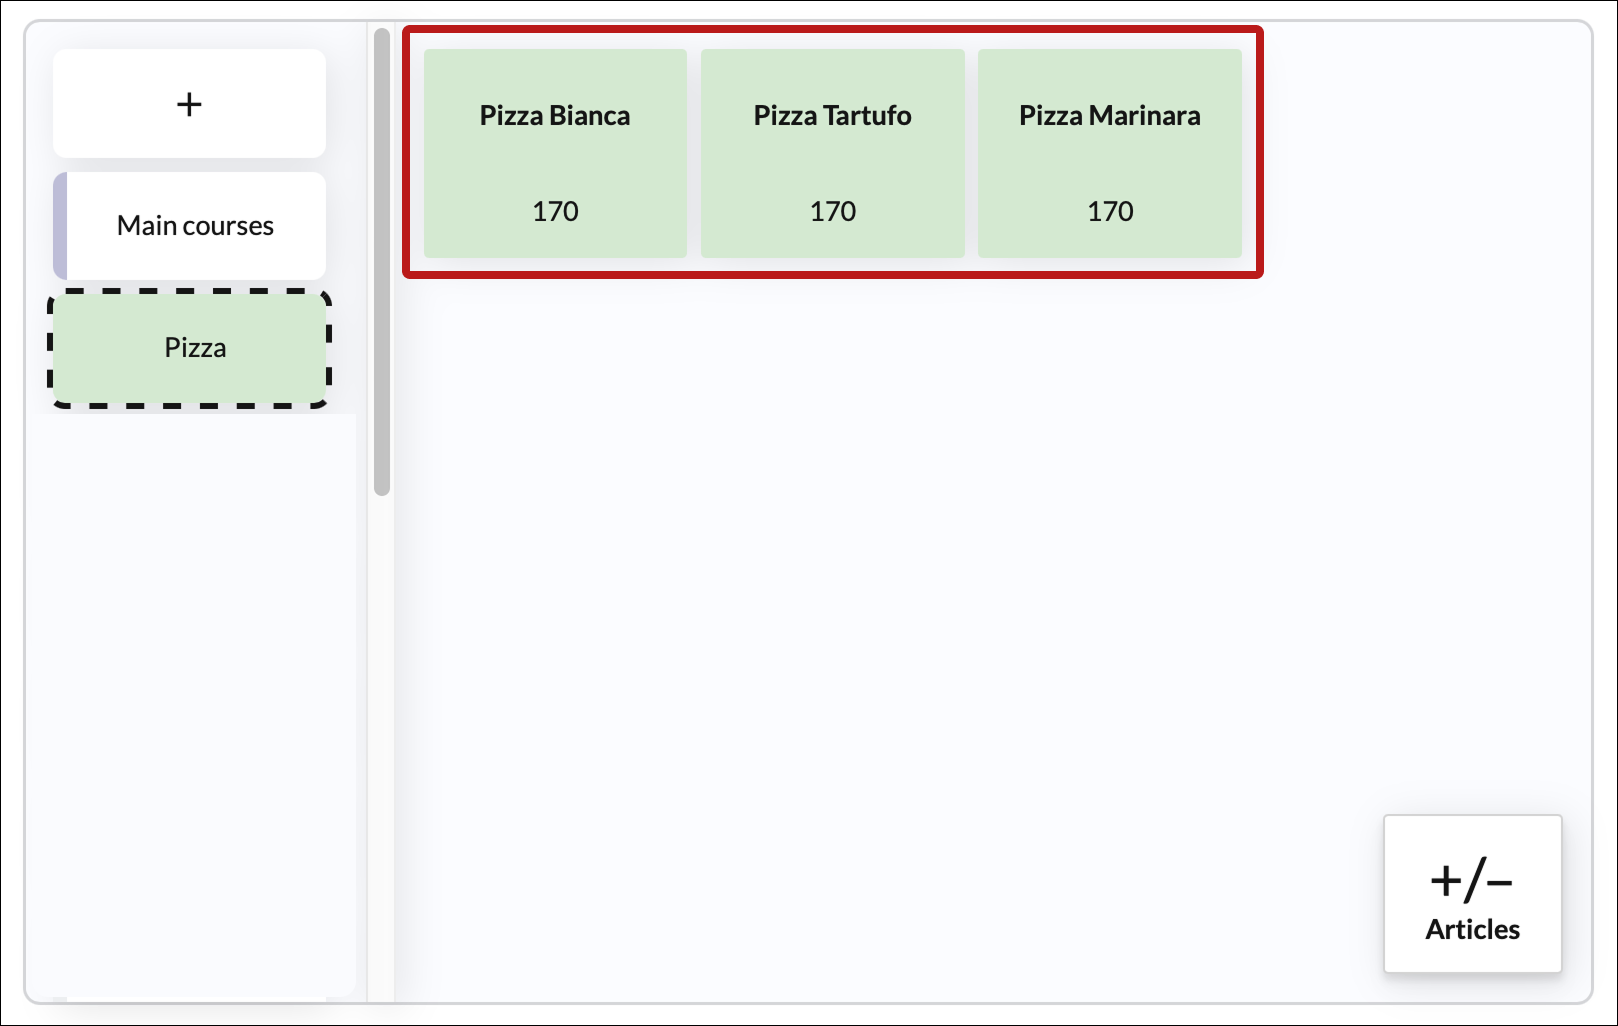
Example: Parent category with articles
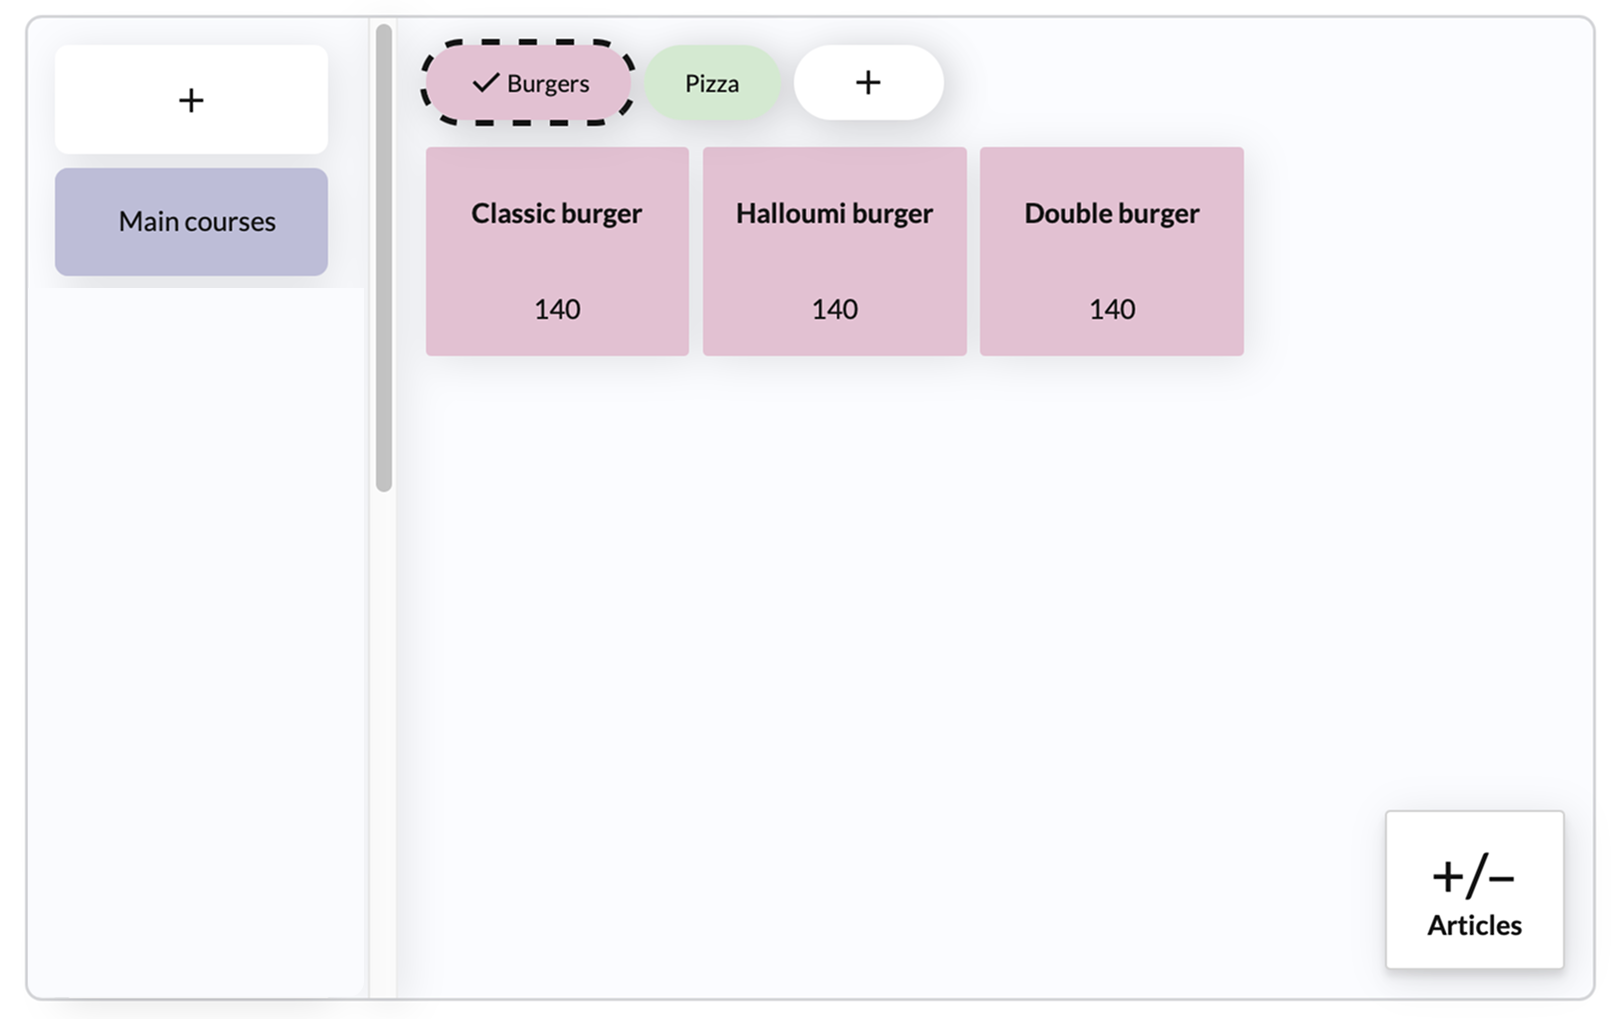
- Parent category: "Main courses"
- Classic burger
- Halloumi burger
- Double burger
- Pizza Marinara
- Pizza Bianca
- Pizza Tartufo

Example: Parent category with subcategories
Parent category: "Main courses"
- Subcategory: "Burgers"
- Classic burger
- Halloumi burger
- Double burger
- Subcategory: "Pizza"
- Pizza Marinara
- Pizza Bianca
- Pizza Tartufo

- Subcategory: "Burgers"


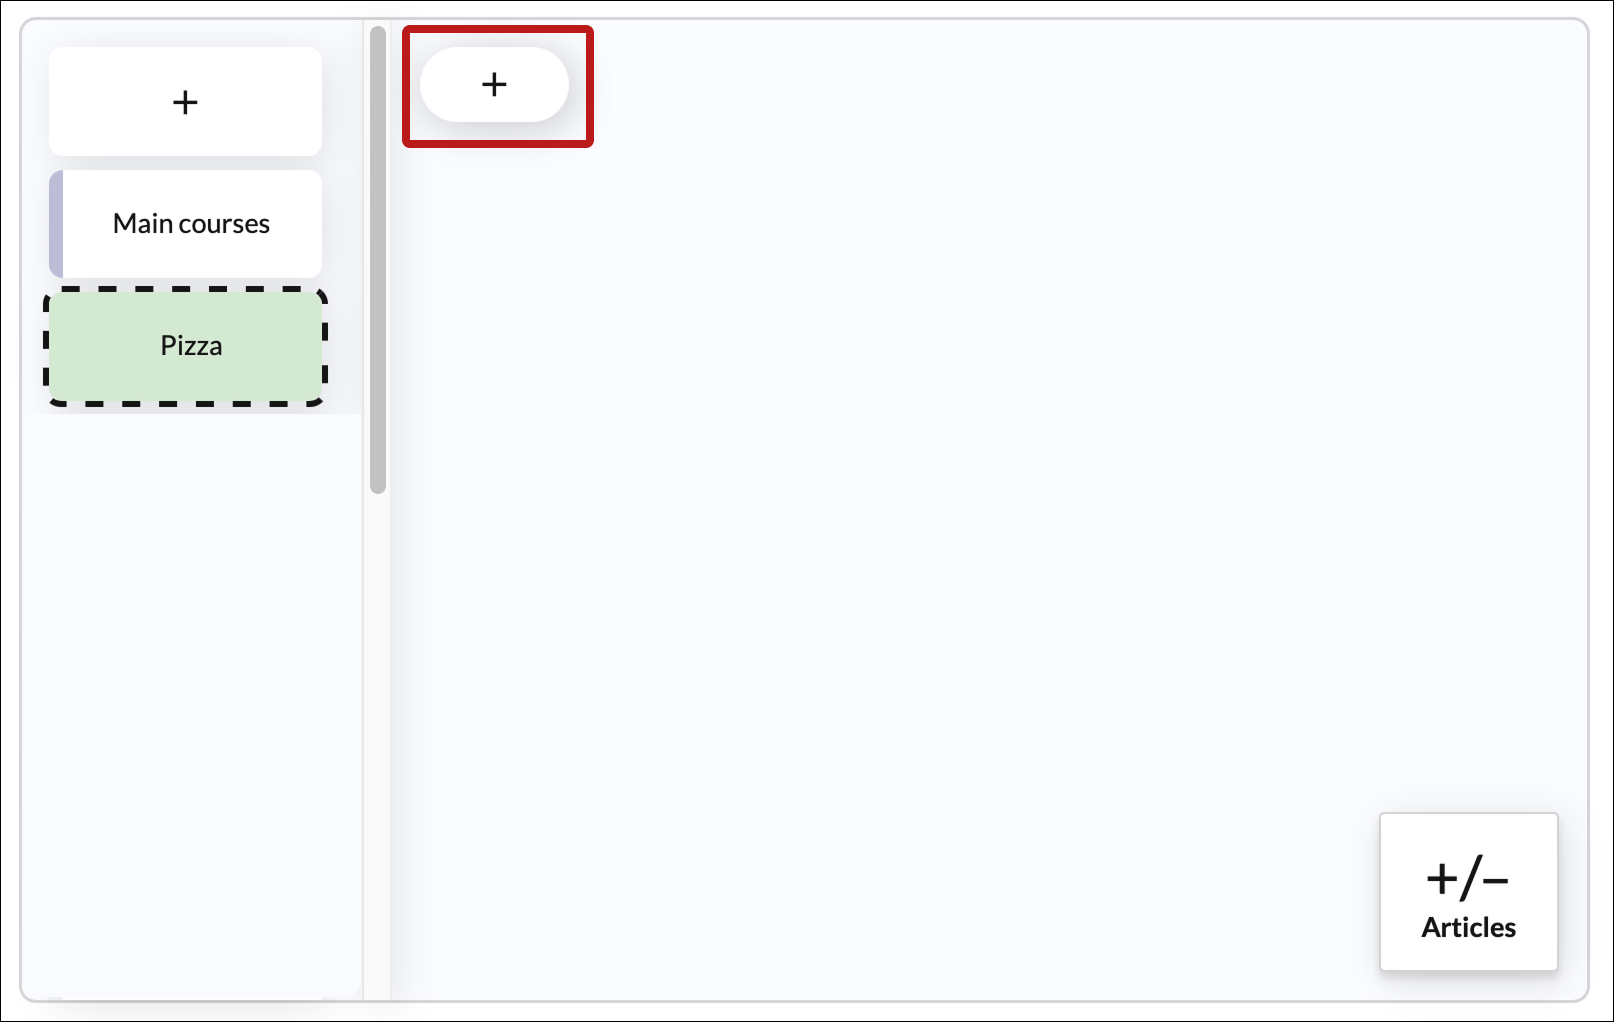
How to add a category
Click the + (plus) button at the top of the categories menu.

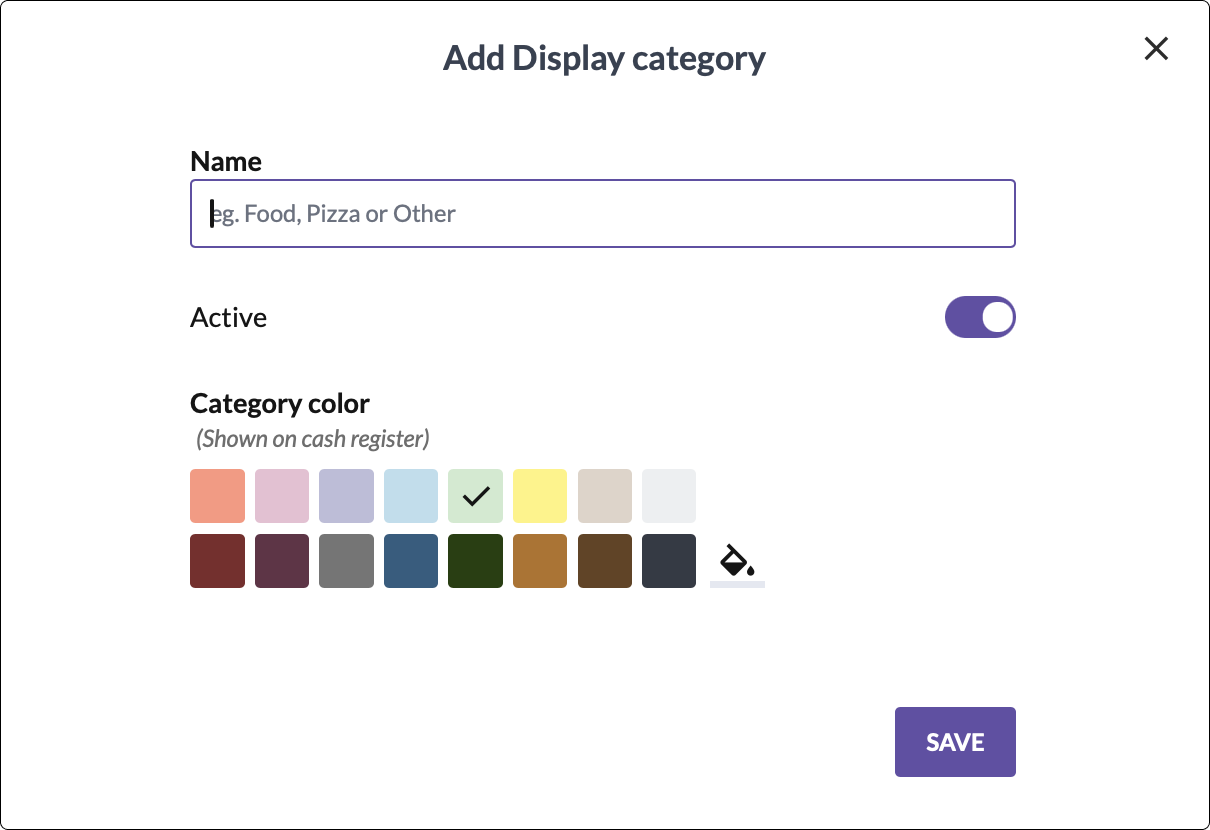
- In the dialog that opens:
- Add a name for the category.
- Choose if it should be active (active means visible in the register).
- Pick a color (select from the palette or use the fill tool for custom color).
- Click Save.

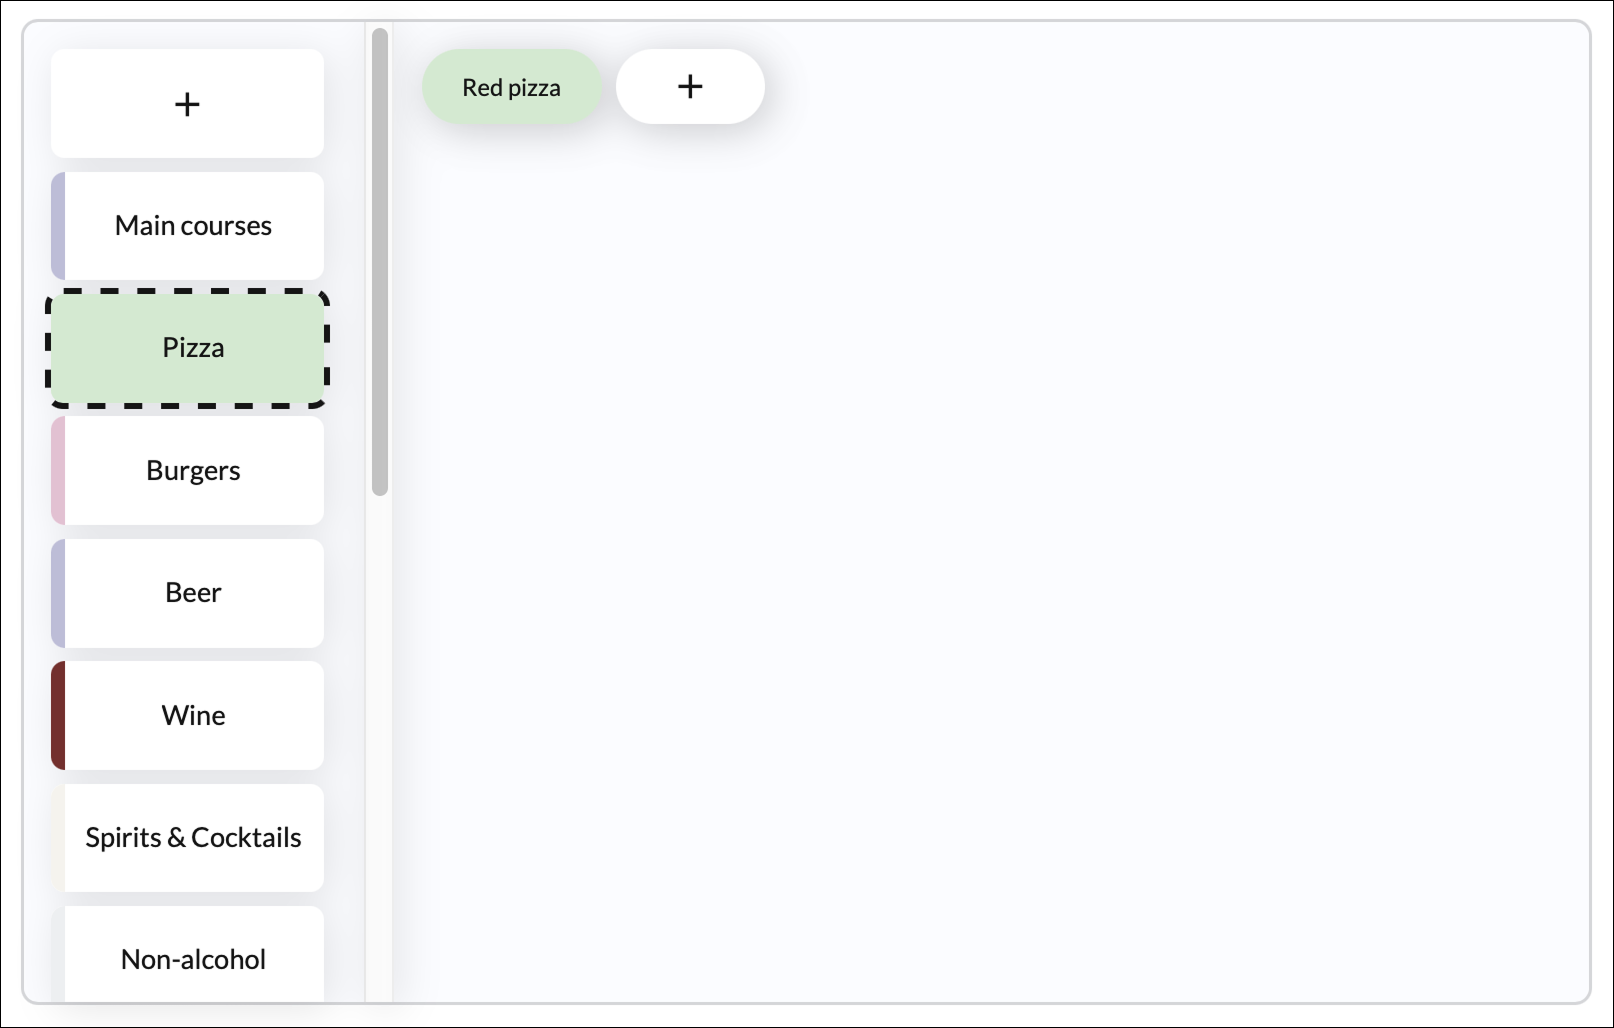
Choose where the category should be placed in the menu. By default, new categories will end up at the bottom of the list, but you can move them by dragging them to desired location.
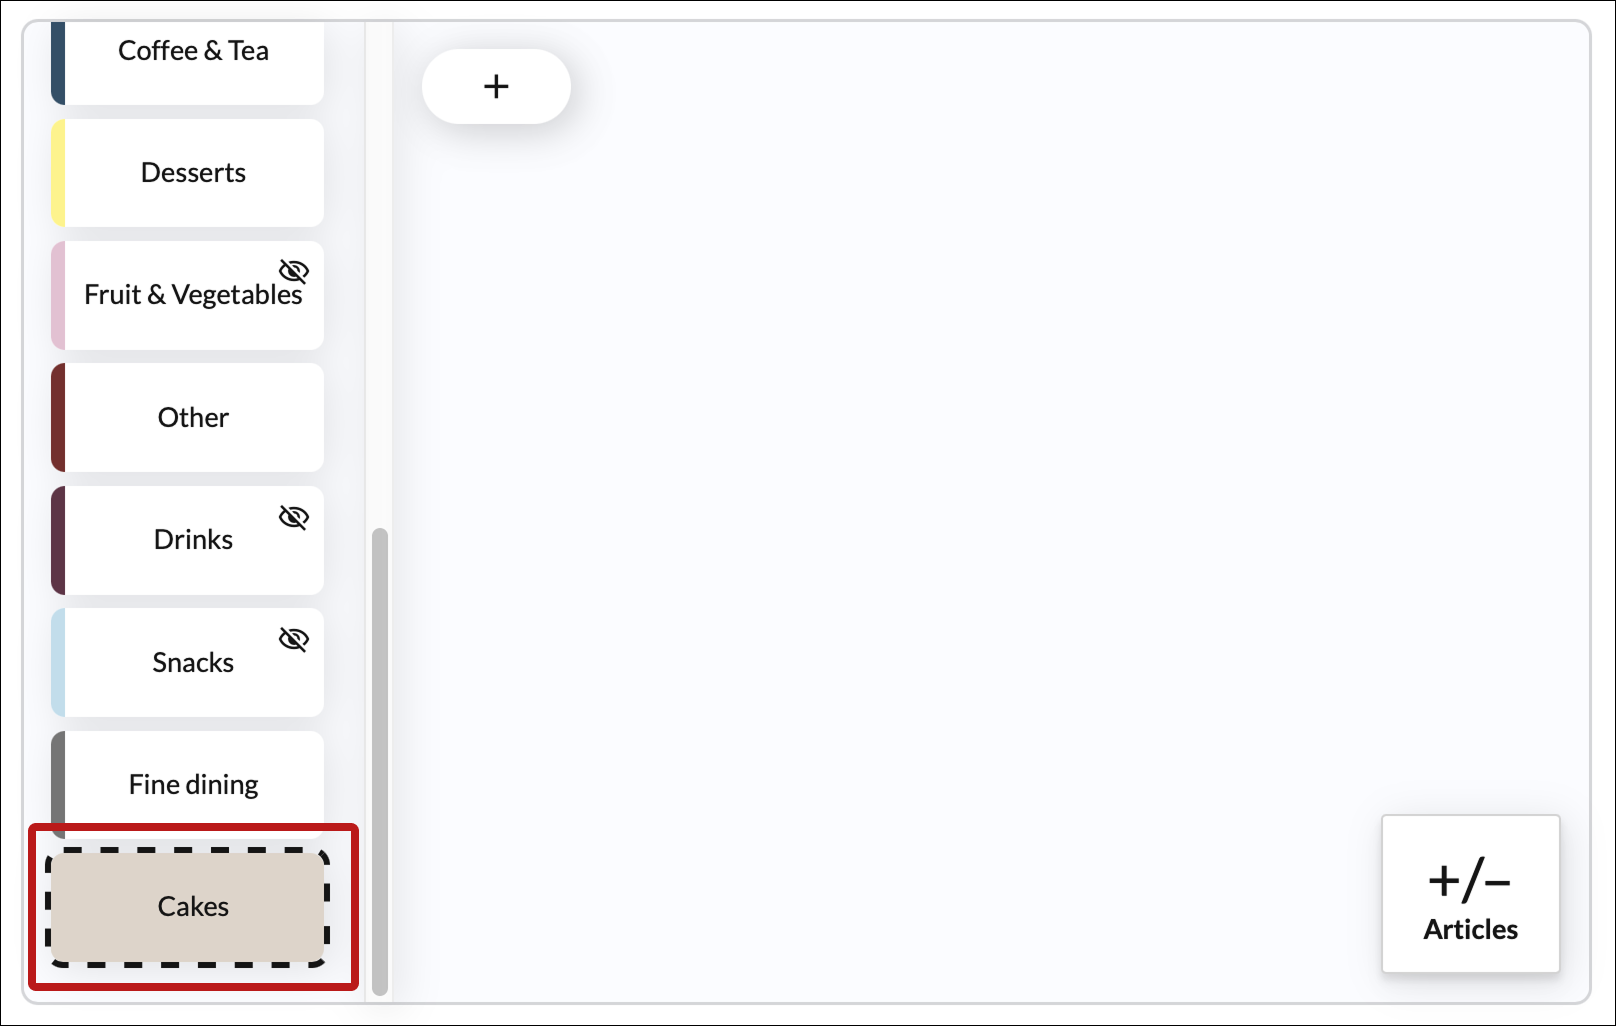

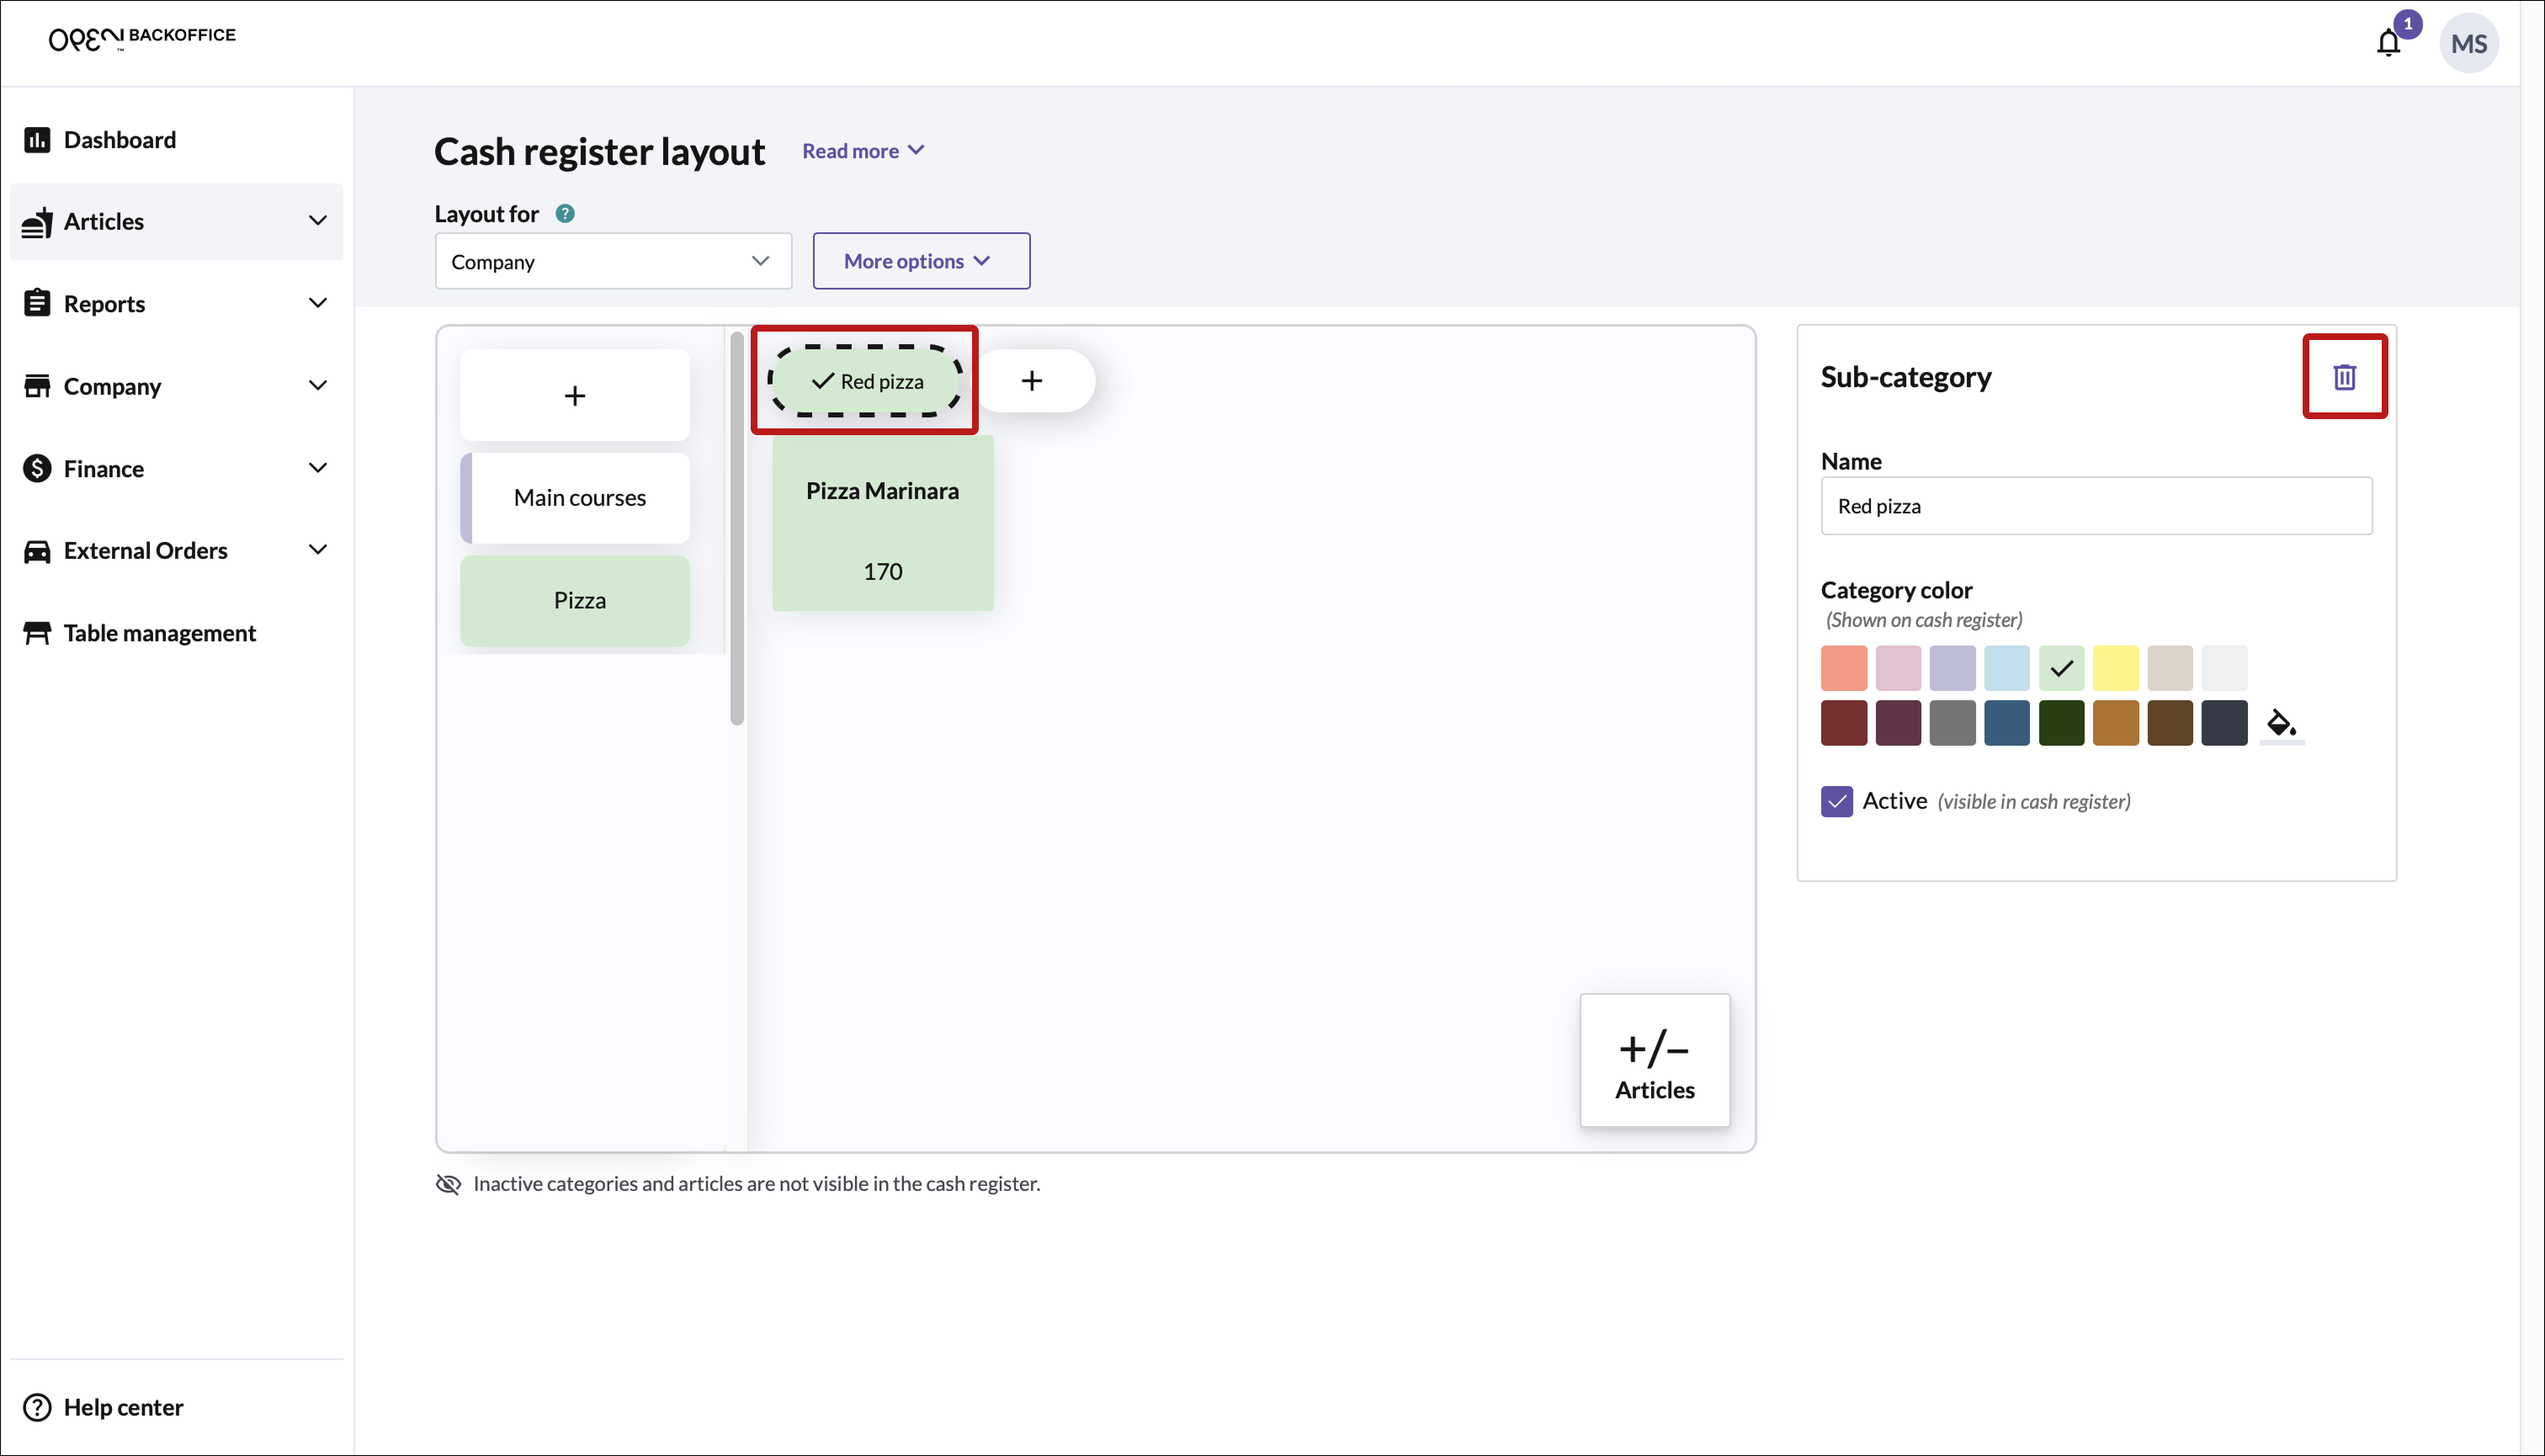
How to remove a category
Select the category from the list.
Click the 🗑️ (delete) button in the right corner.
If the category includes subcategories
Make sure to remove the subcategories first.
- Confirm that you want to delete the category in the dialog that opens.

How to change category settings
You can easily change the category settings by selecting the category. This will open a section on the right of the page where you can make the following edits:
- Name
- Colour
- Active state
- Deleting the category

Subcategories
Use subcategories to further break down your parent categories and keep things organized.
Note
A parent category can't have both "free floating" articles and subcategories at the same time. Before adding subcategories, make sure to remove any articles currently listed under the parent category.
How to add a subcategory
Select the category to which you want to add the subcategory.
WARNING
If there are any articles directly under the current parent category, make sure to remove these:
- Click the +/- Articles button (bottom right).
- Deselect the articles in the category (article rows will turn white).
- Confirm to apply changes.
Click the + (plus) button at the top.
In the dialog that opens:
- Add a name for the category.
- Choose if it should be active (active means visible in the register).
- Pick a color (select from the palette or use the fill tool for custom color).
- Click Save.
You can now add articles to your subcategory or keep grouping your articles with more subcategories.
To add articles:
- Select the subcategory.
- Click the +/- Articles button (bottom right).
- Select the articles in the category (article rows will turn pink).
- Confirm to apply changes.
To add more subcategories:
- Click the + (plus) button at the top.


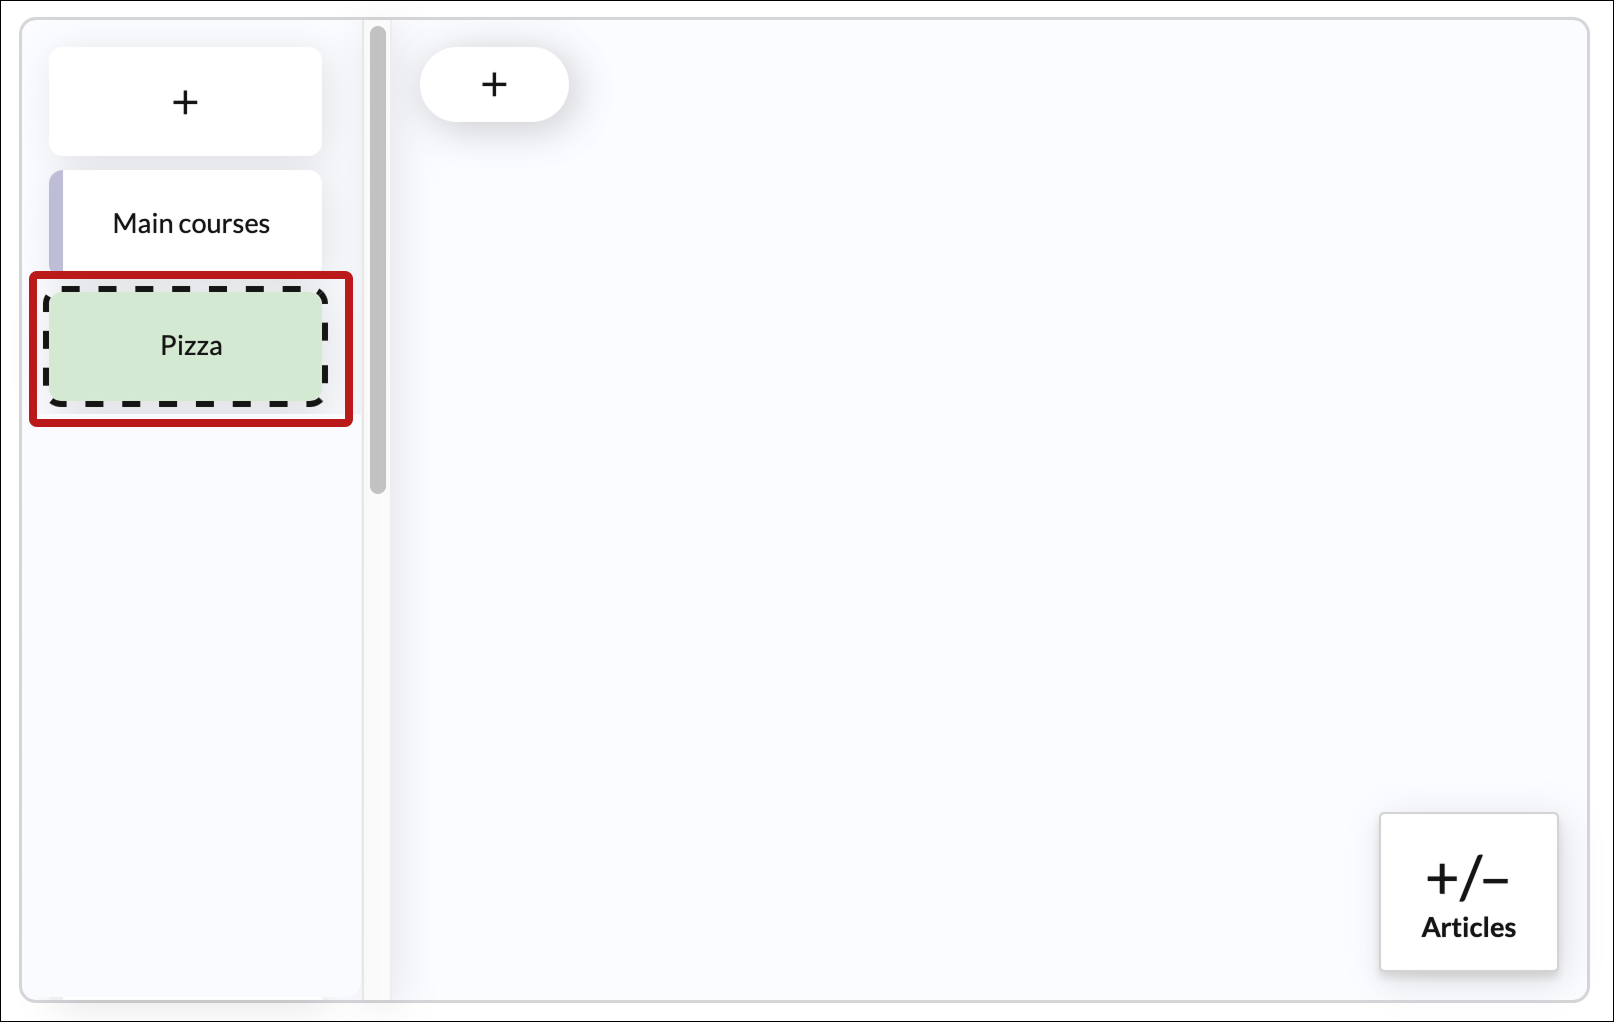
How to remove a subcategory
Select the subcategory and click the 🗑️ (delete) button in the right corner.

- In the dialog that opens, confirm that you want to delete the subcategory.

How to change subcategory settings
You can easily change the category settings by selecting the category. This will open a section on the right of the page where you can make the following edits:
- Name
- Colour
- Active state
- Deleting the category

Add or remove articles
You can add articles to any category or subcategory.
➕➖ Add or Remove articles
Select a category you want to edit (parent or subcategory)
Click the +/- Articles button (bottom right).
A panel will open on the right. Here you can:
- Sort articles by: Name, Product group, Price or Date Created.
- See which articles are already assigned (look for the colored dot under "Category").
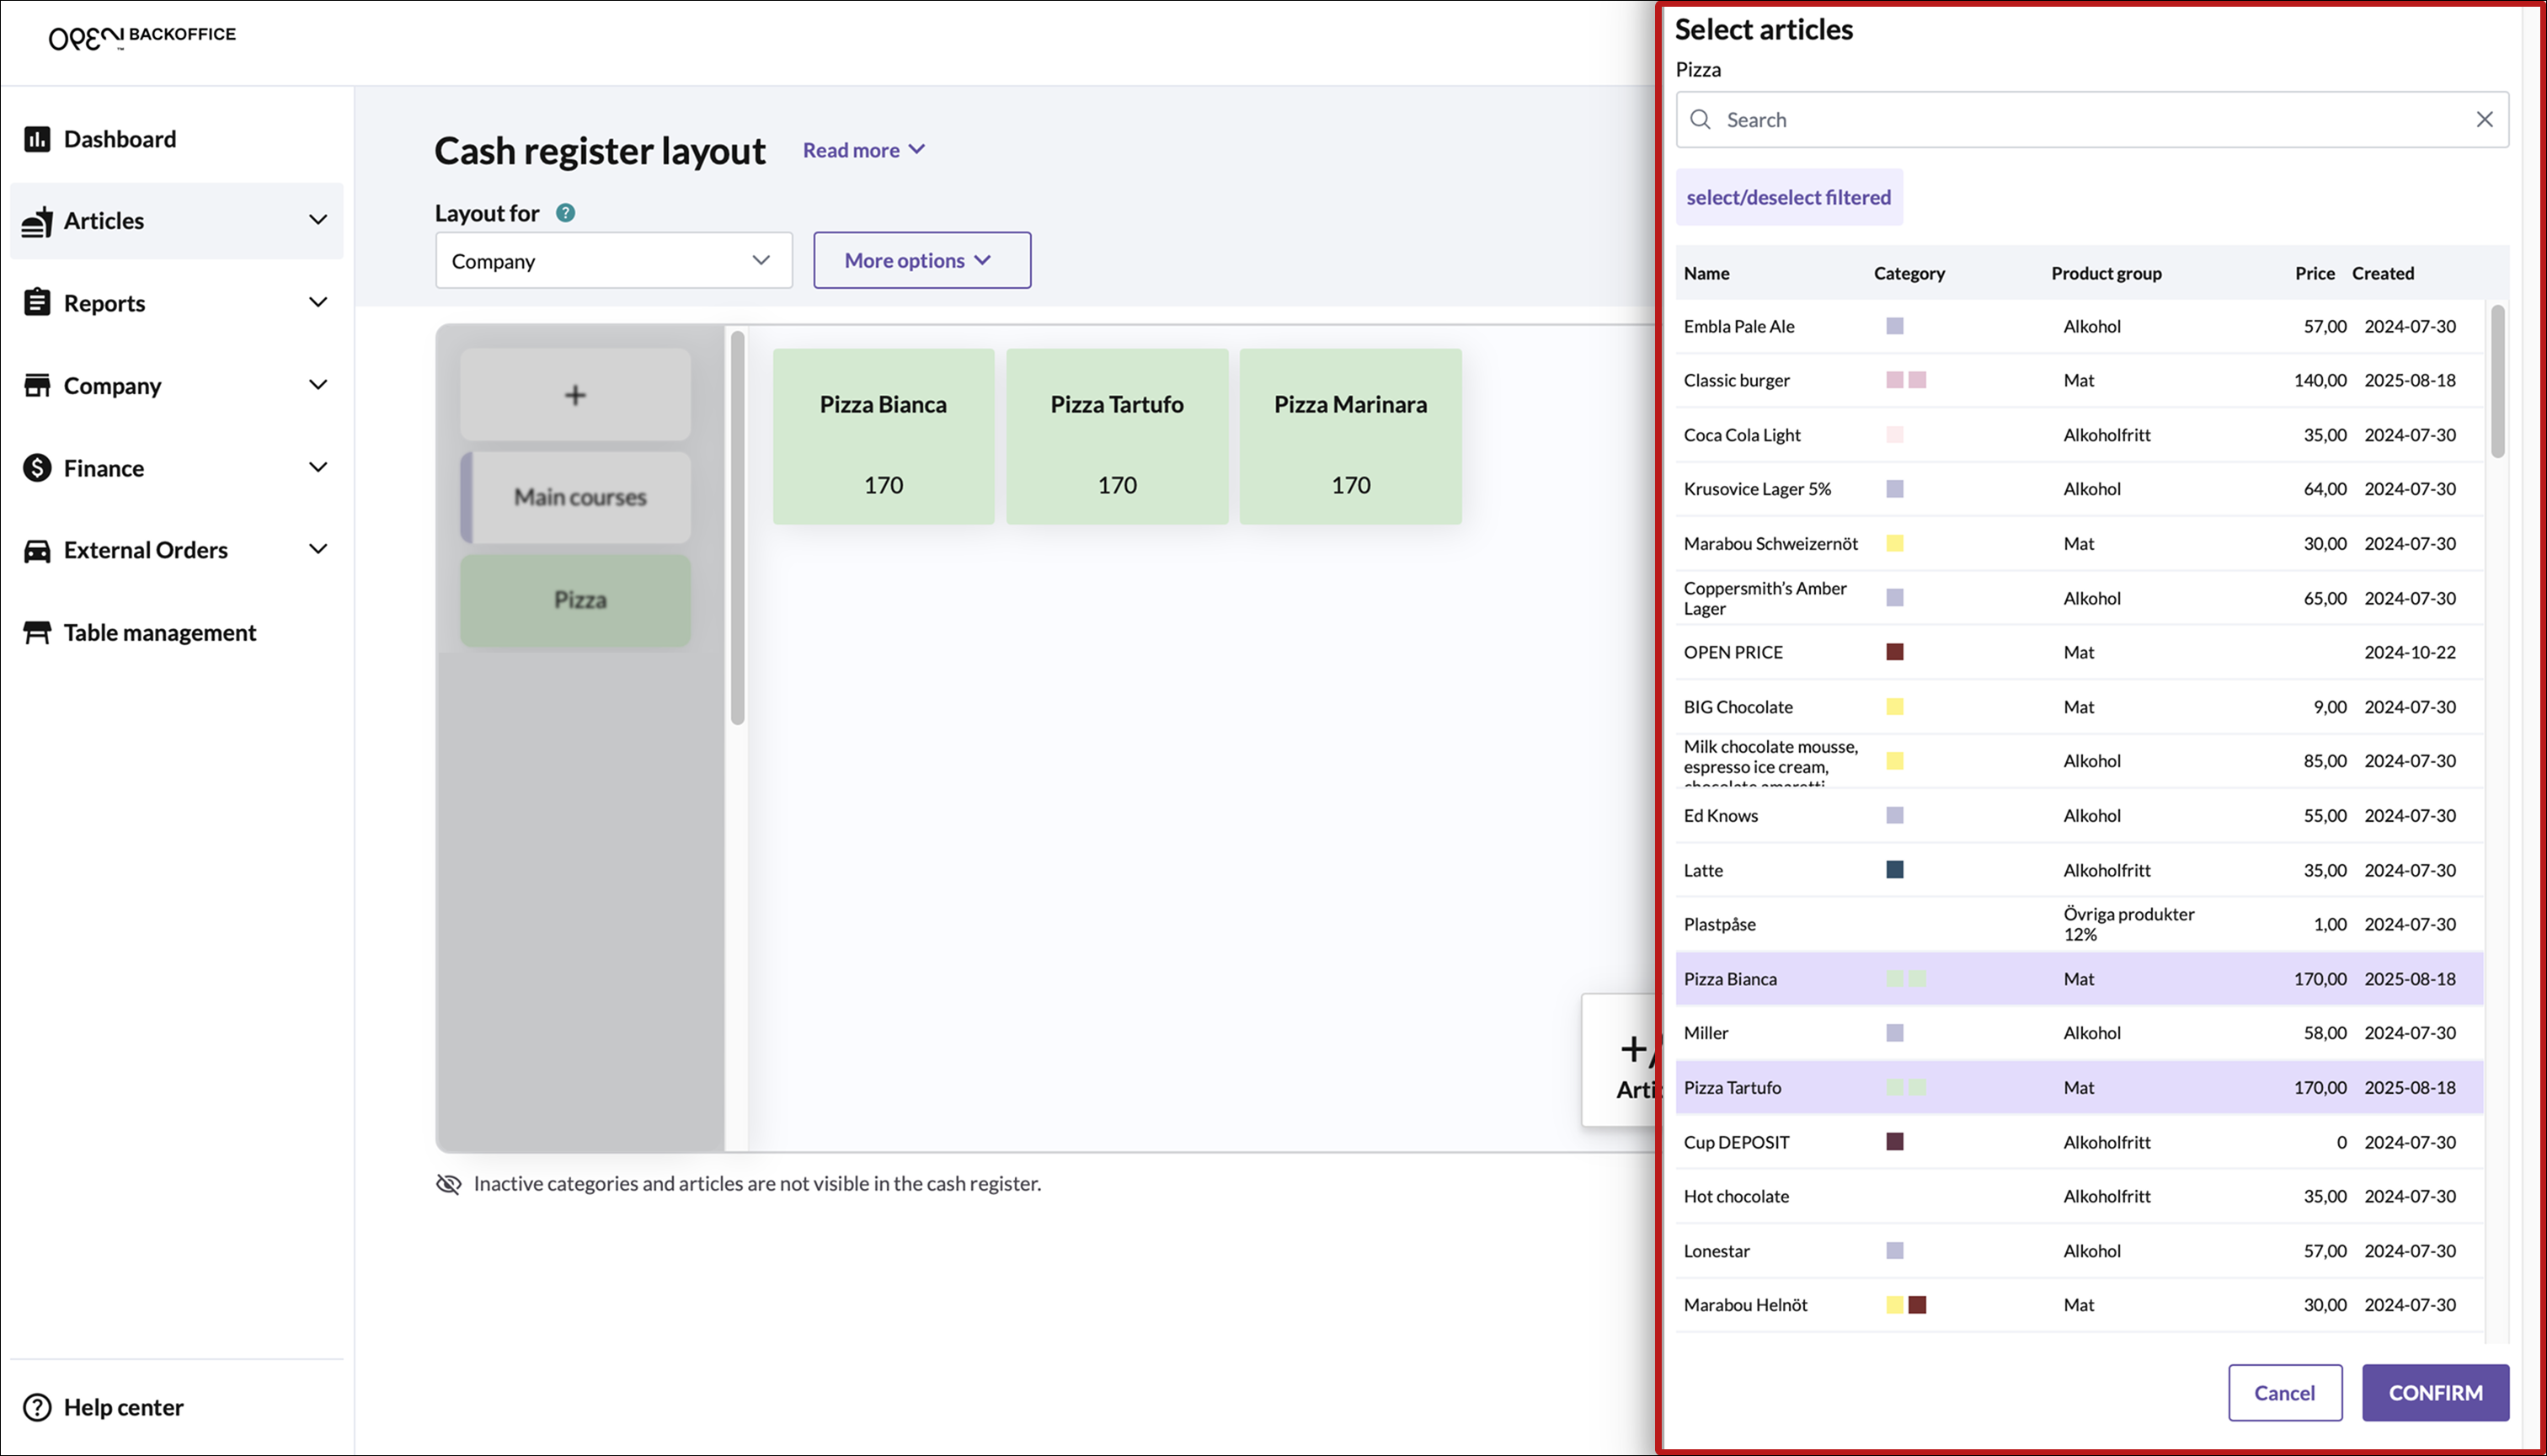
Add articles by selecting them (row turns light pink). Remove articles by deselecting them (row turns white).
Click Confirm to apply changes.
