Invoicing via Tripletex (Norway)
This guide will go through how you enable the Tripletex integration to allow you manage both your accounting and invoicing via Tripletex.
Requirements for using Tripletex invoice
To use invoicing via Tripletex, you also need to use Tripletex for your accounting. This is because the accounting for the invoices will be handled through Tripletex.
Get started with invoicing via Tripletex
This is the overall process of enabling invoicing via Tripletex:
- Create token in Tripletex
- Activate Tripletex integration in BackOffice
- Enable the invoicing payment method
- Ready to charge via invoice!
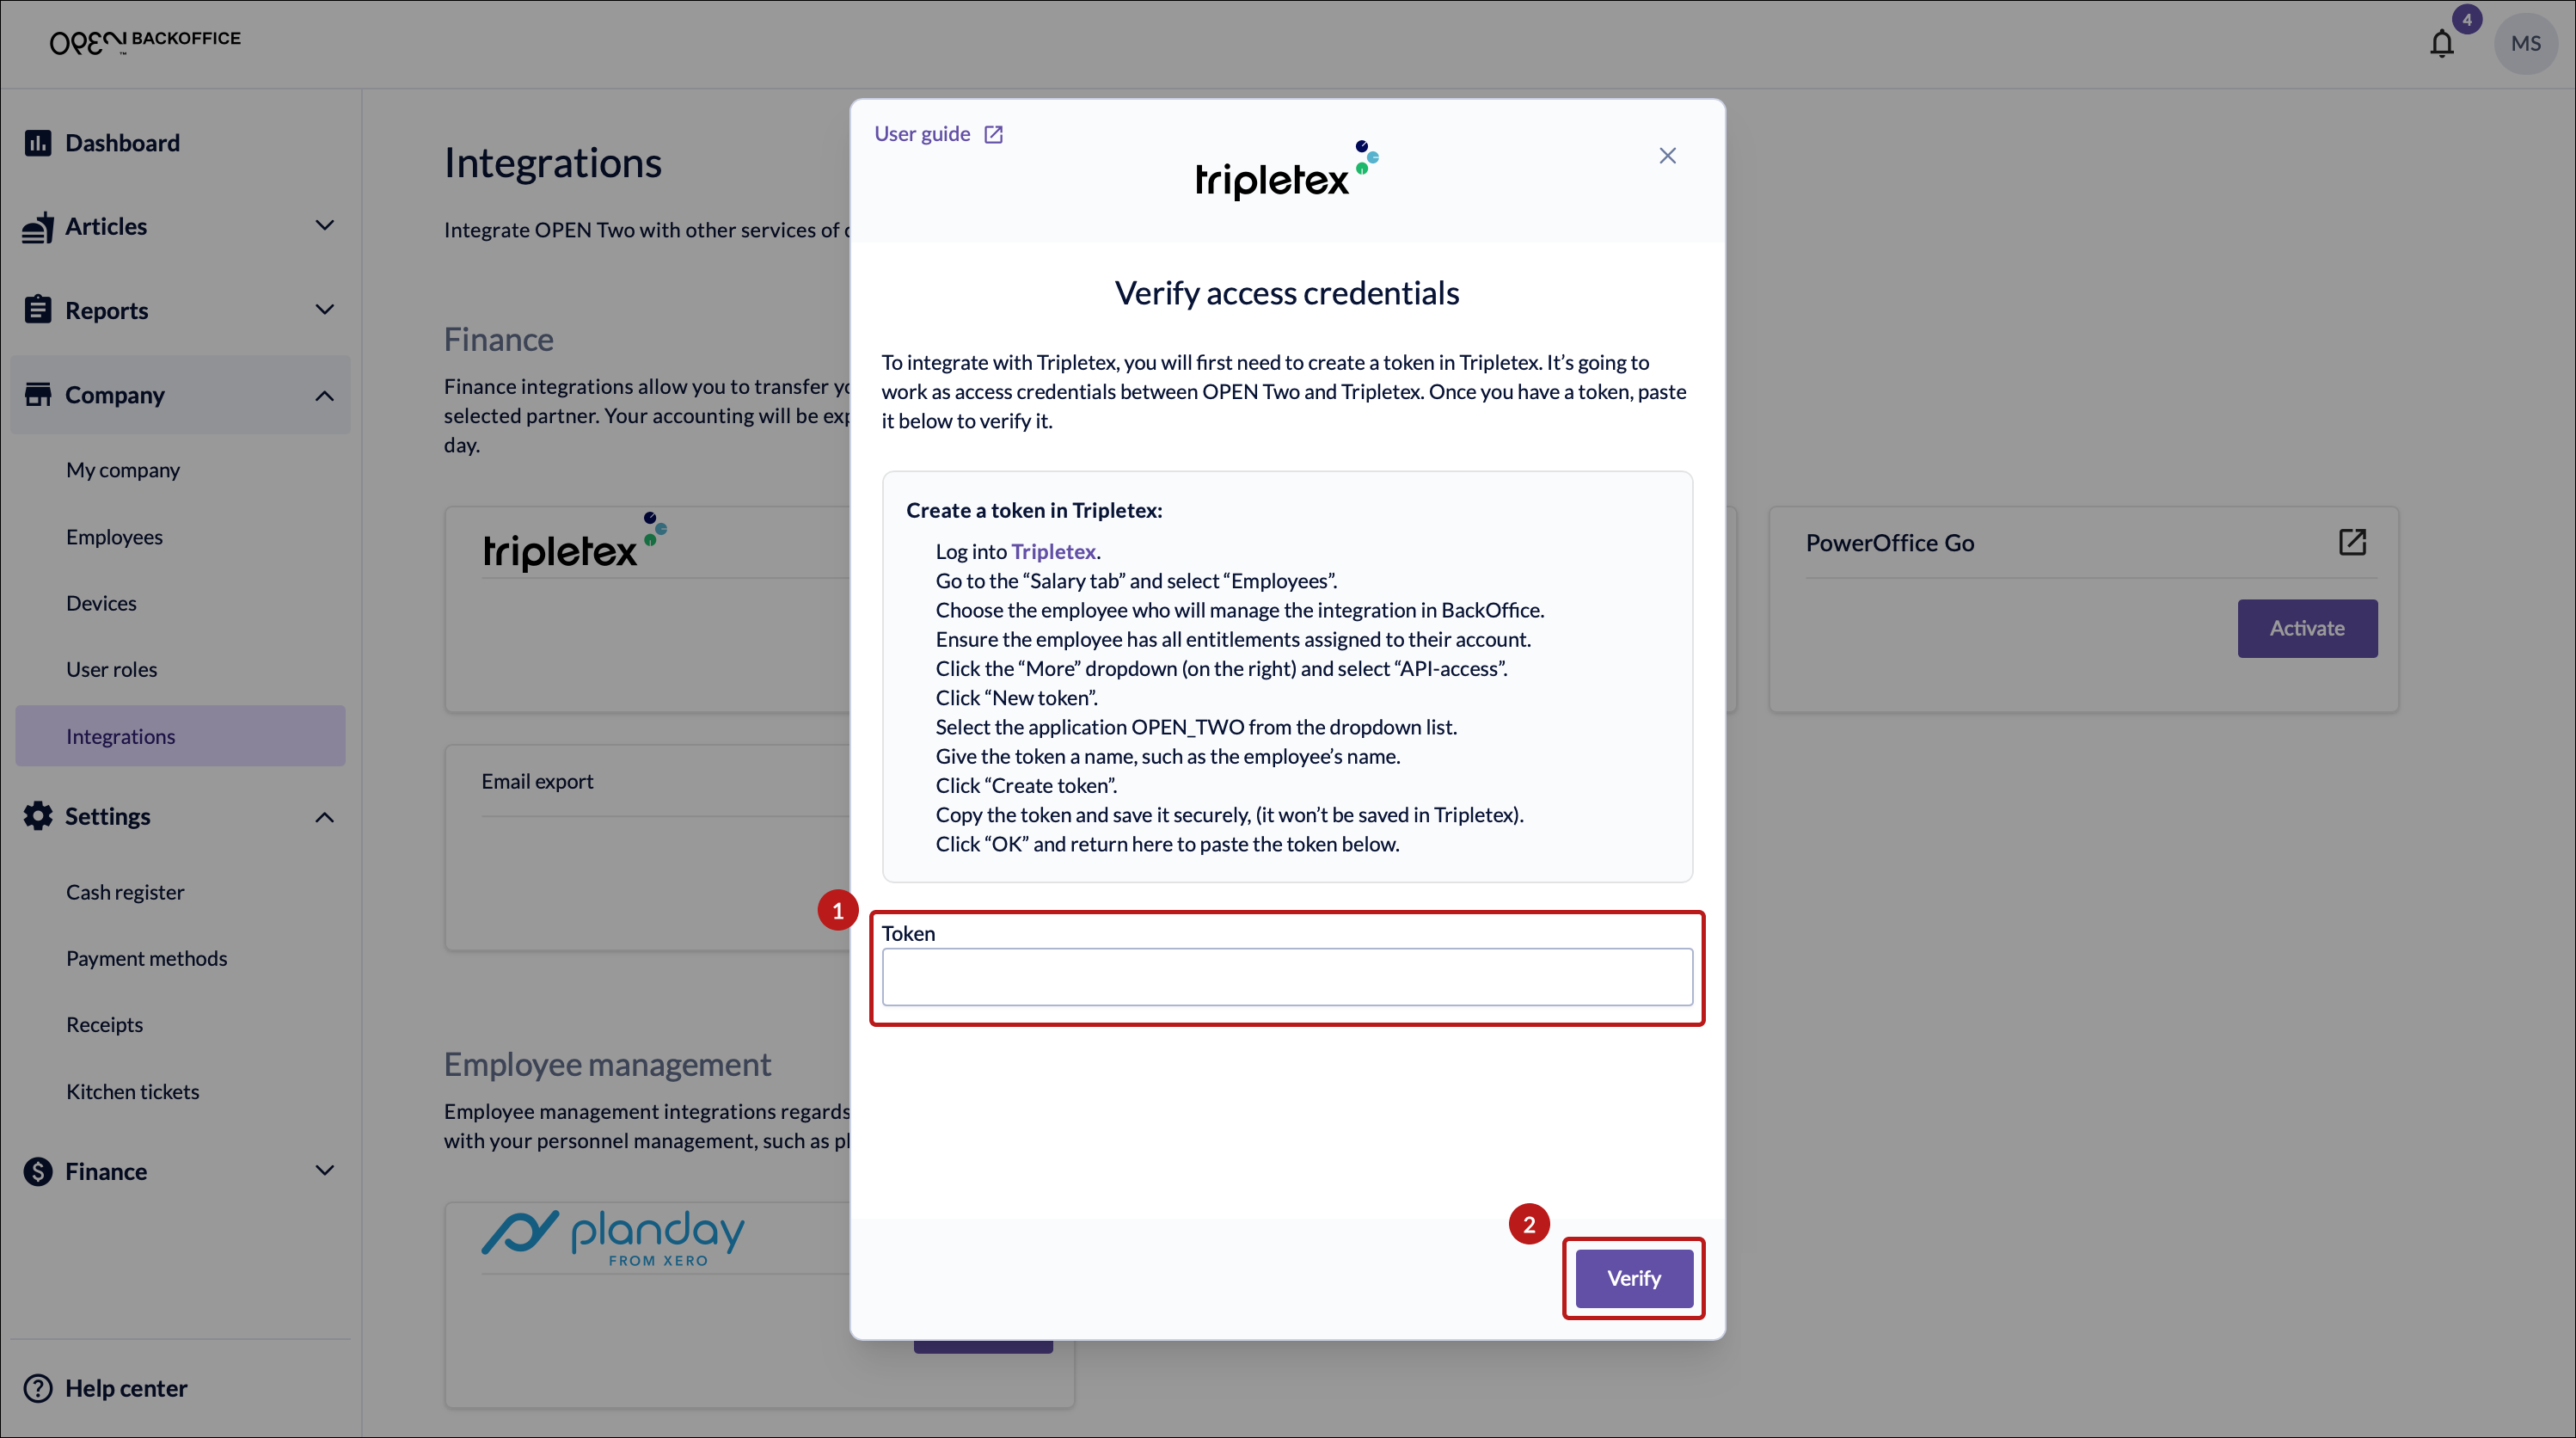
Step 1: Create token in Tripletex
You'll need to create a token in Tripletex that can be used to activate the integration in BackOffice.
- Sign in to Tripletex.
- Go to the "Salary tab" and select"Employees".
- Choose the employee who will manage the integration in BackOffice.
- Ensure the employee has all entitlements assigned to their account.
- Click the "More" dropdown (on the right) and select "API-access".
- Click "New token".
- Select the application OPEN_TWO from the dropdown list.
- Give the token a name, such as the employee's name.
- Click "Create token".
- Copy the token and save it securely, (it won't be saved in Tripletex).
- Click "OK" and return here to paste the token below.
Step 2: Activate Tripletex integration
Note
You must enter a bank account number for your company in Tripletex, otherwise invoices can't be generated.
Sign in to BackOffice.
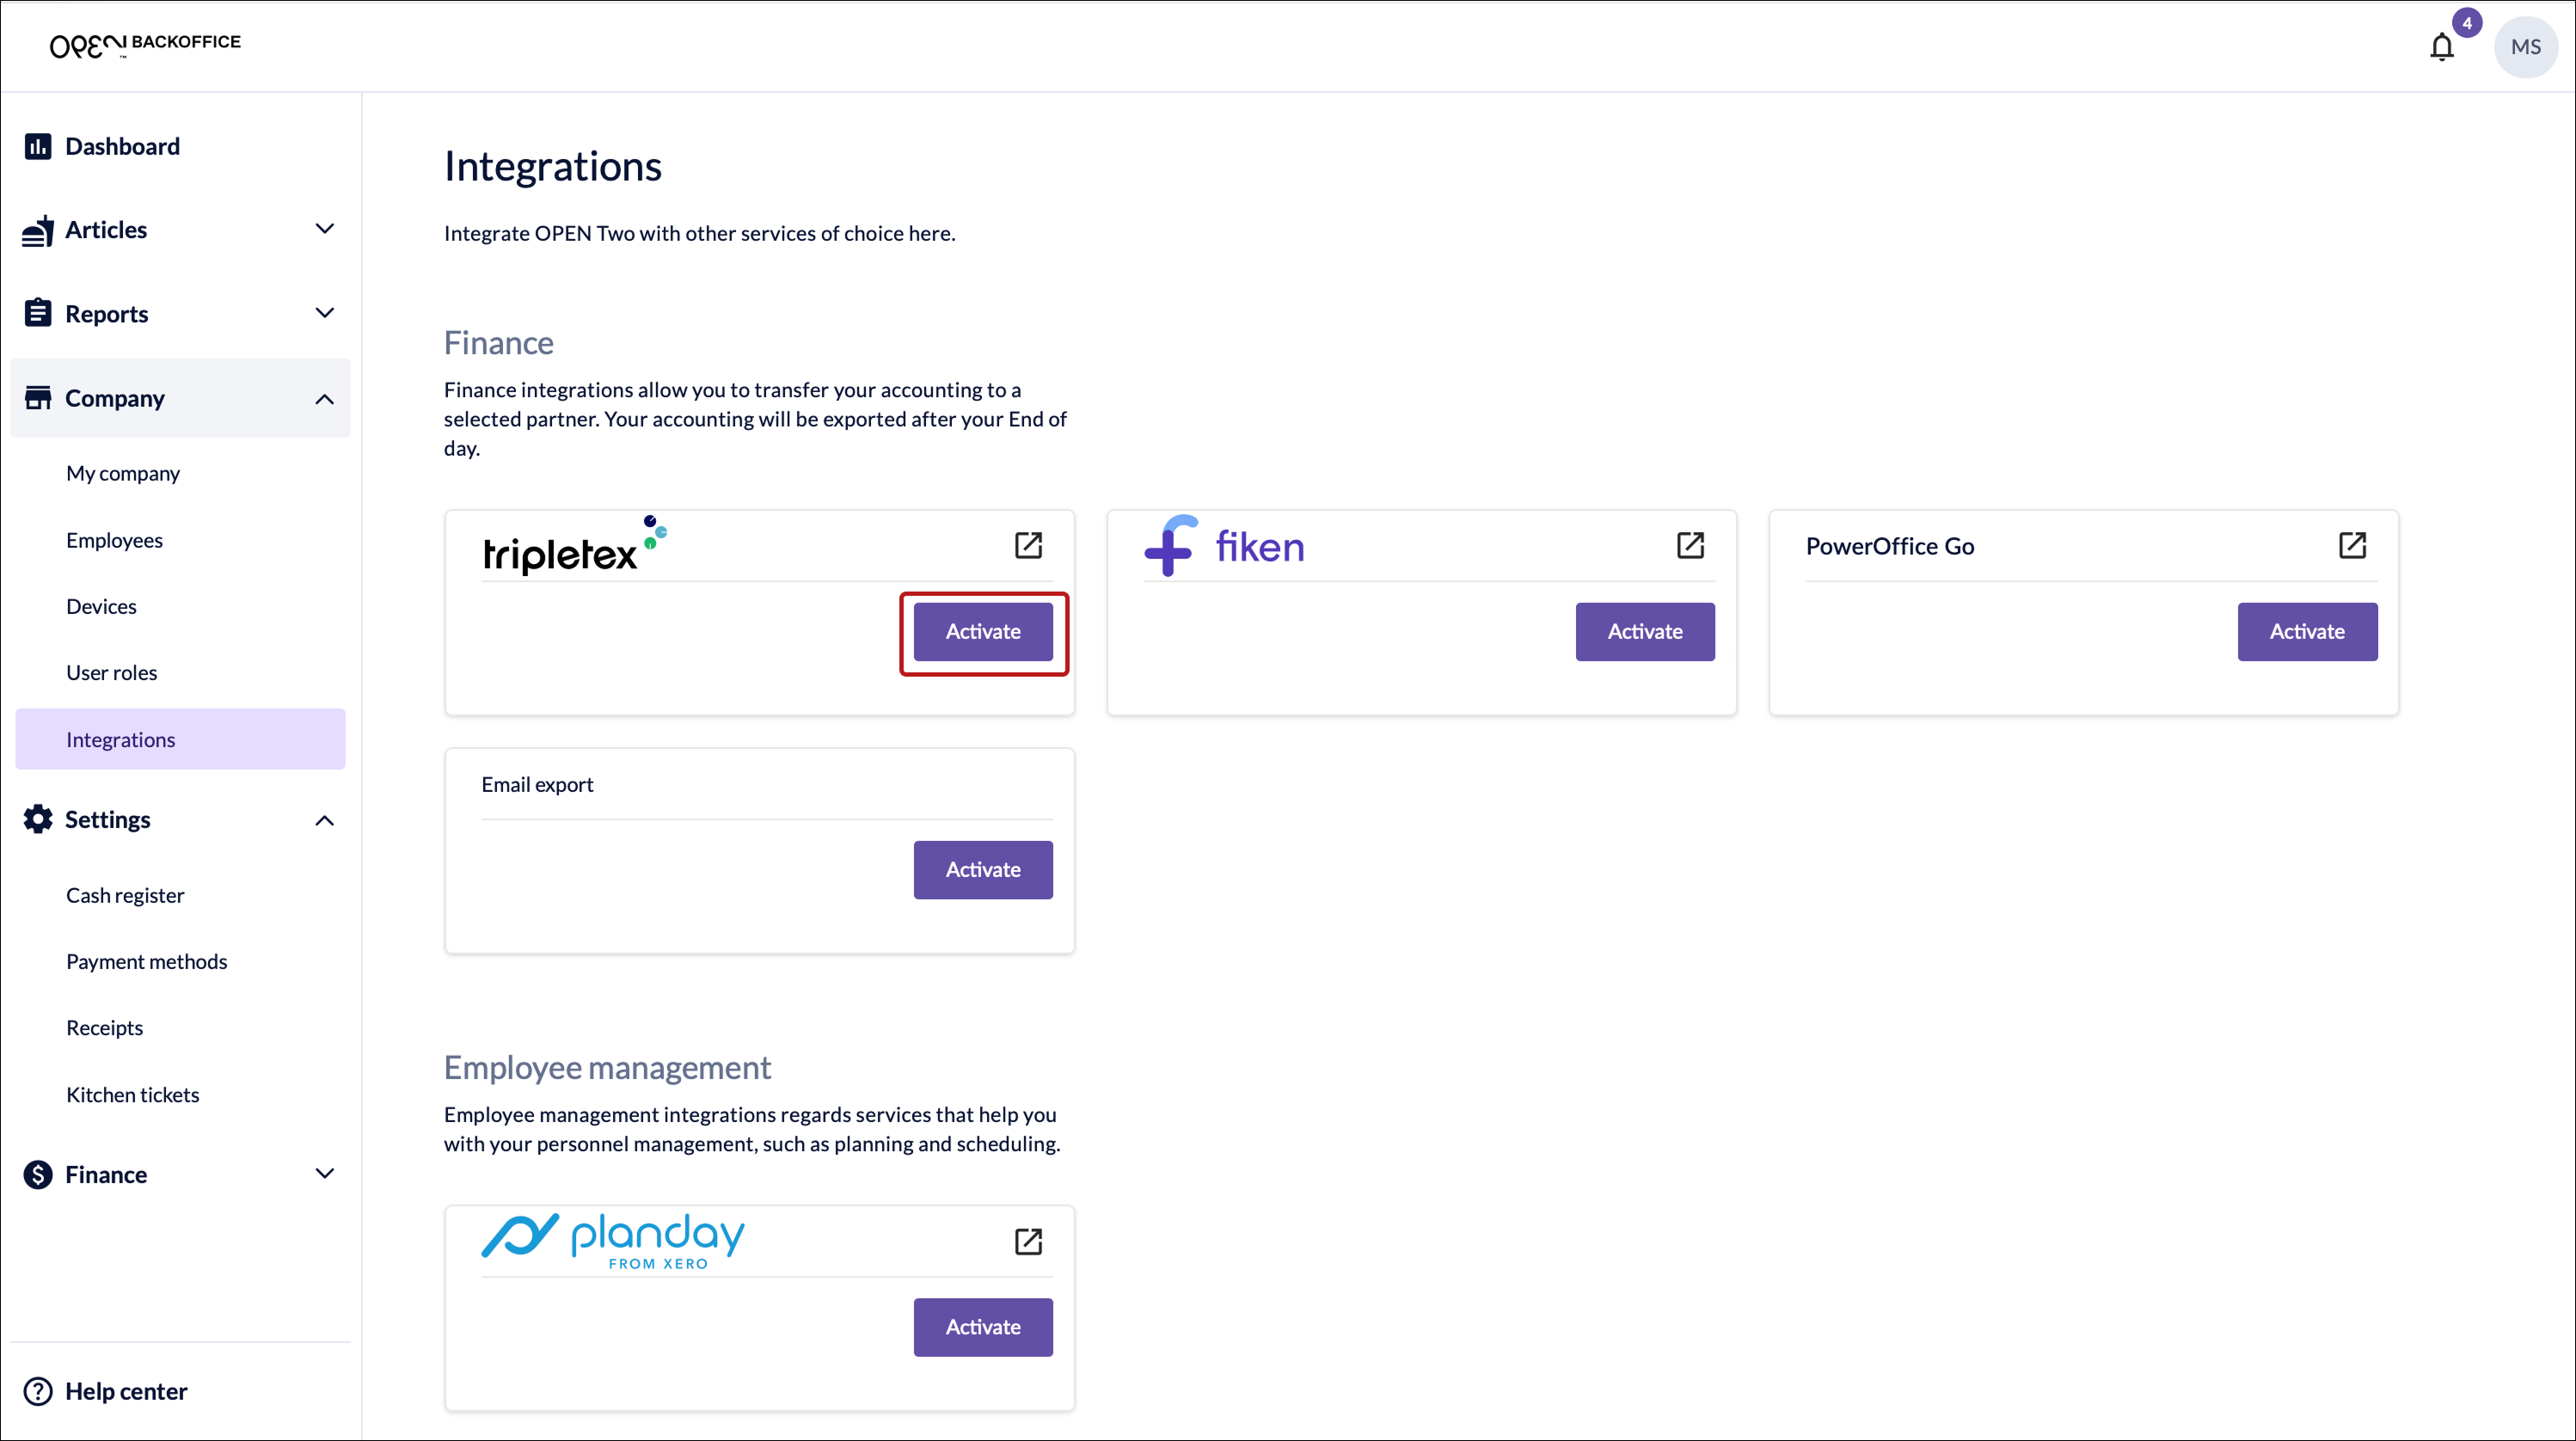
Select Company in the menu and go to Integrations.
Activate the Tripletex integration.
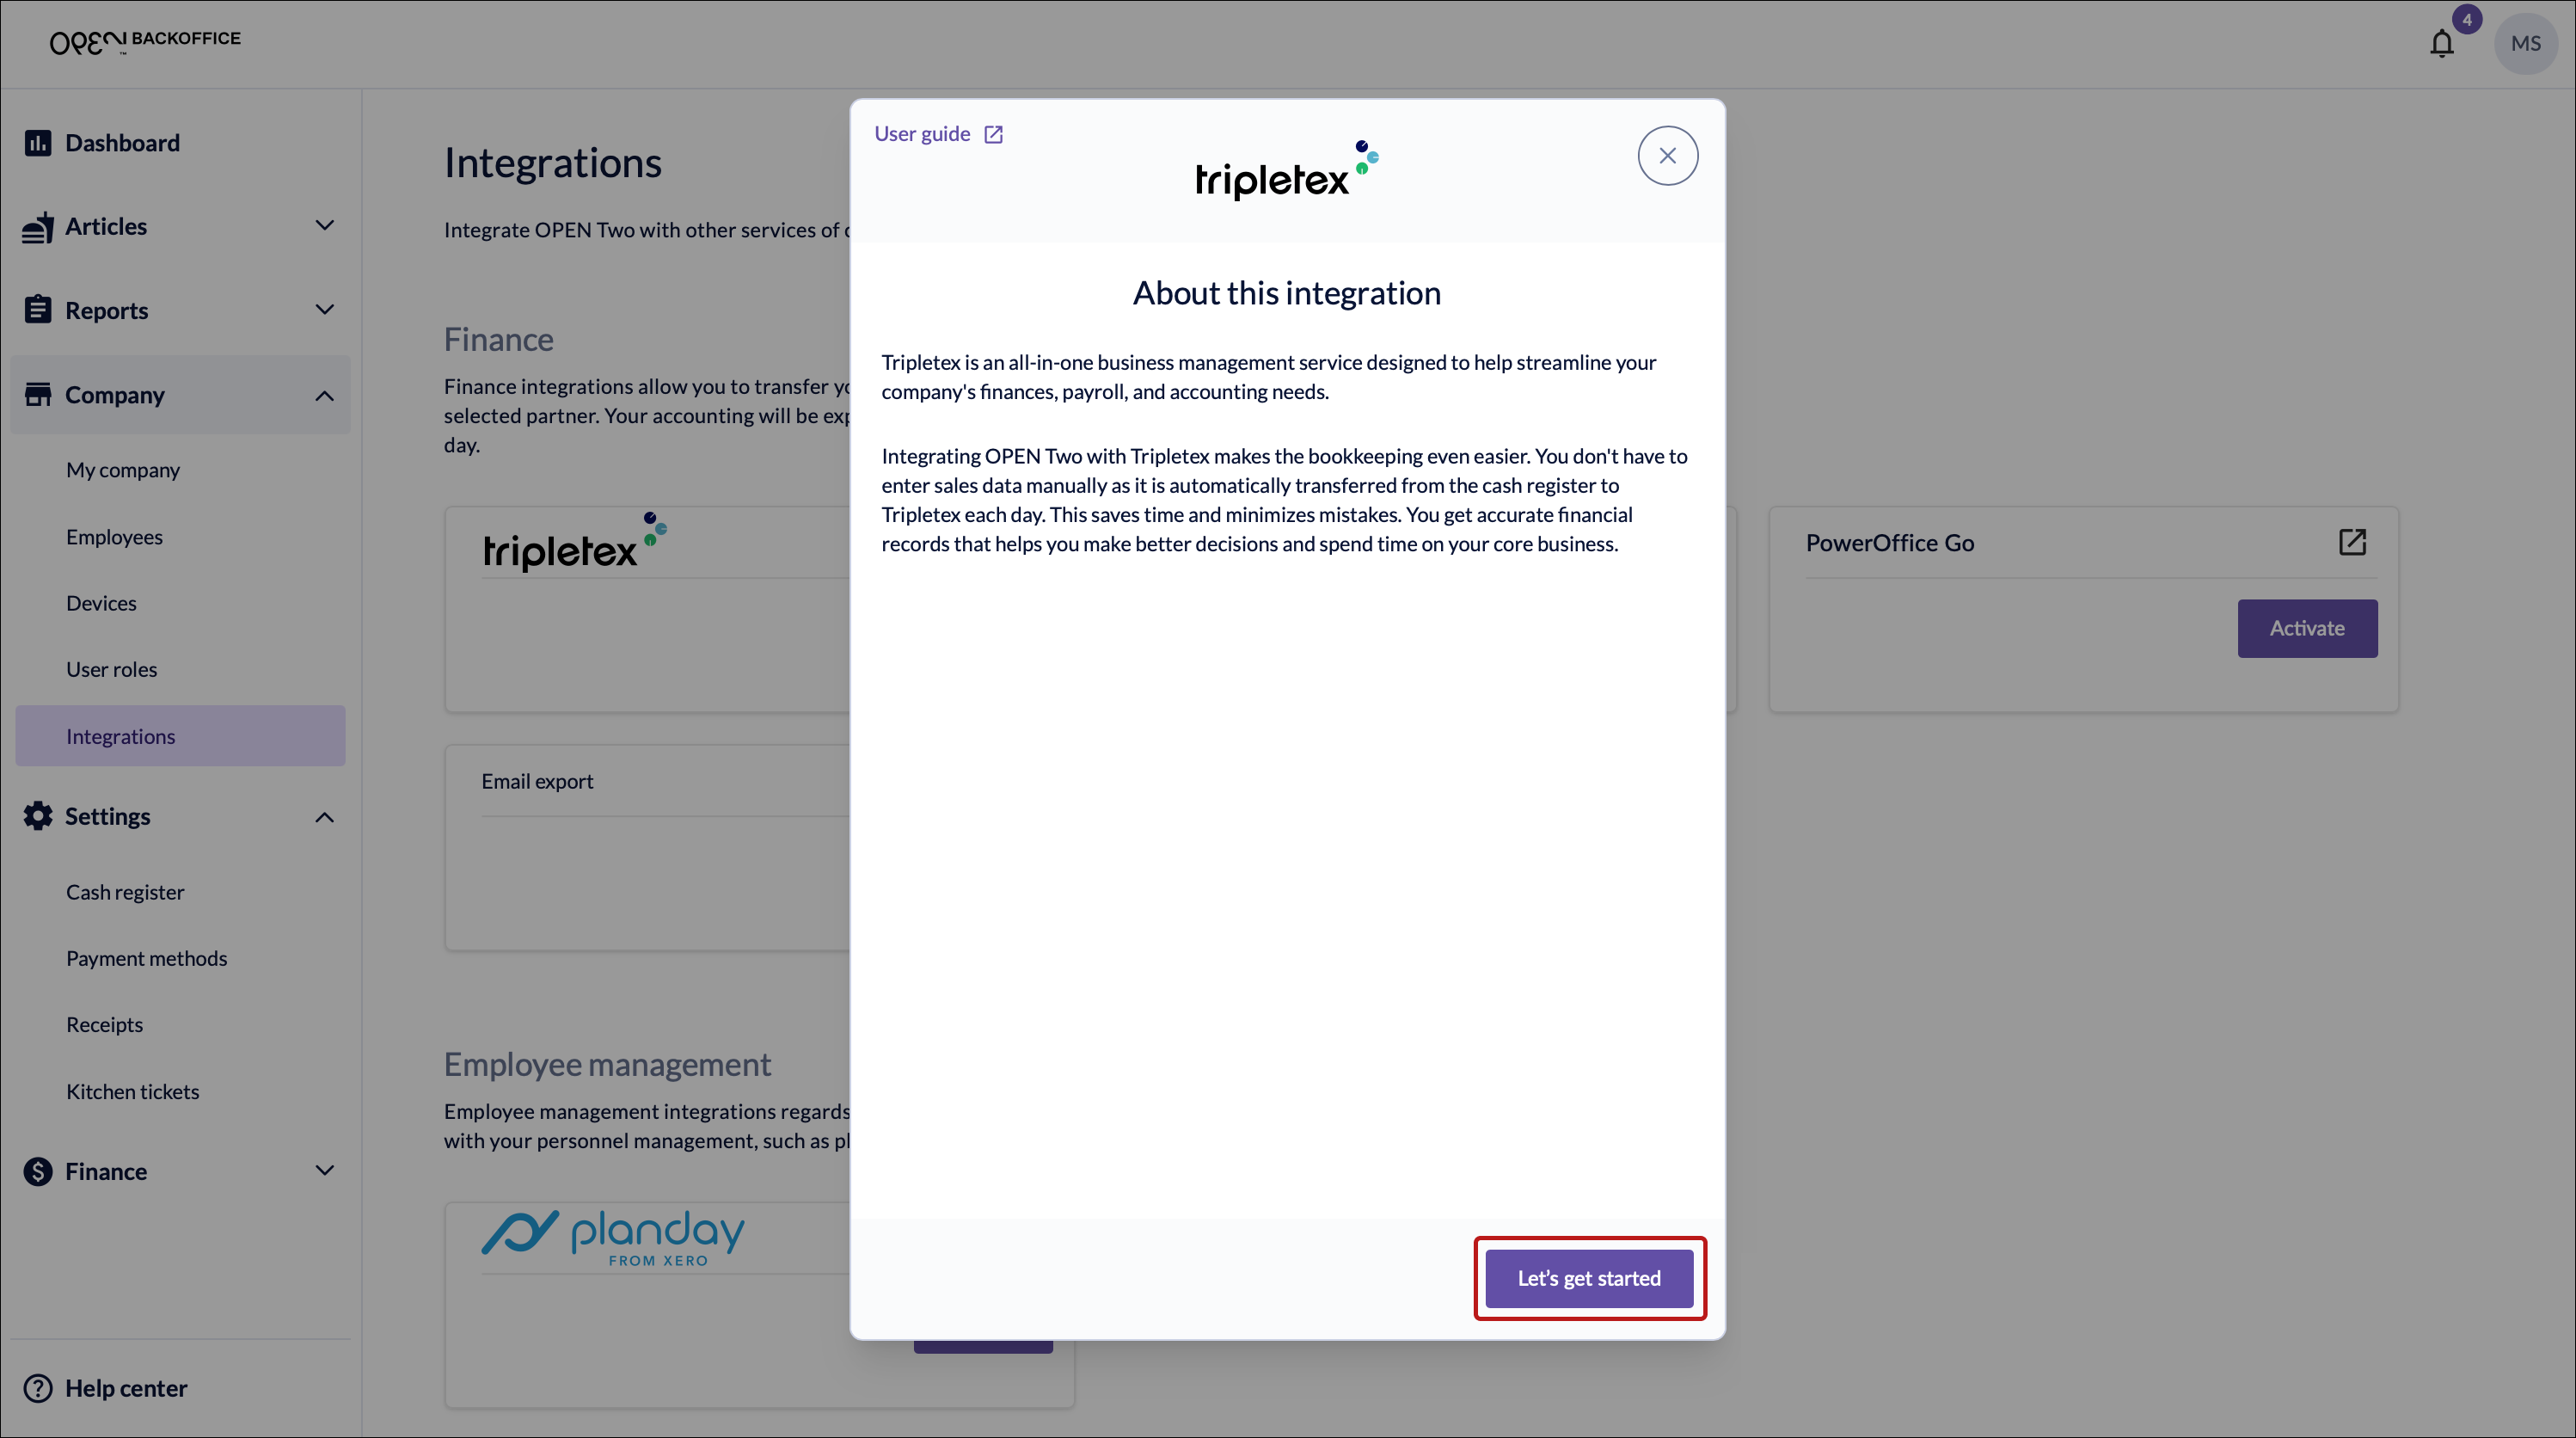
In the dialog that opens, press Let's get started.
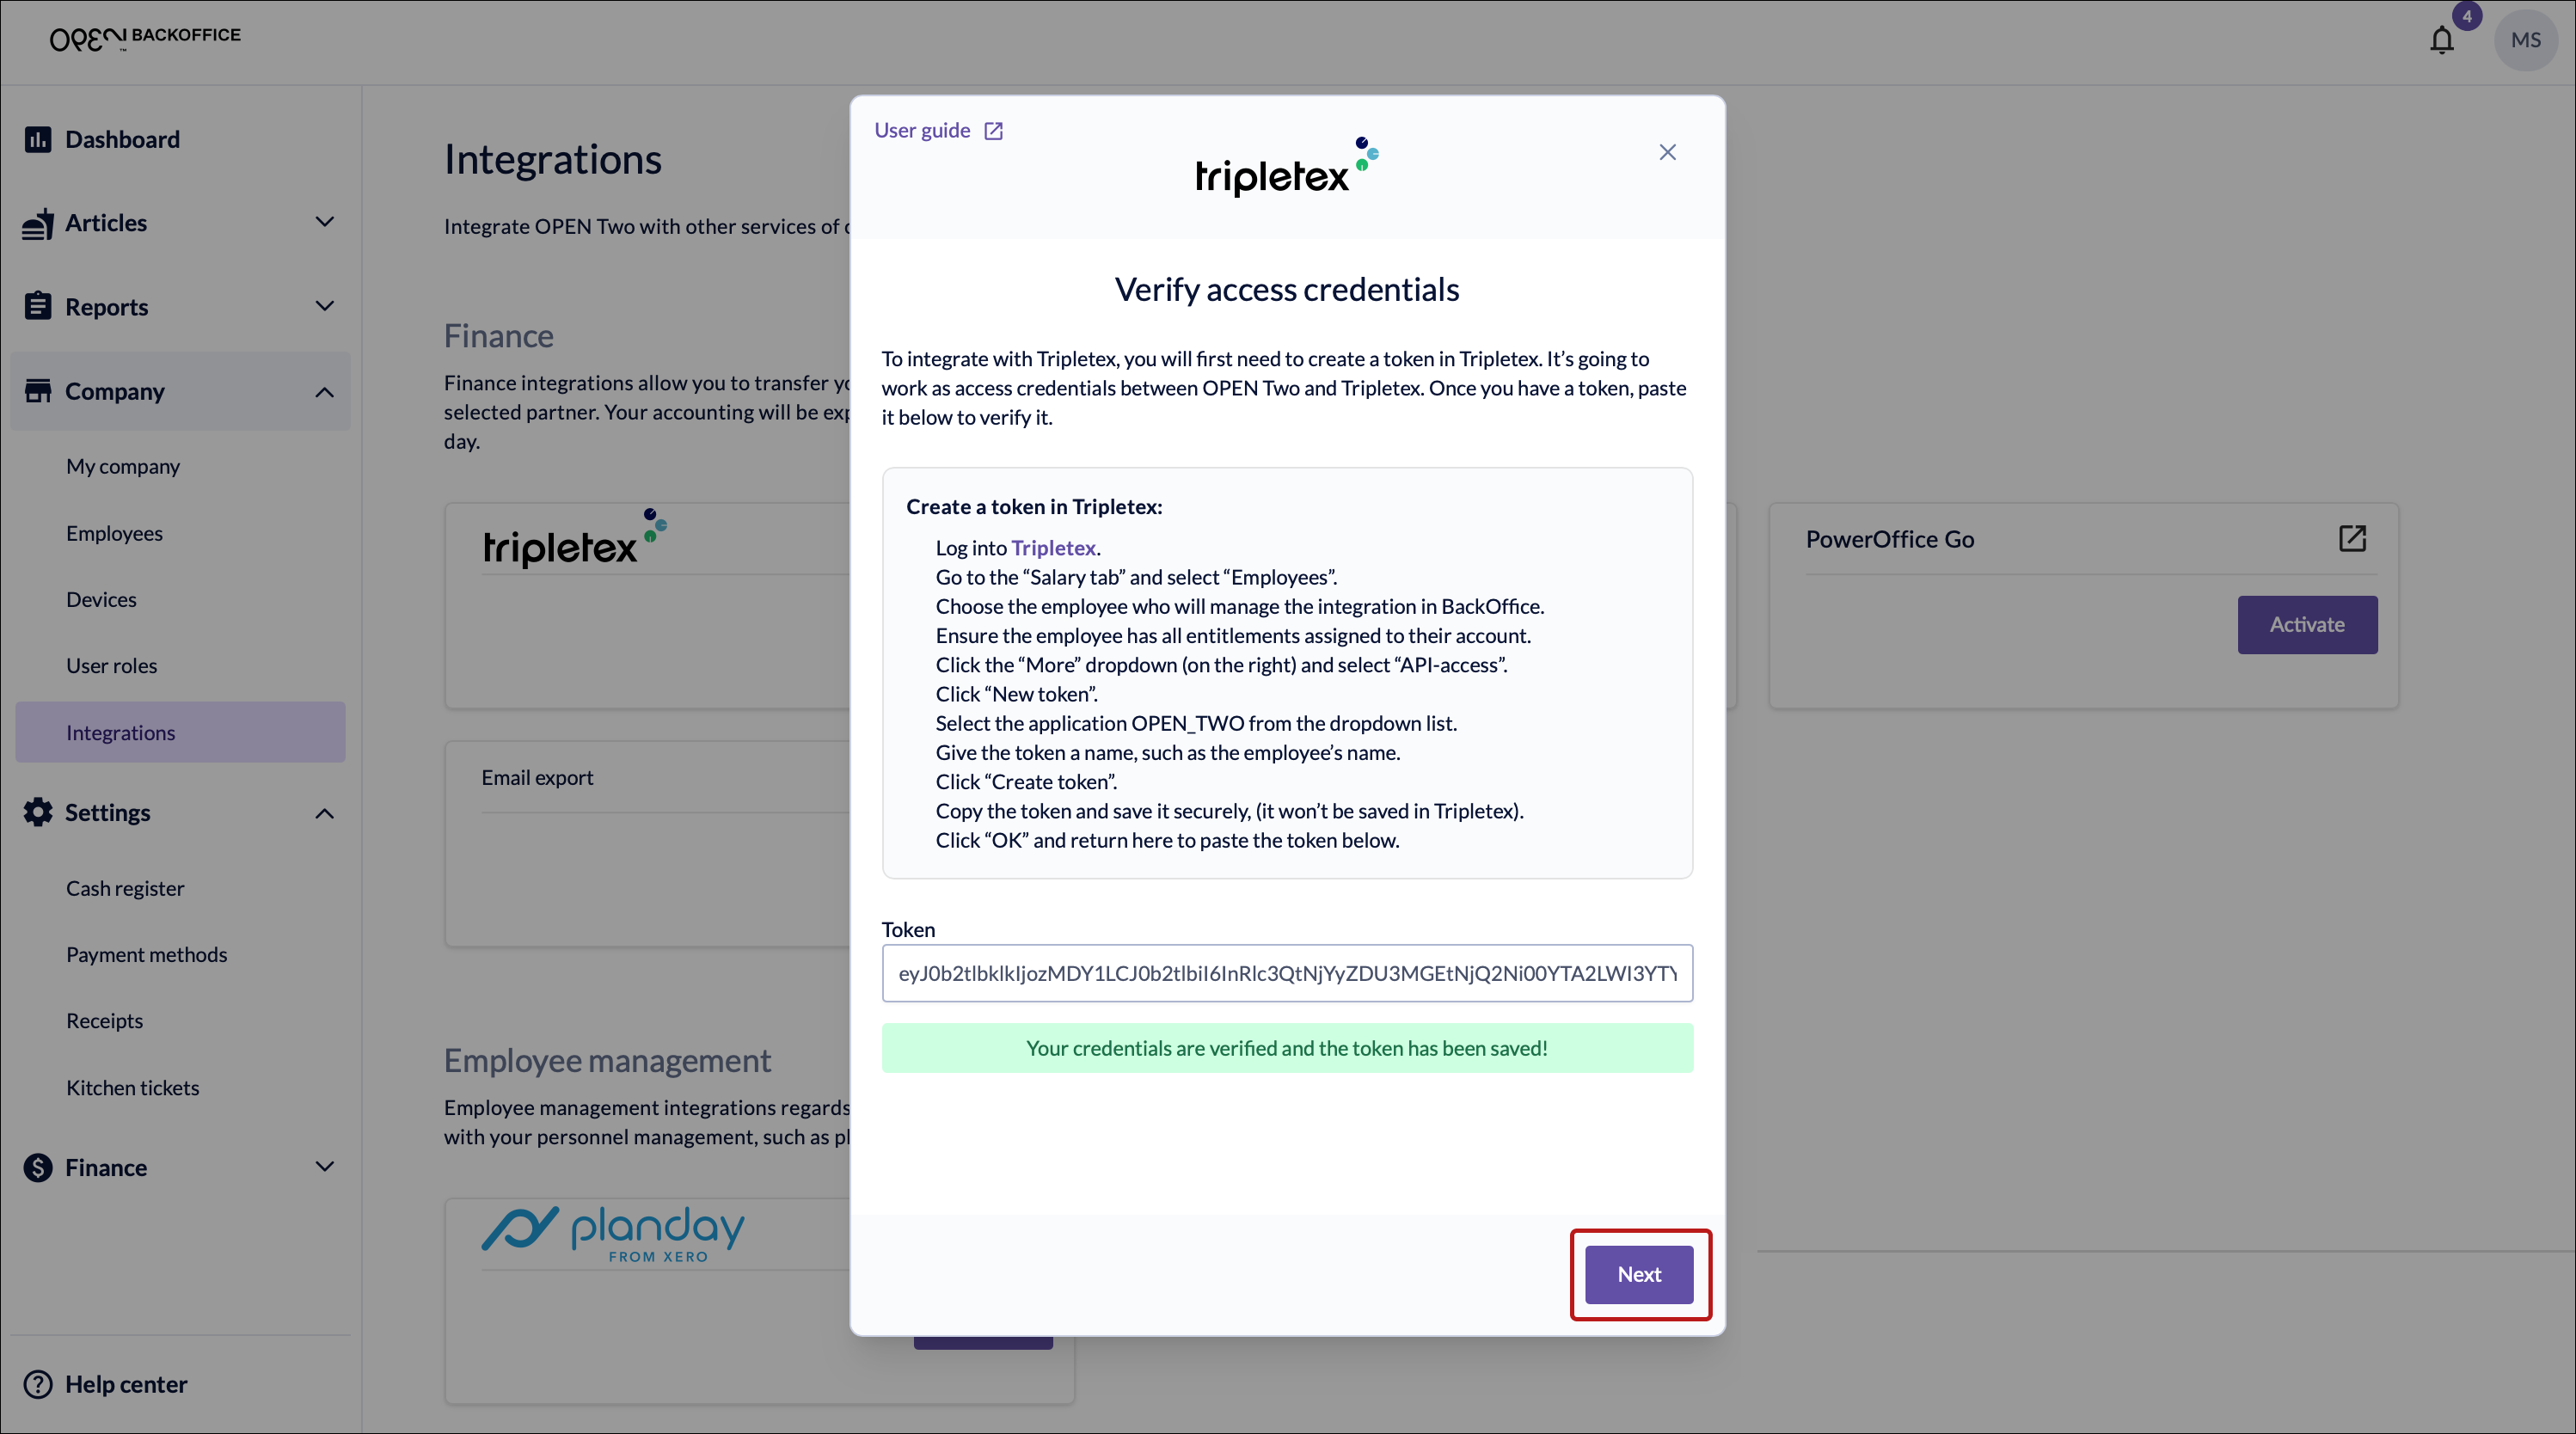
Paste & verify the token.
Press Next.
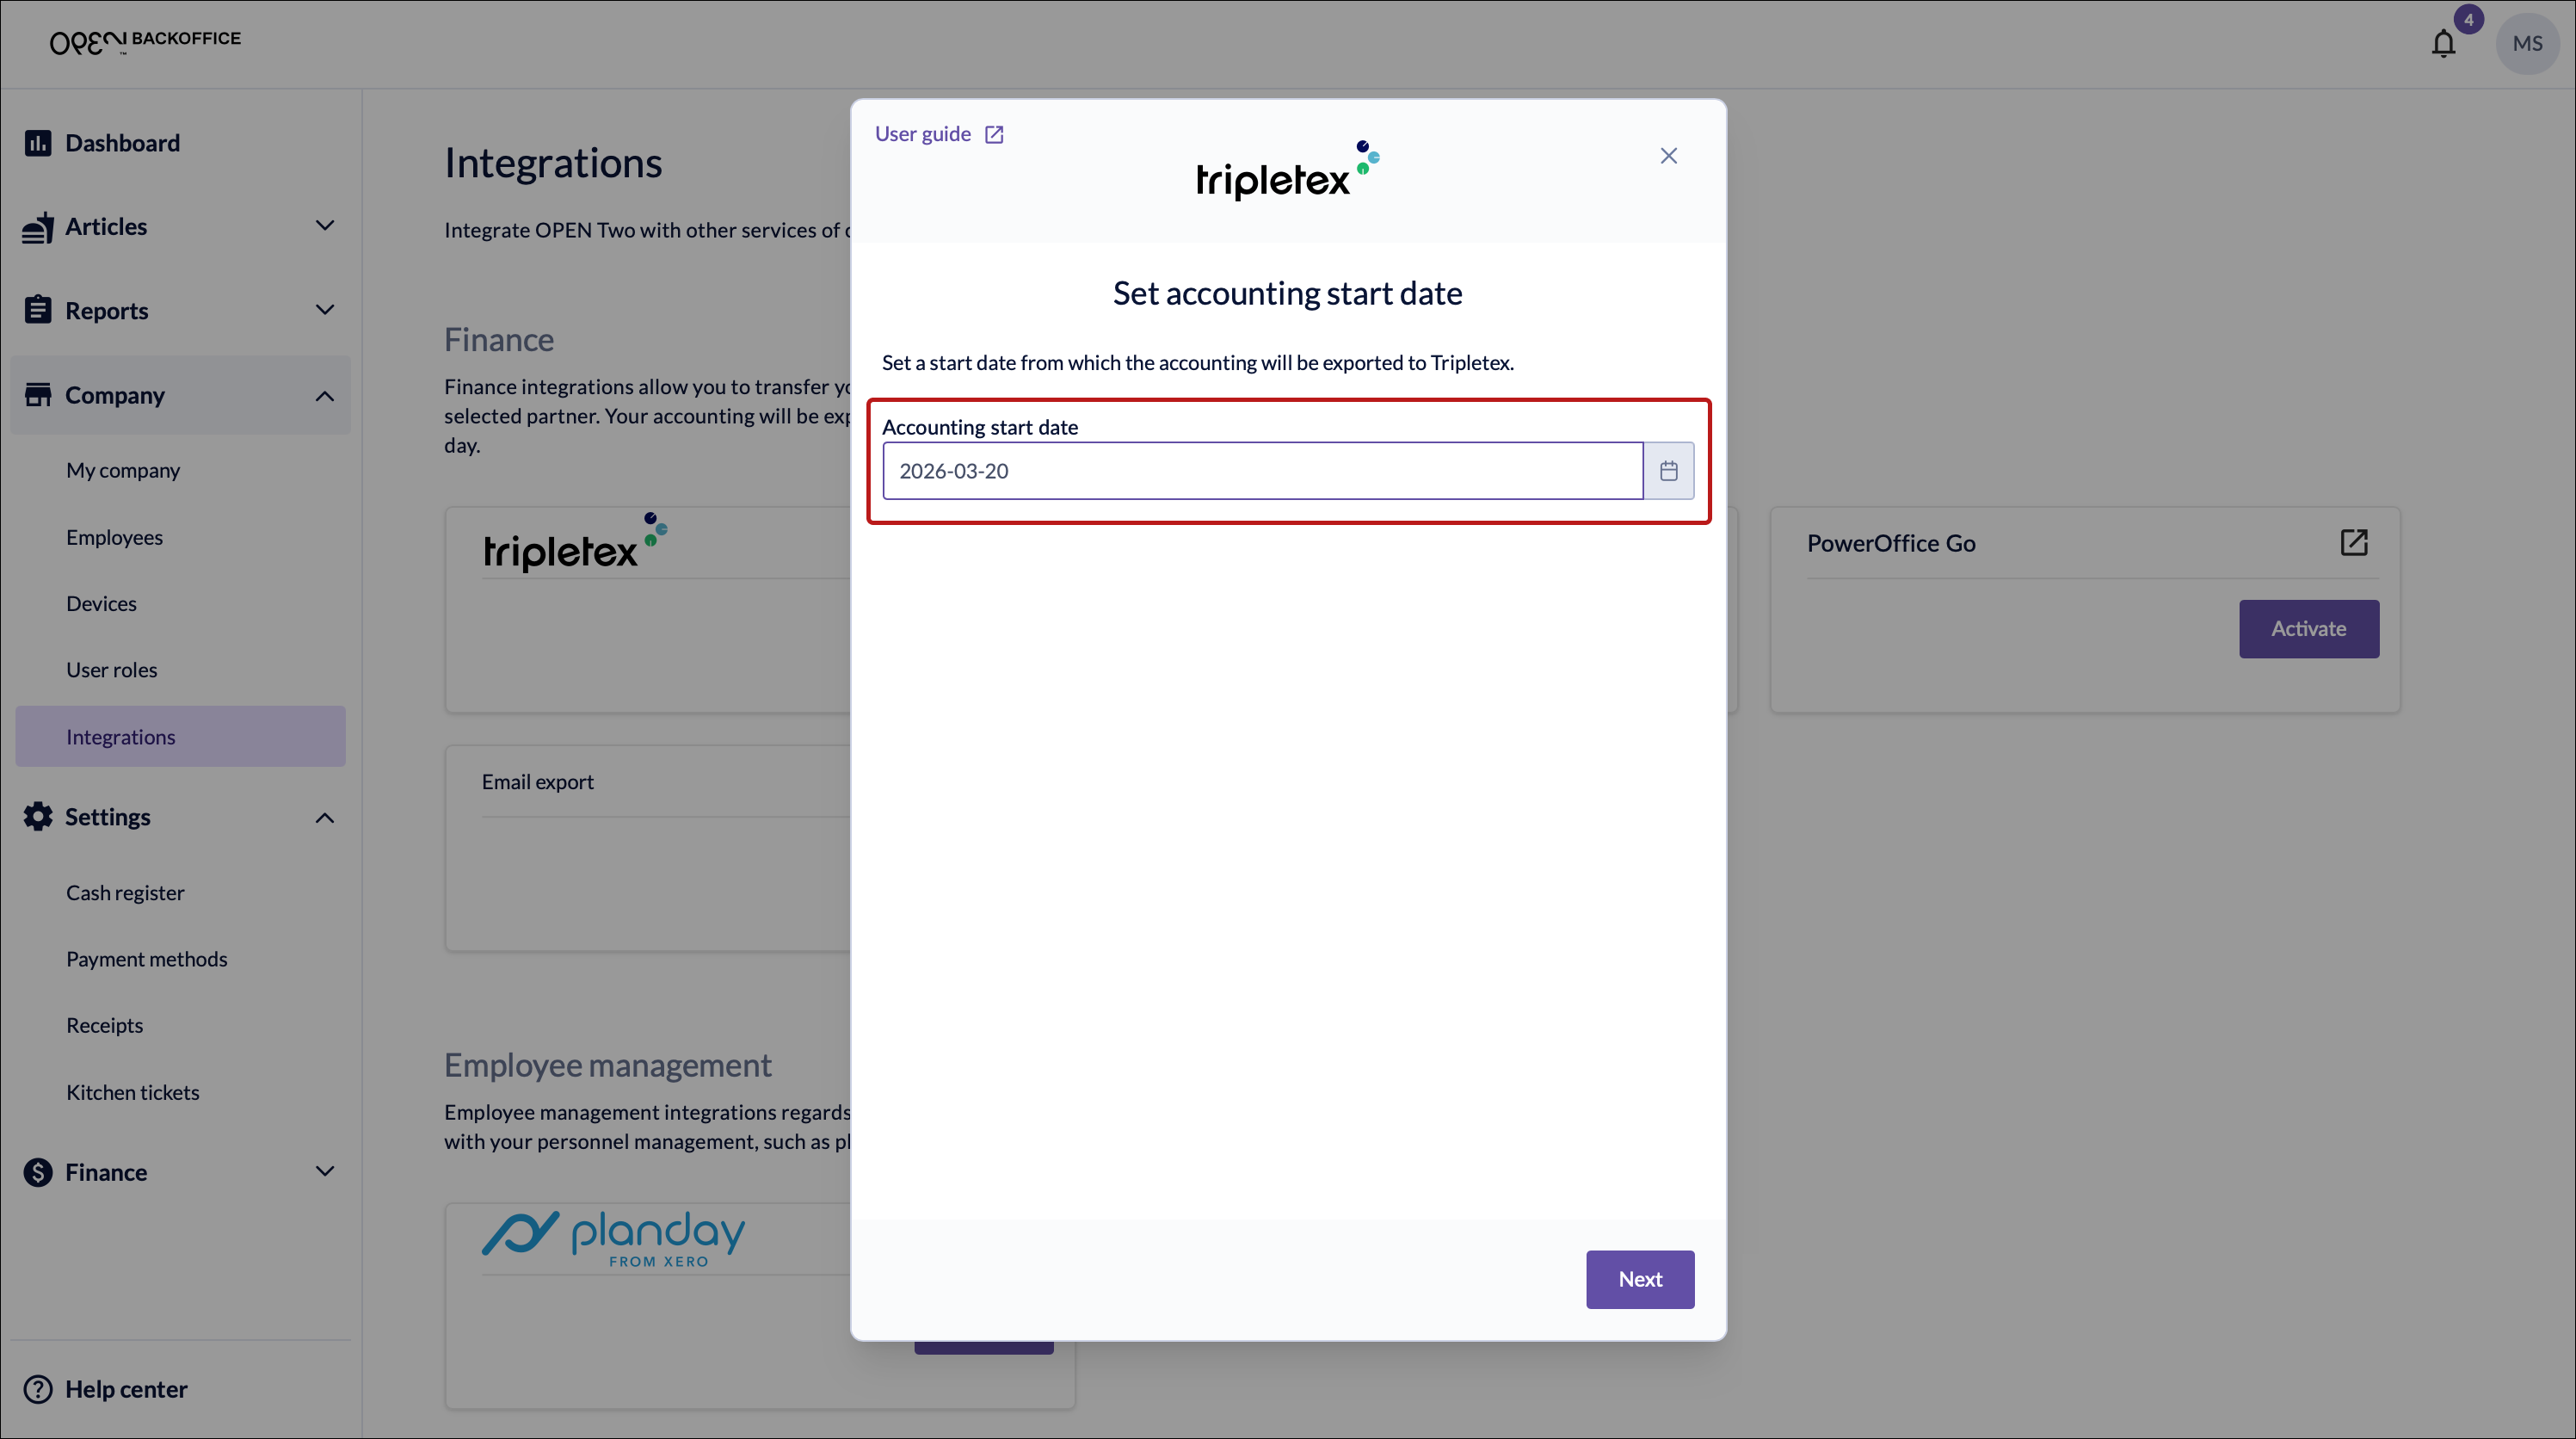
Set a start date for exporting your sales data to Tripletex, then press Next.
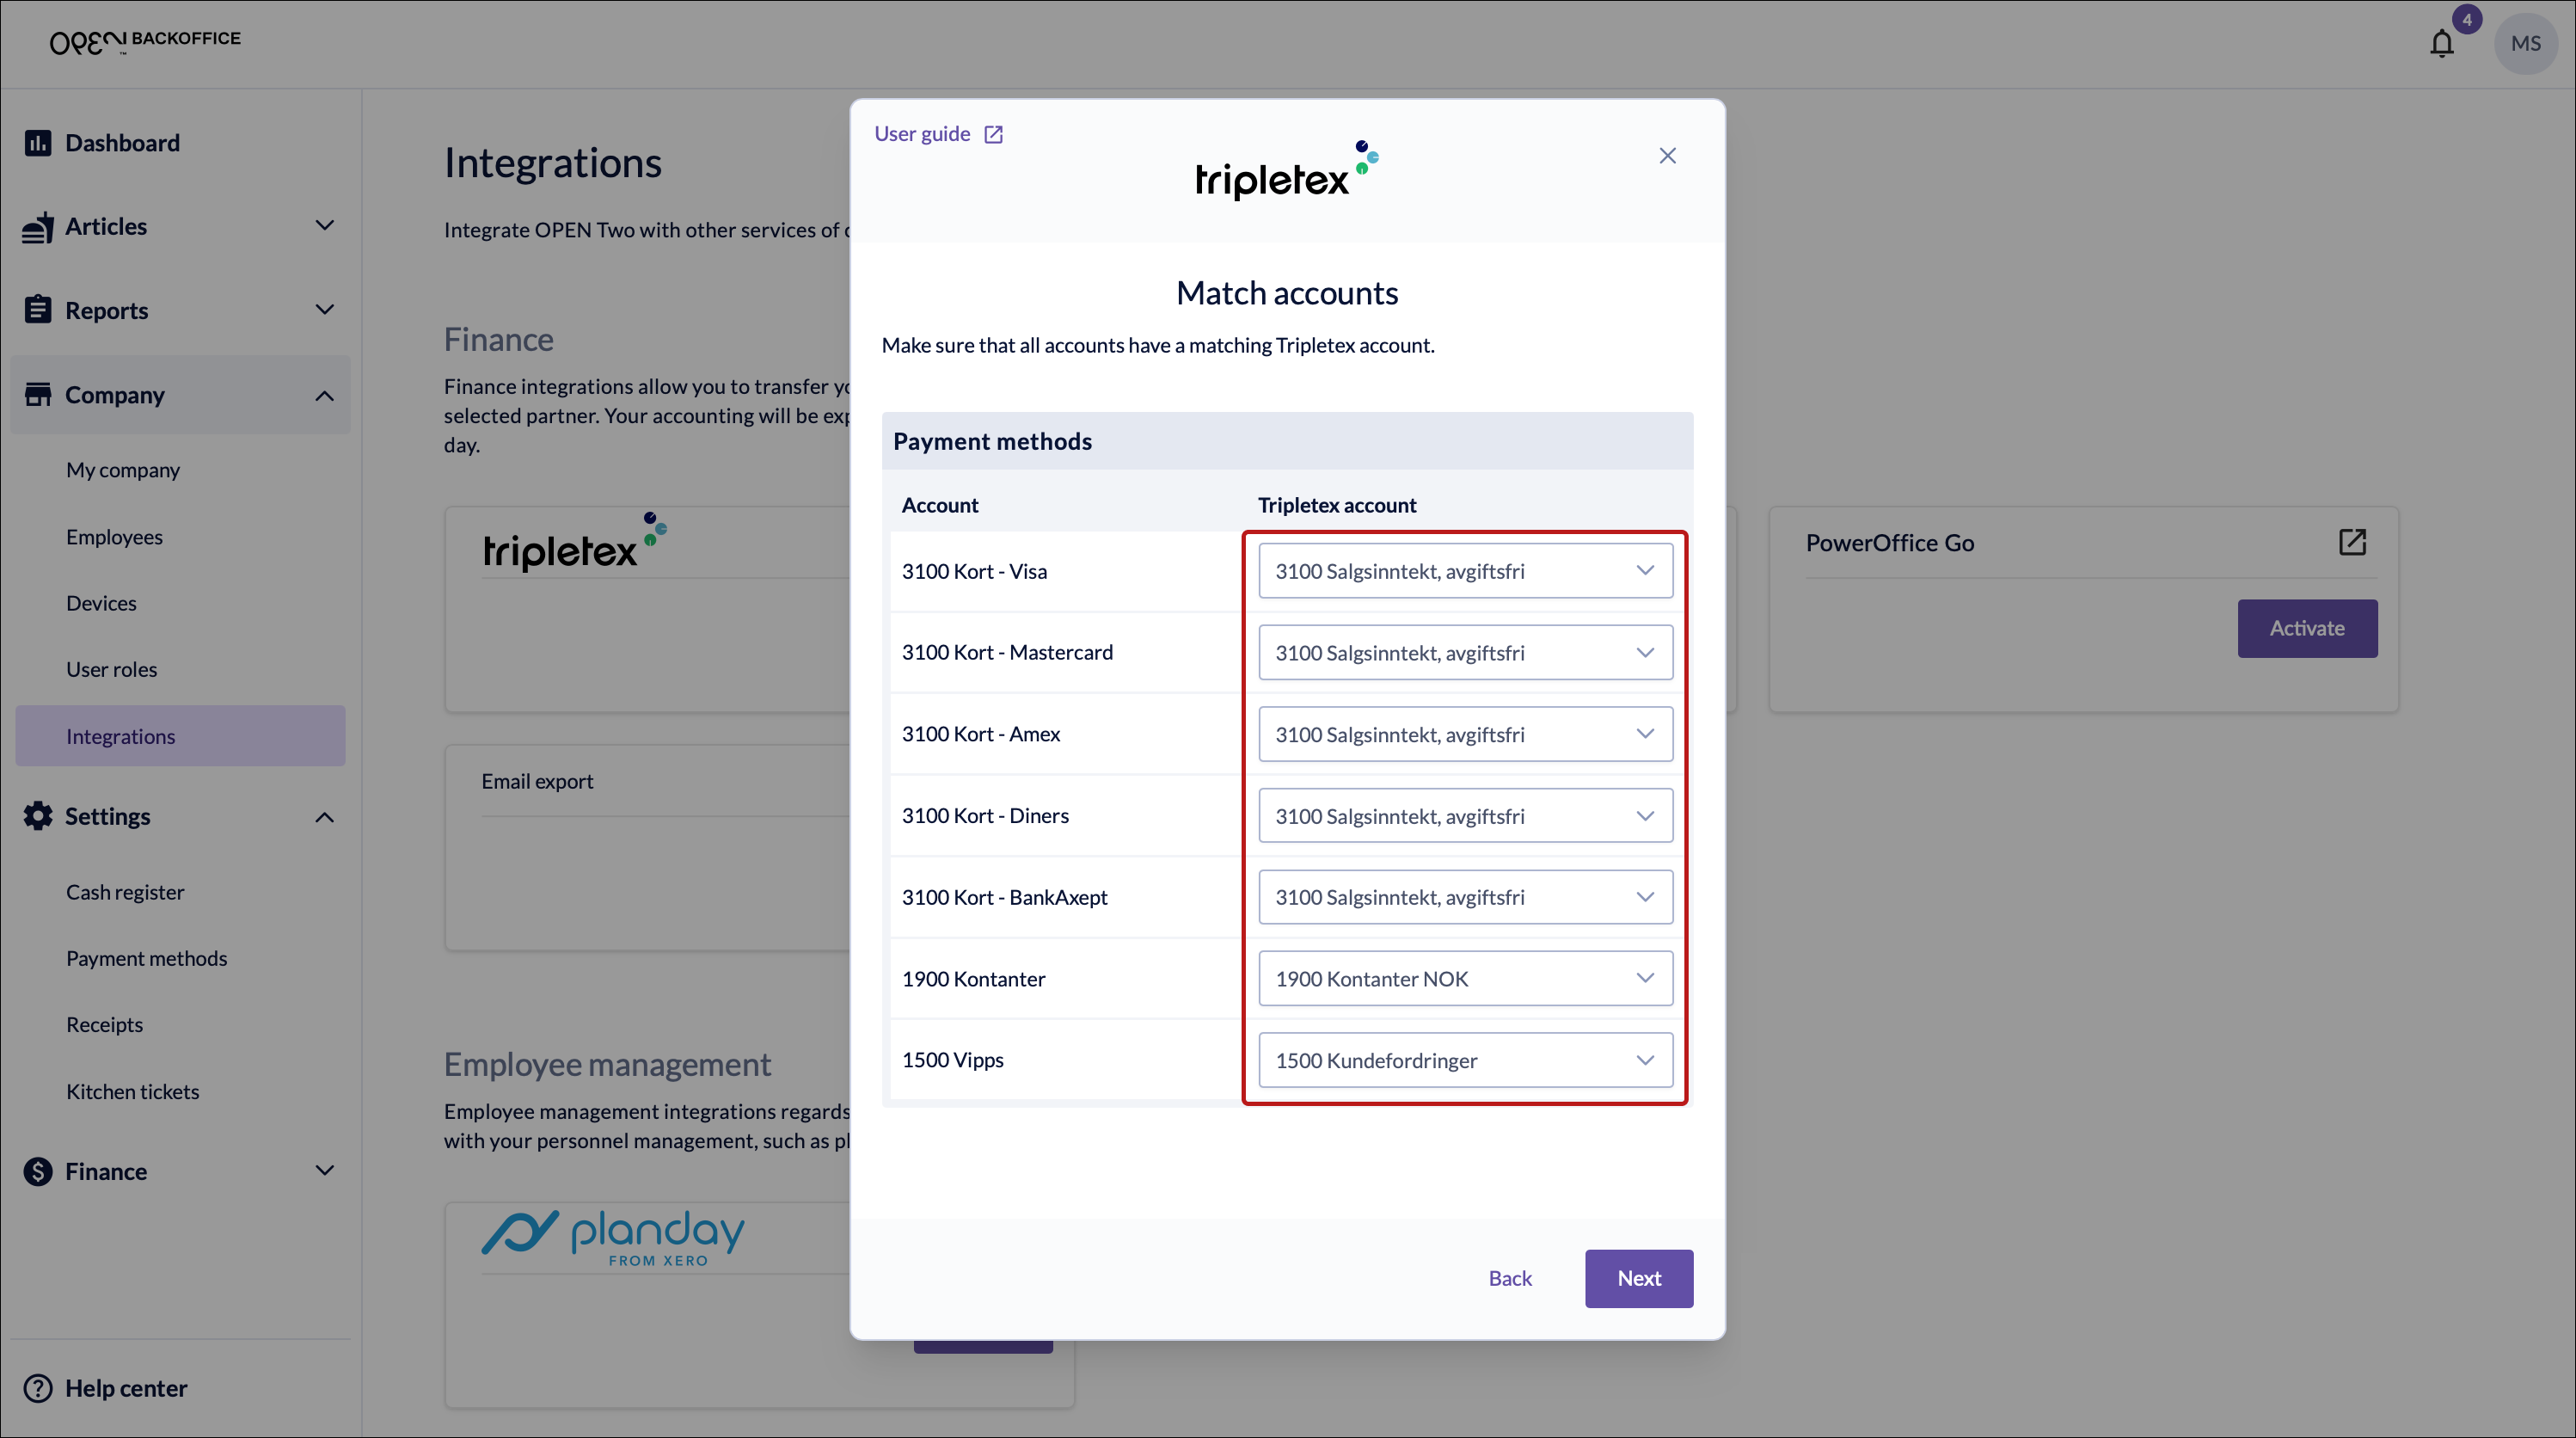
Select bookkeeping accounts for your payment methods, then press Next.
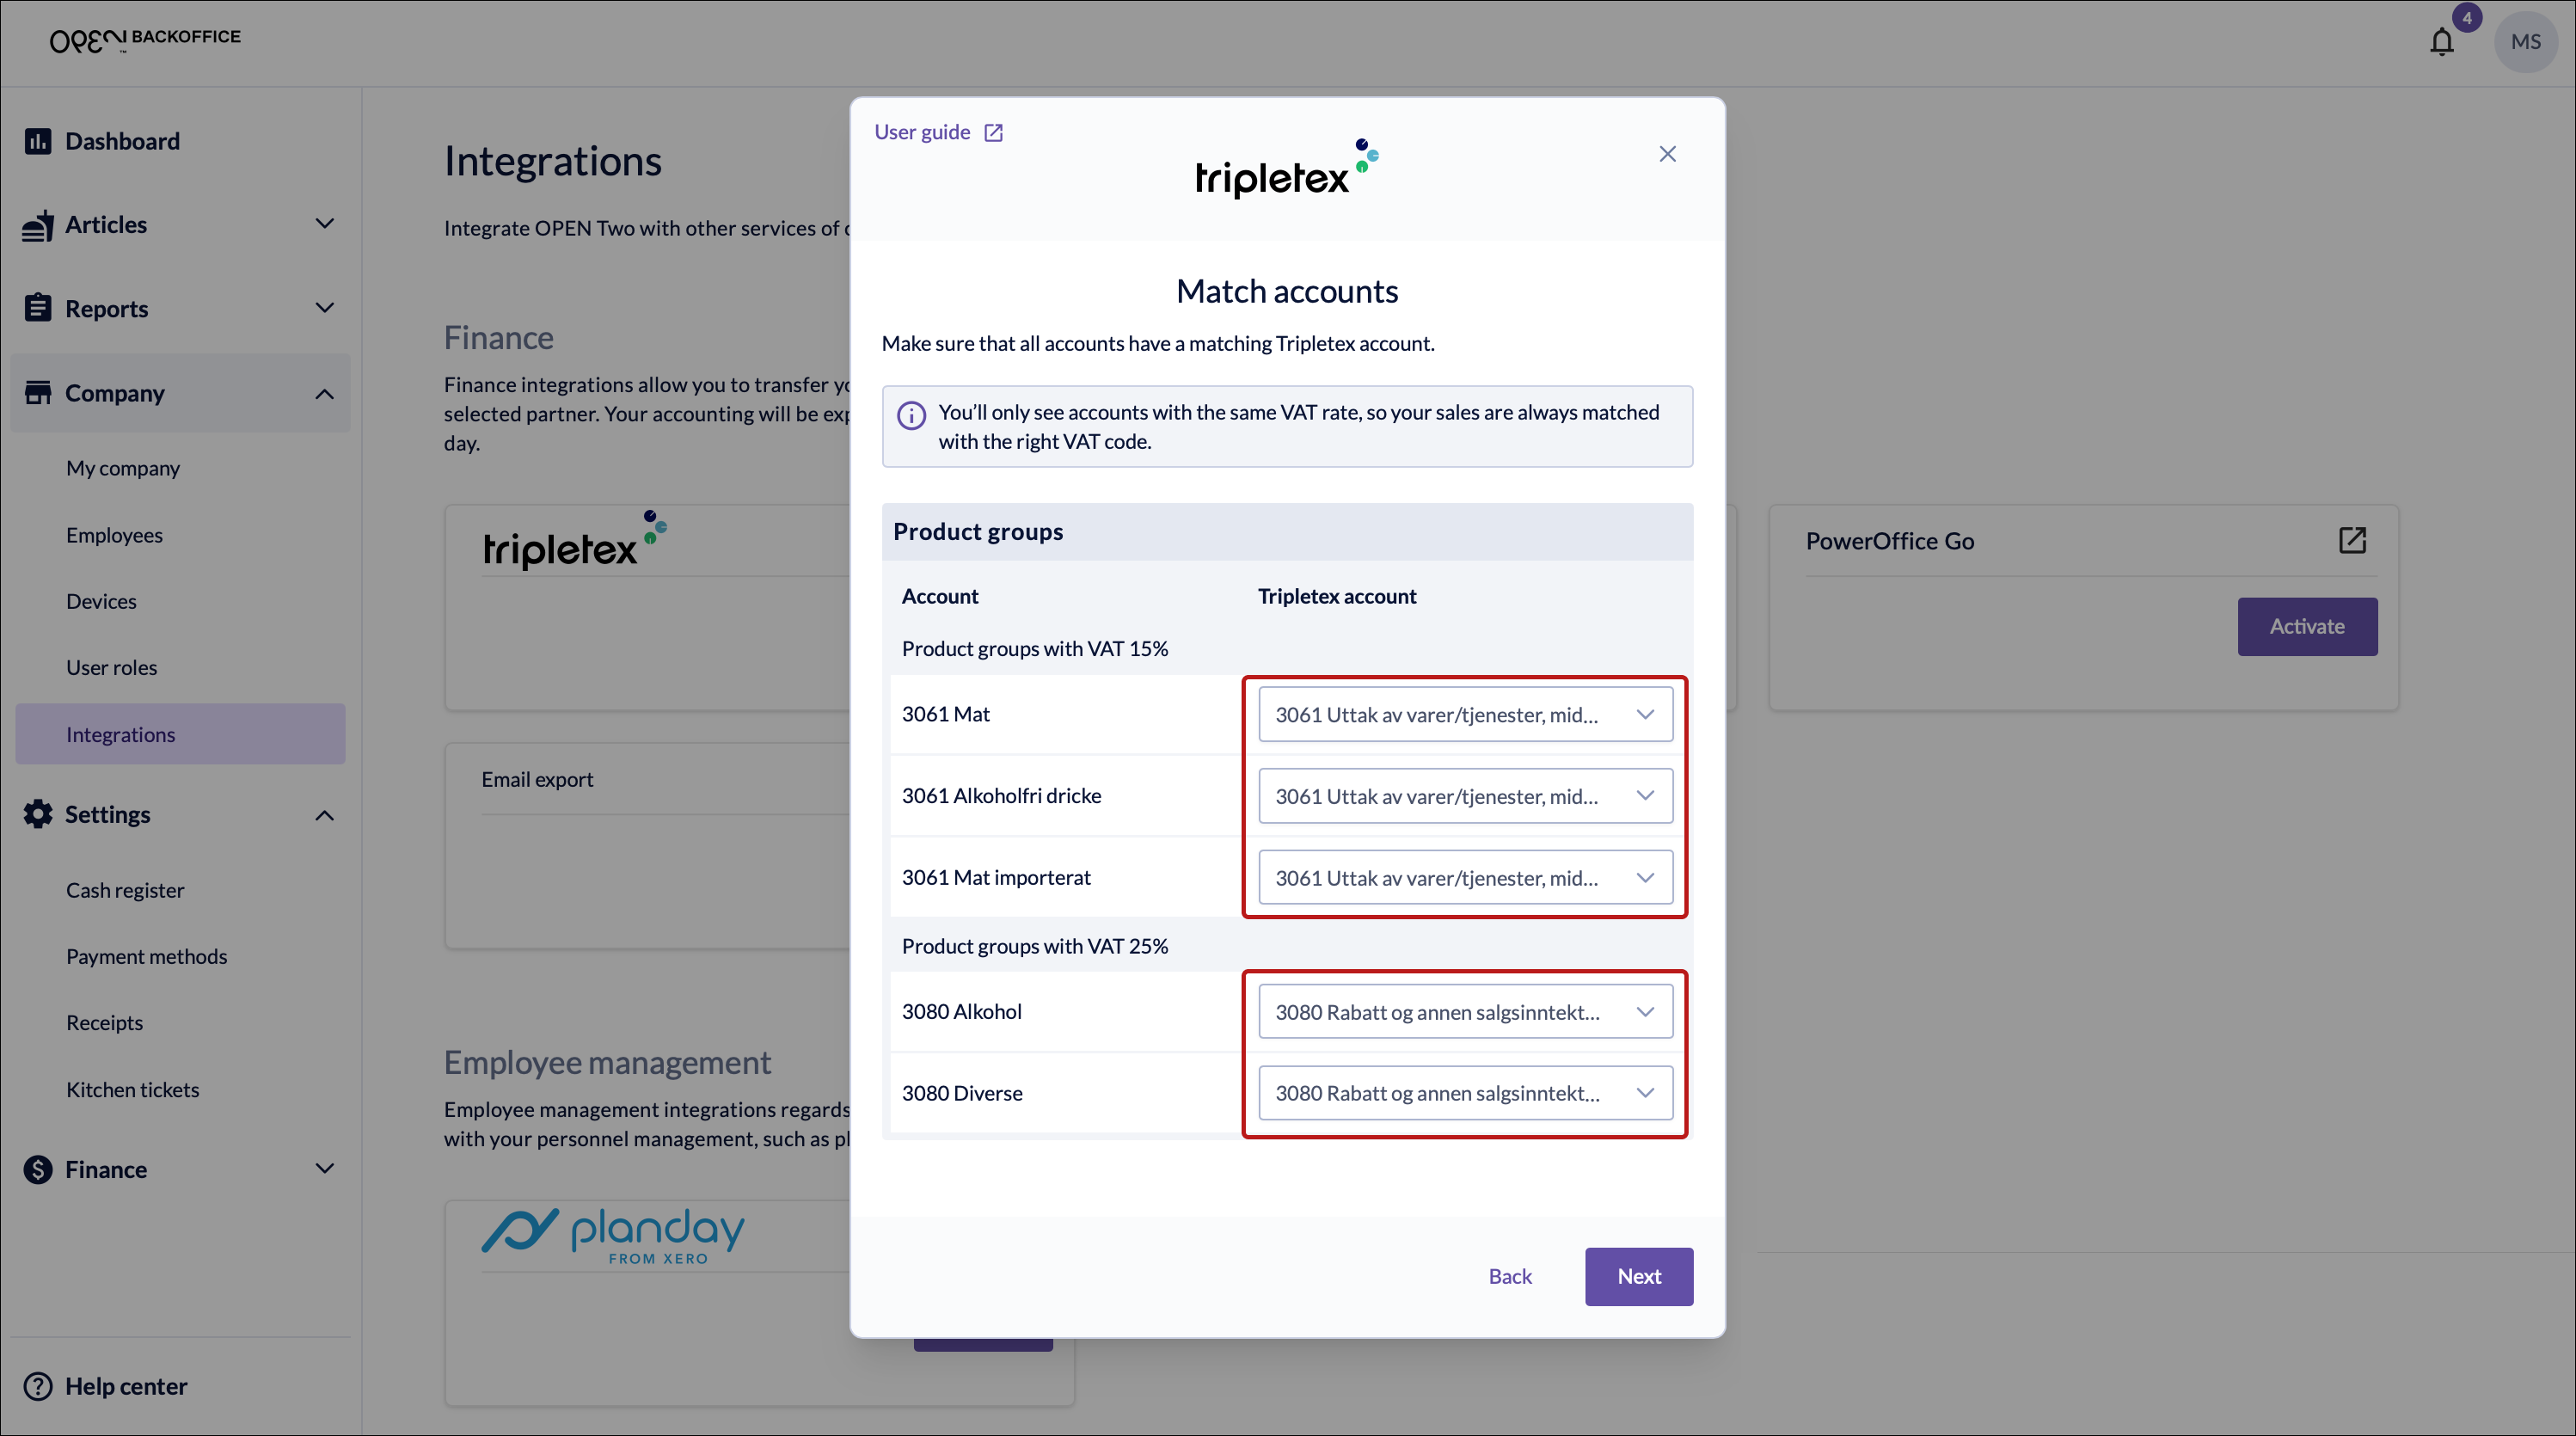
Select bookkeeping accounts for your product groups, then press Next.
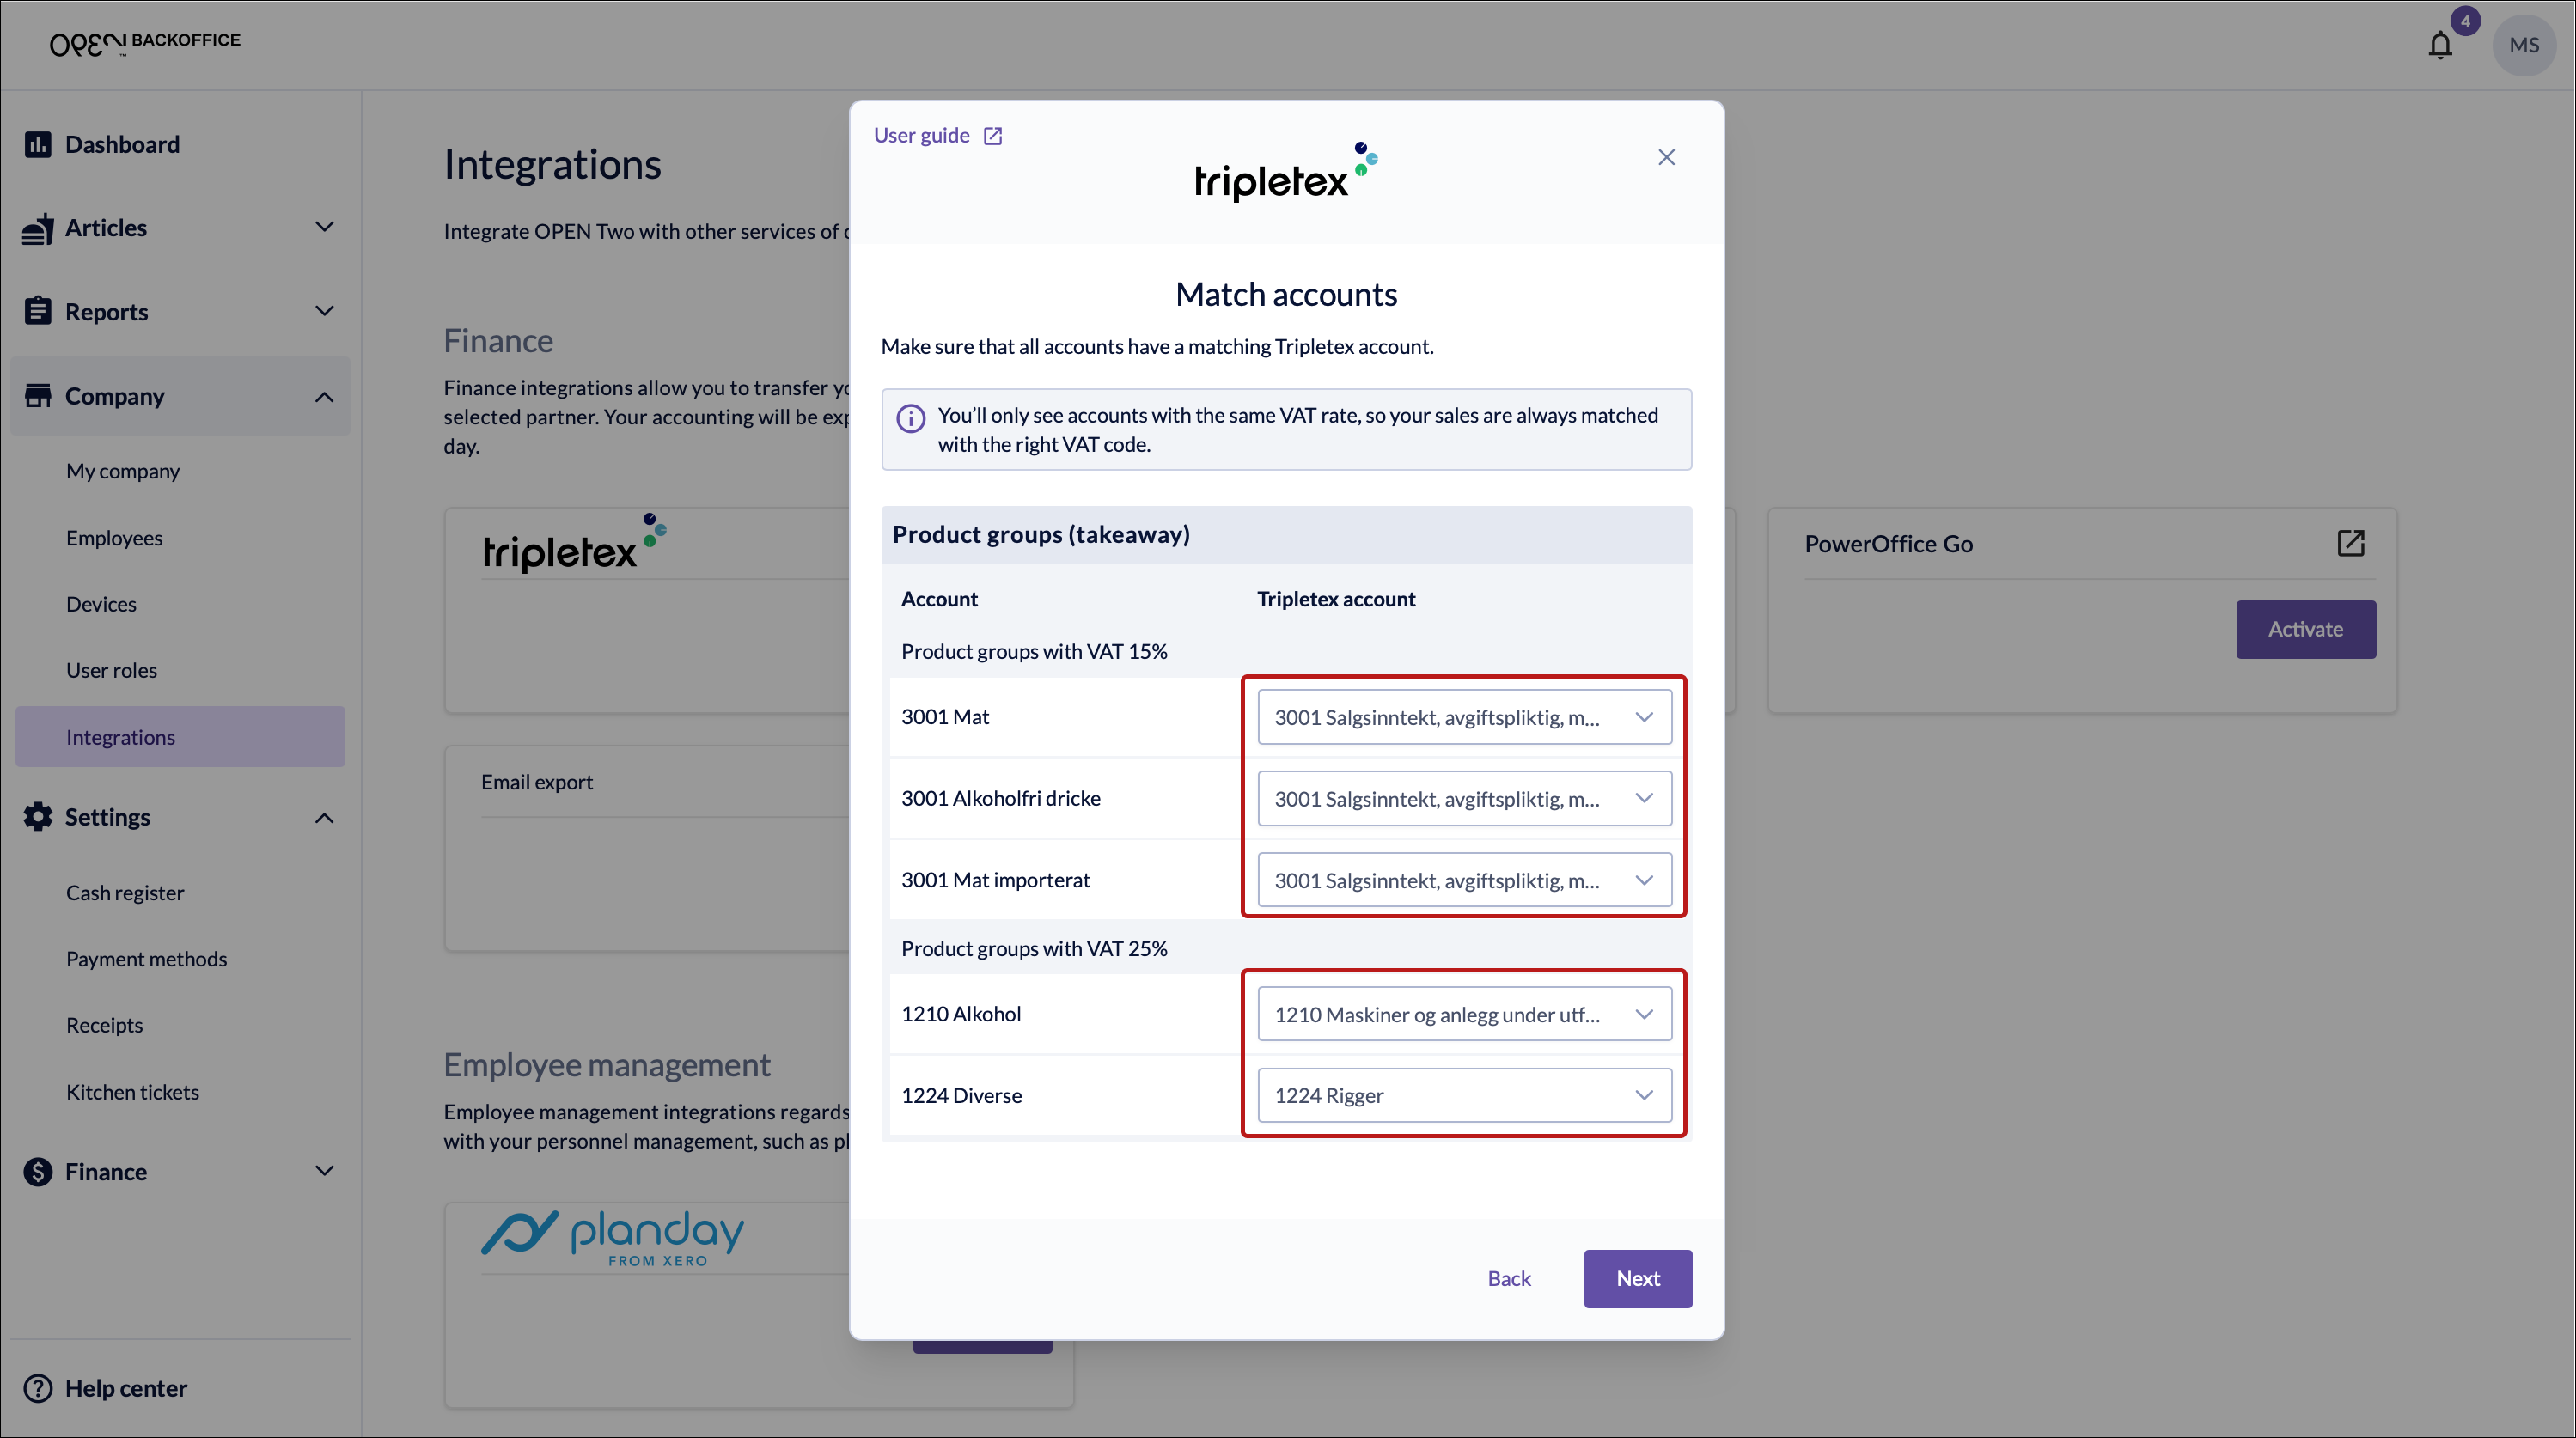
Select bookkeeping accounts for your product groups (takeaway), then press Next.
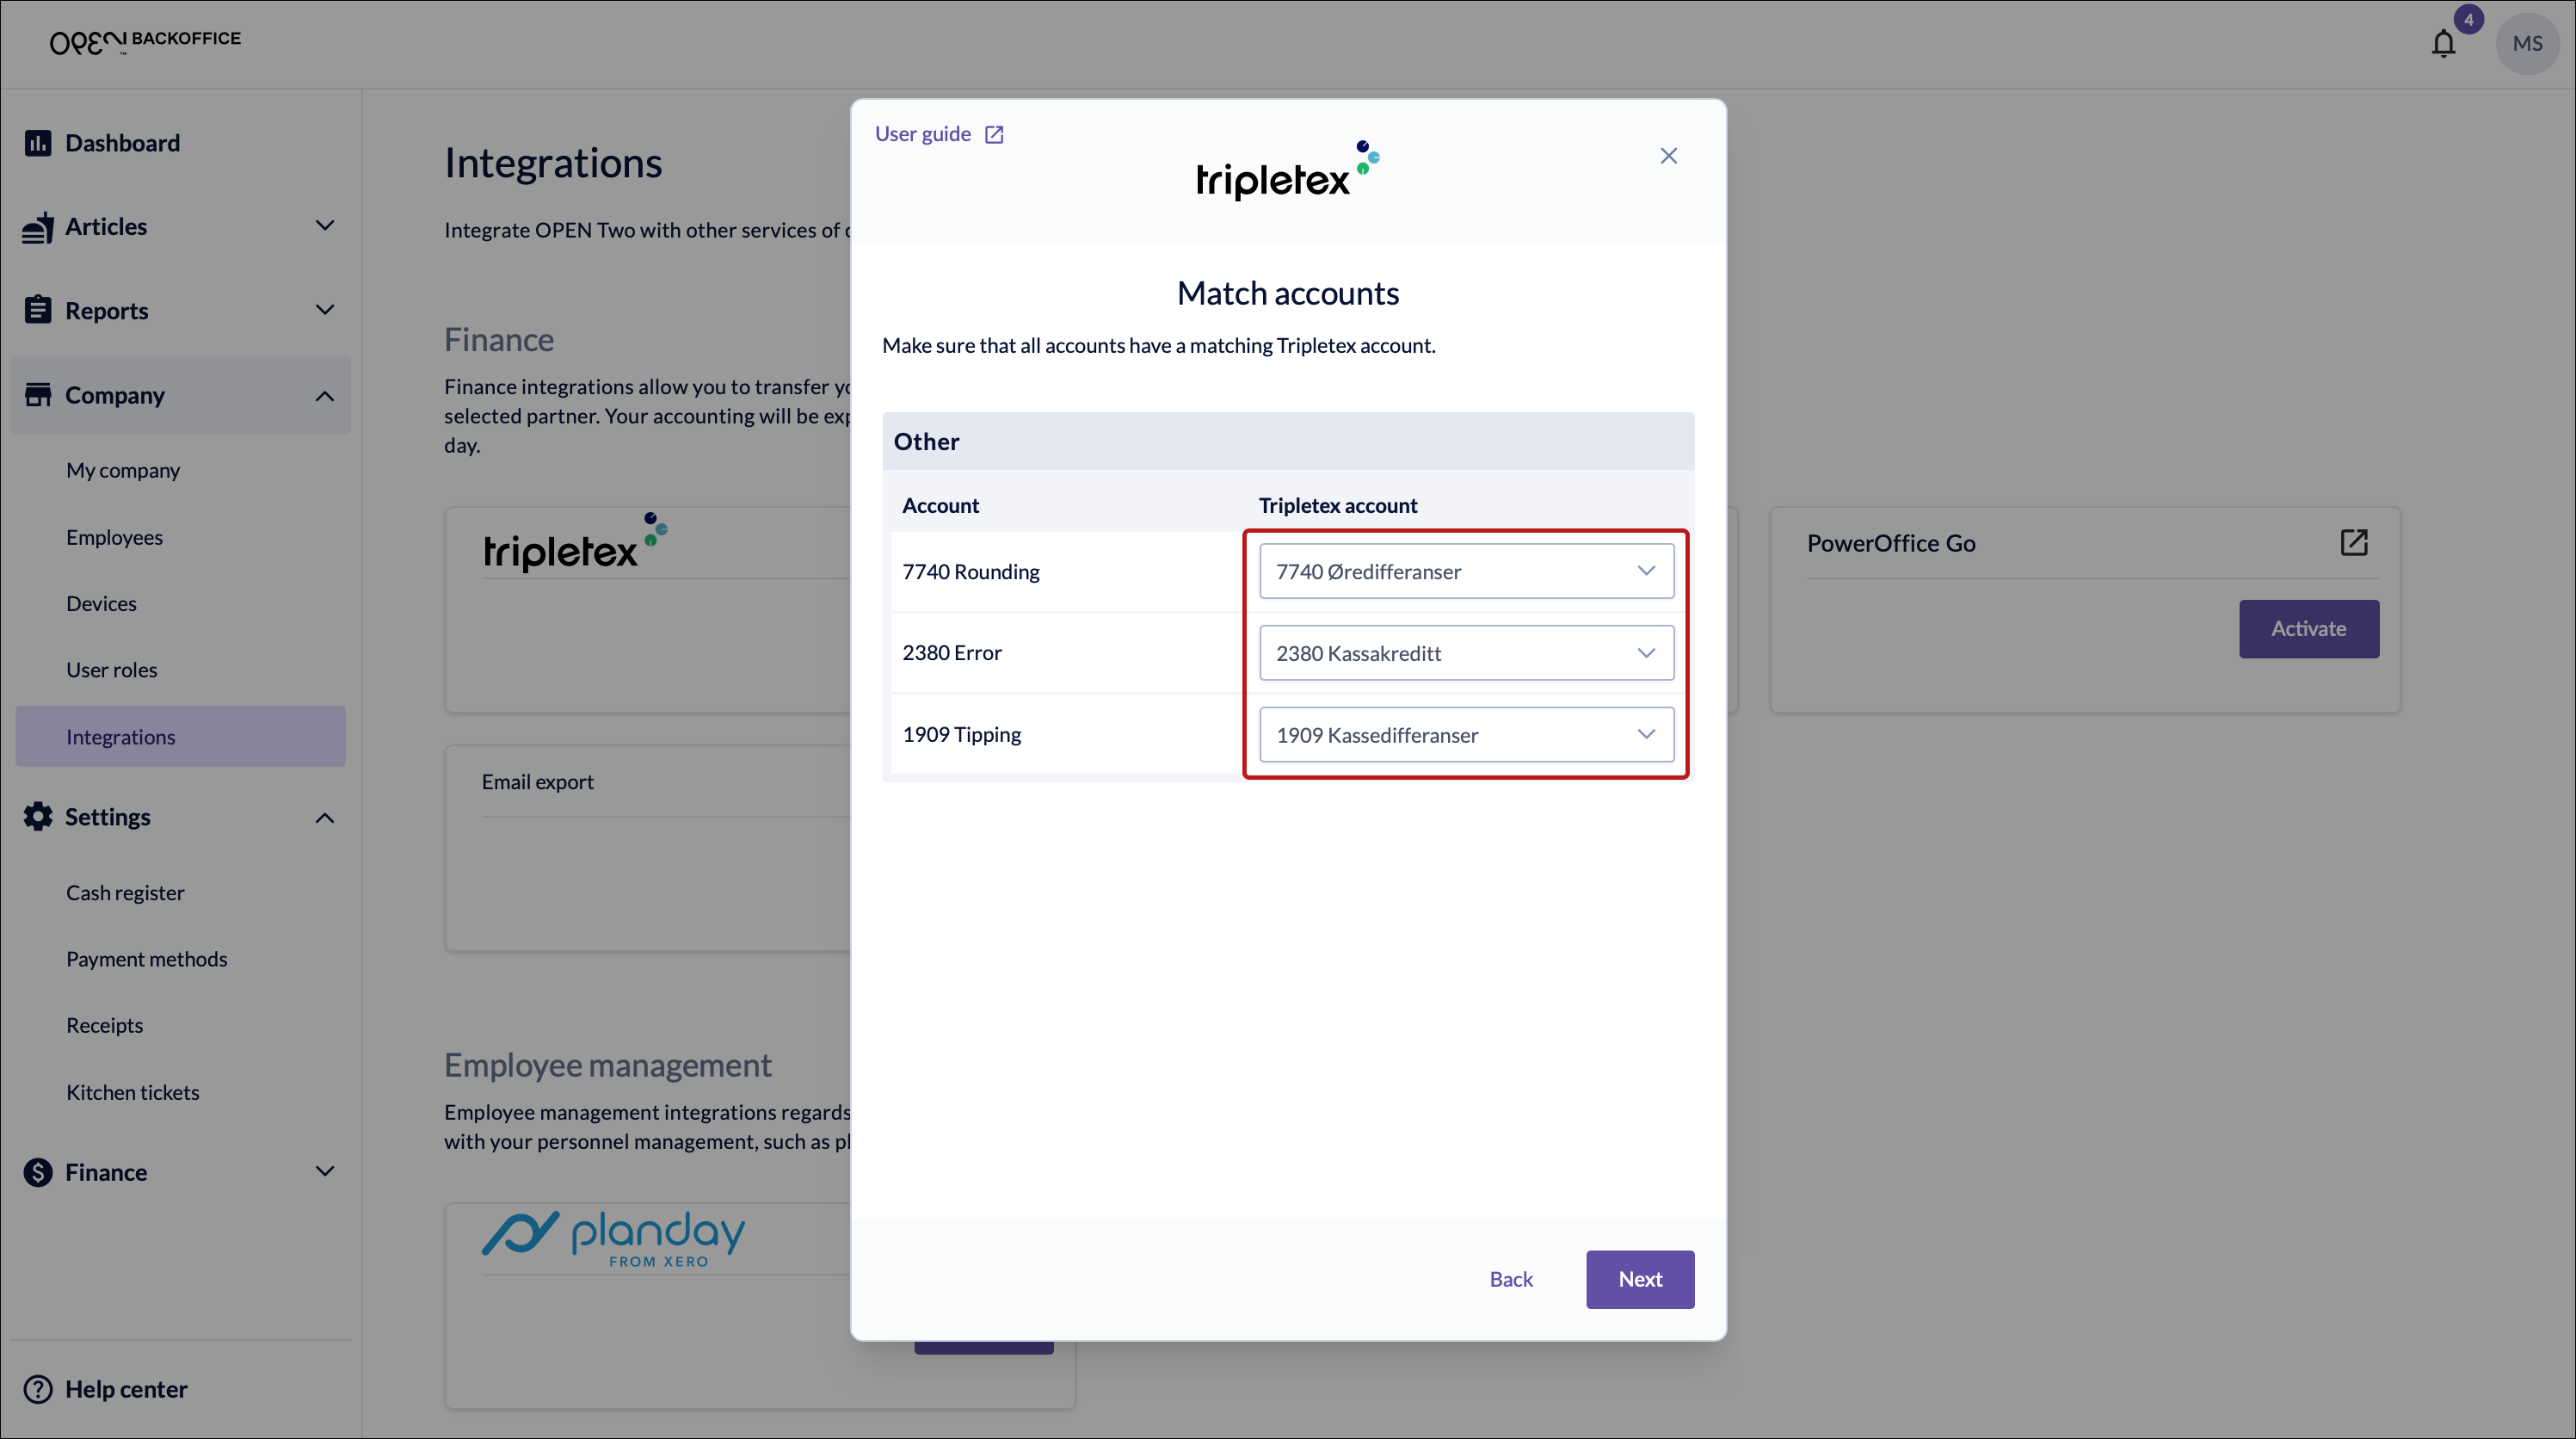
Select bookkeeping accounts for other events such as tip registration, then press Next.
Enable invoicing by ticking the box.
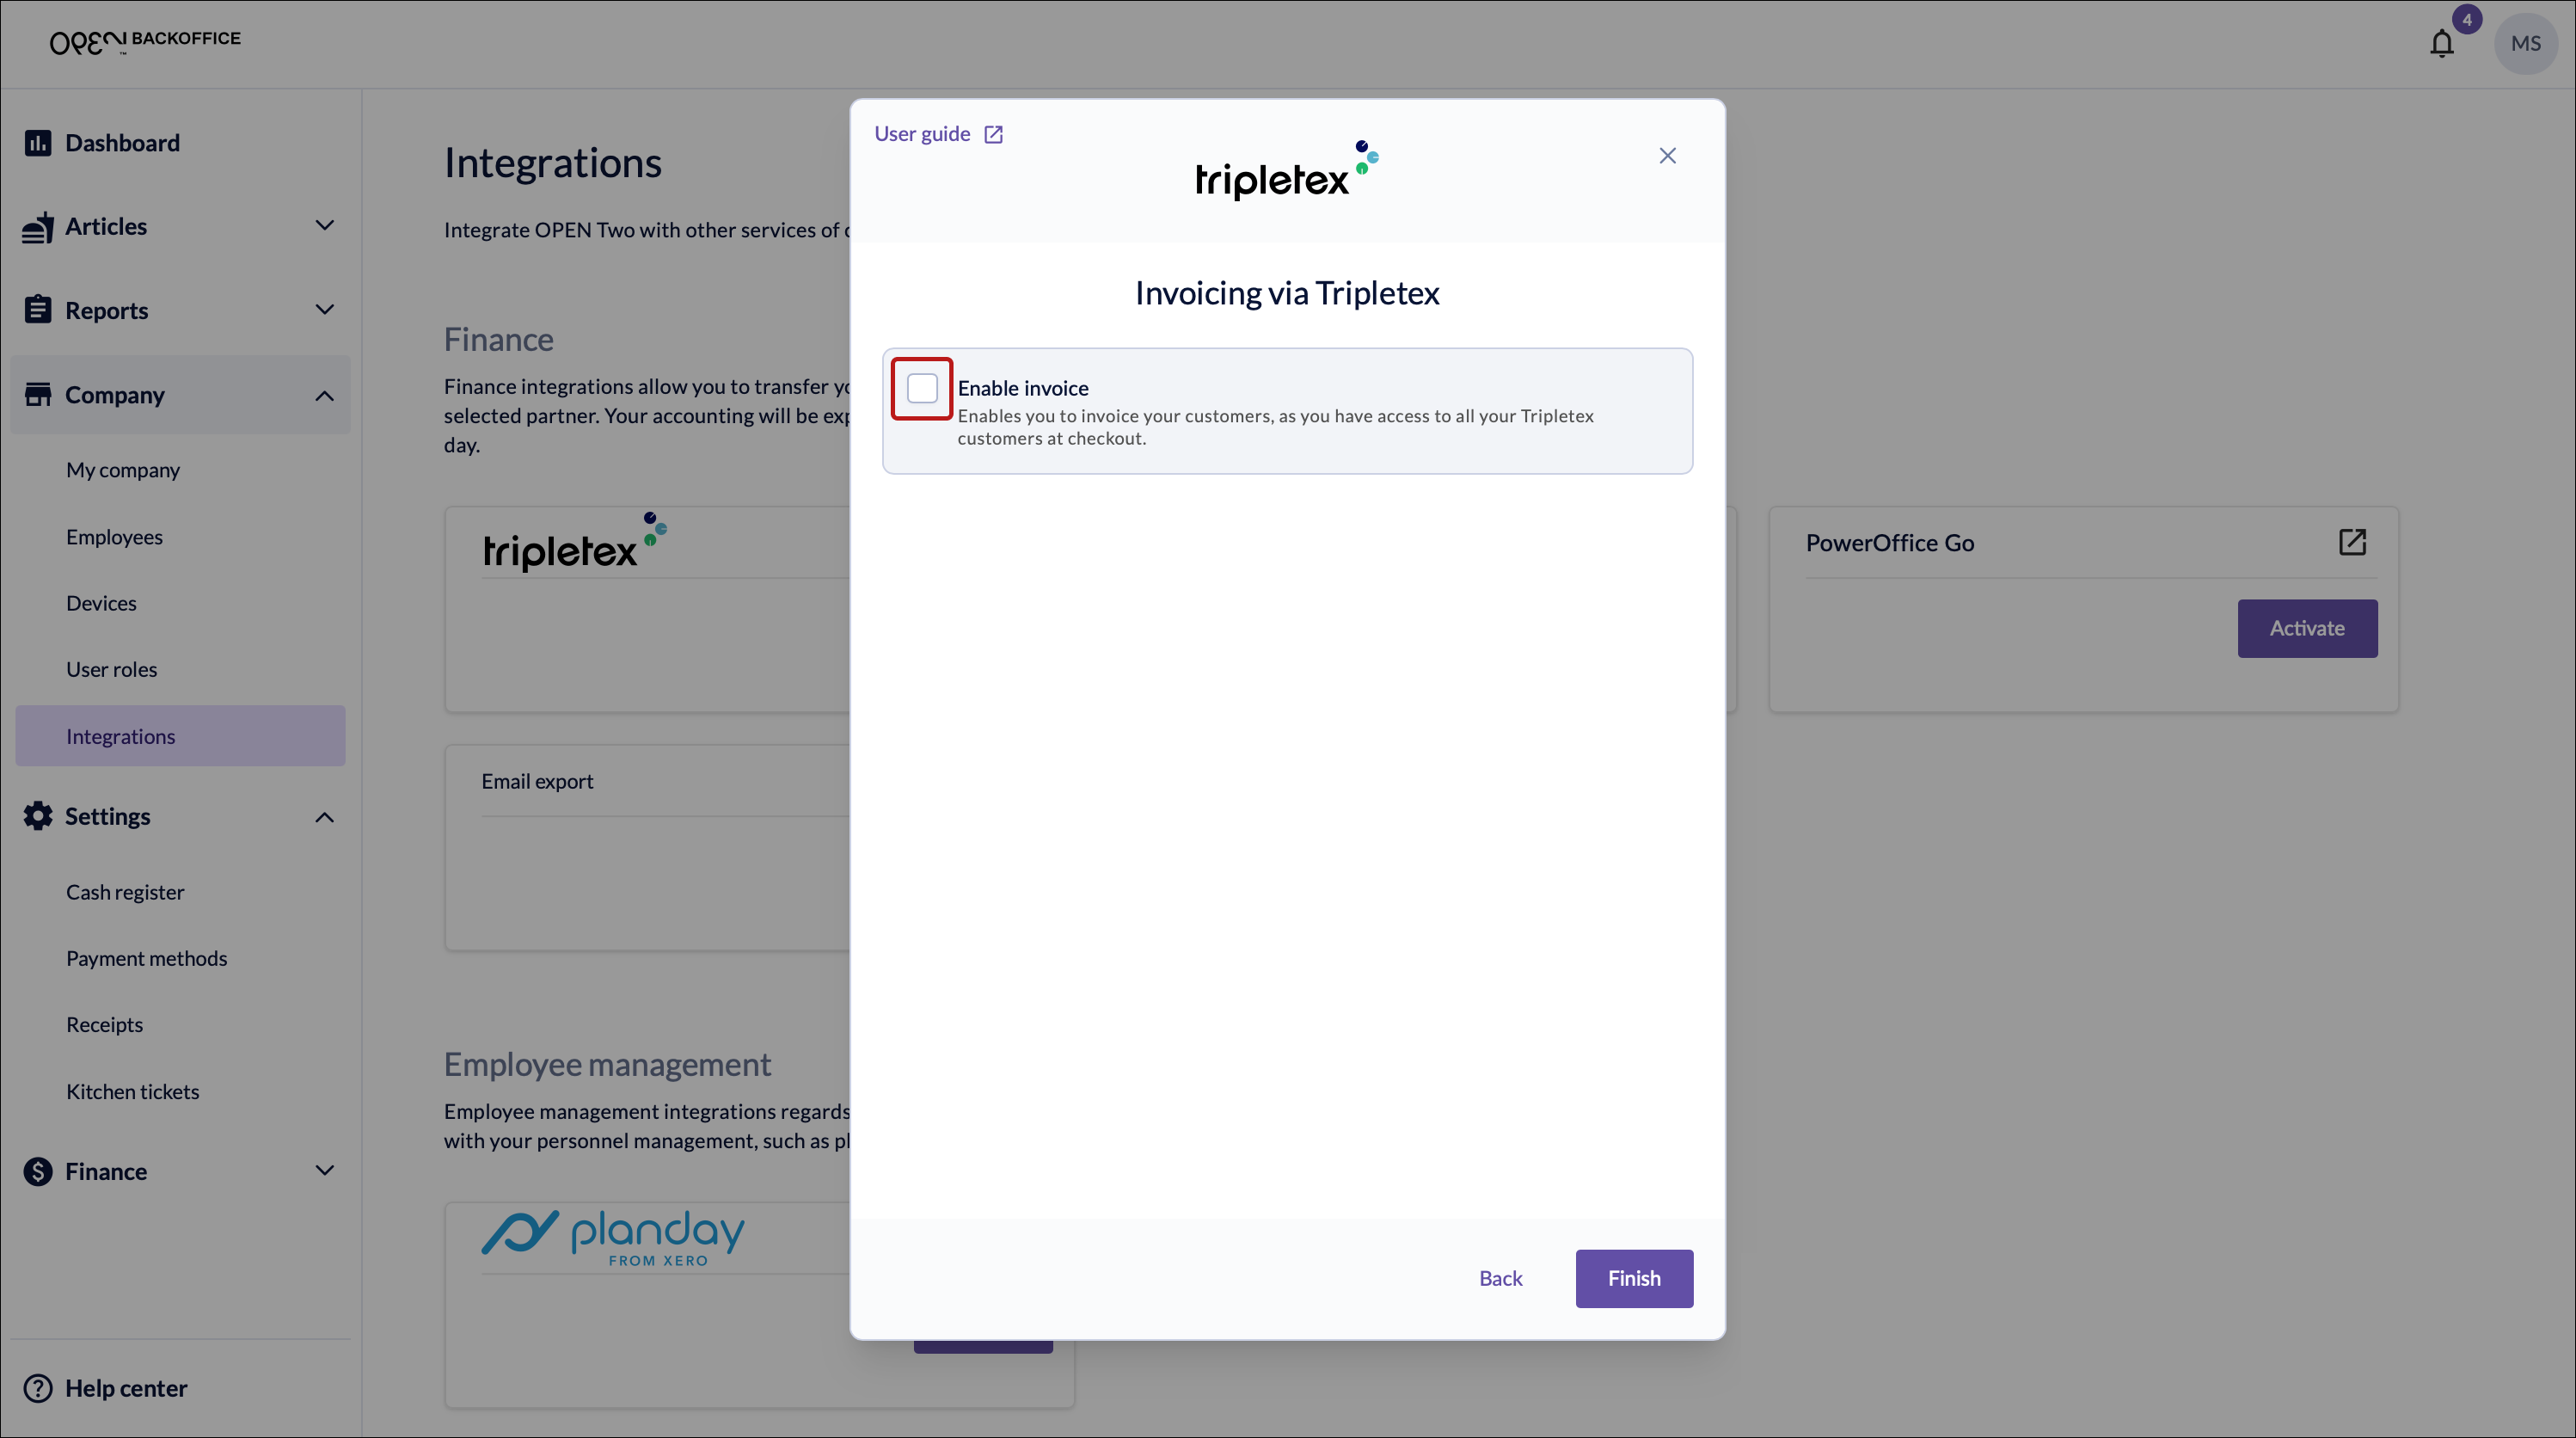
Press Finish.
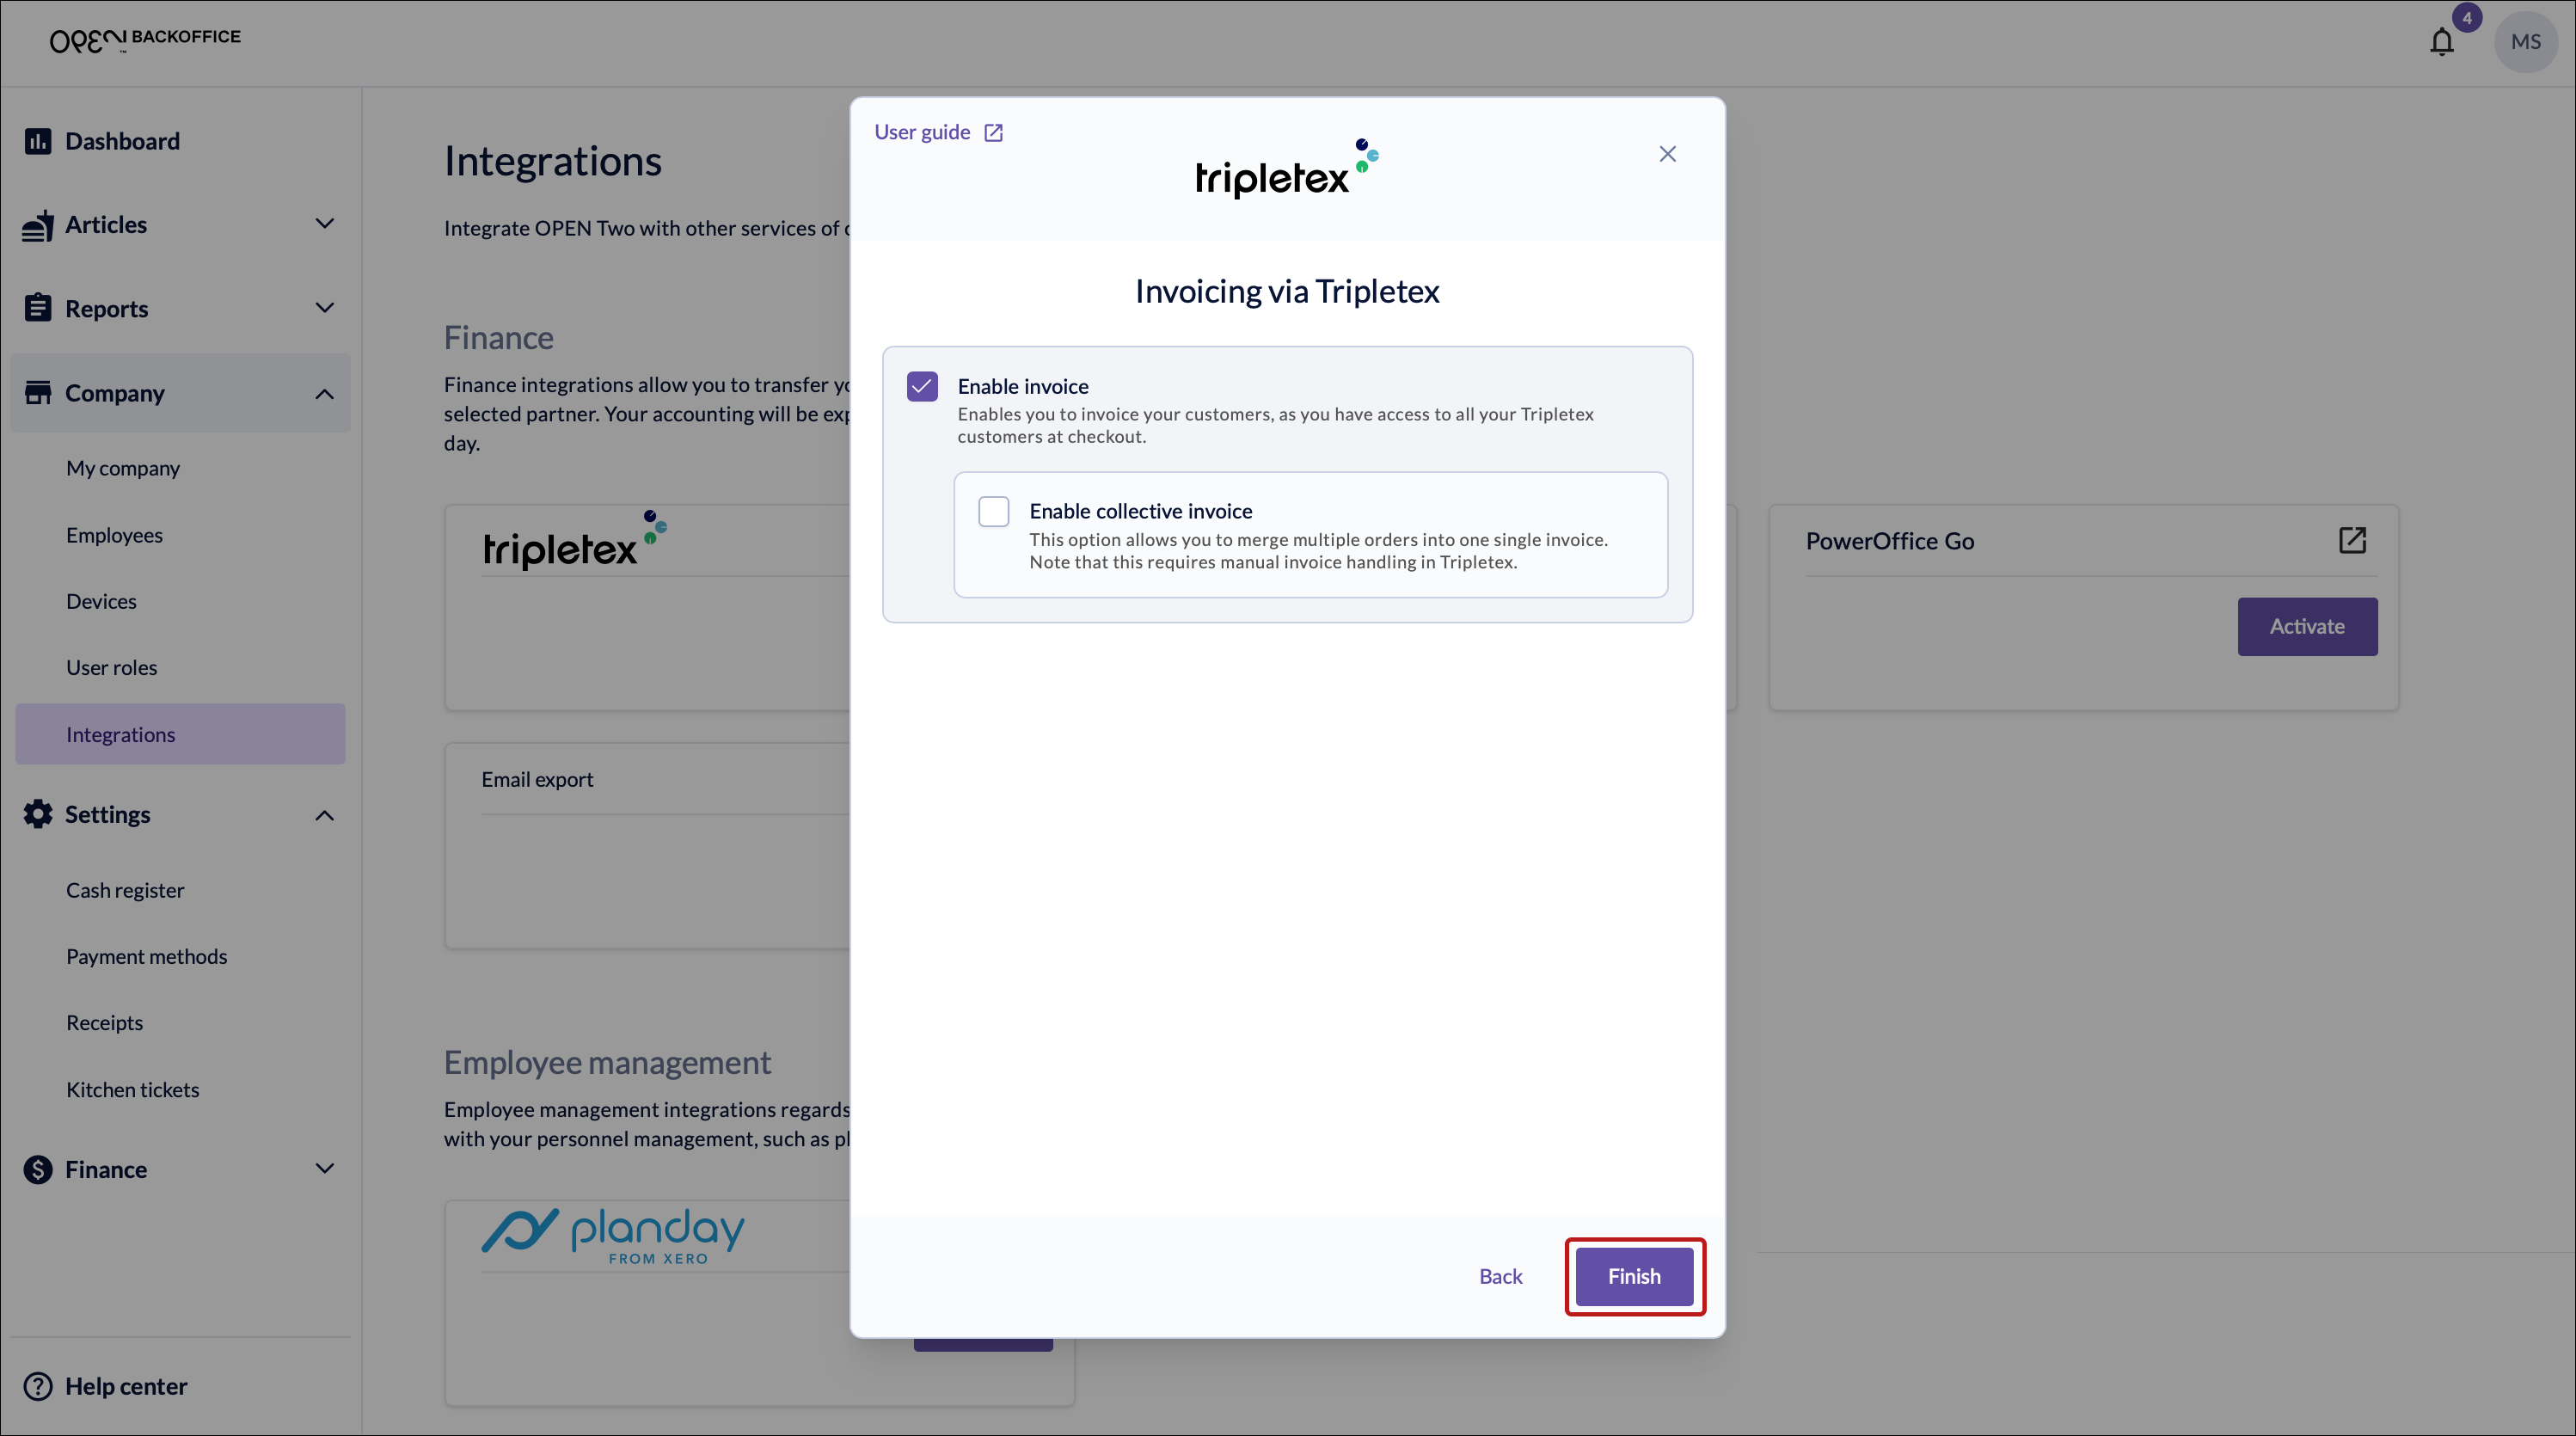
Collective invoice
If you want to use collective invoices, also tick the box for Enable collective invoice.
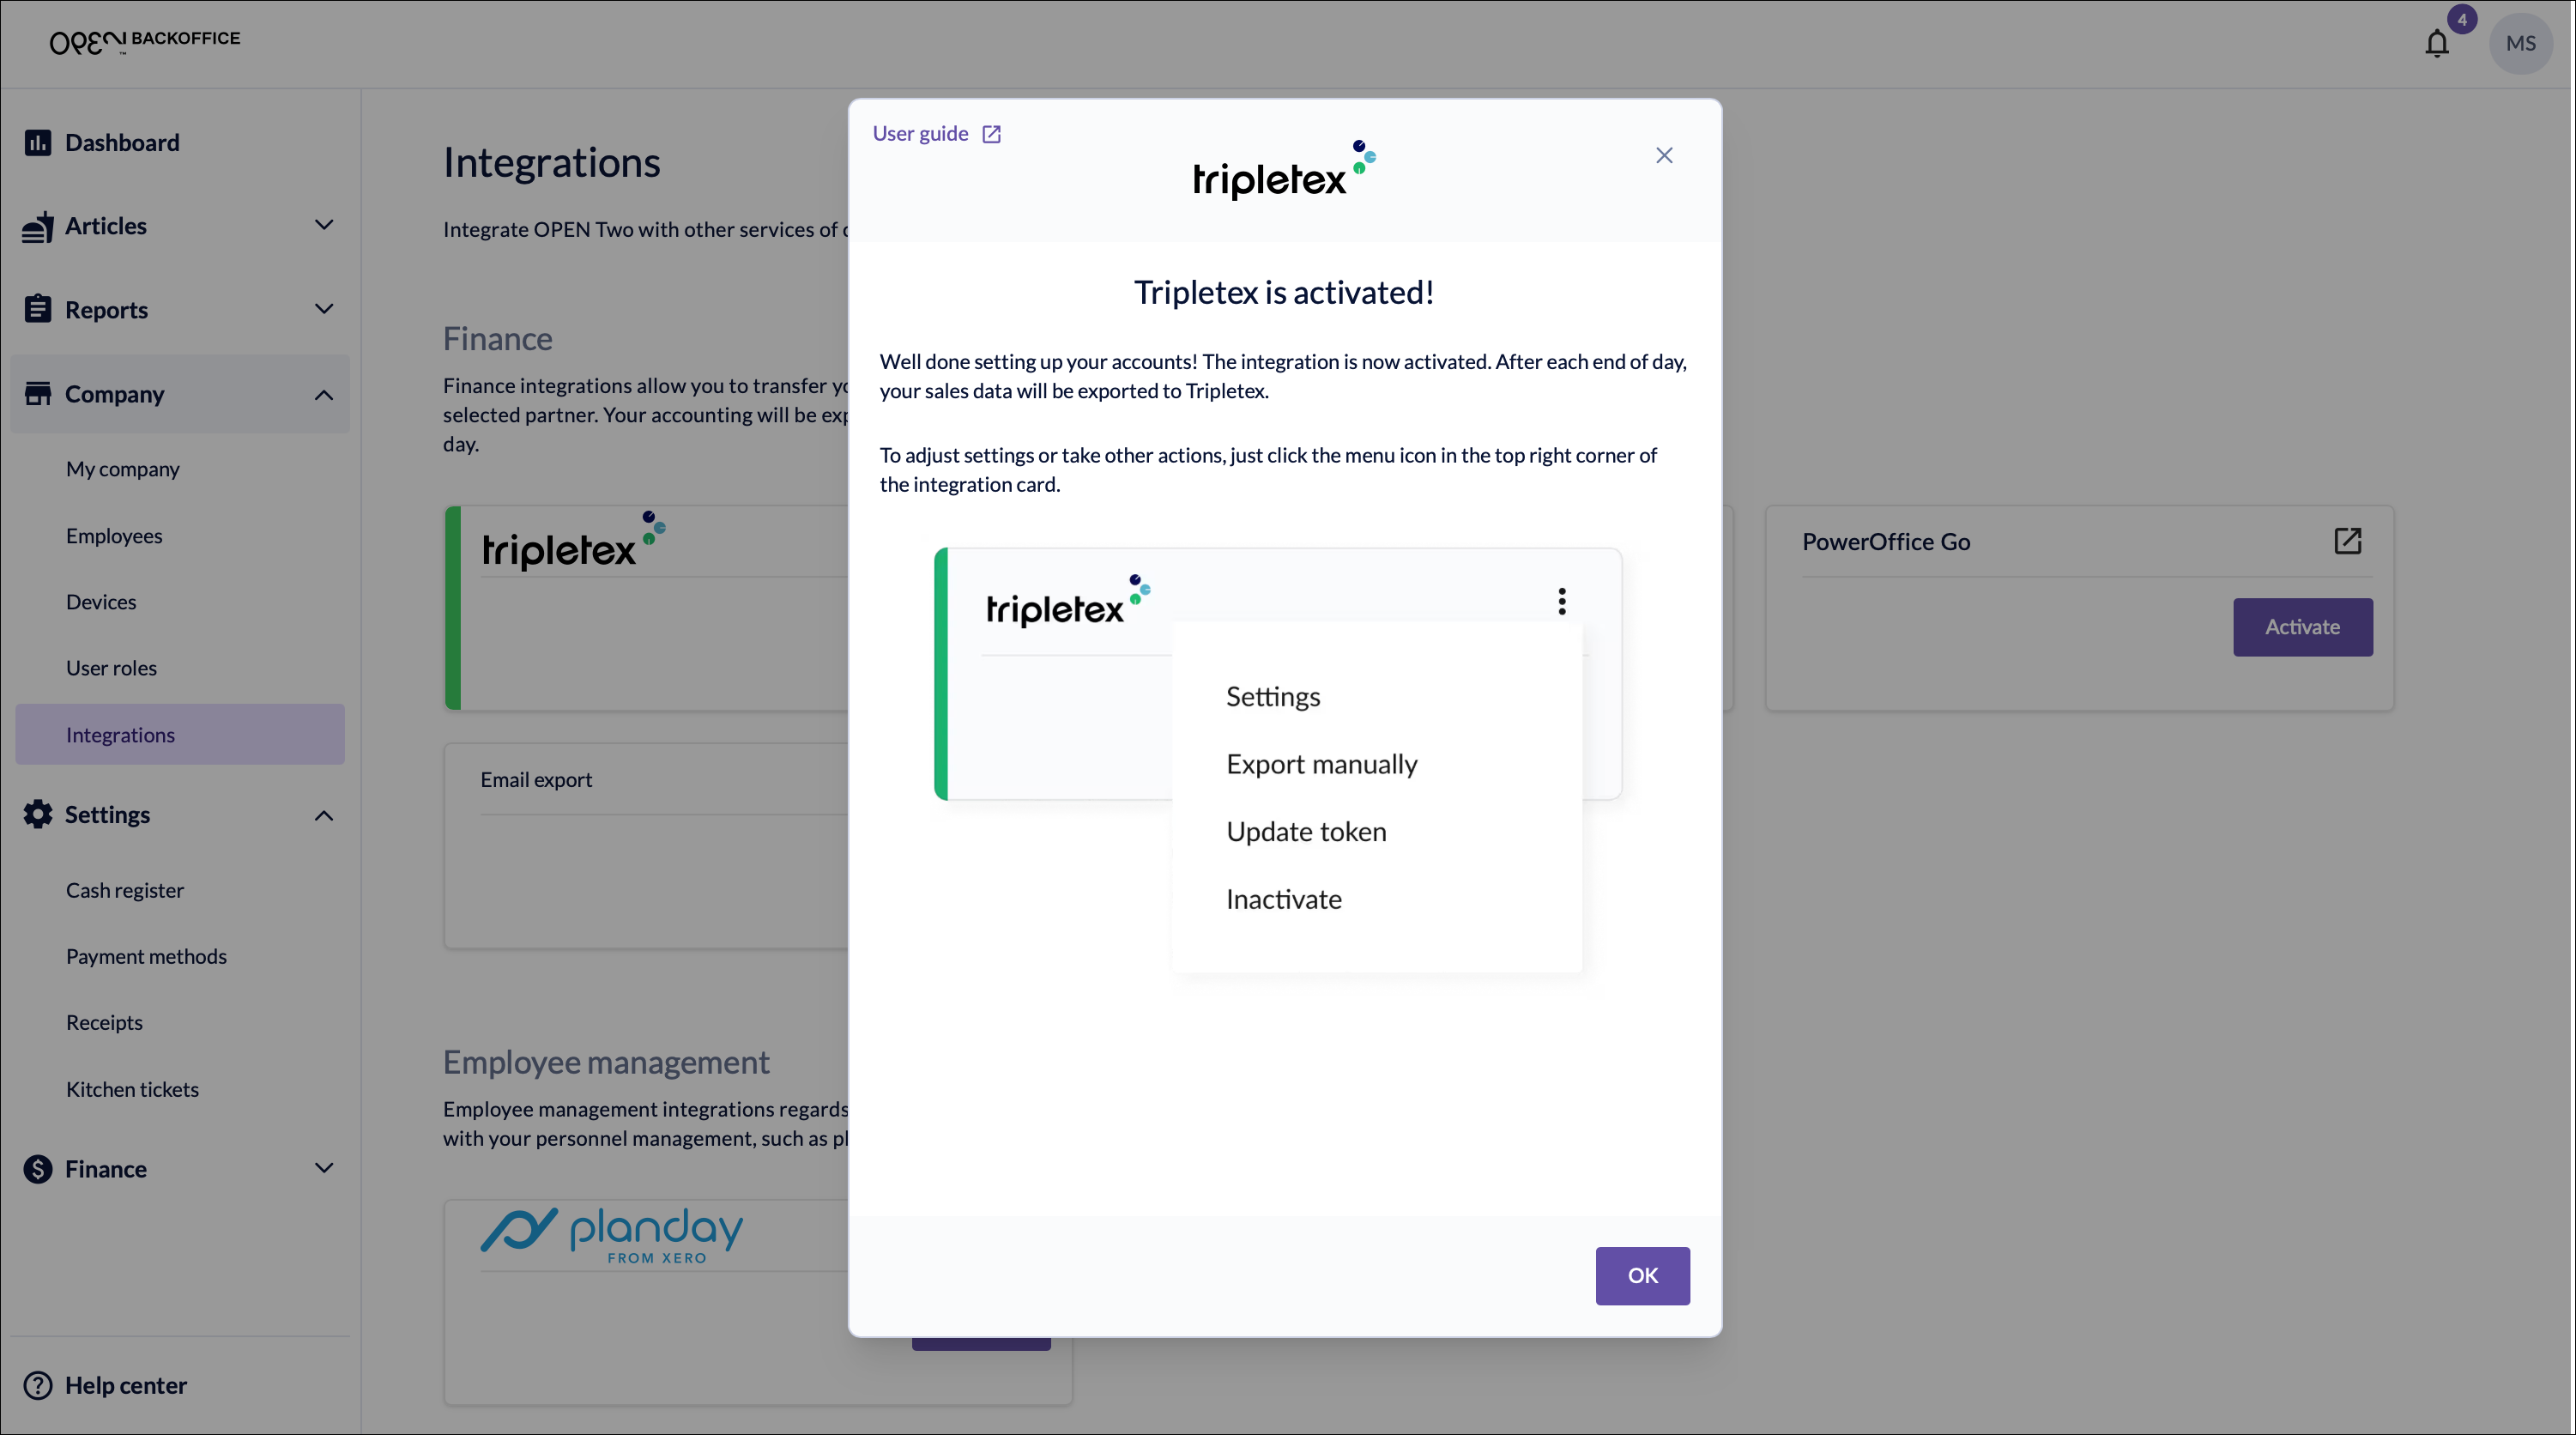
Close the dialog.


Step 3: Invoice payment method
Go to Settings -> Payment methods and make sure the Invoice method is enabled.

TIP
The payment method should be enabled automatically, but sometimes you'll need to refresh the page.
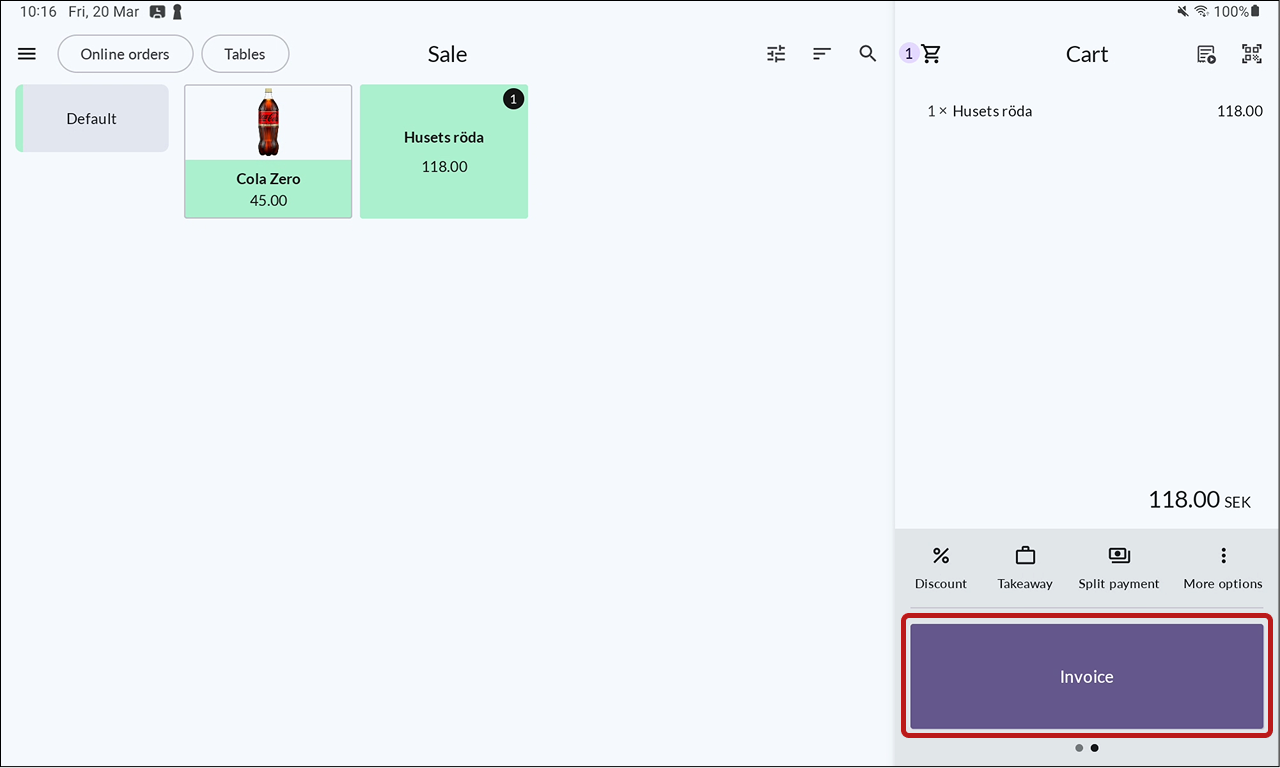
Step 4: Charge via invoice
- Add articles to the cart and select the invoice payment method.
- Choose a customer from the list.
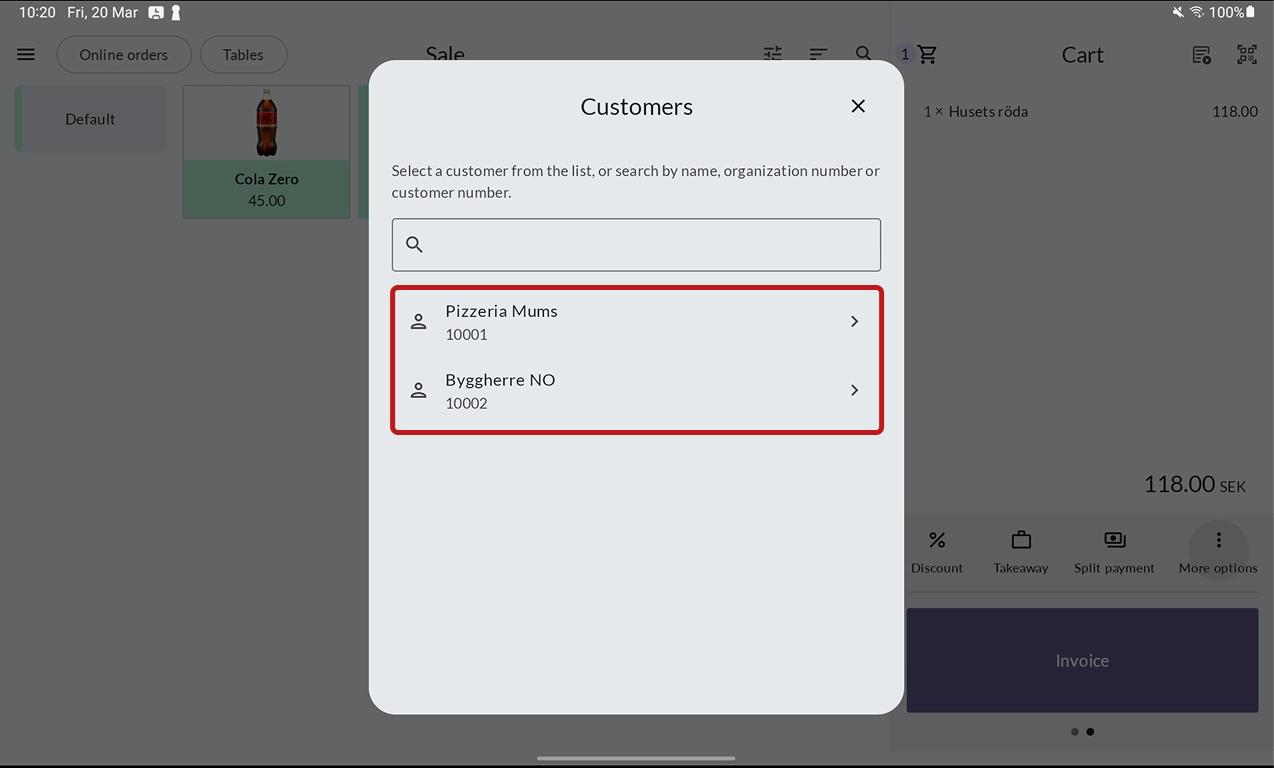
Note
Customers are created and managed in Tripletex.
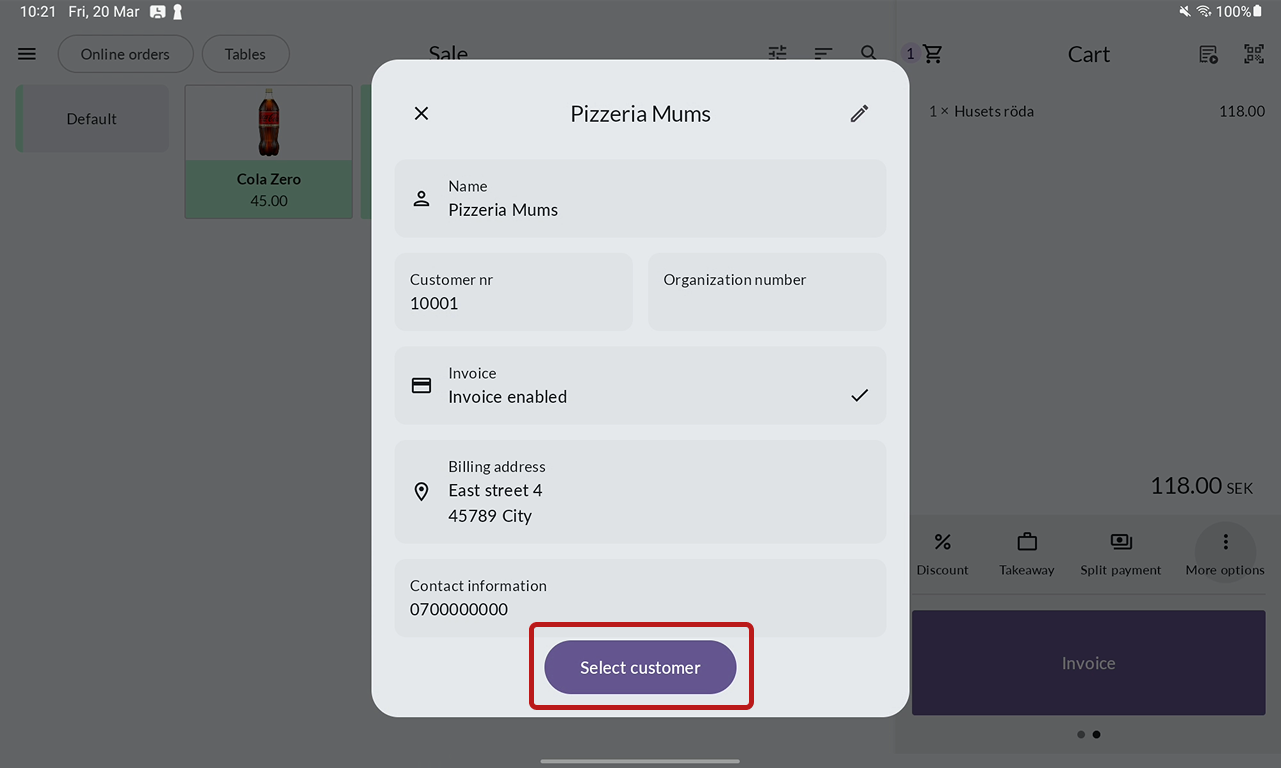
- Press Select customer.
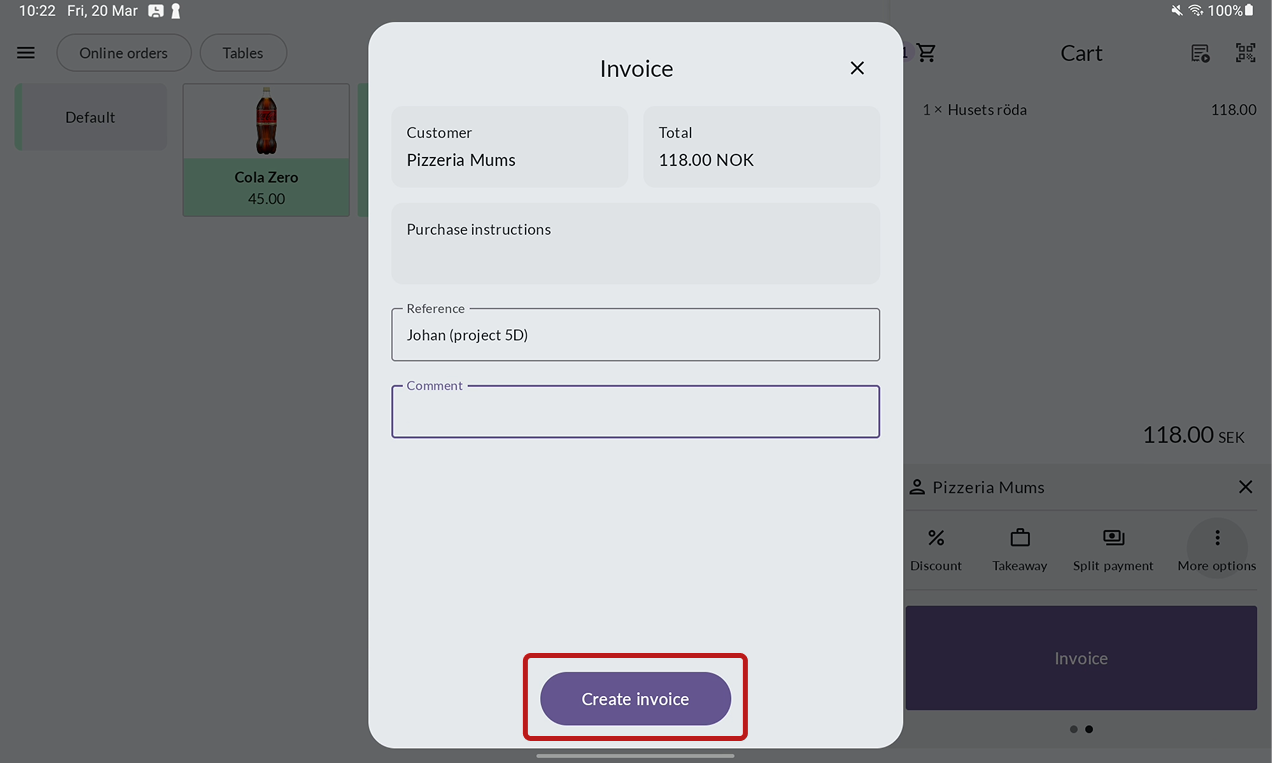
- Enter a reference and comment if needed, then press Create invoice.
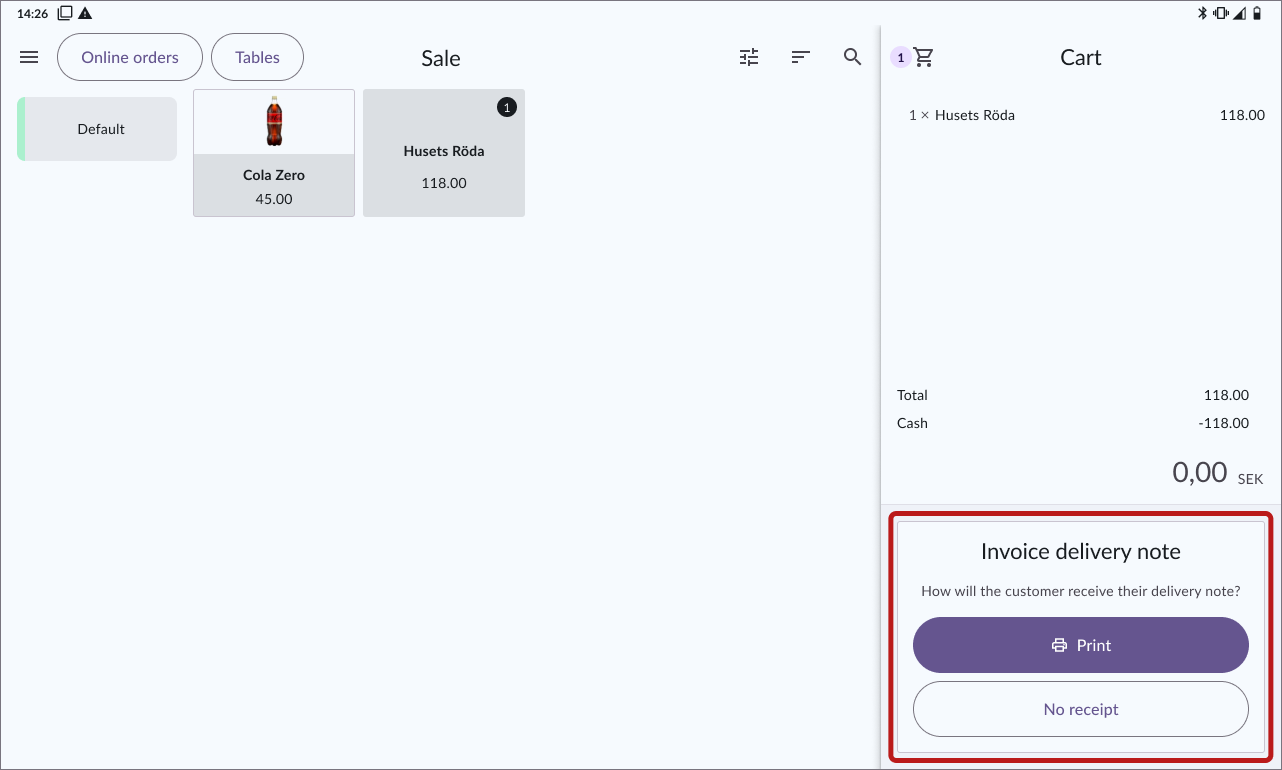
- Optional: print out a pro forma receipt for the purchase.


How to manage customers
Customer management is handled in Tripletex, where you can create new customers, edit, or delete them. Your current customers are displayed in BackOffice on the Customers page, which is located under Finance in the menu.

How to manage invoices
All invoice management is handled in Tripletex.