Taking table orders
To access your table maps at the register, open the main menu and select Tables. Your table maps appear on the left — switch between grid and map view using the buttons at the top.
Open a table
Tap a table to open it and enter the number of guests.
If you do not want to enter the number of guests, you can turn off this at the register. Go to Settings → General and disable Enter the number of guests when placing a table order.
How servings work
Every table order is organised into servings. A serving is a group of articles sent to the kitchen together. When you tap Fire, a kitchen ticket is sent and the serving gets Forward status — the kitchen knows to prepare and serve it now.
How servings are created and named depends on how you have set things up in BackOffice:
- Standard courses — servings are created automatically and named after your courses (Appetizer, Main course, Dessert). Articles go to their linked course as soon as you add them to the order.
- Open serving — a dedicated serving for drinks, always fired first. Can be re-fired as many times as needed without sending a correction.
- Flexible servings — you create servings manually in the register. Servings are named Serving 1, Serving 2, and so on, and can contain any articles.
Combine with an open drinks serving
You can combine flexible servings for the food with an open serving for your beverages.
Not sure which setup you are using? See Setting up servings.
Taking orders with standard courses
When standard courses are active, articles are automatically sorted into the correct serving as you add them. A dessert goes straight to the Dessert course; a starter goes to the Appetizer course.
To take an order:
- Open the table and start adding articles. They are sorted automatically.
- The Fire button shows the next course in the serving order — tap it to send that course to the kitchen.
- When the guests are ready for the next course, tap Fire again. The button updates to show the next course in line.

Tip
If you have enabled Show upcoming servings in BackOffice, firing the Appetizer will also notify the kitchen of the Main course and the Dessert with Wait status — so the kitchen can start planning ahead. See Show upcoming servings for details.
The serving order is set up in BackOffice. Open servings (drinks) are always fired first, followed by standard courses in the order you defined.
To bypass the serving order:
Long press a serving in the cart and tap Fire to send it to the kitchen immediately, regardless of the normal order.
Tapping New serving creates a new flexible serving. Avoid this if you are using standard courses — articles added to a flexible serving will not be sorted automatically and will create a mixed setup in the cart.
Working with an open serving
An open serving works as a complement to either standard courses or flexible servings. When one is active, all articles linked to it — typically drinks — are automatically added to it as you build the order.

As soon as you add an article linked to the open serving, the Fire button activates and shows the name of that serving — for example Fire Drinks. Tap it to send the open serving to the kitchen or bar. The open serving is always fired first.
To re-fire the open serving — for example when guests order another round — simply add the new articles to the order. The Fire button automatically updates to show the open serving name again. Tap it to send the new round to the kitchen or bar. No correction is sent.
You can add more articles to the open serving at any point during the meal, even after it has already been fired, without triggering a correction.
Taking orders with flexible servings
With flexible servings, you build the order manually in the register. This is how OPEN Two works by default and nothing has changed if you are already familiar with this workflow.

To take an order:
- Open the table and add the articles for the first serving — for example drinks and starters.
- Tap New serving and add the articles for the next serving, such as the main course.
- Repeat for as many servings as needed.
- Tap Serving 1 in the cart to select it.
- Tap Fire Serving 1 to send it to the kitchen.
Select the serving before firing
With flexible servings, the Fire button is always tied to the last added or selected serving. If you add articles to Serving 2 and then want to fire Serving 1, make sure to tap Serving 1 in the cart first — otherwise you will fire the wrong serving.

Flexible servings can contain any articles — they are not tied to a specific type. If a guest wants an appetizer alongside others' main courses, just add it to the same serving.
Tip
If you have enabled Show upcoming servings in BackOffice, firing Serving 1 will also notify the kitchen of Servings 2 and 3 with Wait status — so the kitchen can start planning ahead. See Show upcoming servings for details.
Serving statuses
In the cart, each serving shows its current status:
| Status | What it means |
|---|---|
| ▶ + strikethrough name | Forward — kitchen has been told to serve this now |
| ⏸ | Wait — kitchen is prepping but holding, not yet serving |
| Purple dot | Currently selected serving |
Show upcoming servings
When a guest orders a full meal at once, you can let the kitchen know about upcoming courses from the moment the first serving is fired. Enable Show upcoming servings in BackOffice to send Wait status to the kitchen for all subsequent servings when you fire the first one.
This helps the kitchen plan preparation — they know a main course is coming even before you fire it.
This setting is useful for restaurants where guests typically order complete meals. If your guests usually order one dish at a time, you may not need it — the kitchen will simply receive a new ticket each time you fire a serving.
To enable it:
- In BackOffice, go to Settings → Kitchen tickets.
- Enable the setting Show upcoming servings.

For more on customising kitchen tickets, see Kitchen tickets for table orders.
Leave and close a table
You can leave an open order and return to the table map in several ways:
Back arrow — always available in the top left corner of the register.
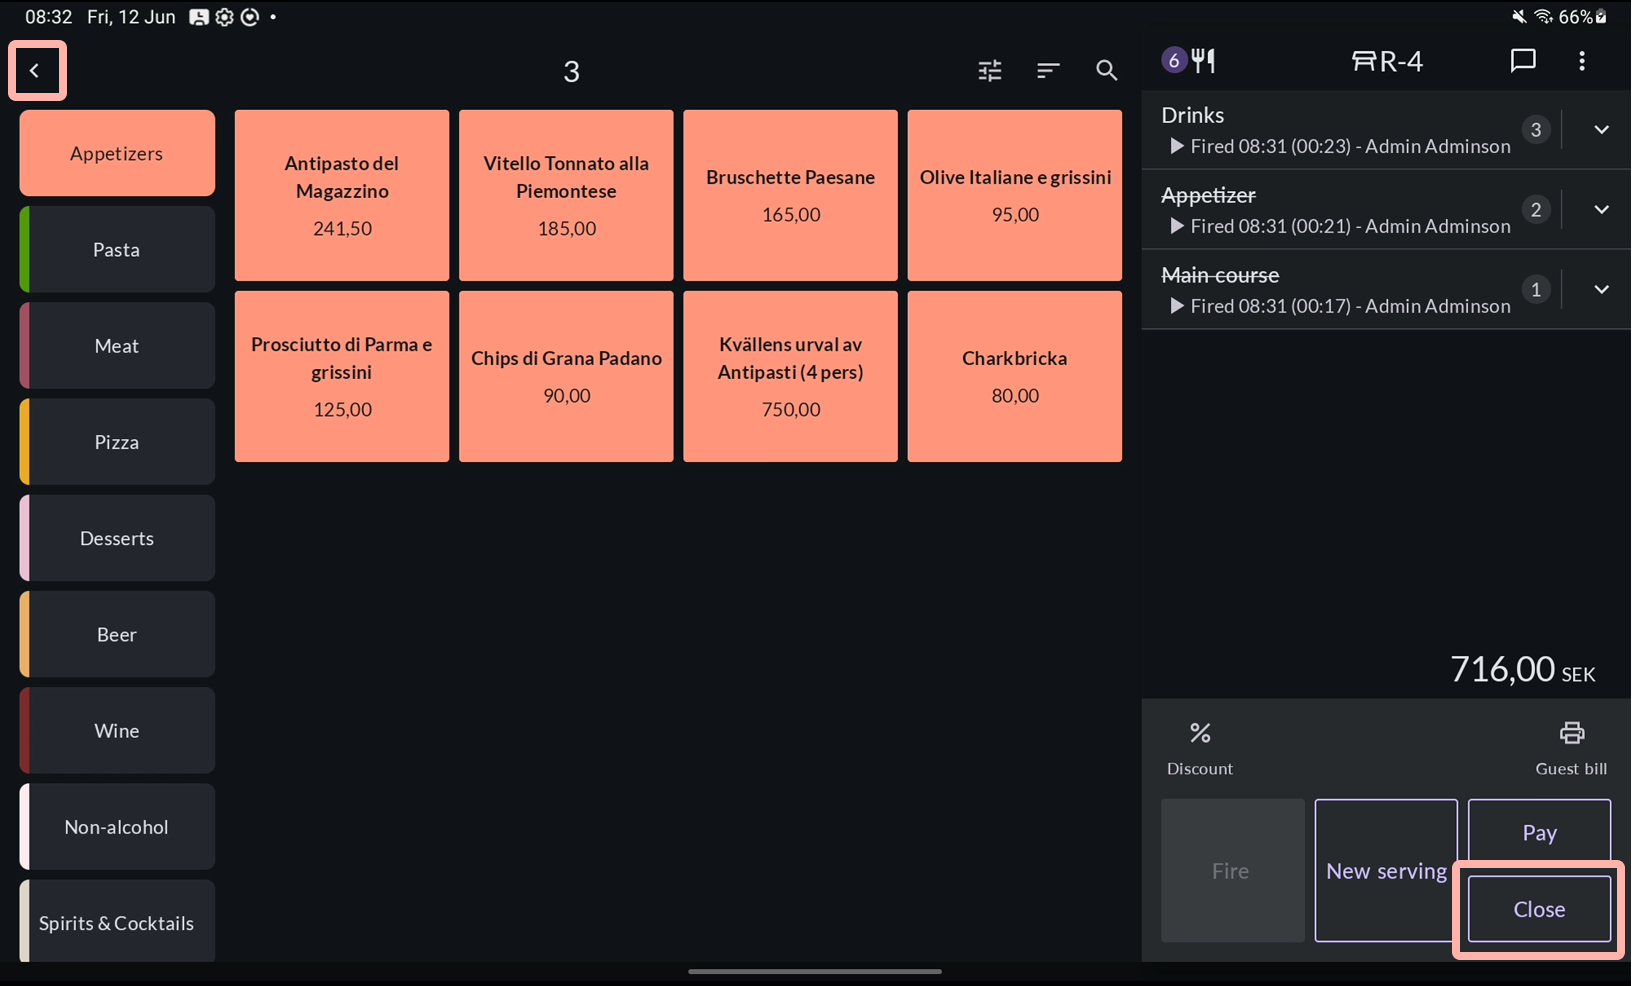
Close button — a dedicated button in the register.
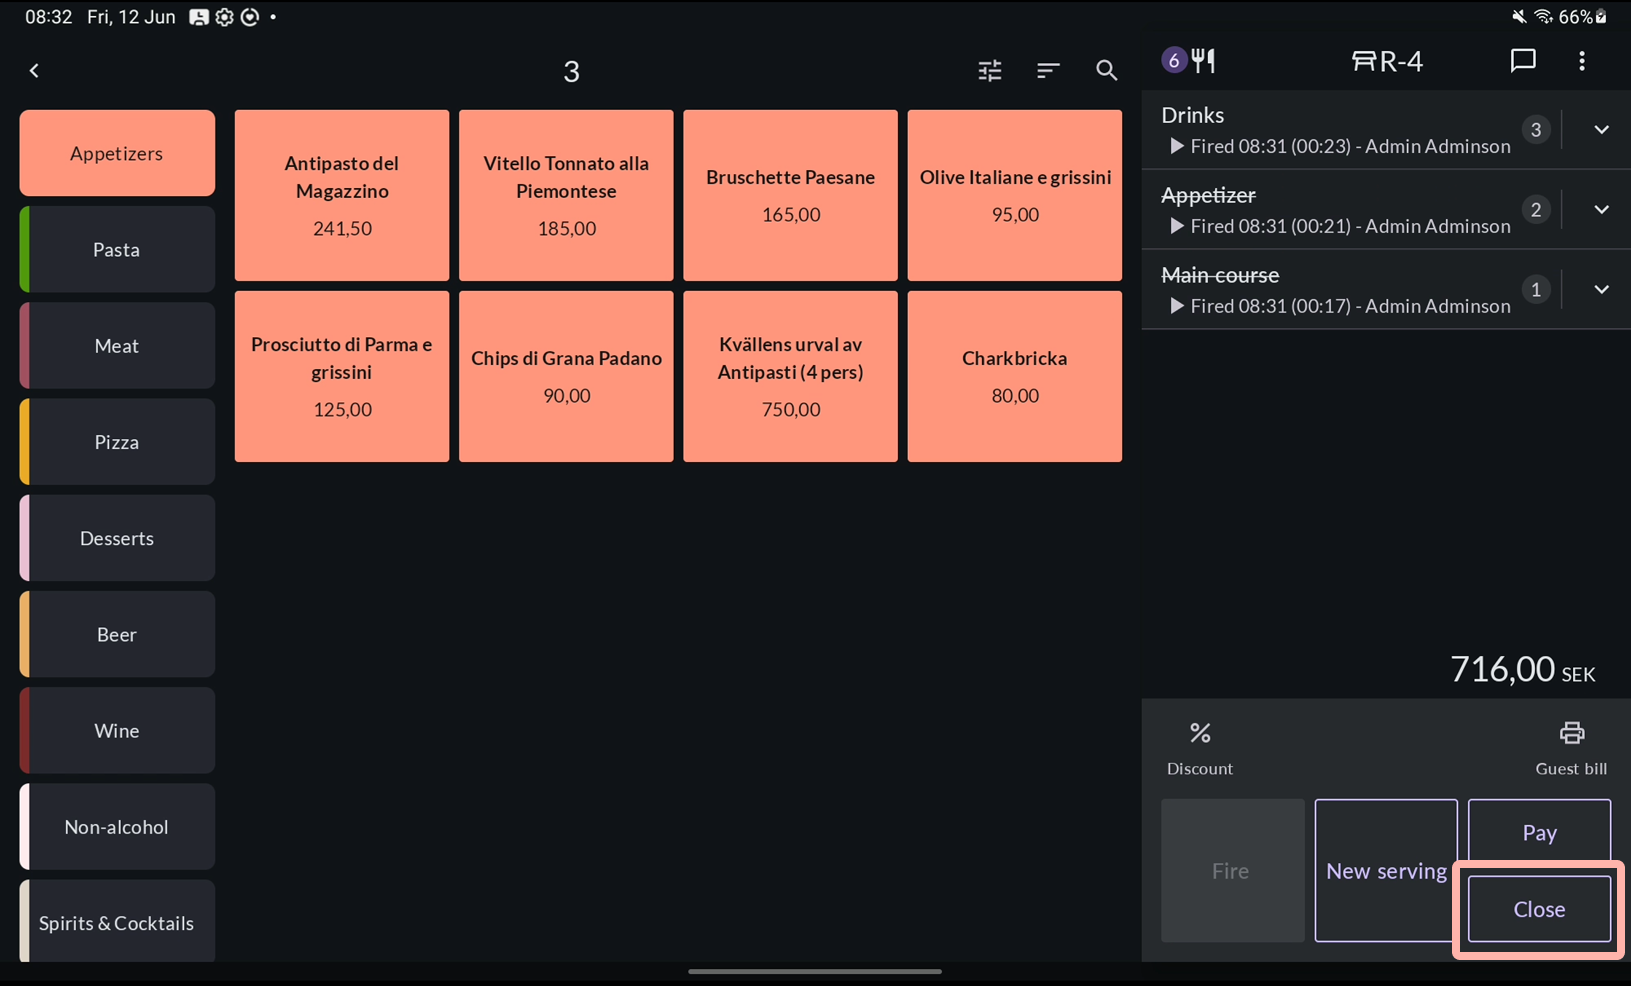
Enable it in BackOffice under Settings → Cash register → Table management.
Automatically after firing a serving — the register returns to the table map as soon as a serving is fired.
Enable in BackOffice under Settings → Cash register → Table management.
Automatically after printing a guest bill — the register returns to the table map after a guest bill is printed.
Enable in BackOffice under Settings → Cash register → Table management.


The table stays open until payment is completed.
When guests are ready to pay, tap Print bill to print a guest bill. To close the table, complete payment for all articles. Read more in Managing payments.
