Scheduling & staff costs
In BackOffice, you plan your staff's shifts week by week and publish the week when it's ready. The scheduled hours are multiplied by each employee's hourly rate, so you can see the week's staff cost against its sales.
License required
You'll need the license for Scheduling to be able to use these features. Contact your salesperson to get it.
Preparations: positions & hourly rates
Each shift is scheduled for a position, such as Bar, Kitchen or Service, and the staff cost is calculated from the employee's hourly rate for that position. Start by giving your employees their positions and hourly rates.
Go to Company > Employees and open the employee you want to edit.
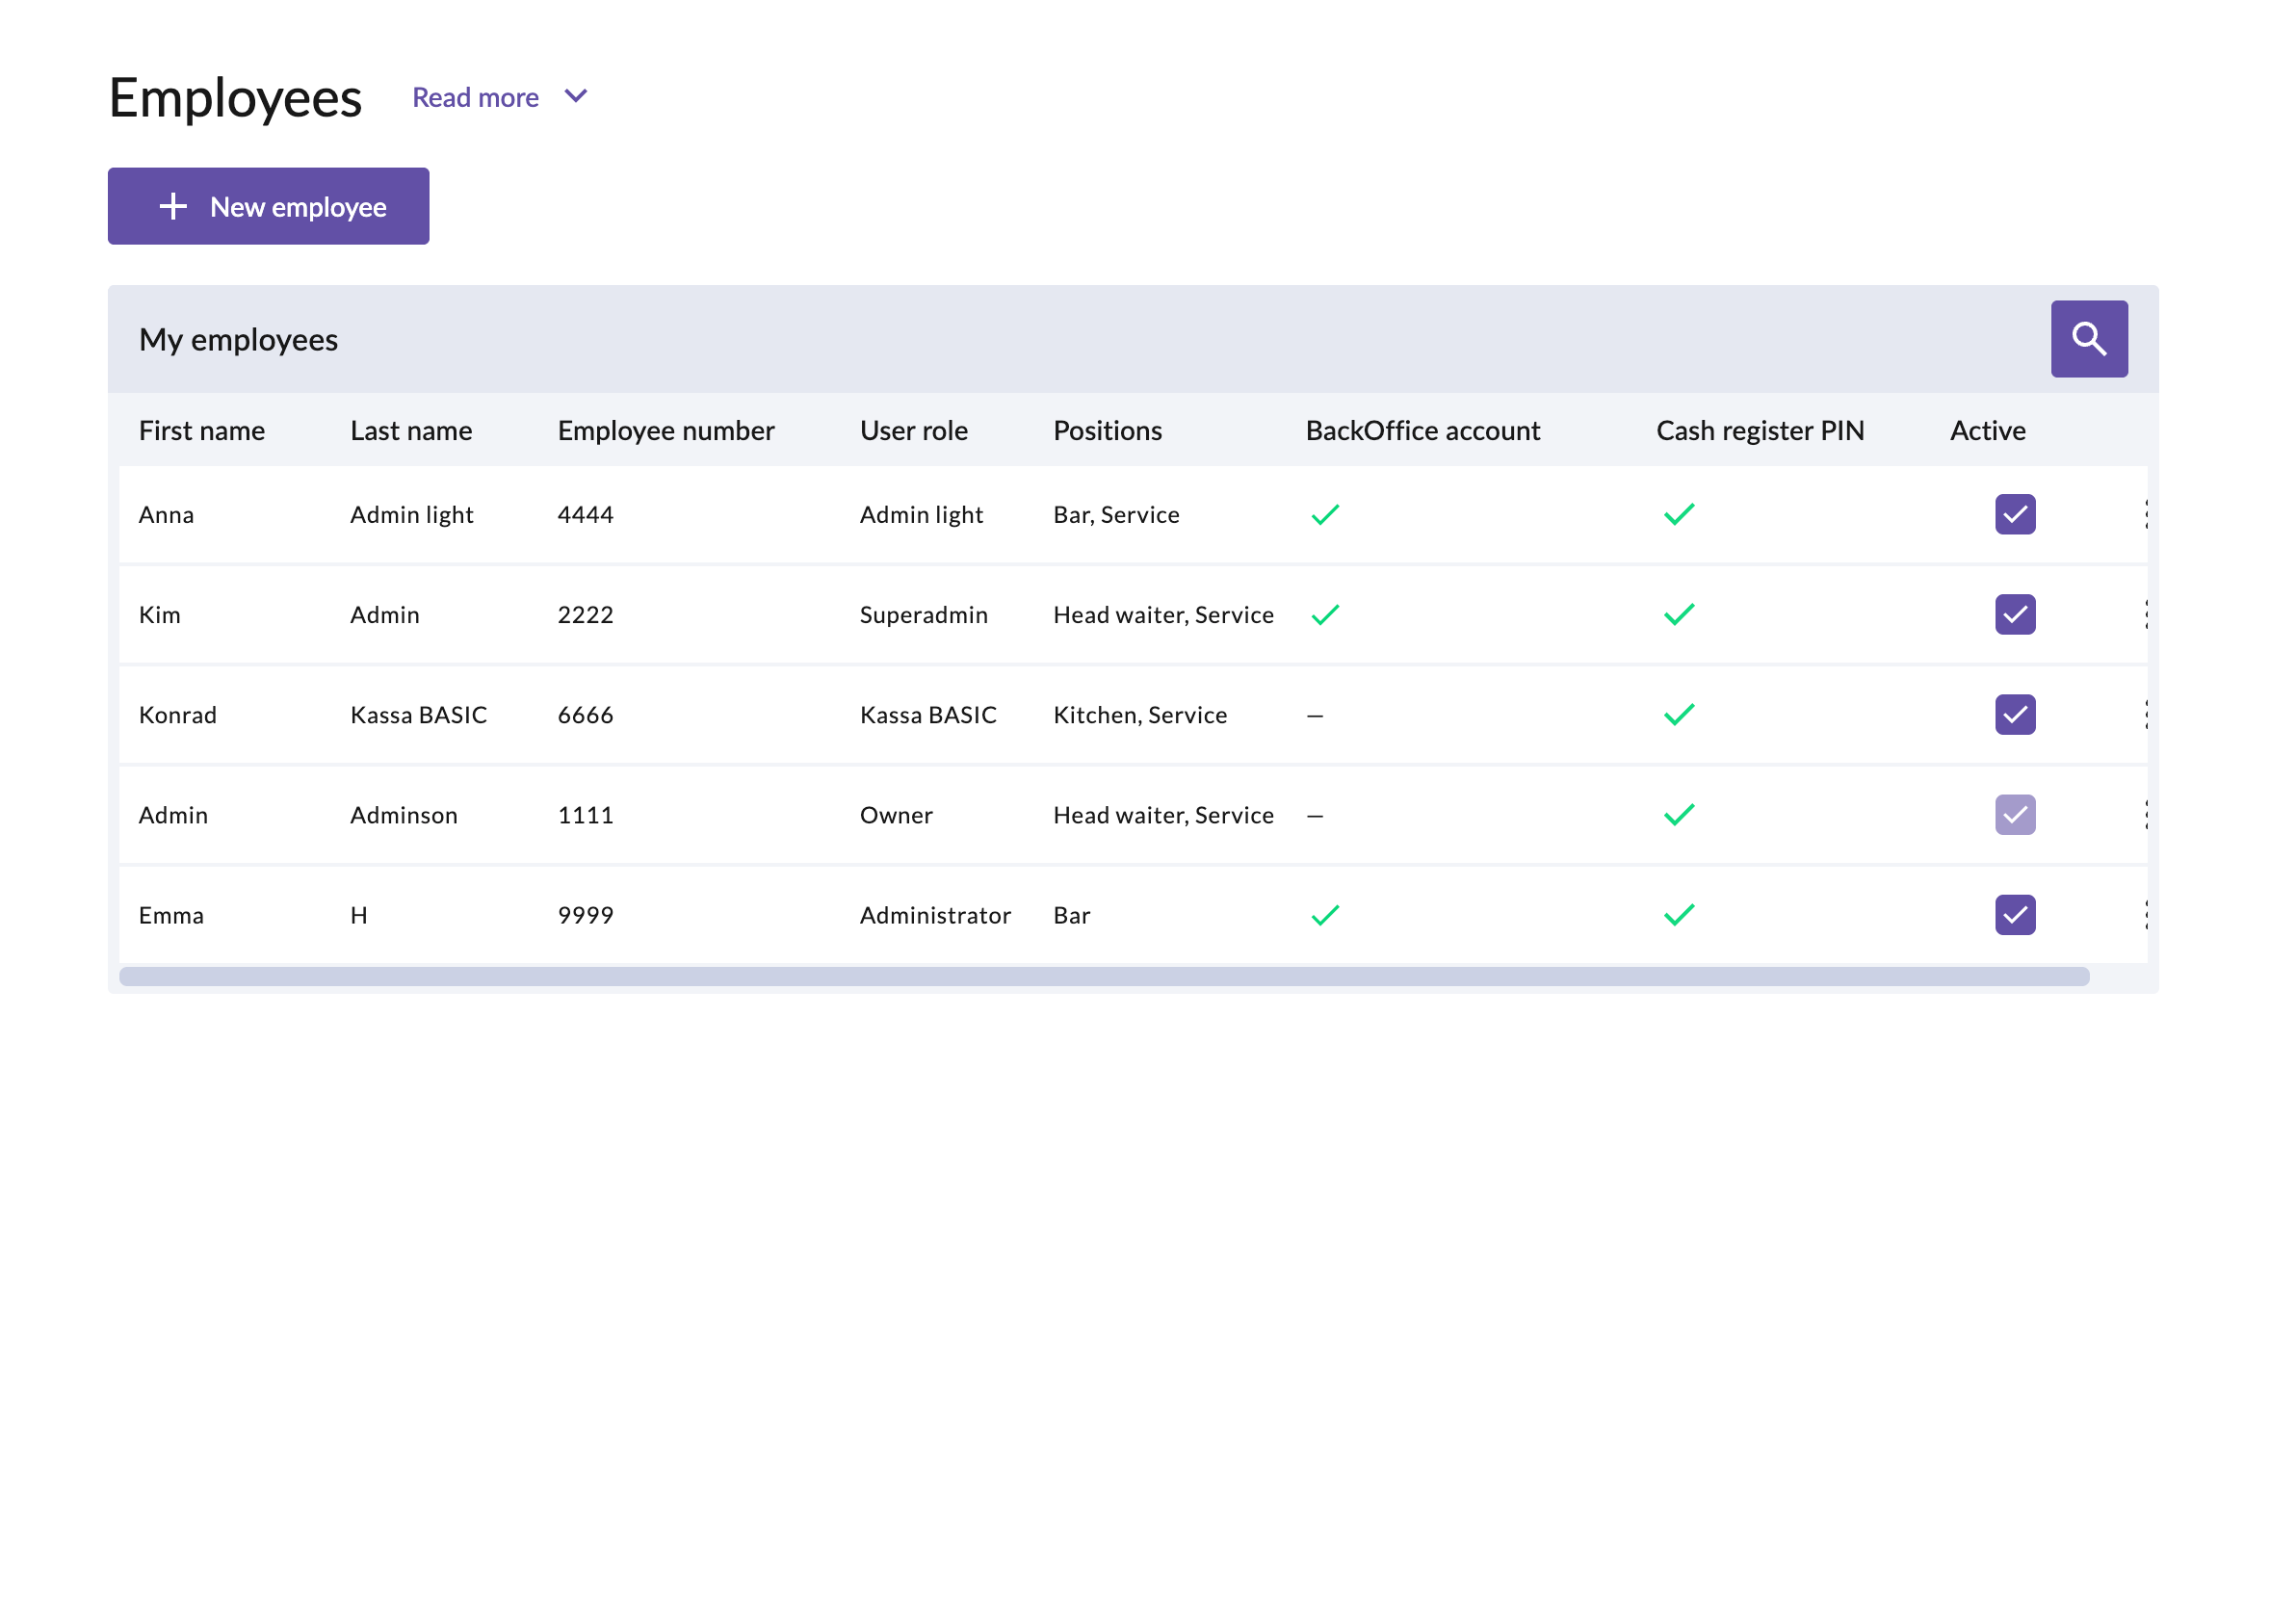
Go to the Position & salary tab and press Add position. Select the position the employee works in, and add one row for each position.
Enter the employee's Hourly rate for each position.
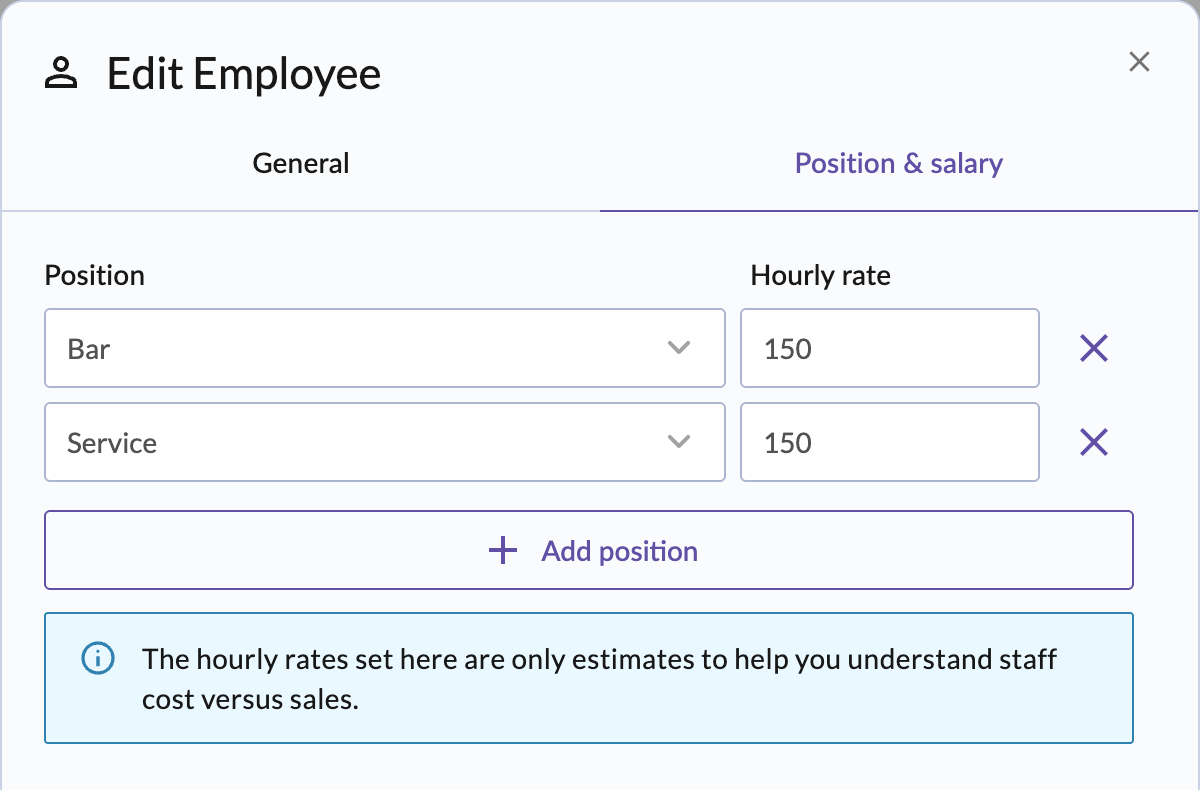
Press Save.


Note that the hourly rates are only estimates, to help you understand staff cost versus sales.
Create and manage positions
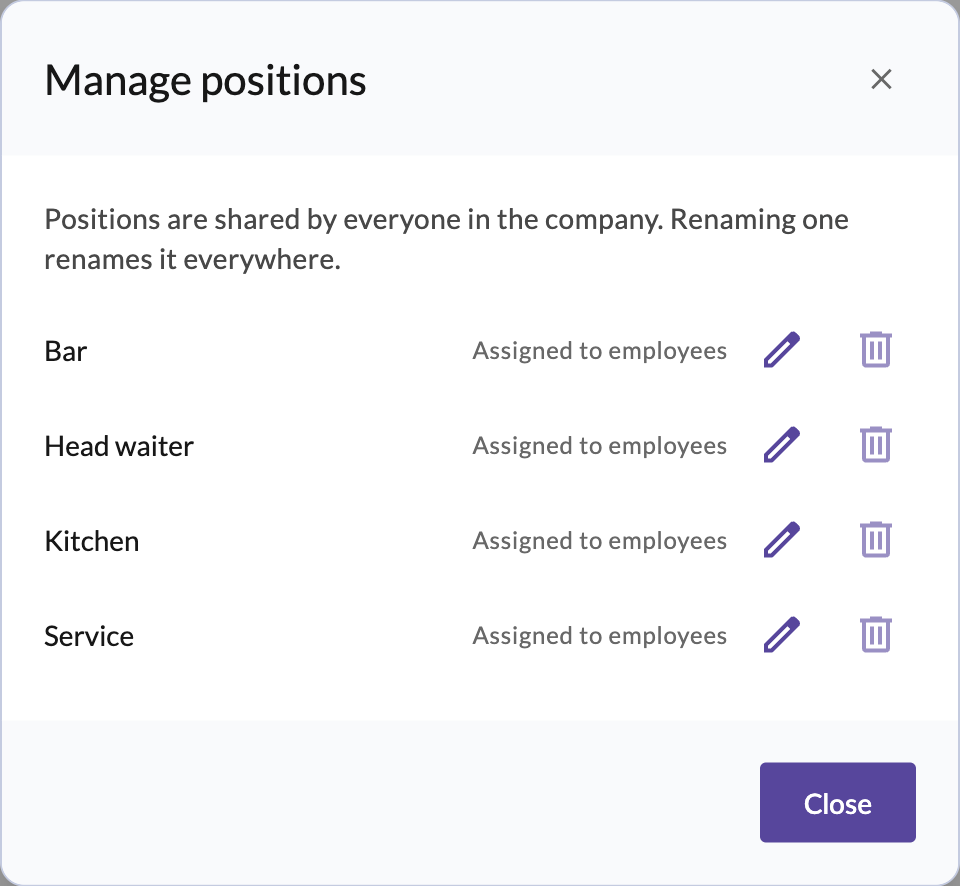
Positions are shared by everyone in the company. You create and manage them from the position list on the Position & salary tab:
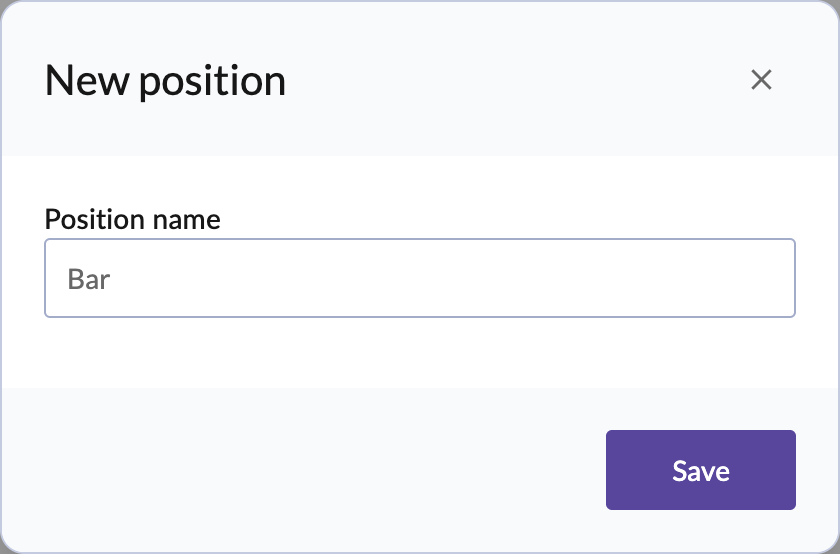
New position… creates a new position. Enter a name and press Save.
Manage positions lists all positions. Press the pencil to rename a position. Renaming it changes the name everywhere. A position can only be deleted when it isn't assigned to any employees.


Create schedules
Go to Staff > Schedule. The schedule shows one week at a time, with one row per employee. Pick the week with the arrows or the week selector, and choose the cost center in the top right corner.

Below the schedule you see the week's Scheduled hours, number of Shifts and Estimated staff cost. The cost is estimated from each employee's current hourly rate and excludes unpaid breaks.
Add shifts
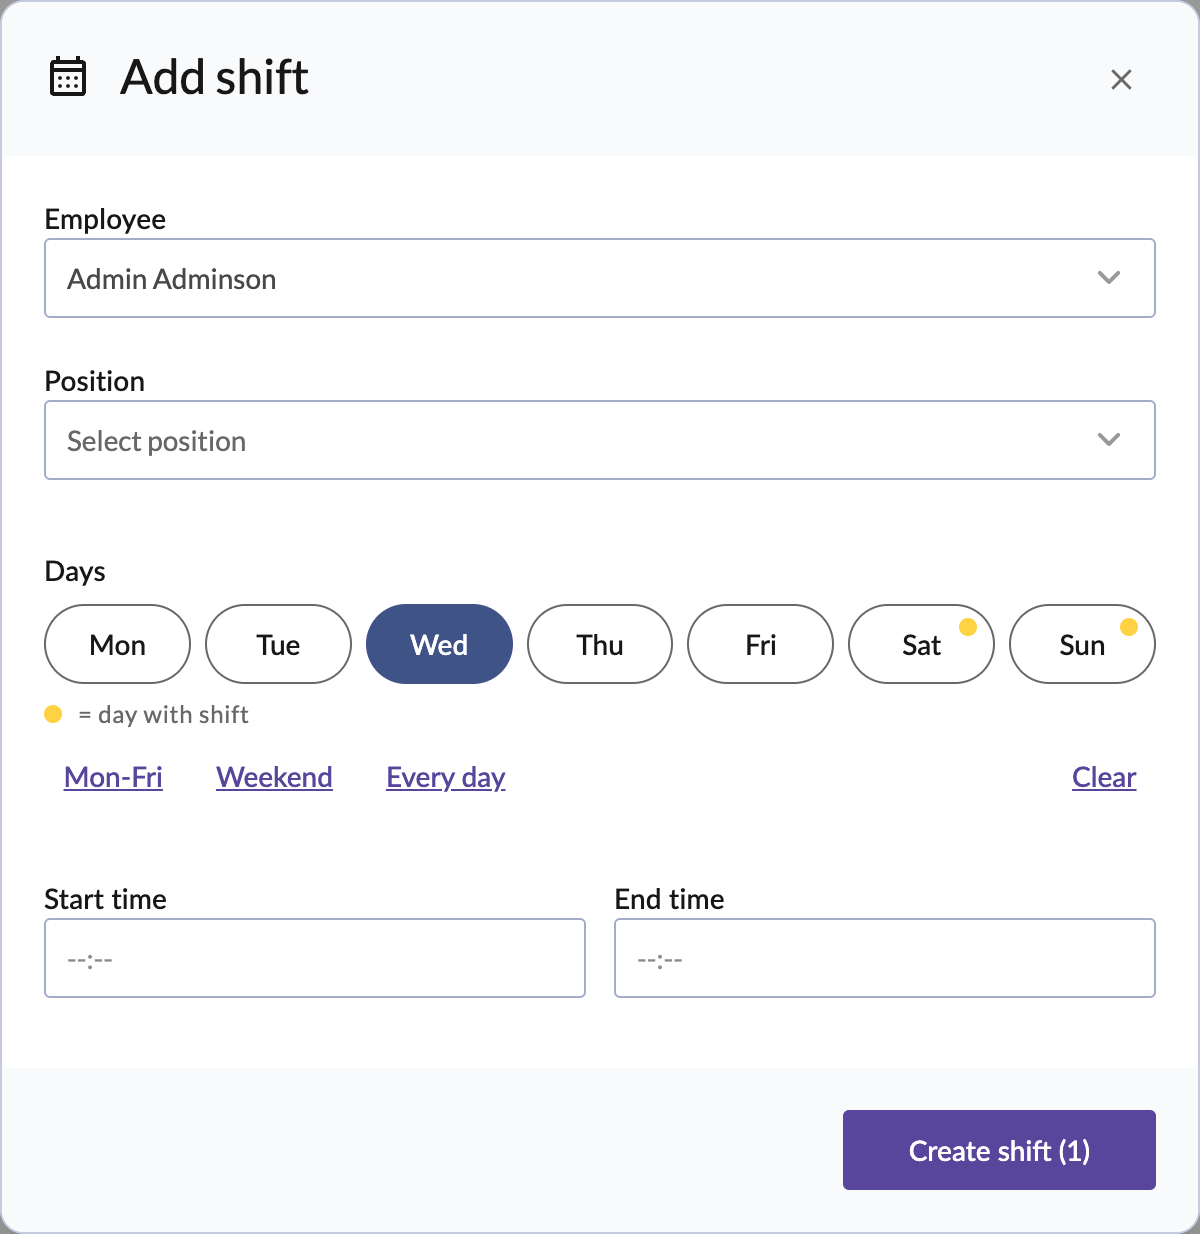
Press + Add shift in the day you want to schedule for an employee, or + Add shift below the schedule.
Select the Employee and the Position. If the employee only has one position, it is selected automatically.
Select one or more Days. Use Mon-Fri, Weekend or Every day to select several days at once. A yellow dot marks a day where the employee already has a shift.
Enter the Start time and End time, and press Create shift. The number on the button shows how many shifts will be created.

Edit or delete a shift
Press a shift in the schedule to open it. Here you can change the position, the day and the times. Press Save to save your changes, or the trash can to delete the shift.

Reuse a week with templates
If your weeks look similar, you can save a week as a template and apply it to other weeks. Press Templates above the schedule.
- Save this week as a template: Enter a name for the template and press Save. The template stores the shifts by weekday and time.
- Apply to this week: Adds the template's shifts to the week you are looking at. Shifts that are already in the week are kept.
- Rename: Changes the name of the template.

Note that templates can't be deleted yet.
Publish the week
When the week is ready, press Publish week. The button is replaced by the status Published.

Export the schedule
Press Export to print the schedule or download it as PDF or Excel.

Staff overview
Go to Staff > Overview to see the week's scheduled staff cost against its sales. Choose the week and the cost center in the top right corner.

- Sales: The week's sales, and the change compared to last week.
- Staff cost: The week's scheduled staff cost and number of scheduled hours.
- Staff % of sales: The staff cost as a share of the sales.
- Sales / labour hour: Average sales per scheduled hour during the week.
- Tips (card): The week's card tips. Press Distribute on the Tips page to see how they can be split. Read more in Tips overview.
- Sales vs staff cost: Sales and staff cost per day of the week.
- Per employee: Scheduled hours, cost, sales and sales per hour for each employee.
TIP
If an employee has scheduled hours but no cost in the overview, the employee is missing an hourly rate. See Preparations: positions & hourly rates.